【Python × OpenCV4】画像を閾値で2値化する。

はじめに
画像処理エンジニア検定:エキスパートの学習用のメモ。
使用環境
● Anaconda
● Spyder4
● macOS High Sierra 10.13.6
● Python
● OpenCV
閾値の設定
OpenCVで閾値を設定するには、下記の関数を使用します。
cv2.threshold(img, thresh, maxval, threshType) # 閾値を設定する。組んだプログラムは、下記になります。
import cv2
imageName = input("画像名を入力して下さい。\n")
img = cv2.imread("./img/" + imageName, cv2.IMREAD_GRAYSCALE)
thresh = 200
maxval = 255
threshType = cv2.THRESH_BINARY
def threshold(img, thresh, maxval, threshType):
ret, dst = cv2.threshold(img, thresh, maxval, threshType)
outputFileName = input("保存します。画像名を入力して下さい。\n")
cv2.imwrite("./img/" + outputFileName, dst)
cv2.imshow("thresh_show", dst)
threshold(img, thresh, maxval, threshType)
cv2.waitKey(0)
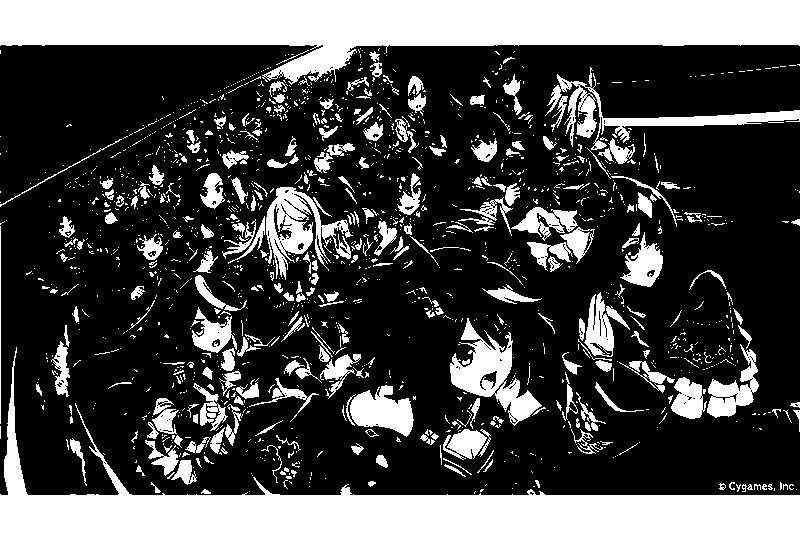
cv2.destroyAllWindows()実行結果は、下記になります。

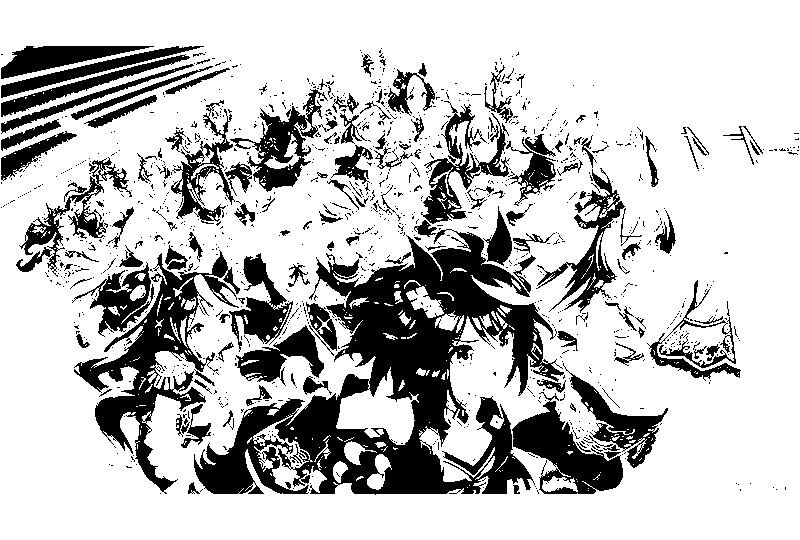
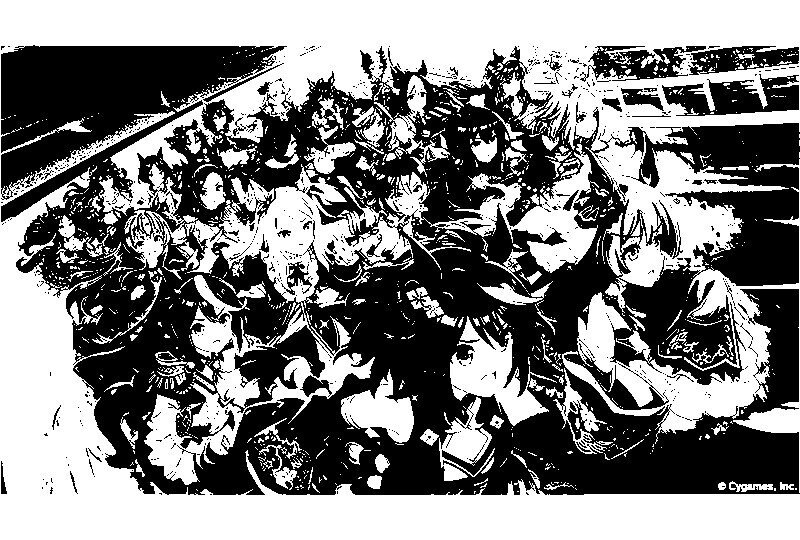
各パラメータの意味は、下記になります。
thresh:閾値
maxval:最大値
threshType:閾値処理の種類
おわりに
cv2.threshold(img, thresh, maxval, threshType)を使用して閾値処理することが出来ました。