
【IT】TypeScript開発環境の下準備
皆さま
こんにちは
今日は、webpackを用いてTypeScript開発環境の下準備を行います。
今回の内容
1.モジュールのインストール
2.初期ファイルの設置
3.サンプルファイルの作成
4.コンパイル
5.動作確認
1.モジュールのインストール
必要モジュールをインストールしていきます。
・プロジェクト用のディレクトリを作成
$ mkdir tsStudy001
$ cd tsStudy001
・プロジェクトの初期化を行います。(全てデフォルトでエンター)
$ npm init
This utility will walk you through creating a package.json file.
It only covers the most common items, and tries to guess sensible defaults.

See `npm help init` for definitive documentation on these fields
and exactly what they do.

Use `npm install <pkg>` afterwards to install a package and
save it as a dependency in the package.json file.


Press ^C at any time to quit.
package name: (tsstudy001)
version: (1.0.0)
description:
entry point: (index.js)
test command:
git repository:
keywords:
author:
license: (ISC)
About to write to /Users/test/tsStudy001/package.json:

{
  "name": "tsstudy001",
  "version": "1.0.0",
  "description": "",
  "main": "index.js",
  "scripts": {
    "test": "echo \"Error: no test specified\" && exit 1"
  },
  "author": "",
  "license": "ISC"
}

Is this OK? (yes)
・「package.json」が出来てるのを確認します。
$ ls
package.json
・TypeScriptをインストールします。
$ npm install --save-dev typescript

up to date, audited 320 packages in 940ms

42 packages are looking for funding
  run `npm fund` for details

found 0 vulnerabilities
・「npx tsc」コマンドが有効になっているか確認します。
$ npx tsc -v
Version 5.1.3
・webpackとts-loaderを導入します。
$ npm install --save-dev webpack webpack-cli webpack-dev-server ts-loader

added 319 packages, and audited 320 packages in 17s

42 packages are looking for funding
  run `npm fund` for details

found 0 vulnerabilities
2.初期ファイルの設置
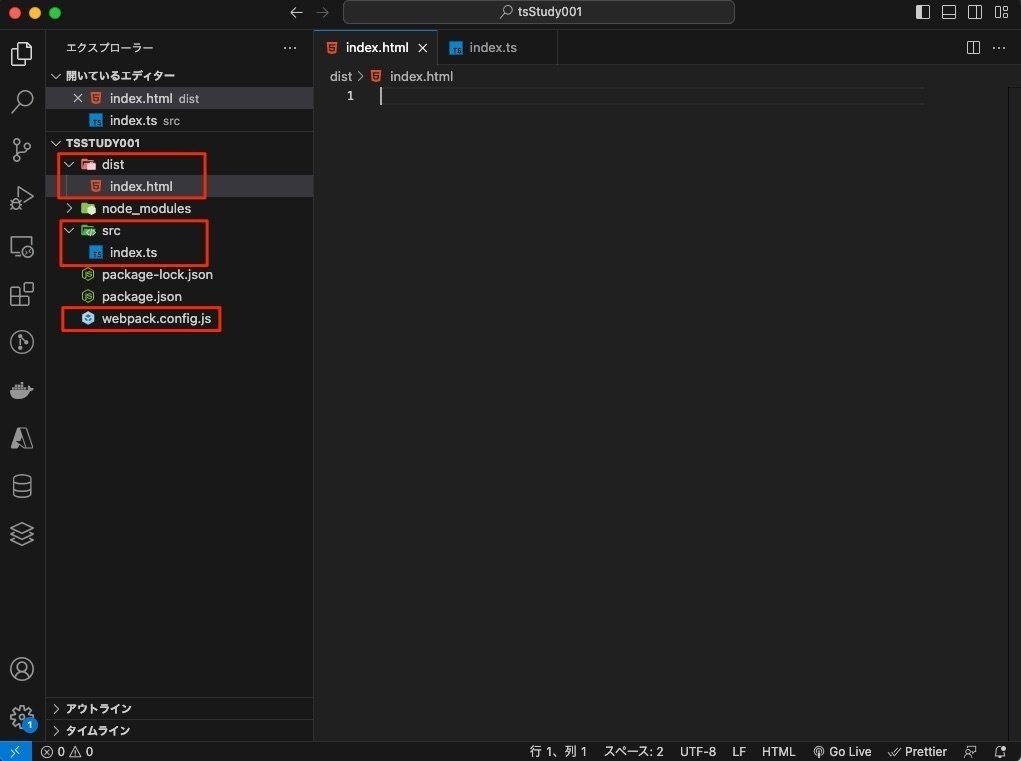
必要なディレクトリとファイルを作成します。
・プロジェクト配下にフォルダーと空のファイルを作成します。
「dist/index.html」 (フォルダーをファイルを作成)
「src/index.ts」 (フォルダーをファイルを作成)
「webpack.config.js」 (ファイルを作成)
・webpackの設定ファイルを作成します。
「webpack.config.js」
module.exports = {
  entry: {
    // 対象はどのファイルか?
    bundle: "./src/index.ts",
  },
  output: {
    // どこに出力するか?
    path: `${__dirname}/dist`,
    // ファイル名の命名規則
    // [name]はentryで記述した名前(この場合は、bundle)
    filename: "[name].js"
  },
  // モードは、開発 か プロダクトか?
  mode: "development",
  resolve: {
    // importで拡張子がつくていなくても名前解決する設定
    extensions: [".ts", ".js"],
  },
  devServer: {
    static: {
      // devサーバをみにいくときの対象
      directory: `${__dirname}/dist`,
    },
    // 自動でブラウザー起動
    open: true,
  },
  module: {
    // 拡張子がtsのものをts-loaderを用いてコンパイルする
    rules: [
      {
        test: /\.ts$/,
        loader: "ts-loader",
      },
    ],
  },
  // 大きすぎるアセットがあることワーニングとして通知する
  //   error(エラー通知) /  warning(警告) / false(警告しない:注意’をつけない)
  //    開発環境はfalseへ設定
  performance: { hints: false, },
};
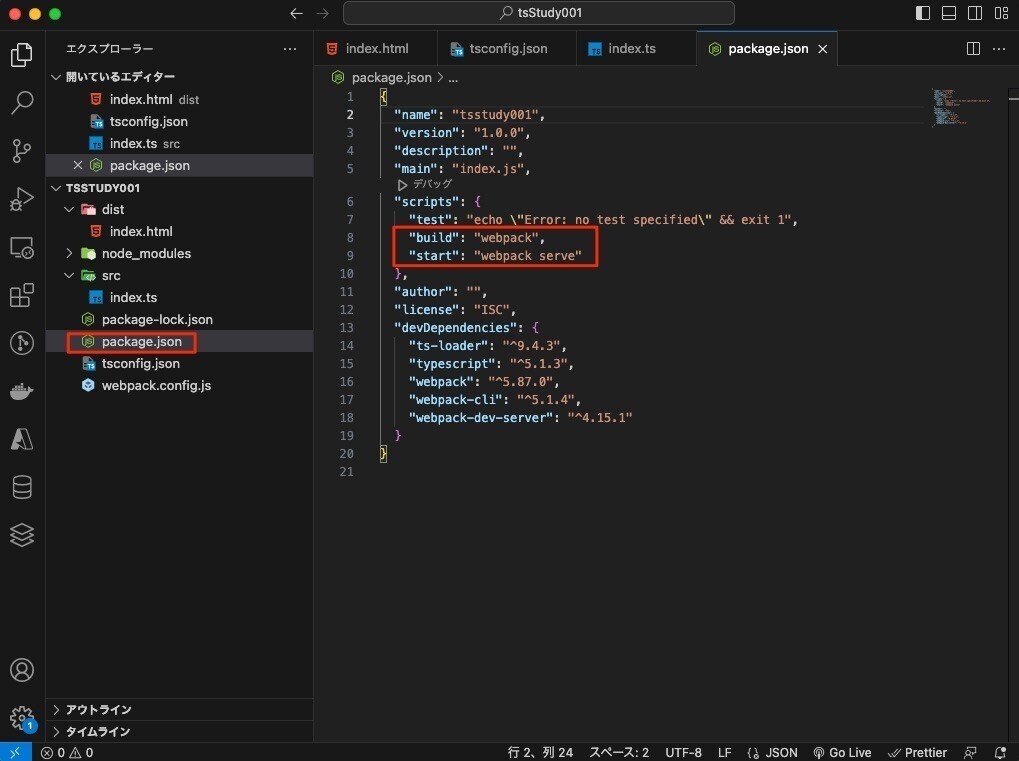
・「package.json」に
"build": "webpack",
"start": "webpack serve"
を追加します。
・TypeScriptの設定ファイルを作成します。
Configファイルは必要に応じて修正します。
$ npx tsc --init

Created a new tsconfig.json with:
                                                                             TS
  target: es2016
  module: commonjs
  strict: true
  esModuleInterop: true
  skipLibCheck: true
  forceConsistentCasingInFileNames: true


You can learn more at https://aka.ms/tsconfig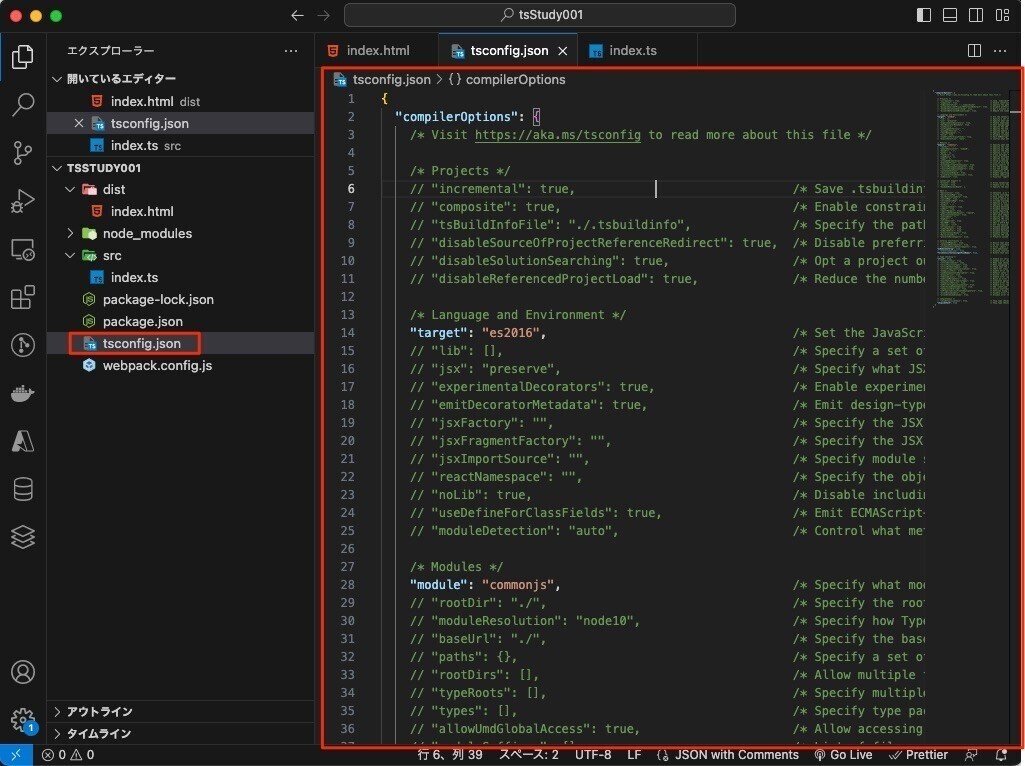
3.サンプルファイルの作成
・動作確認用のindex.htmlとindex.ts を作成します。
「dist/index.html」
<!DOCTYPE html>
<html lang="ja">
<head>
  <meta charset="UTF-8">
  <meta name="viewport" content="width=device-width, initial-scale=1.0">
  <title>Type Script Study</title>
</head>
<body>
    <div id="app"></div>
    <script src="bundle.js"></script>
</body>
</html>
「src/index.ts」
//htmlElement型の変数(app)を指定
const app: HTMLElement | null = document.getElementById("app")

// HelloWorldClassを設定
export default class HelloWorldClass {
  message: string;

  constructor(message: string){
    this.message = message
  }

  public HelloMessge(elem: HTMLElement | null) {
    if(elem) {
        elem.innerText = this.message
    }
  }
}

// HelloWorldClassをインスタンス化
const HelloWorld = new HelloWorldClass("Hello World"!!!)
HelloWorld.HelloMessge(app)
4.コンパイル
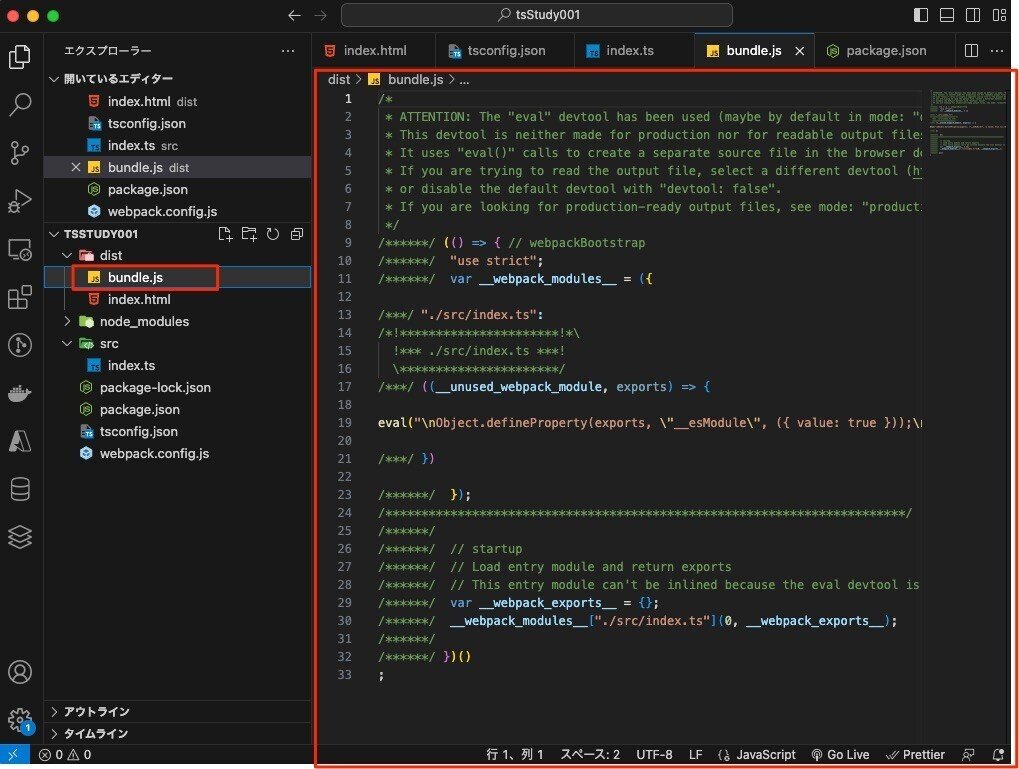
・buildコマンドにてjsファイルへコンパルします。
$ npm run build

> tsstudy001@1.0.0 build
> webpack

asset bundle.js 1.81 KiB [emitted] (name: bundle)
./src/index.ts 545 bytes [built] [code generated]
webpack 5.87.0 compiled successfully in 1401 ms
・dist配下に「bundle.js」が出来ていることを確認します。
5.動作確認
・「npm start」でテスト用サーバを起動します。
$ npm start

> tsstudy001@1.0.0 start
> webpack serve

<i> [webpack-dev-server] Project is running at:
<i> [webpack-dev-server] Loopback: http://localhost:8080/
 ・
  ・
  ・
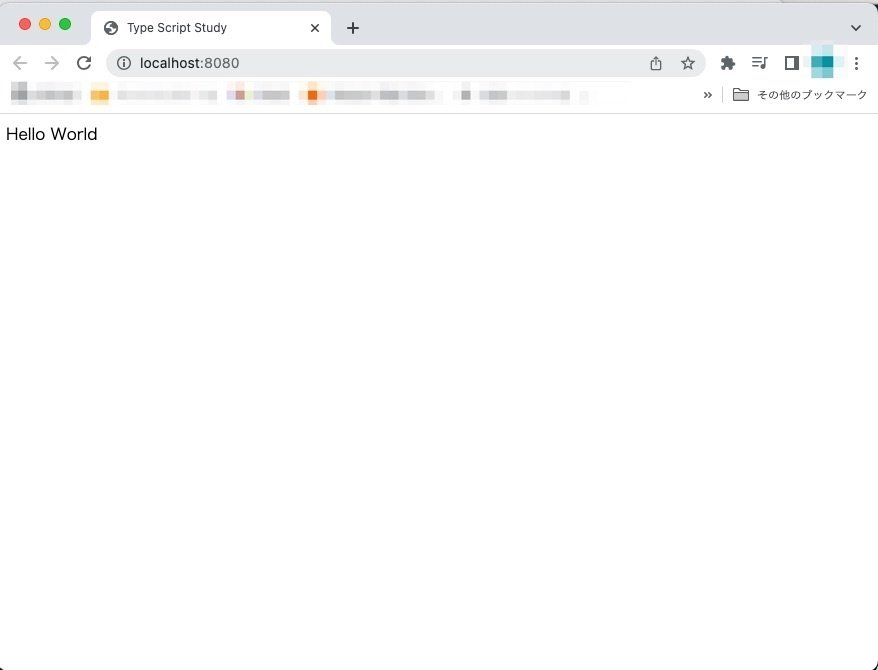
無事に「Hello World」が出力されたのを確認します。
では
