Chat GPT勉強日記 #4. 講義資料を元に解答するAIのプロトタイプを作成

第3回でEmbeddingsを勉強し、動物の名前からベクターデータベースを作った。
次に何を勉強しようかと思っていたところOpen AI公式ドキュメントにすごく良いチュートリアルがあったので、これを自分のデータでやってみようと思った。
チュートリアルは、
How to build an AI that can answer questions about your website ↓
「自分のWebサイトの情報について質問に答えてくれるAIをどう作るか」
というものだ。
前回、動物の名前をEmbeddingsを使ってベクター化し、ベクデータベースを構築した。
ただ、長い文章はどうやってベクデータベースに入れるのが良いのかいまいちイメージができていなかったのだが、このチュートリアルを読んでかなり理解が進んだ。
チュートリアルのソースコードはOpen AIのcookbookの中にある↓
https://github.com/openai/openai-cookbook/tree/main/apps/web-crawl-q-and-a
このチュートリアルのコードを書き換えて自分の持っているデータを使っておもしろいものが作れないかと思い、考えた挙げ句、
昔受講したIDEOのHuman Centered Design(人間中心設計)の資料を使ってみることにした。
元々のOpenAI Cookbookのコードは、openai.comのサイト内のページを巡回してテキストファイルを生成し、それをEmbeddingsをつかってベクターデータにして使うようになっている。
僕はIDEOの講義資料のPDFを読み込んでテキストファイルを生成し、それをベクデータにするようにCookbookのコードを書き換えた。
(コードの内容は、web-crawl-q-and-aのコードと大部分同じなので、僕が書き換えた部分に絞って紹介していきます)
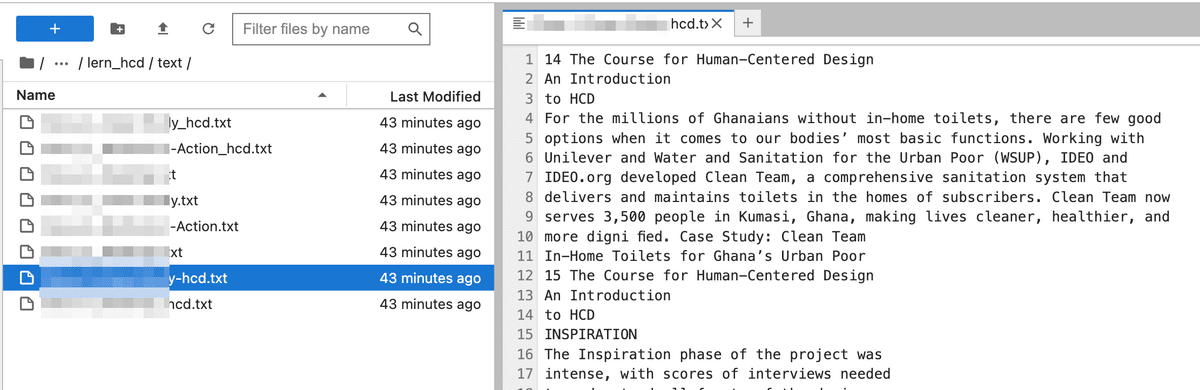
下のようにJupyter NotebookのLearnHCD.ipynbファイル以外に、pdf, text, processedというファルダからなるJupyterのプロジェクトを作った。

pdfフォルダの下には講義資料を配置した。
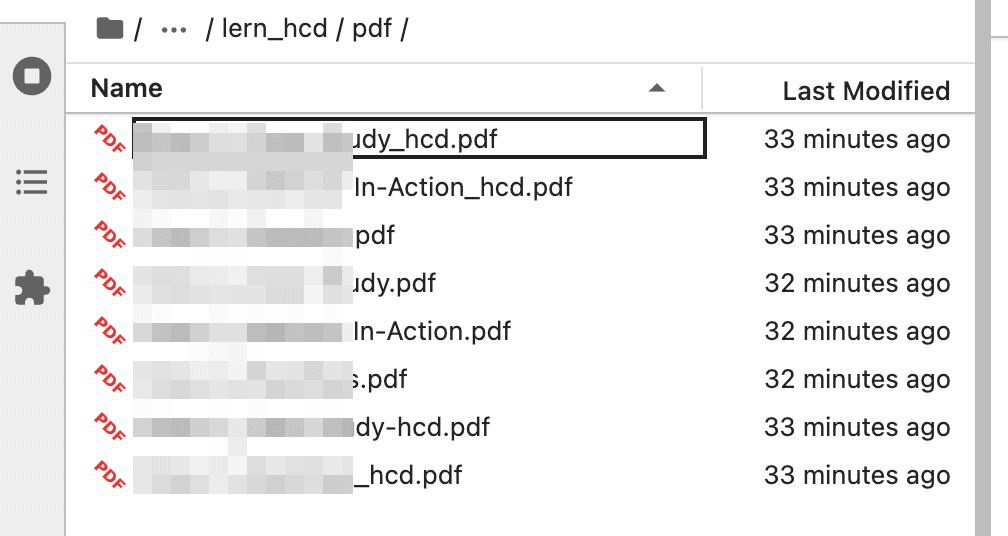
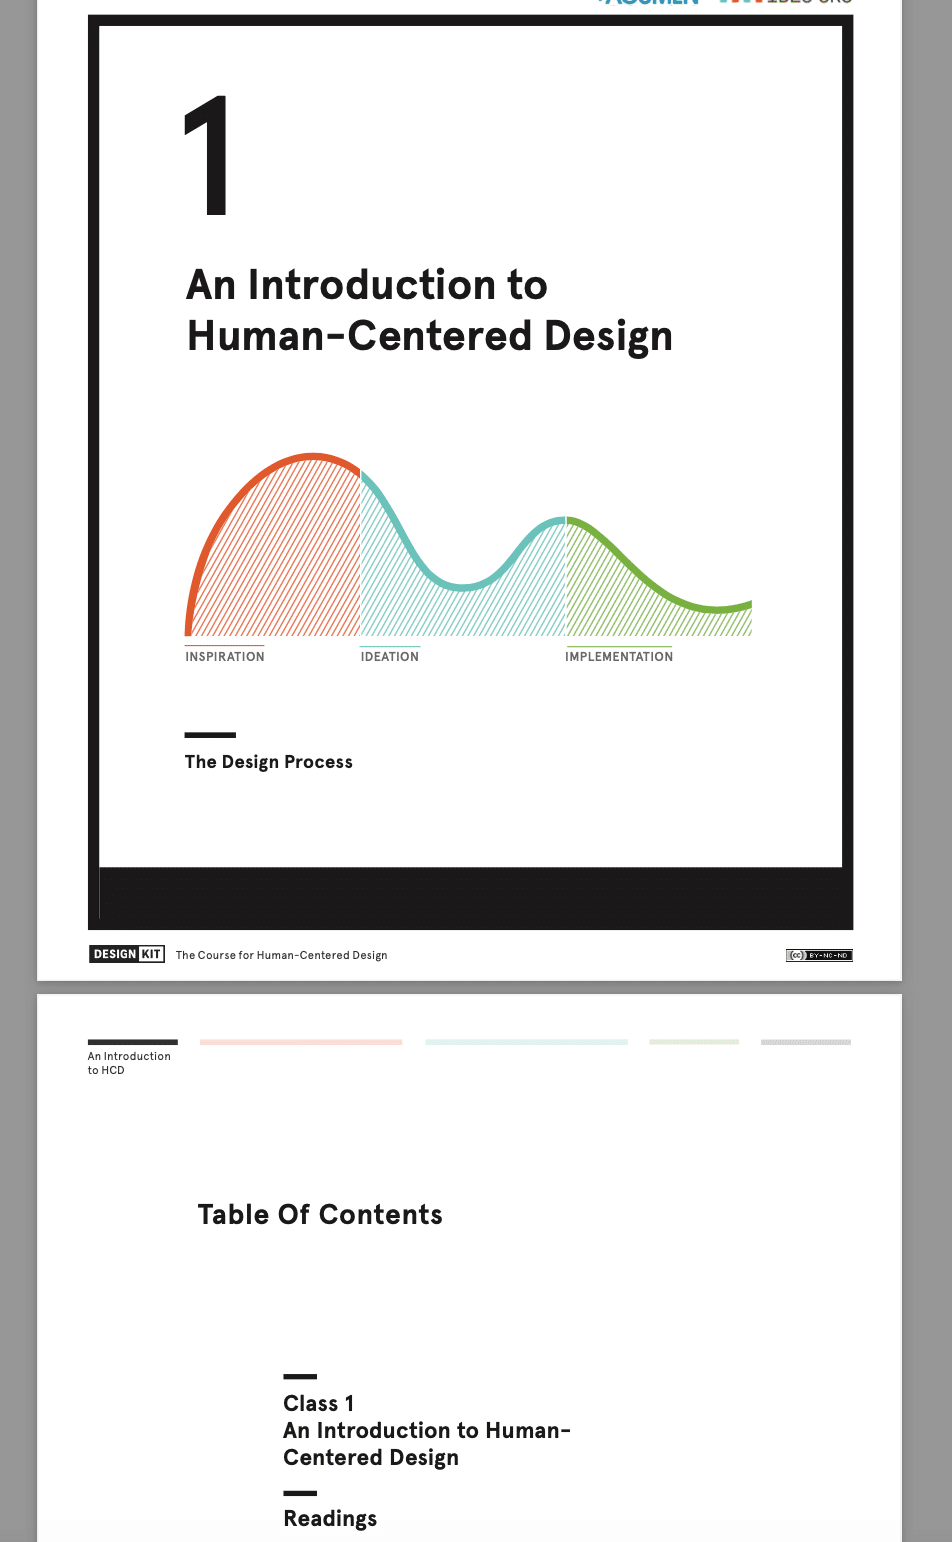
PDFの中身は昔僕が受講したIDEOのHuman Centered Designに関するもので数ページから10数ページくらいの講義資料である。
web-crawl-q-and-aの前半のWeb Crawlingしている部分のコードを下のようにPDFを読み込んで、中身のテキストデータをテキストファイル (.txt)へ変換して保存するコードに書き換えた。
import PyPDF2
import os

pdf_dir = 'pdf'
output_dir = 'text'

# Create the output directory if it doesn't exist
if not os.path.exists(output_dir):
    os.makedirs(output_dir)

# Iterate over every file in the pdf directory
for filename in os.listdir('pdf'):
    if filename.endswith('.pdf'):
        # Open the PDF file
        with open(os.path.join(pdf_dir, filename), 'rb') as file:
            # Initialize PDF reader
            pdf_reader = PyPDF2.PdfReader(file)

            # Extract text from every page
            content = ''
            number_of_pages = len(pdf_reader.pages)

            for page_num in range(number_of_pages):
                content += pdf_reader.pages[page_num].extract_text()

            # Write the content to a text file
            text_filename = os.path.splitext(filename)[0] + '.txt'
            with open(os.path.join(output_dir, text_filename), 'w') as text_file:
                text_file.write(content)
久しぶりのPythonコーディング、中括弧がないのが新鮮だ。。
このコードを実行すると、textフォルダをの下に、以下のような同名のテキストファイルが作成される。
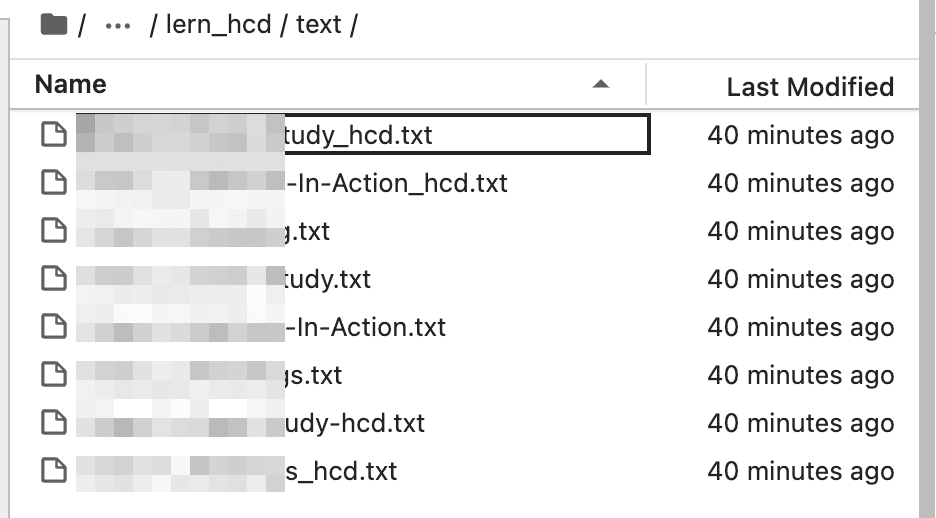
テキストファイルを開くと、PDFの中のテキストデータだけが集約されているのがわかる↓
次に、コードはweb-crawl-q-and-aと同じなので割愛するが、テキストファイルを読み取り、一旦pandaのDataFrameにファイル名とセットで登録した後、下のようなCSVを生成する。
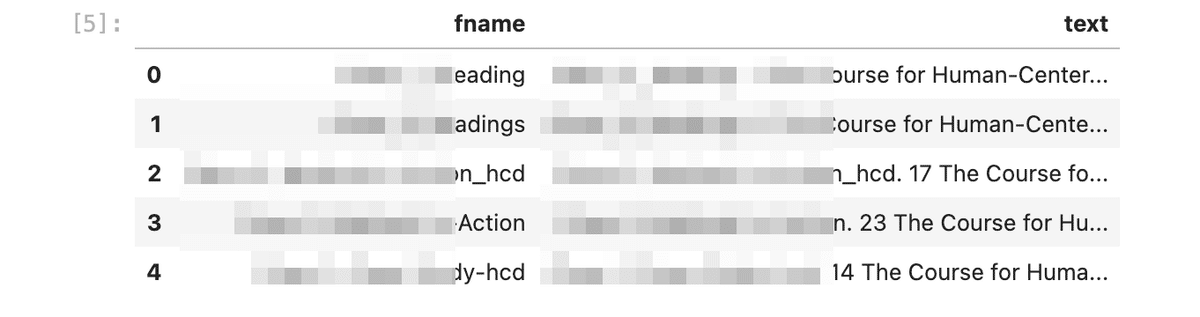
先程のテクストファイルのデータが、
ファイル名, テキストデータ
からなるCSVデータに変換され、processedフォルダの下にscraped.csvという名前で保存される。
いまCSVファイルの中では1行に1ファルのデータが収まっている。
次に、各ファイルごとのテキストデータを"ada-002"モデルのEmbeddingsをつかってベクターに変換する場合、何トークンが必要になるのか(つまりテキストの量が何トークン分になるのか)を計算する。
(このコードはサンプルと全く同じです)
import tiktoken
# Load the cl100k_base tokenizer which is designed to work with the ada-002 model
tokenizer = tiktoken.get_encoding("cl100k_base")
df = pd.read_csv('processed/scraped.csv', index_col=0)
df.columns = ['title', 'text']
# Tokenize the text and save the number of tokens to a new column
df['n_tokens'] = df.text.apply(lambda x: len(tokenizer.encode(x)))
# Visualize the distribution of the number of tokens per row using a histogram
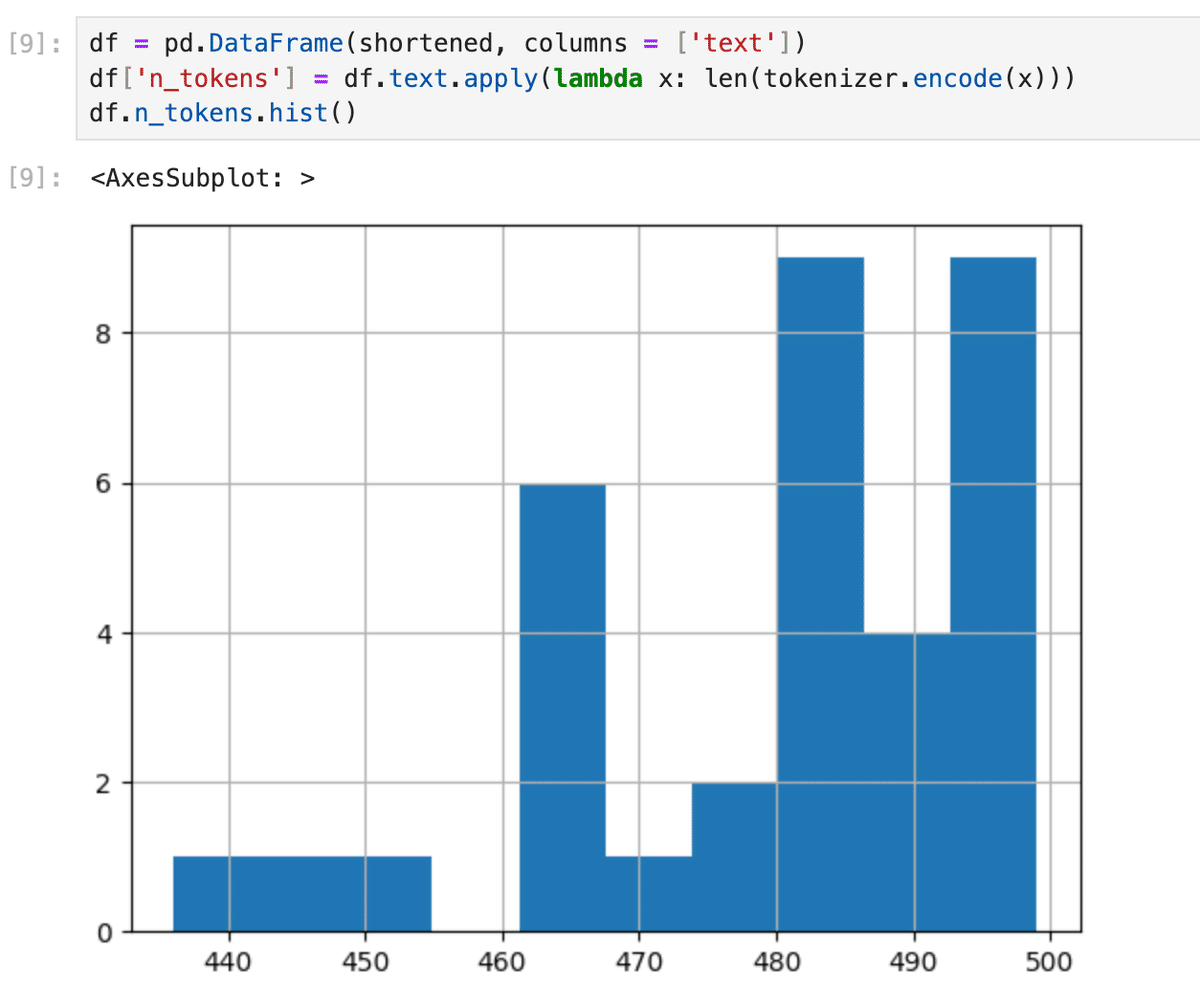
df.n_tokens.hist()上のコードを実行すると、下のようなヒストグラムが表示される。
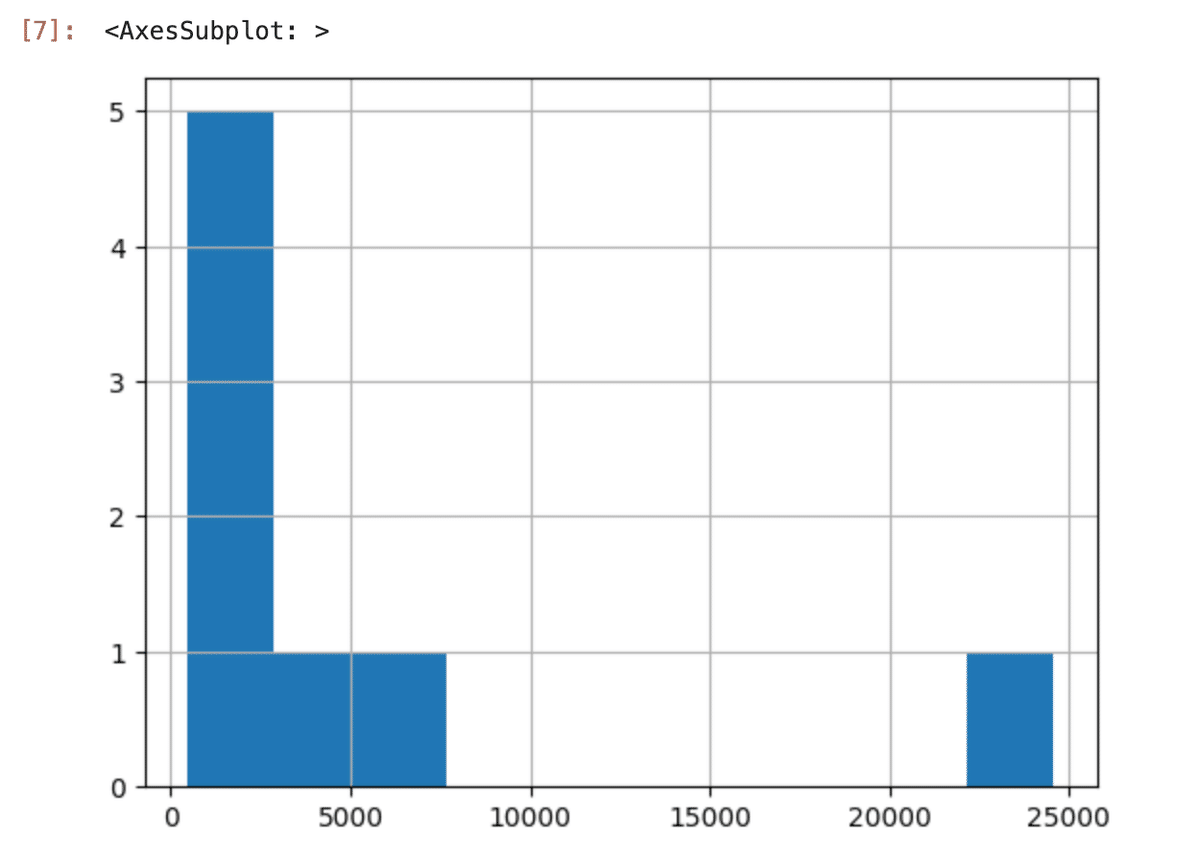
これによると、僕のデータはトークンが20000以上になるものが1つ存在することがわかる。
最新のモデルがEmbeddingsでベクターに変換できる最大の文章量は8191トークン分とチュートリアルに書いてあった。
今のデータのままではこれを超えてしまうものが1つあるということだ。
web-crawl-q-and-aの下のsplit_into_manyというコードを使って、文章をチャンクと呼ばれる塊に分けていく。
max_tokens = 500

# Function to split the text into chunks of a maximum number of tokens
def split_into_many(text, max_tokens = max_tokens):

    # Split the text into sentences
    sentences = text.split('. ')

    # Get the number of tokens for each sentence
    n_tokens = [len(tokenizer.encode(" " + sentence)) for sentence in sentences]

    chunks = []
    tokens_so_far = 0
    chunk = []

    # Loop through the sentences and tokens joined together in a tuple
    for sentence, token in zip(sentences, n_tokens):

        # If the number of tokens so far plus the number of tokens in the current sentence is greater
        # than the max number of tokens, then add the chunk to the list of chunks and reset
        # the chunk and tokens so far
        if tokens_so_far + token > max_tokens:
            chunks.append(". ".join(chunk) + ".")
            chunk = []
            tokens_so_far = 0

        # If the number of tokens in the current sentence is greater than the max number of
        # tokens, go to the next sentence
        if token > max_tokens:
            continue

        # Otherwise, add the sentence to the chunk and add the number of tokens to the total
        chunk.append(sentence)
        tokens_so_far += token + 1     # +1しないと、このsentenceの前のsentenceとの間に挟まれるホワイトスペース分のtokenを足していないことになるから

    return chunks


shortened = []

# Loop through the dataframe
for row in df.iterrows():

    # If the text is None, go to the next row
    if row[1]['text'] is None:
        continue

    # If the number of tokens is greater than the max number of tokens, split the text into chunks
    if row[1]['n_tokens'] > max_tokens:
        shortened += split_into_many(row[1]['text'])

    # Otherwise, add the text to the list of shortened texts
    else:
        shortened.append( row[1]['text'] )
LangChainなどのライブラリーを使えばデータを適切なサイズのチャンク(塊)に分けることもやってくれるが、
このコードをみると、その作業が実際どうやって行われているかすごく理解ができた。
500トークンを超えないように小分けにした後のデータは以下の様になった。
これをヒストグラムに出してみると、1つのデータが500トークン以下に収まっていることがわかる。
このデータをOpenAIのEmbeddingsを使ってベクターデータに変えると下のようになった。
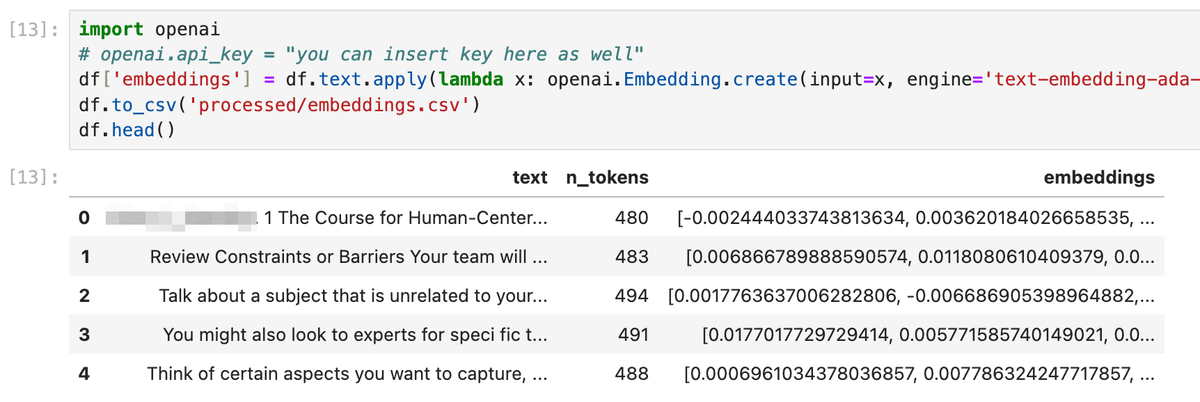
500トークン以下の各文章に対してベクデータが生成された。
上のスクリーンショットでわかるようにDataFrameの中には、元々のテキスト(text)、そのテキストが何トークンなのか(n_tokens)、そしてベクターデータ(embeddings)が格納された状態になっている。
前回のブログではSingleStoreデータベースをつかってSQLクエリで質問と一番近いものからベクデータをソートした。
今回はcreate_context関数の中で、DateFrameのsort_values関数を使って、与えられた質問に対して、ベクターデータが近いものから順番にデータをソートする。
def create_context(
    question, df, max_len=1800, size="ada"
):
    """
    Create a context for a question by finding the most similar context from the dataframe
    """

    # Get the embeddings for the question
    q_embeddings = openai.Embedding.create(input=question, engine='text-embedding-ada-002')['data'][0]['embedding']

    # Get the distances from the embeddings
    df['distances'] = distances_from_embeddings(q_embeddings, df['embeddings'].values, distance_metric='cosine')


    returns = []
    cur_len = 0

    # Sort by distance and add the text to the context until the context is too long
    for i, row in df.sort_values('distances', ascending=True).iterrows():

        # Add the length of the text to the current length
        cur_len += row['n_tokens'] + 4

        # If the context is too long, break
        if cur_len > max_len:
            break

        # Else add it to the text that is being returned
        returns.append(row["text"])

    # Return the context
    return "\n\n###\n\n".join(returns)
ソートをした後に、一番質問内容に近いものから(一番質問内容と距離が近いベクターデータから)、元のテキストデータを抜き出していく。
注意するところは、近いものから、ベクデータではなく元のテキストデータを抜き出すところである。
このコードでは、近いものから抜き出したデータの元の文章をreturnsという配列にappendしていき、1800トークンを超えたらそれ以上appendしないようにしている。
これで、
”質問内容と似た文章の上位の何個か(1800トークンより少し多い量)”が取得できた。
細かくは、このcreate_context関数は、
最後の行のコードで return "\n\n###\n\n".join(returns) と書かれているように、returns配列に入ったチャンクとチャンクの間を###で保管して1つの文章を生成している。
このコンテキストをprintで出力すると、下のようになっている。
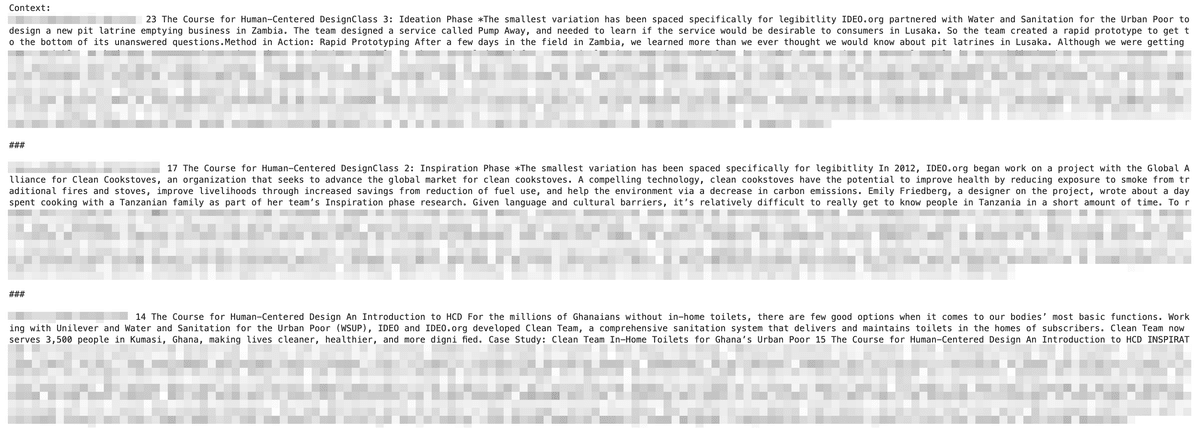
3つのチャンクが質問との関連度の高い順にピックアップされ、###でつなぎ合わされた文字列になっていることがわかる。
最後に、このコンテキストを使って、OpenAIのモデル"text-davinci-003"に質問の解答を生成させる関数が下になる。
def answer_question(
    df,
    model="text-davinci-003",
    question="Am I allowed to publish model outputs to Twitter, without a human review?",
    max_len=1800,
    size="ada",
    debug=True,
    max_tokens=150,
    stop_sequence=None
):
    """
    Answer a question based on the most similar context from the dataframe texts
    """
    context = create_context(
        question,
        df,
        max_len=max_len,
        size=size,
    )
    # If debug, print the raw model response
    if debug:
        print("Context:\n" + context)
        print("\n\n")
        print("Question:\n" + question)
        print("\n\n")

    try:
        # Create a completions using the question and context
        response = openai.Completion.create(
            prompt=f"Answer the question based on the context.\n\nContext: {context}\n\n---\n\nQuestion: {question}\nAnswer:",
            temperature=0,
            max_tokens=max_tokens,
            top_p=1,
            frequency_penalty=0,
            presence_penalty=0,
            stop=stop_sequence,
            model=model,
        )
        return response["choices"][0]["text"].strip()
    except Exception as e:
        print(e)
        return ""
(これはサンプルコードとほとんど一緒で、質問文のところだけを少し変えています。)
openaiのCompletion.create()関数に与えるprompt変数に以下の質問を設定した。
prompt=f"Answer the question based on the context.\n\nContext: {context}\n\n---\n\nQuestion: {question}\nAnswer:",
今回はデータが英語だったので、質問文も英語にしましたが、日本語でプロンプトを作成するときは、”コンテキスト”というよりは”文脈”という言葉を使って
次の文脈に即して、以下の質問に答えなさい。
文脈:(ここにcontextを挿入)
質問:(ここに質問文を挿入)
とやると良さそうです。
これで必要なコードとデータはすべて用意できたので、
answer_question関数を以下の質問文で呼んでみた。

「ザンビアでIDEOが行ったプロジェクトはなんですか?」
すると以下の解答が返ってきた。

(スクリーンショットでは見にくいので、以下に解答を貼り付けると。。)
'IDEO.org partnered with Water and Sanitation for the Urban Poor to design a new pit latrine emptying business in Zambia. The team designed a service called Pump Away.'
おぉ、ちゃんとした答えが返ってきた!!
ChatGPTに普通に「ザンビアでIDEOが行ったプロジェクトはなんですか?」と聞いても、質問が漠然としているため、このような具体的な答えは返ってこない。
今回、Embeddingsをつかって、IDEOのHuman Centered Designの講義資料のベクターデータベースを作ったことで、講義資料で紹介されている事例からOpenAIのモデルが解答をしてくれたのである。
。。。
前回は、ベクターデータをSingle Storeに保存したが、このチュートリアルのように、Jupyter NoteでDataFrameに一時的に保存してもデータ量がめちゃくちゃ大きくない限りは十分実験ができるので、このやり方はデータベースを構築する必要もないしお手軽でよかった。
また、これからLangChainなどのライブラリーにお任せしてチャンクを作る前に、もっとプリマティブなコードでチャンクを作ることを体験ができるのがこのサンプルコードの良さでもあり、地味な処理のほうがむしろ気になる自分にはとても良い勉強になった。
つづく。
このブログに関する質問や、OpenAI APIをつかったWebサービス、Android・iOSアプリの開発の相談はこちらからお願いします。↓↓↓
@mizutory
mizutori@goldrushcomputing.com
この記事が気に入ったらサポートをしてみませんか?