bubble(チョット)やってみた#02〜Lesson2「サインアップシステムの構築」

今回は人気(グローバルでは)のローコードツールbubbleにチャレンジする3回めです。前回はBubbleの優れたチュートリアルシステムの素晴らしさに驚きながら住所を入力保存して地図上にその位置をプロットするアプリを作成しましたが、今回はログインシステムを作るところです。若干「いまどき自力でログイン画面作るのかよ」と思いつつですが、とにかくやってみたいと思います。
さっそくLessonsページに移動
さっそくLessonsのページに移動します。
前回1つめのLessonをクリアしたので、今日は2つ目のLessonにチャレンジです。
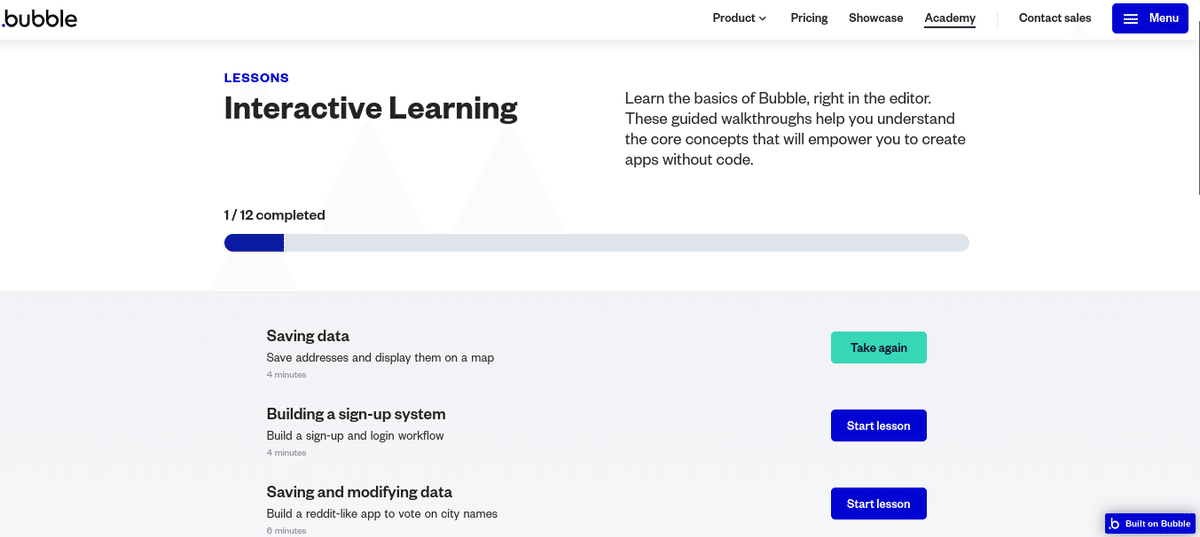
今日行うのはBuilding a sign-up systemです。サインアップする機能を作ります。さっそくボタンを押して進みます
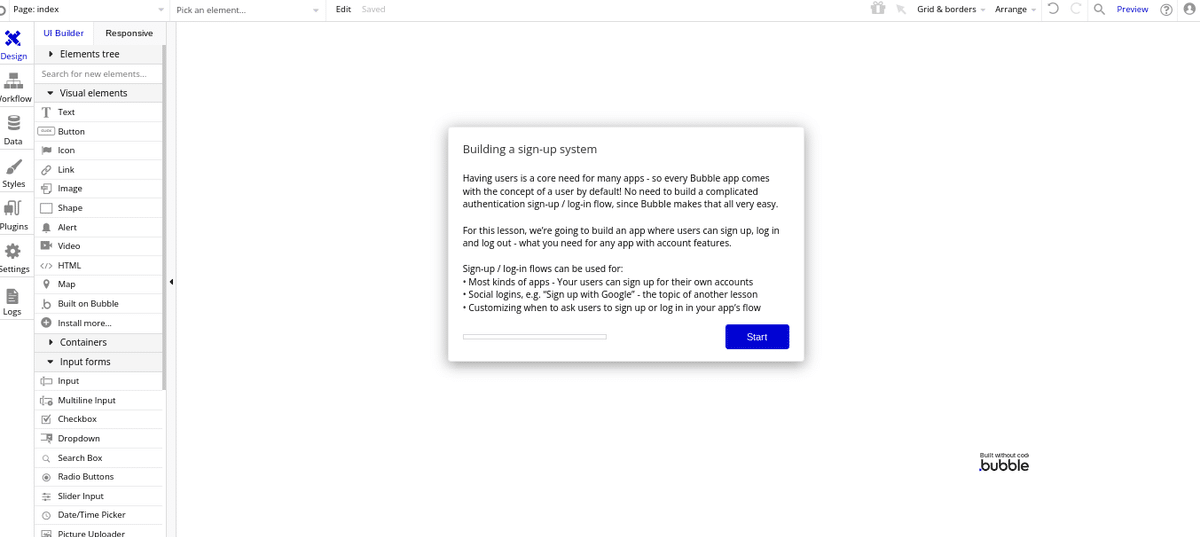
なんか説明書きがありますが、ようはログイン画面の必然性を説いているくらいなので「Start」で進みます。
入力欄の配置
最初に行うのはフォームの作成・・・つまりは画面づくりです、
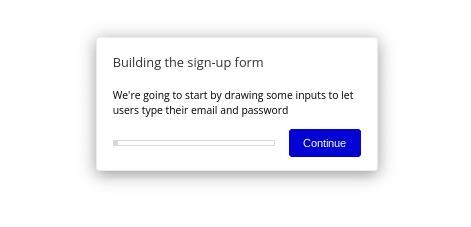
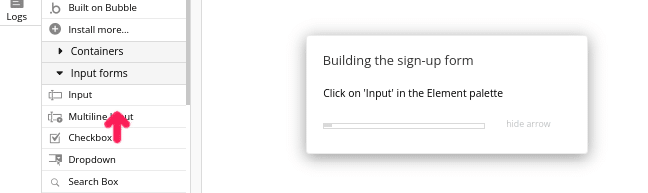
最初はIDとしてつかうMailアドレスを入力するインプット項目を作成します。右のメニューから「input」を選択して画面に配置します。
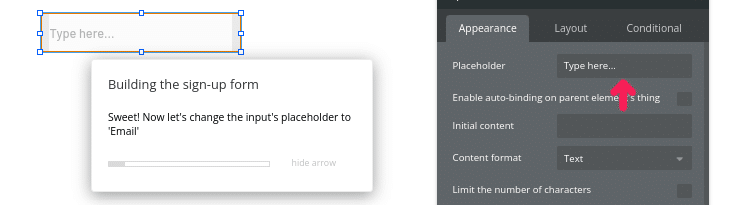
項目を配置したら、Placeholderに項目名「Email」と入力します。
同じように「password」の項目も配置します。

ボタンの配置と設定
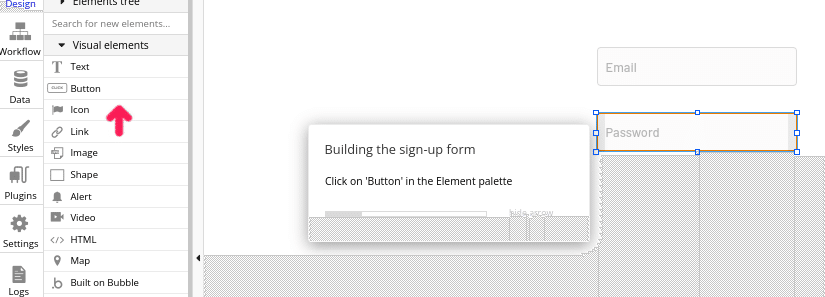
次に「Sign up」と「Log in」のボタンを配置します。
まずは左のメニューから「Button」を選択します。
そこからドラッグしてボタンを配置し、名称欄に「SignUp」と入力します。
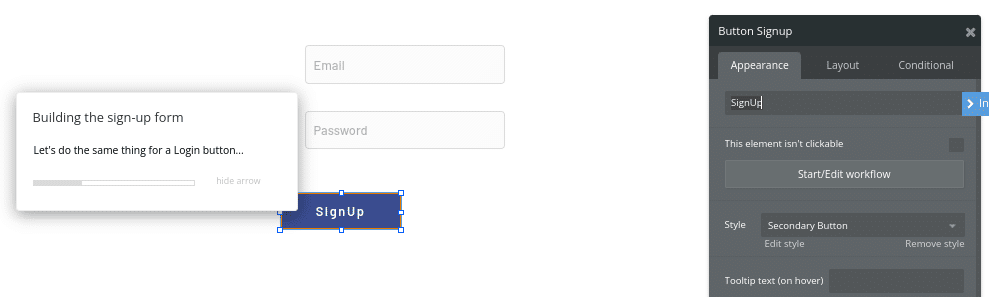
同じように「LogIn」ボタンを配置して名称を入力します。
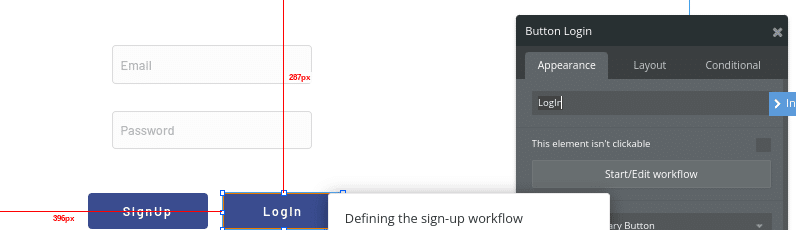
次からそれぞれのボタンの動作を設定します。
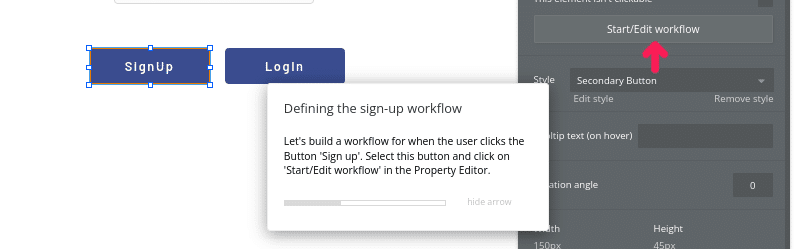
まずは「SignUp」ボタンをクリックしフォーカスし、プロパティの「Start/Edit workflow」ボタンをクリックします。
Workflowの画面に切り替わります
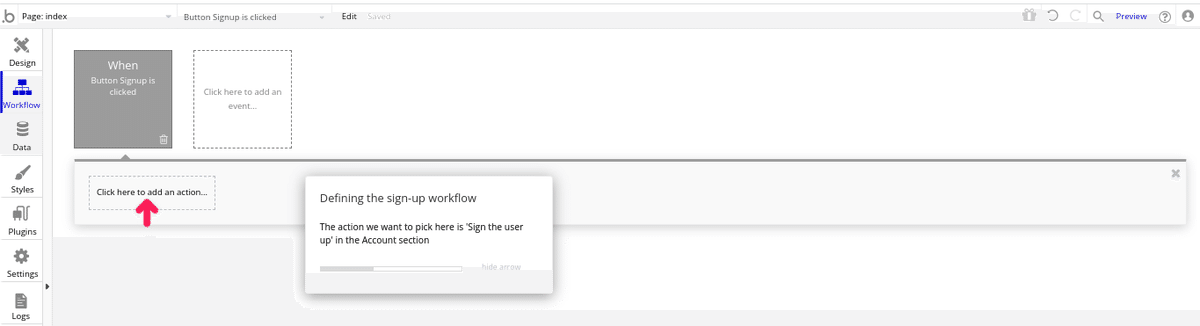
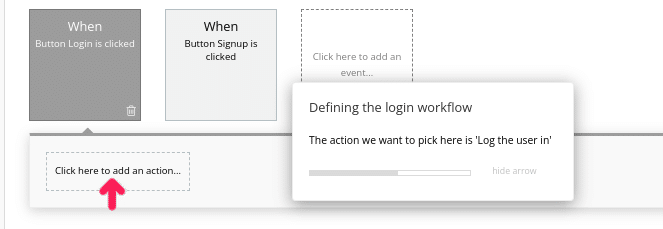
まずは「SignUp」(初期登録)のボタン動作〜認証データとして登録を設定します。
「Click here to add acction」(アクションの追加)をクリックして設定をスタートさせます。
アクションから「Sign the user up」(ユーザの登録)を選択します。
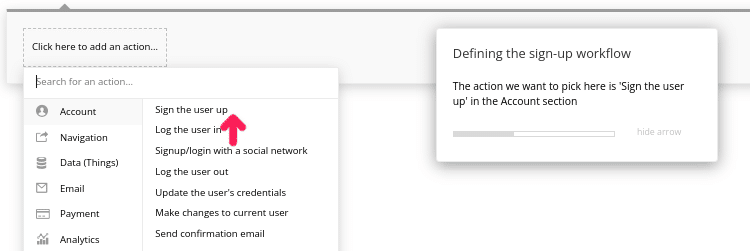
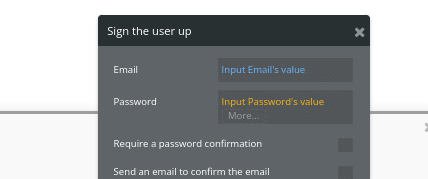
左側に「Sign the user up」のボックスが表示され、右側にプロパティ欄が表示されます。
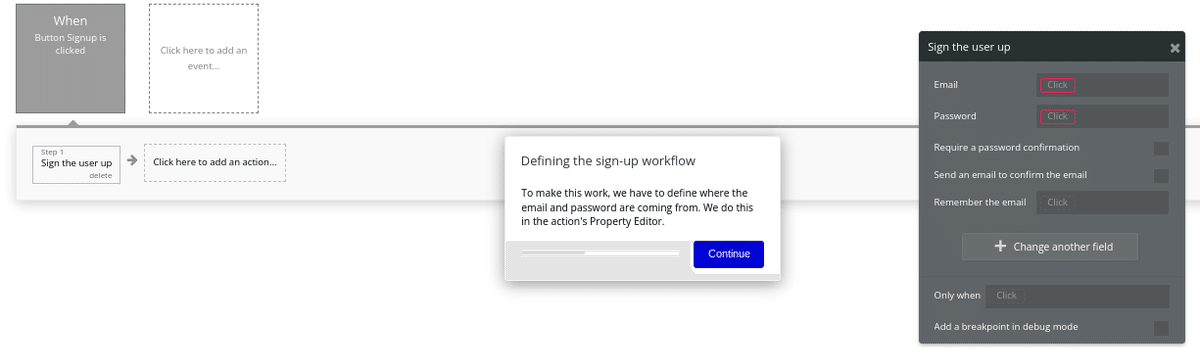
ここから「Email」「Password」の項目内容をセットする設定を行います。
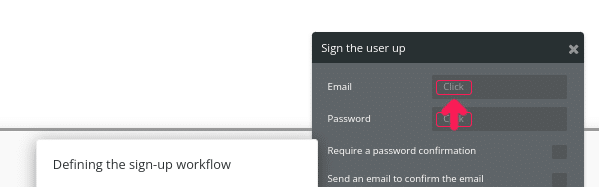
まずは「Email」欄の「click」をクリックします。
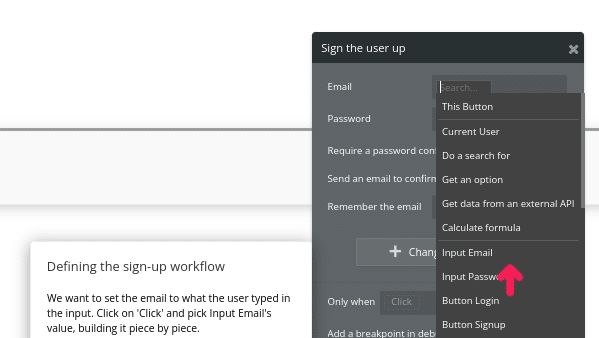
プルダウンメニューにある「Input Email」を選択します。
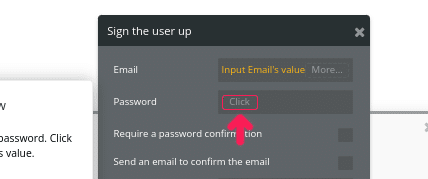
その後にさらにプルダウンメニューが表示されるので「's Value」を選択します。つまりは「Emailの入力値を登録する」という設定をします。
同様に「Password」についても設定します。プルダウンから「Input password」「's value」を選択します。
完了すると以下の通りになります。
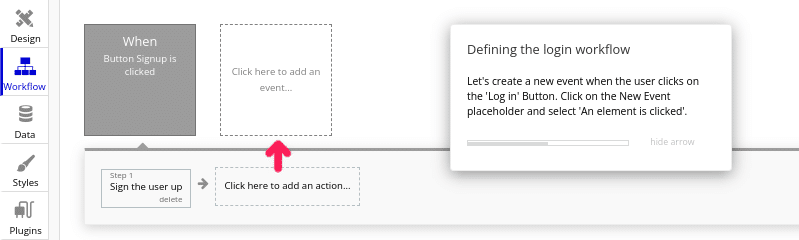
次に「Log in」ボタンについても設定します。
新しいイベントを登録するので「Click here to add an event」(正方形のボックス)をクリックします。
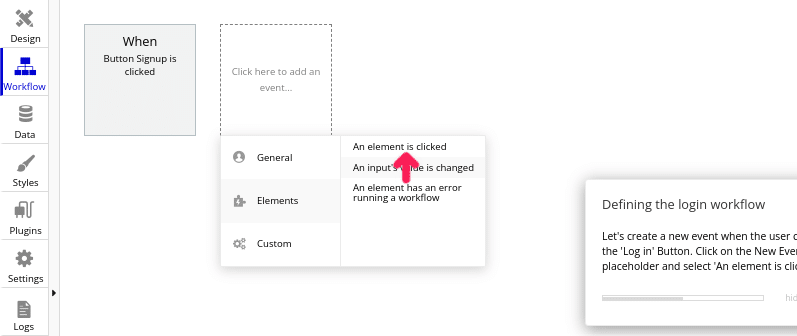
下のような画面になるので「Elements」「An Elements Clicked」(要素をクリックしたら・・・)を選択します。
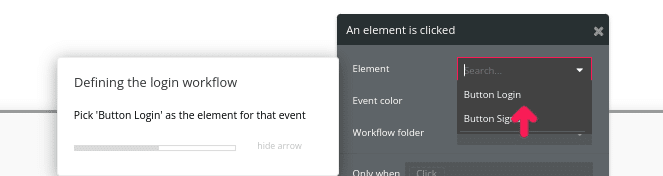
要素「Button Login」(ログインのボタン)を選択します。
※さきほどの「SignUp」はボタンからフローを作成しましたが、この「LogIn」ボタンはフロー側からボタンを指定したかたちになります。
画面がLogInボタン起動のフローに切り替わります。
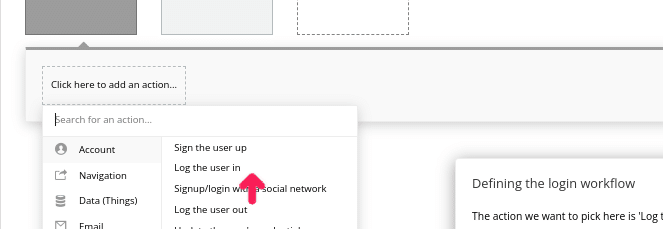
「SignUp」ボタン同様に「Click here to add an action」を選択します。
メニューから「Log the user in」を選択します。
左側のフローに「Log the user in」が追加され、右側にプロパティが表示されます。
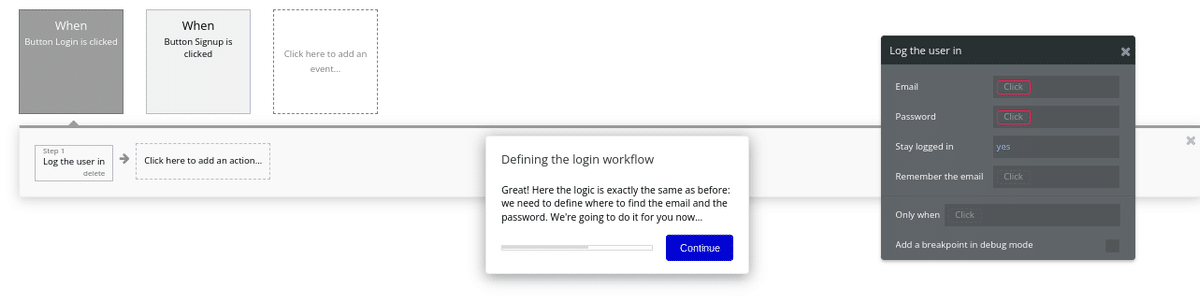
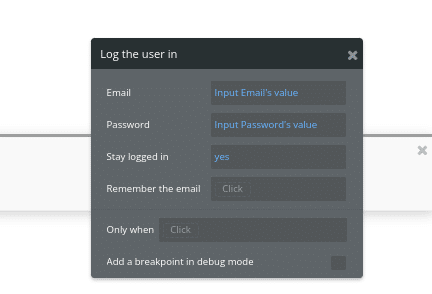
Emailには「input Email」「's value」、Passwordには「input Password」「's value」、Stey Log inには「Yes」を選択します。
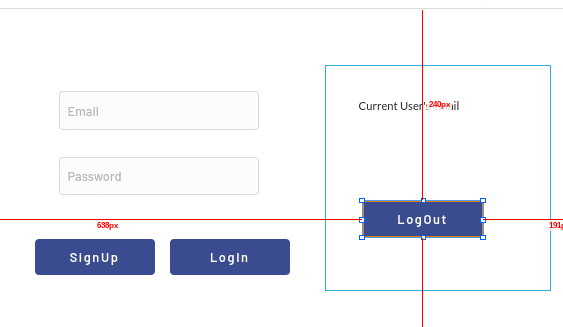
入力したEmail情報を表示する欄を配置する
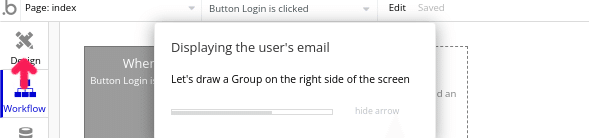
次に入力欄の右側に入力したEmailの情報を表示するスペースを配置します。
画面を「Design」モードに戻して入力フォームを表示させます。
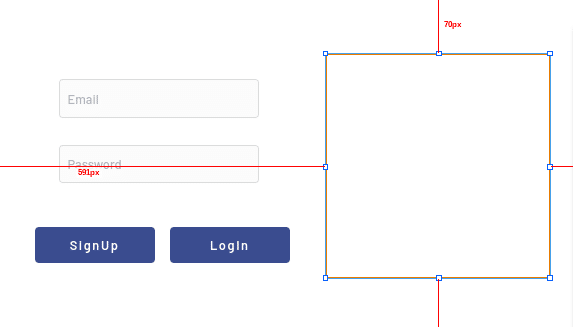
まずは表示・消去するスペース「conteiner」から「Group」を選びます。
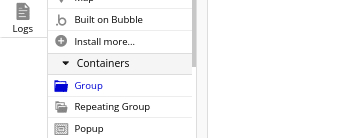
「Group」をドラッグして右側に配置します。
※この場所の中を一括で表示したりクリアします
次はGroupの中に表示項目を配置します。
左のメニューかた「Text」を選択してGroupの範囲内に配置します。
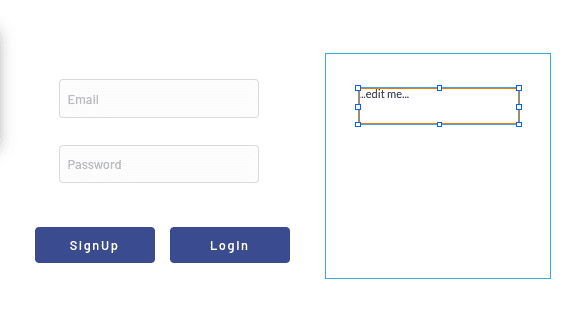
プロパティの「Edit me」の欄をクリックし「Current User」「's Email」(今ログインしているユーザーのEmail)を選択します。
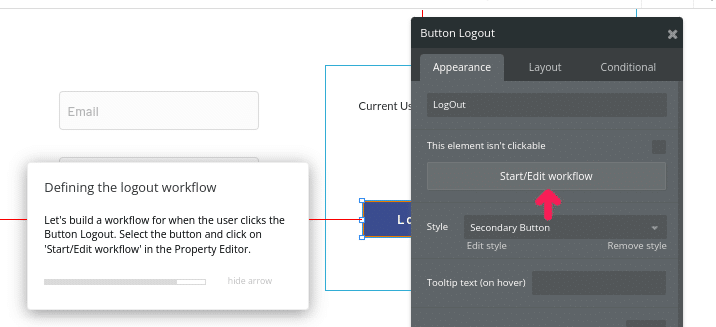
LogOutボタンの配置と設定
次にログアウトのボタンをGroup内に配置し、フローを設定します。
左の要素メニューから「Button」を選択しGroup内に配置し、項目名に「LogOut」と入力します。
プロパティ内の「Start/Edit workflow」のボタンをクリックします。
「Workflow」の画面に切り替わります。
「Click here add an action」をクリックします。
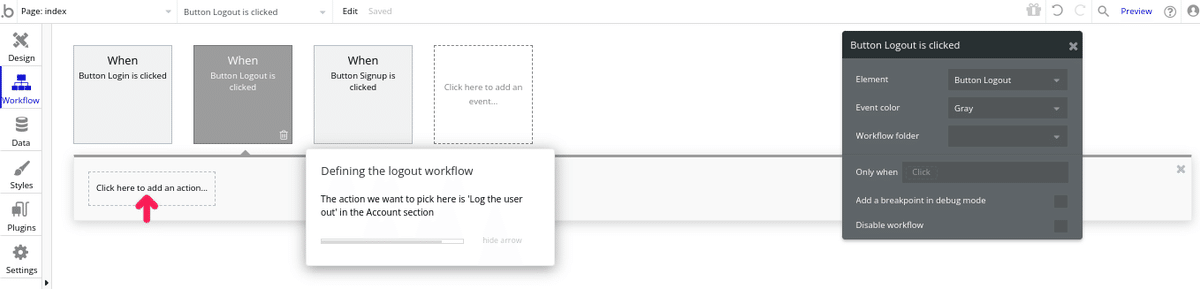
表示されるメニューから「Log the user out」(ログアウトする)を選択します。ログアウトは指定する項目がないのでこれだけで設定完了です。
Group内の表示・非表示を設定する
次に配置したGroup内の表示制御〜ログインしたらEmailを表示し、ログアウトしたら消す〜を設定します。
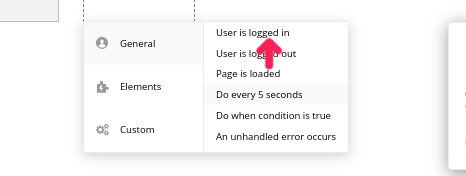
一番左のボックス「Click here to add an event」をクリックしてフローを生成します。

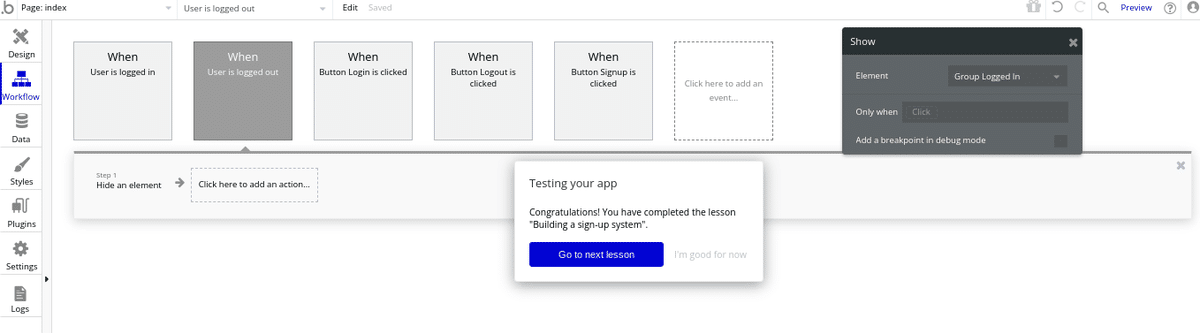
トリガーとなるアクション「general」「user logged in」(ユーザーがログインしたら・・・)を選択します。
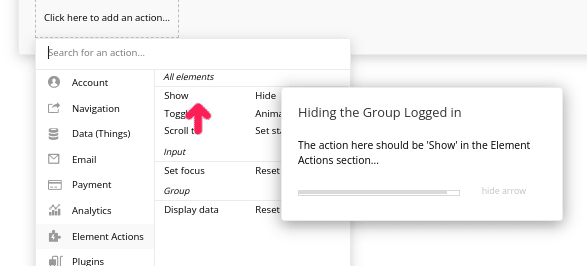
新たなトリガーが左側に生成されますので「Click here to add action」をクリックします。メニューが表示されますので「Element Actions」「Show」(要素の動作〜表示する)を選択します。
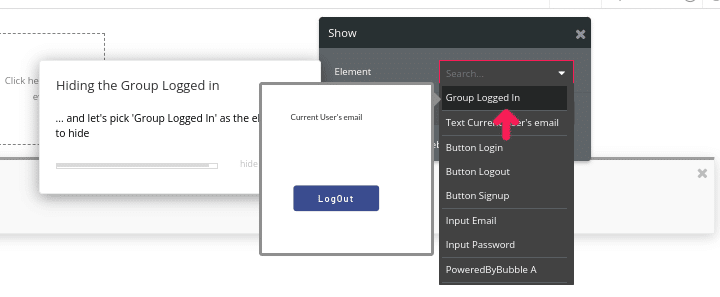
プロパティの欄のElement(要素の選択)で「Group Logged in」を選択します。選択するときに対象の画像が出るのでわかりやすいです。
これでログイン時の表示の制御は完成です。
自動的にログアウト時にEmailの表示をクリアする設定がされます。
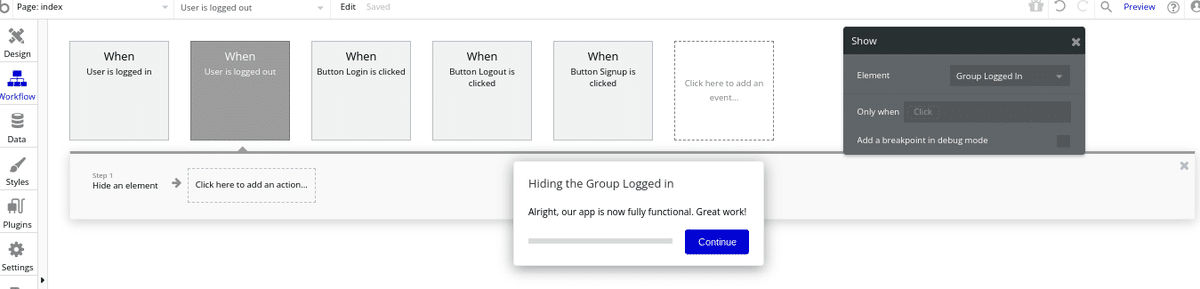
これでログイン画面は完成しました。
Previewで確認する
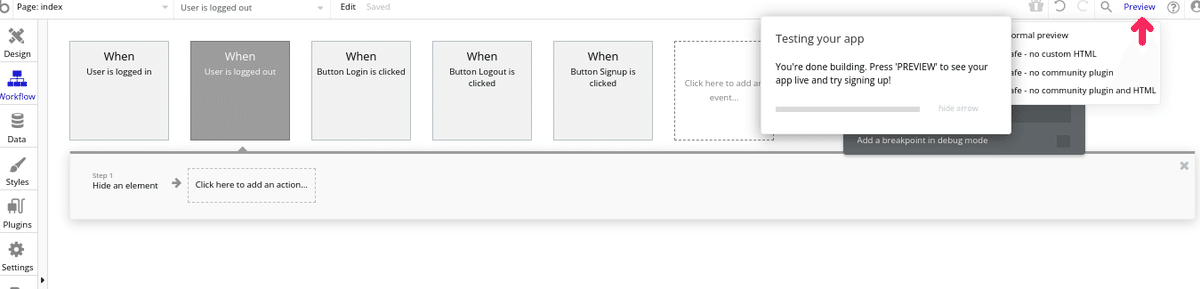
次にプレビューで出来上がったアプリを確認します。
右上の「Preview」をクリックします。
プレビュー画面が表示されます。
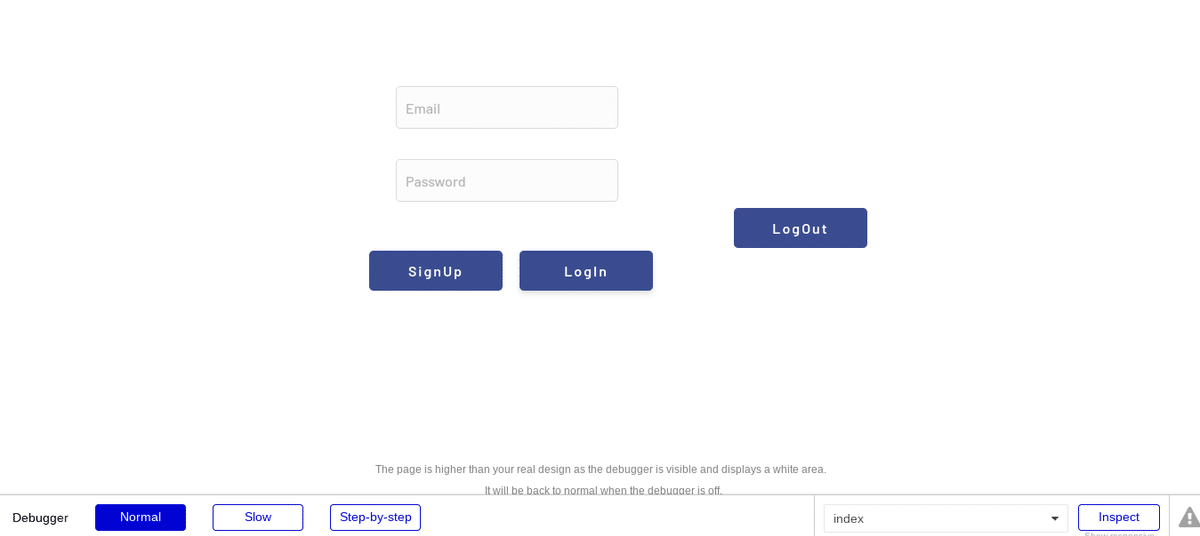
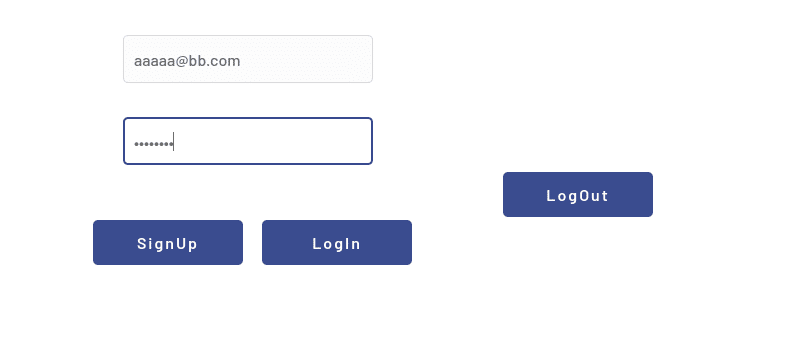
実際に入力してテストしてみます。ちゃんとEmail欄はメール形式かどうかのチェックがされ、パスワード欄はマスキングや安全性のチェックがされます。
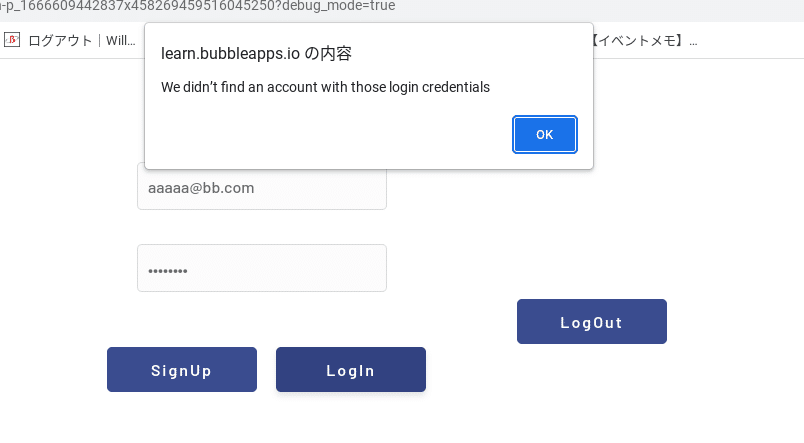
サインインしないでログインをしようとするとしっかりとエラーになります。
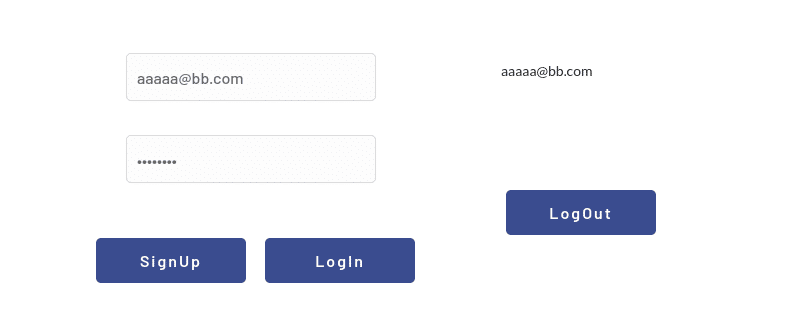
ログインしたらMailアドレスが表示され、ログアウトしたら消去されます。
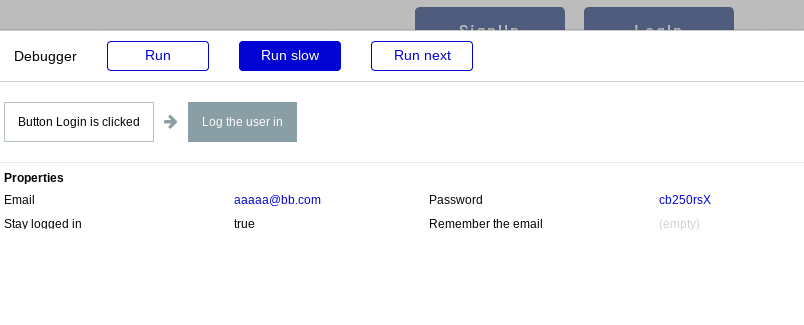
デバッグモードの表示も楽しいです
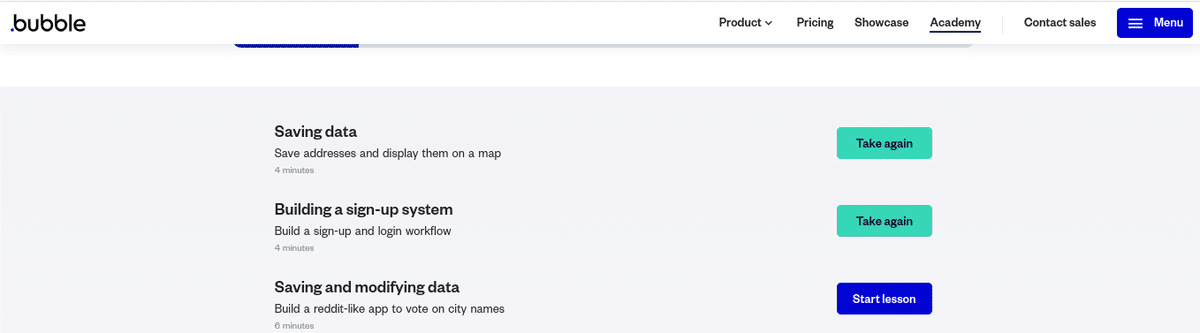
これでレッスン2は完了です
次のレッスンは「Saving and modifying data〜Build a reddit-like app to vote on city names」データの保存と変更にチャレンジします
いいなと思ったら応援しよう!