bubble(チョット)やってみた#08〜Lesson8「API の使用とグループへのデータの送信」

今回はローコードツールbubbleにチャレンジする8回め(0からカウントしているので)です。前回は入力結果をリスト形式で表示して削除できるような謎のアプリを作りましたが、今回はAPIを使うというちょっと本格的な感じのレッスンになります。AppGyverでも苦労したAPIの設定をどうやって行うのか楽しみです。
レッスンに突入
今回も何も考えずにレッスンに突入です。
Academyのページから「Learn your way」で先に進み、「By watching」(キリンの場所)の2行目にある「Interactive lessons · a few mins each」リンクをクリックします。
レッスンのリストが出るのでここからスタートです。

このレッスンで作るもの
まずは今回のレッスンで行うことを確認します。毎回よくわかりませんがとにかく読んでみます。日本語訳をしてみると今回はプラグインの理解がメインテーマで、Giphyというアプリのプラグインを使うみたいです。
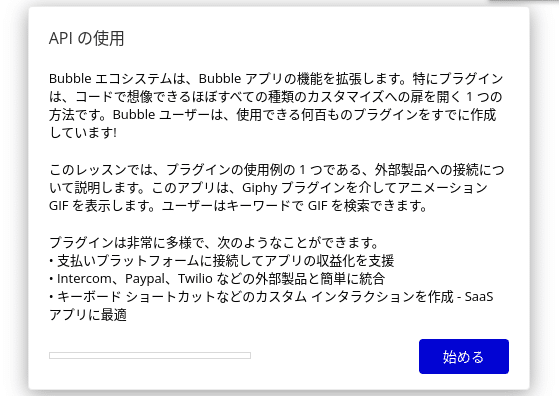
確認してみると「Giphy」というサービスは動画GIFを検索するWebサイトのようです。このサイトで用意しているAPIを使ったプラグインコネクタを使用して動画GIFを検索するアプリを作るというのが今回のテーマっぽいです。
検索フォームをつくる
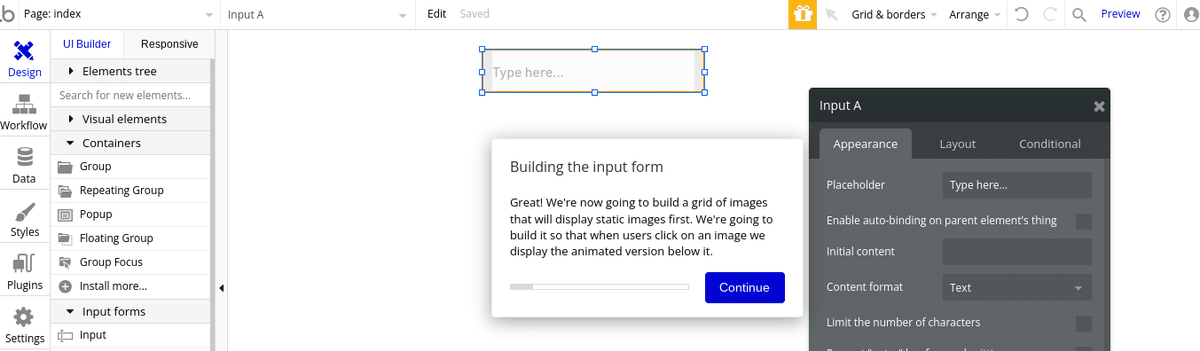
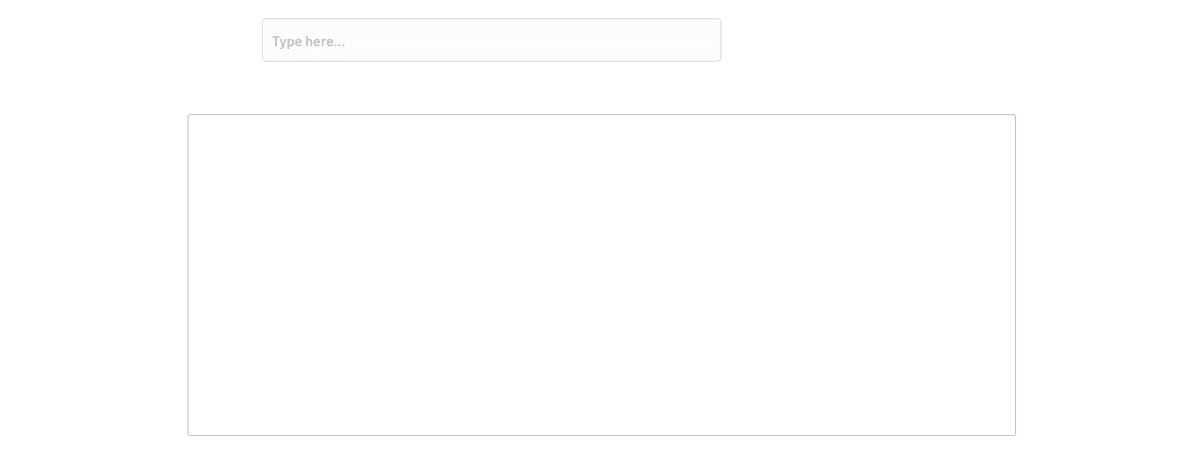
まずは検索するためのフォームを作成します。
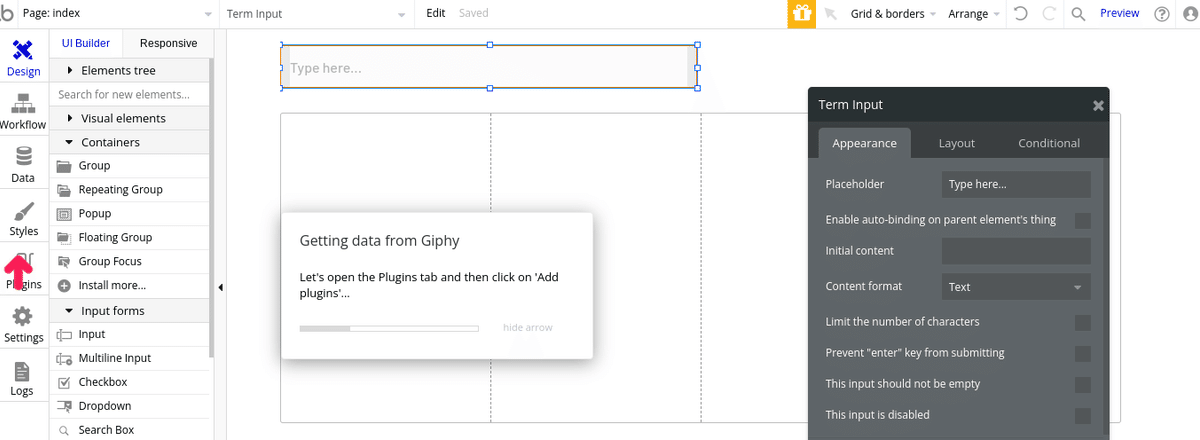
要素メニューから「input」を選択して画面上部に配置します。
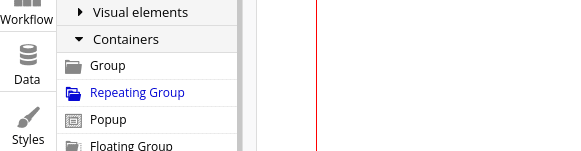
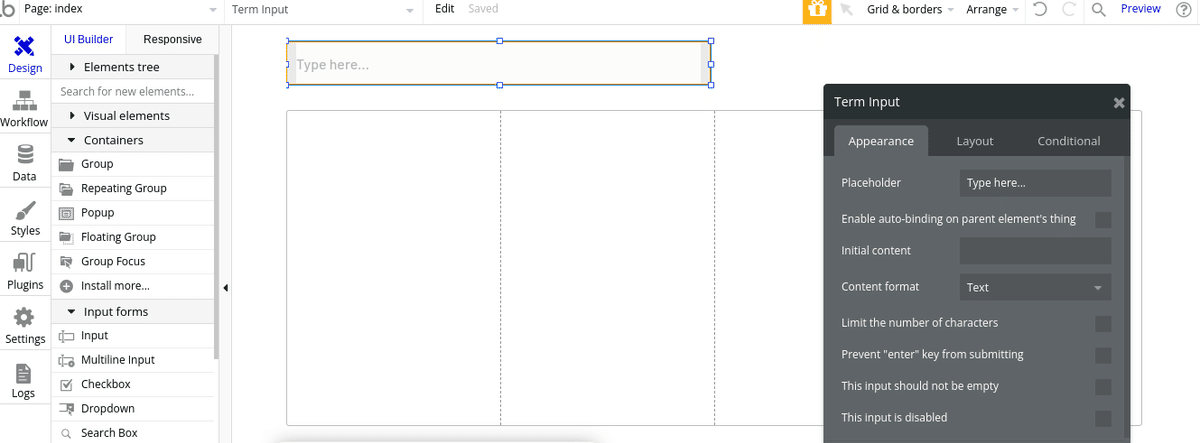
次に複数の画像を表示するエリアを配置します。要素メニューから「Repeating Group」を選択して配置した入力項目の下に配置します。
複数項目のリストを配置したら。Raws(行)とColumns(列)を「1」と「4」に設定します。

少し横方向に拡げておきます。
Giphyプラグインを取得する
フォームの配置ができたところで、今回使用する動画GIF検索を行うプラグイン「Giphy」を環境にインストールします。
まずはメニューから「PlugIn」モードに切り替えます。
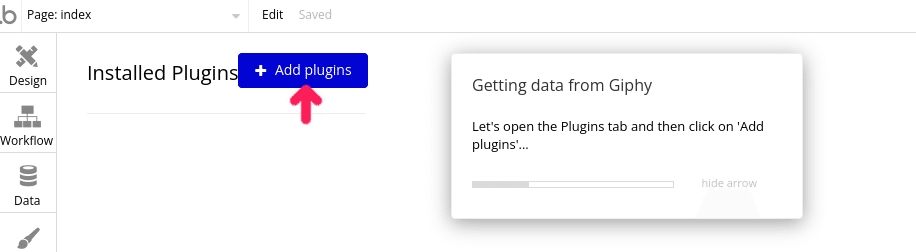
Pluginモードの画面に切り替わるので、「Add Piugin」のボタンをクリックしてプラグインの一覧を表示させます。
リストからプラグインを選択します。画面を下にスクロールさせるか検索をして「Giphy」を探し右側にある「install」をクリックします。
下の「DONE」ボタンをクリックします。
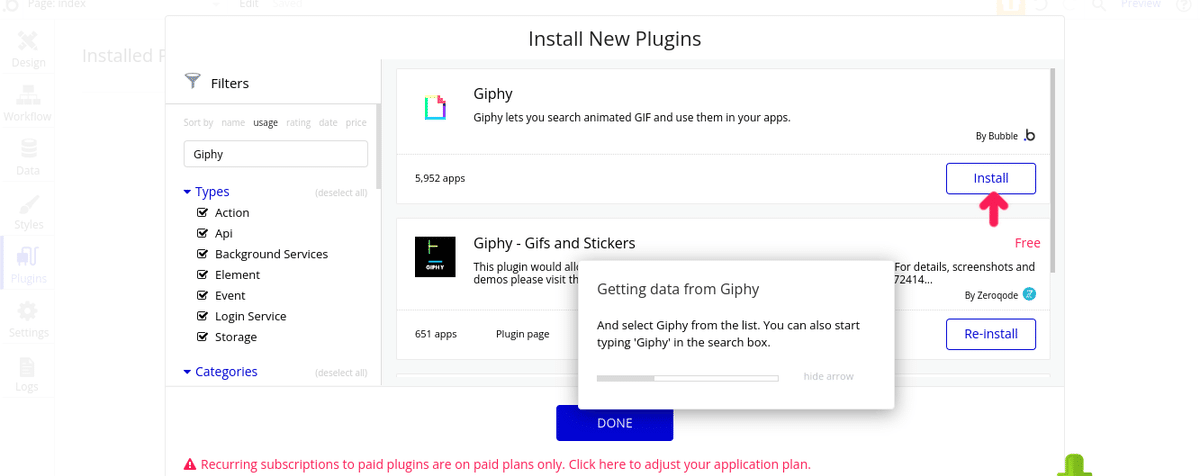
これで「Giphy」が環境にインストールされます。
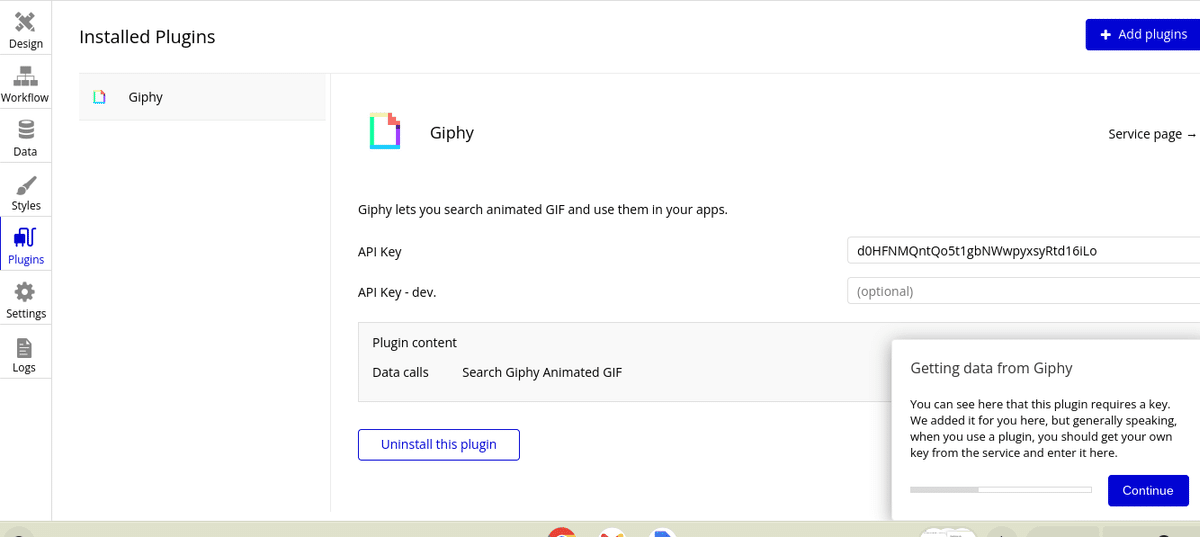
プラグインを設定
次にインストールしたプラグインを使う設定をします。
まずは「Design」でデザインモードに切り替えます。

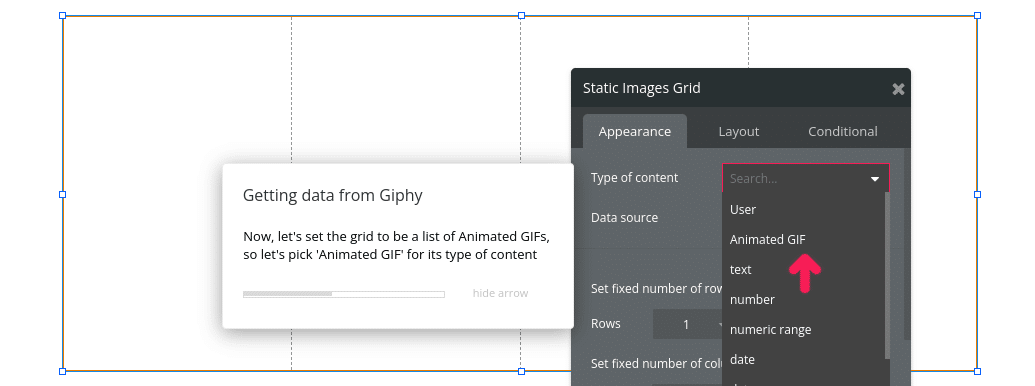
右のプロパティウィンドウのType of content欄で「Animated Gif」を選択します。
次にデーターソースをセットします。
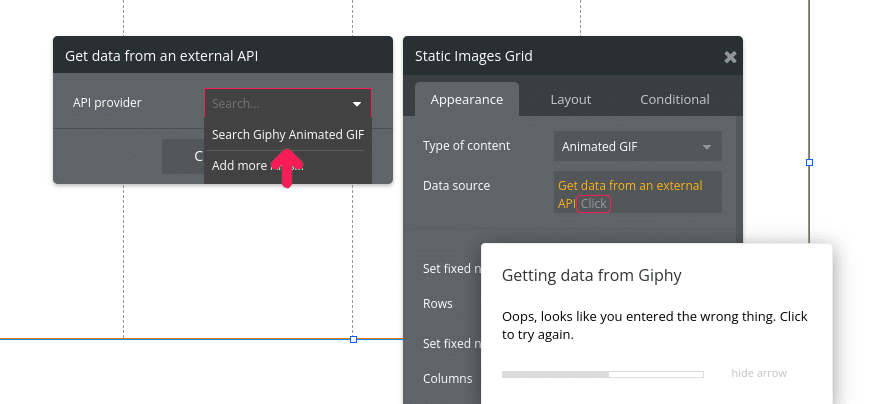
Data Source欄から「Get data from an external API」(外部 API からデータを取得する)を選択し表示されるウィンドウのAPI provider欄で「Search Giphy Animated Gif」を選択します。
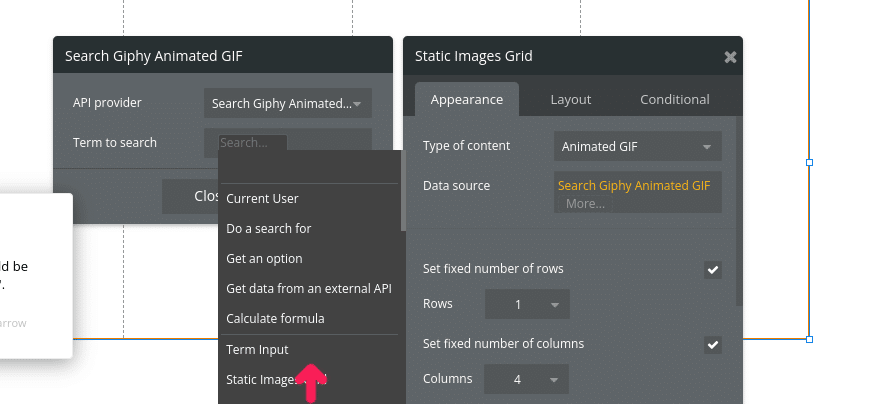
次に下のTerm to Search欄で「insert dynamic data」を選択して「Term input」「's value」を選択します。
検索結果の画像を配置する
APIからの画像データセットを設定した後は結果の画像を画面上のひょうの中にセットする設定をします。
まずは要素メニューから「Visual Elements」から「image」を選択し、表の中(一番左)に配置します。
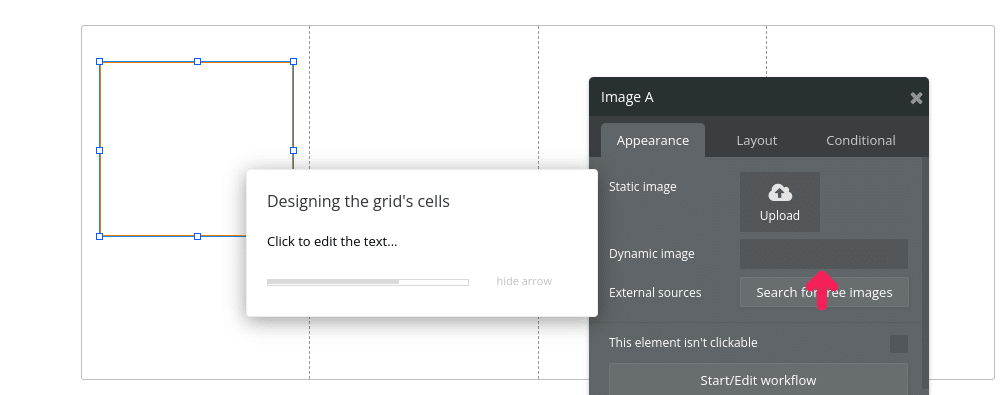
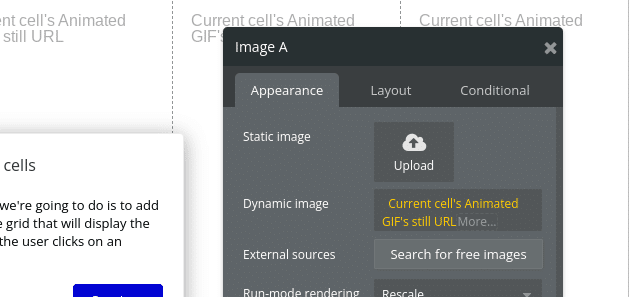
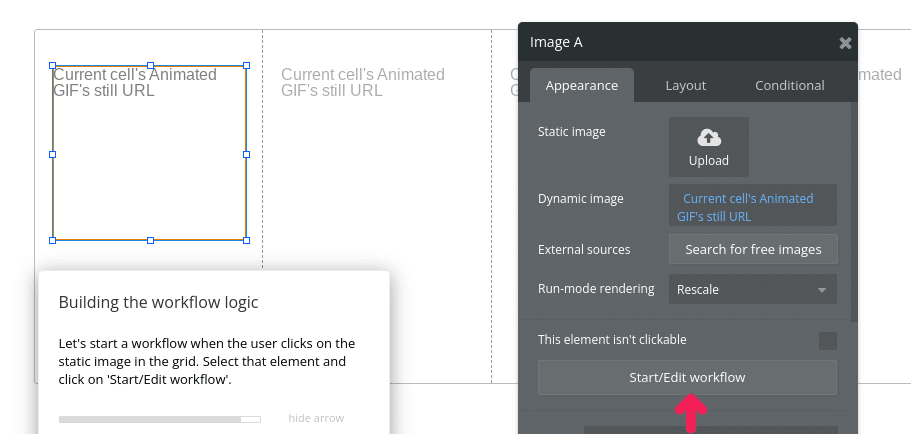
右側のプロパティウインドウのDynamic image欄で「Insert dynamic data」(青い帯)を選択して「Current cell's Animated GIF」(選択された動画GIF)「's still URL」を選択します。
次にグリッドの下に動画GIFを表示させます。
要素メニューから「Group」を選択して画面上に配置します。
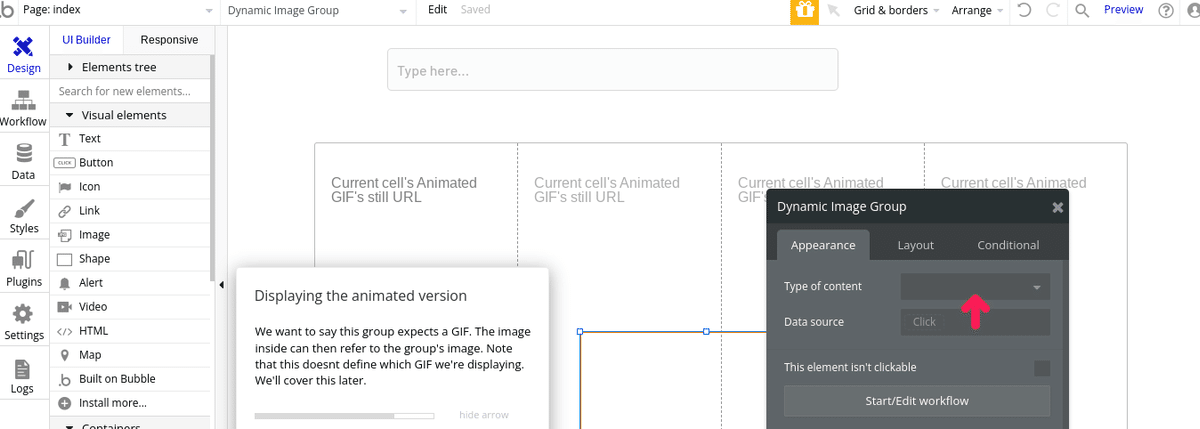
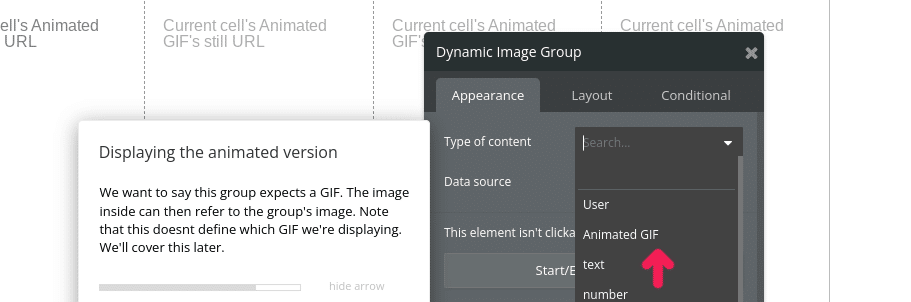
プロパティウィンドウのType of content欄に「Animated GIF」を選択します。
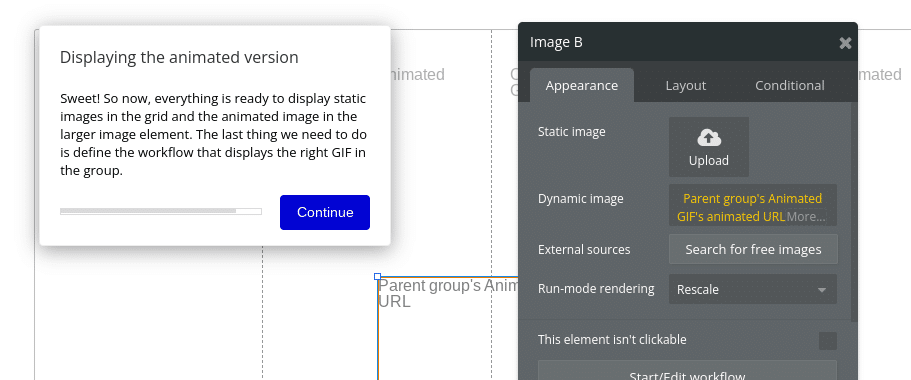
左側の要素メニューから「image」を選択して、配置されたGroupの中に配置します。表示されるImage BのプロパティウィンドウのDynamic image欄に「Parent group's Animated GIF」「's Animated URL」を選択します。
ワークフローの設定
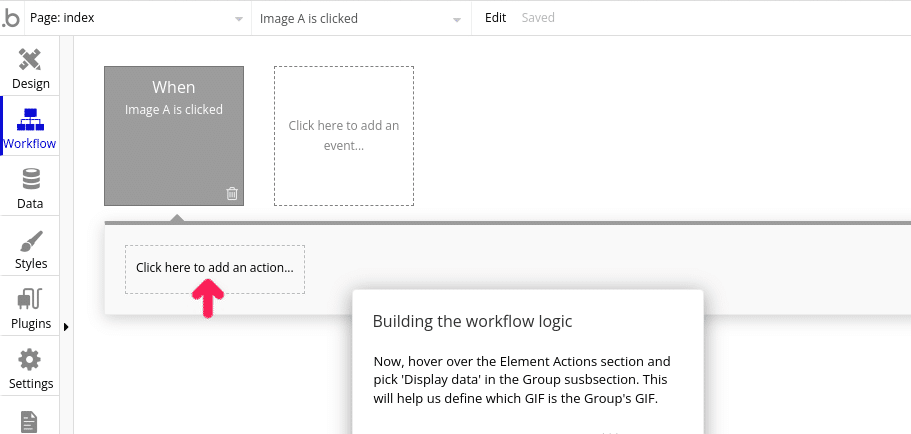
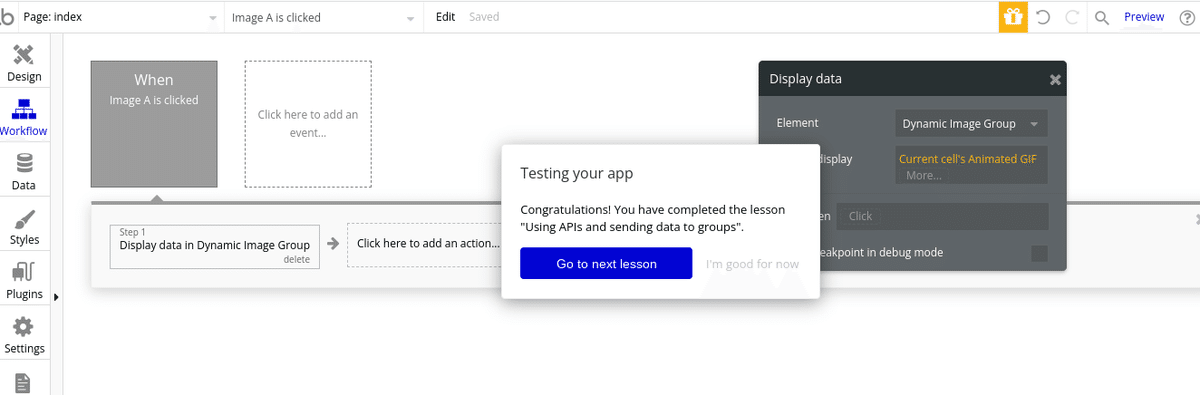
次にワークフローの設定をします。表の中の「image」項目をクリックしてフォーカスし「Start/Edif Workflow」をクリックします。
ワークフローモードに切り替わるので「Click here to add an Action」をクリックしてアクションを追加します。
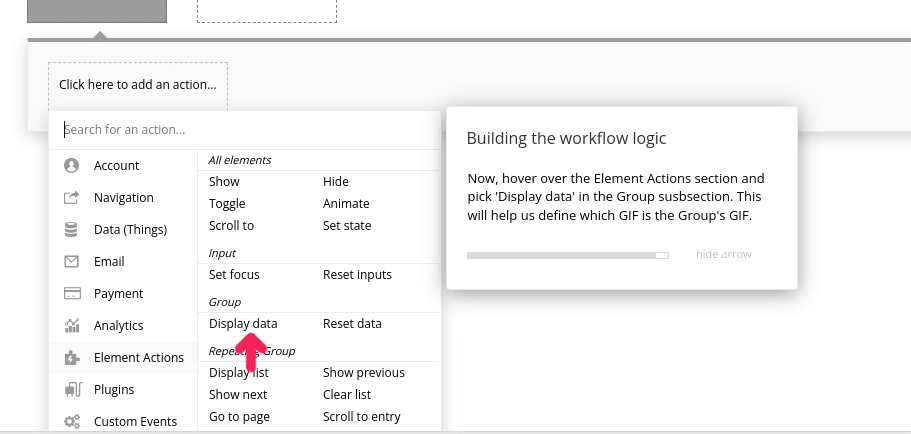
メニュ0から「Element Actions」「Display data」を選択します。
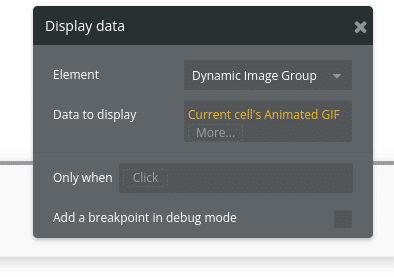
次に表示されるプロパティウィンドウのData to Display欄で「Current Cell's Animated GIF」を選択します。
これでアプリの制作は完了です。
アプリのテスト
最後に作ったアプリのテストをします。
画面右上の「Preview」をクリックしてテストモードに切り替えます。
今回は地味な画面です。
検索欄に文字を入力します。英語のサイトなので英語で入力したほうが良さそうです。
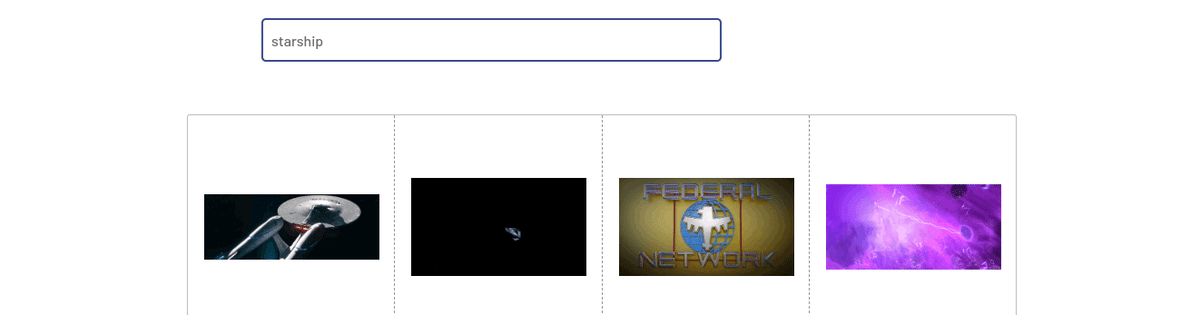
表示された画像をクリックすると下の欄に動画GIFが表示されます。
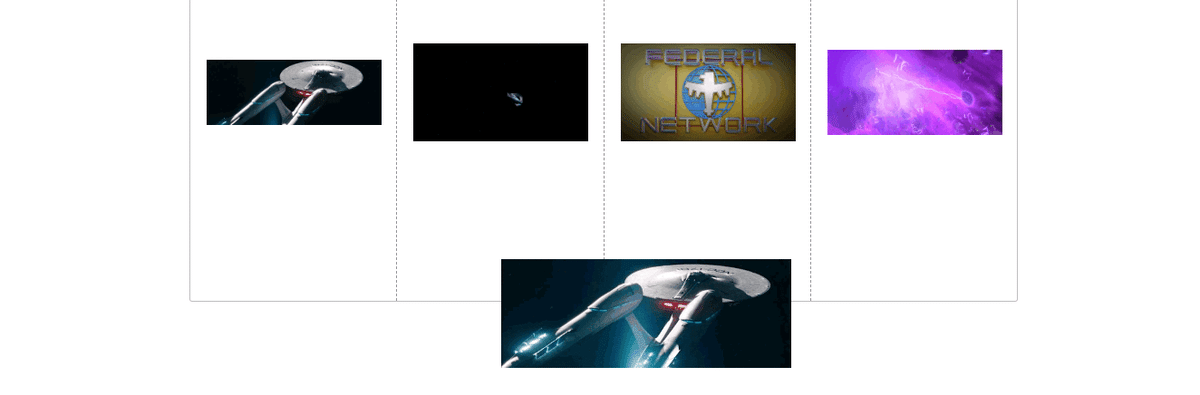
これでテストは合格です。

次のレッスンは「Using external APIs」(外部 API の使用)です、
iTunes API で曲を検索するアプリを作ります。
次はプラグインではなくAPIを認証して使用するめんどうくさいのやりたいです。
いいなと思ったら応援しよう!