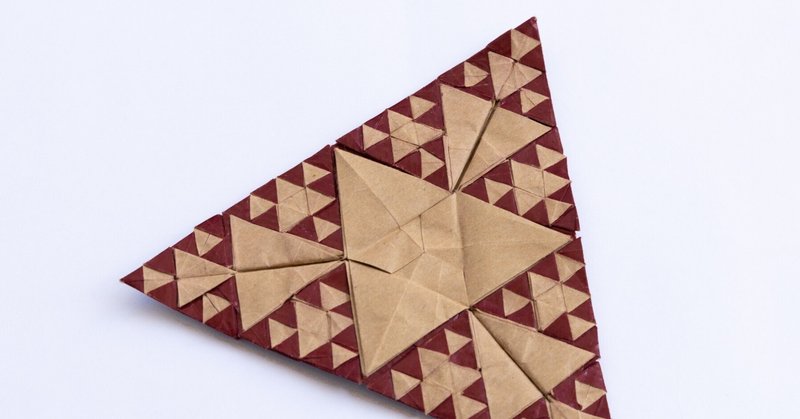
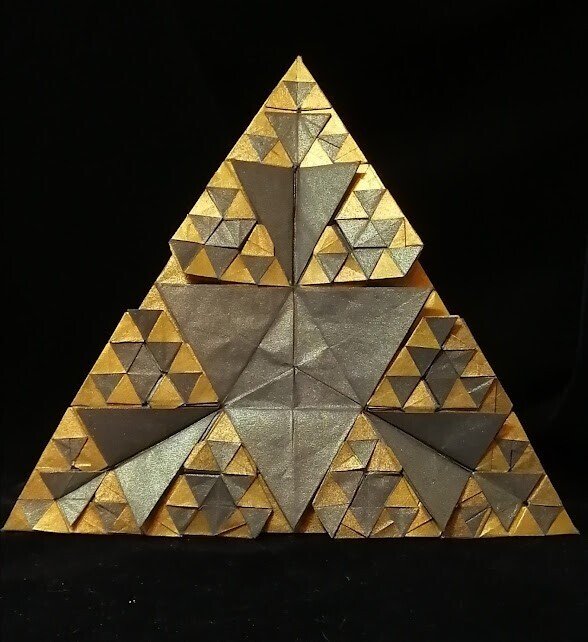
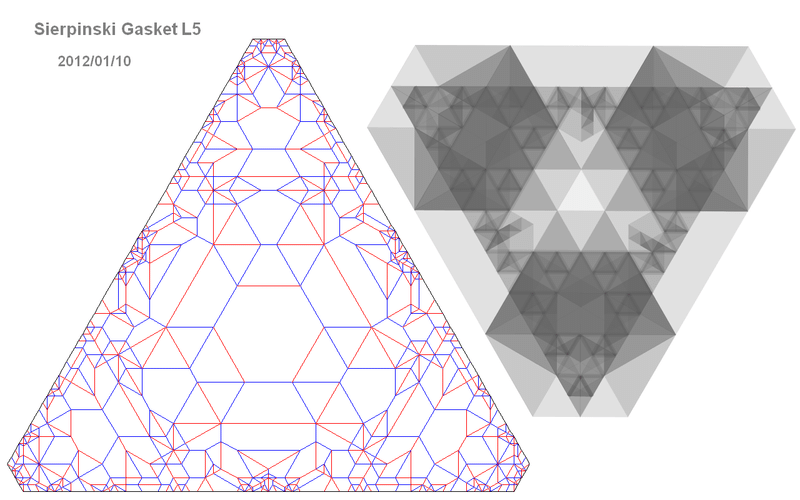
Sierpinski Gasket L5 Photo Diagram and Design scheme note

Gellary


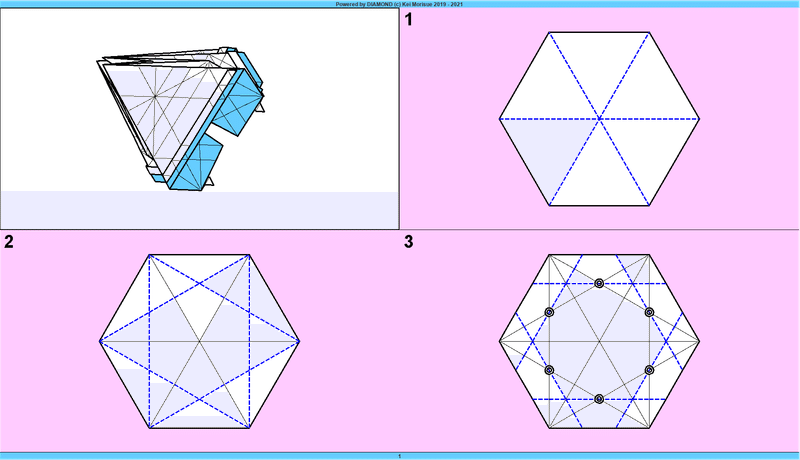
Crese Pattern
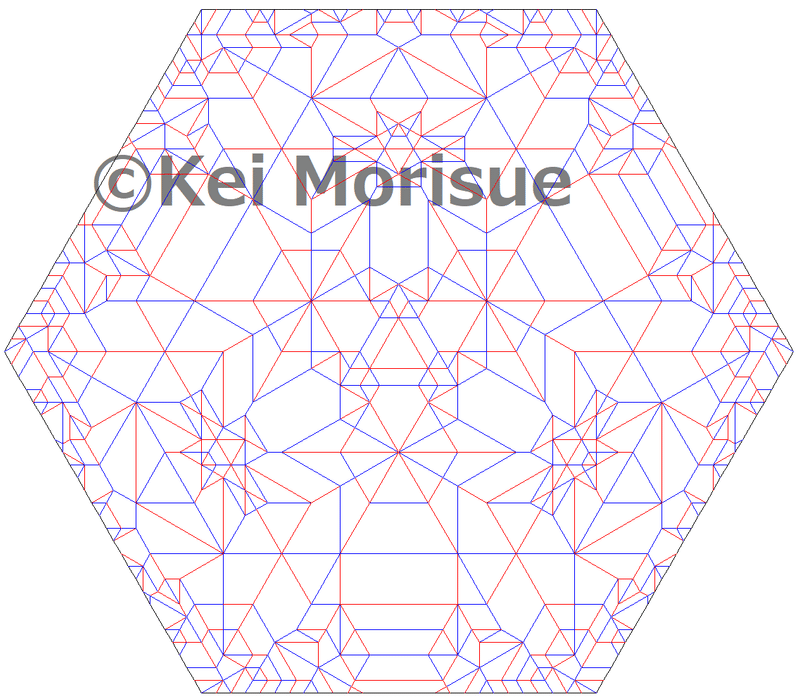
Cp drawn with help by Avinash Kanik @origamifaust
Design Scheme: RPEC
basical idea is founded on "Paper Edge Calculation" (PEC) deeply/kindly instructed below:
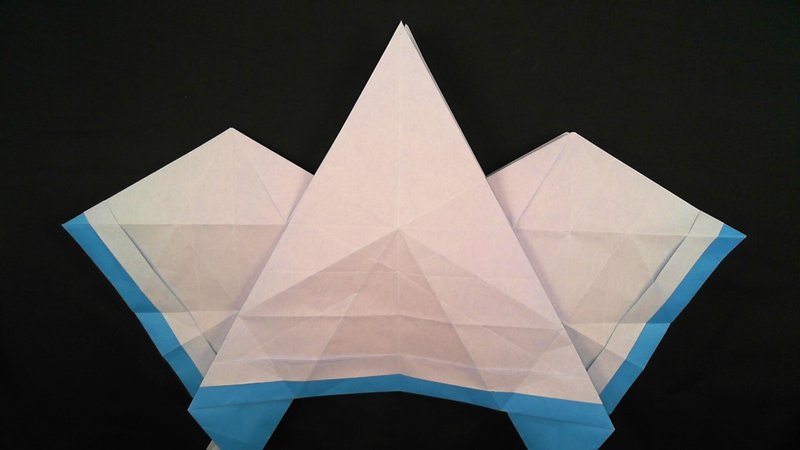
Just by following this idea, one could also make the Gasket L5 (old version):


You can see that lots of areas inside the paper is wasted due to looong contour of the color changing borders:

Instead the current version applies Reduced PEC (RPEC), covers less borders.

PEC focuses only on the edge of the paper, while RPEC utilizes both edge and flaps to reduce the grid.
RPEC is basically PEC, so it obeys single rule as PEC but also has another 2 rules:
1. (PEC) paper edge becomes color borders.
2. (RPEC1) flaps hide (immune) the color borders in 1.
3. (RPEC2) the edges(except the "root") of the flaps also become color borders.

One can easily manage how to build a flap by the "circle packing method":
It is not that much trivial to design the flaps in desired location/direction(i.e. the "roots").
Also RPEC has to be "balanced" both making larger flaps (i.e. larger size of the paper) and saving the length of the contour (i.e. less size of the paper). Namely, too much RPEC cannot afford flaps to cover omitted borders. Thus there had to be trials (put RPEC at certasin reduction) and errors (find it theres no sufficient areas to make the flaps) to find the final solution (i.e. the current version).
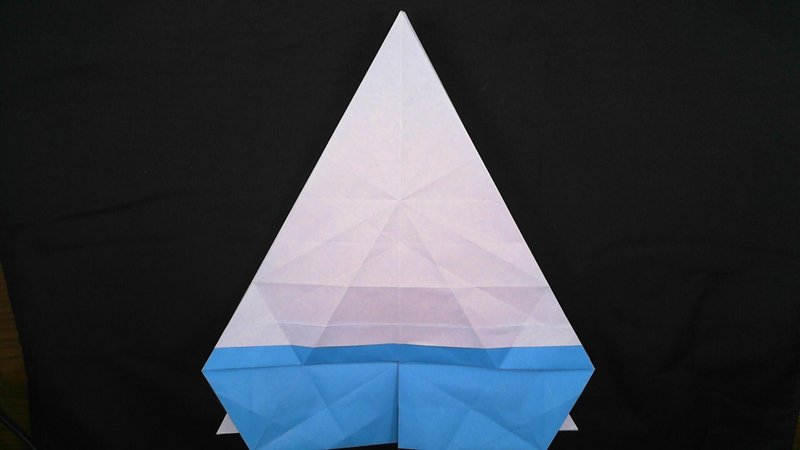
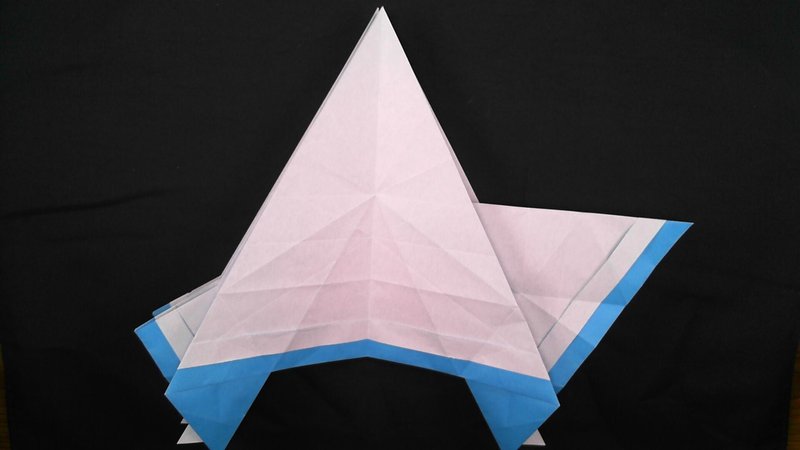
Diagram
The diagram contains 21 steps of "Digital" diagram and following 130 "photo" diagrams.
120 of the photoes are premium.
All photoes do not have any descriptions nor instructional symbols on it. Please check the style in the steps 22~33.
~ Step 21: Precreasing


~ Step 33: Collupsing the base


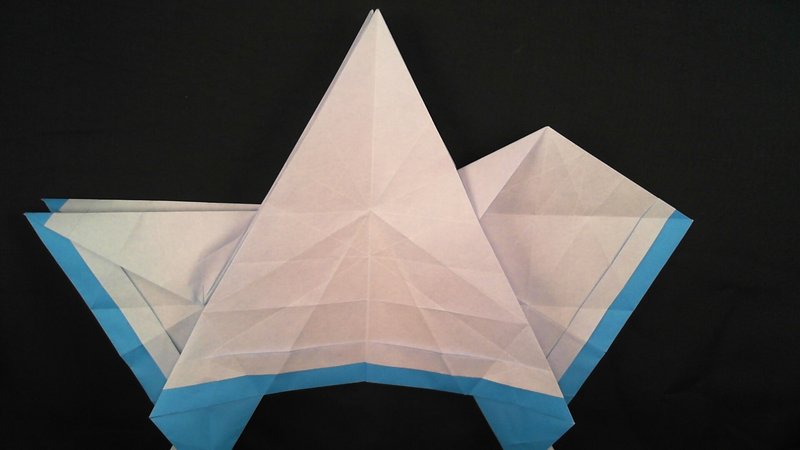


~151: Shaping the base * Premium
ここから先は
¥ 200
この記事が気に入ったらサポートをしてみませんか?