【テスト駆動開発】Springboot & React - 第7回 : ユーザープロフィル


1. はじめに
こんにちは、前回はユーザーページネーションを実装しました。
今回はユーザープロファイルの詳細ビューを実装します。 どんどんアプリケーションの形が整っていくのが嬉しいですね!
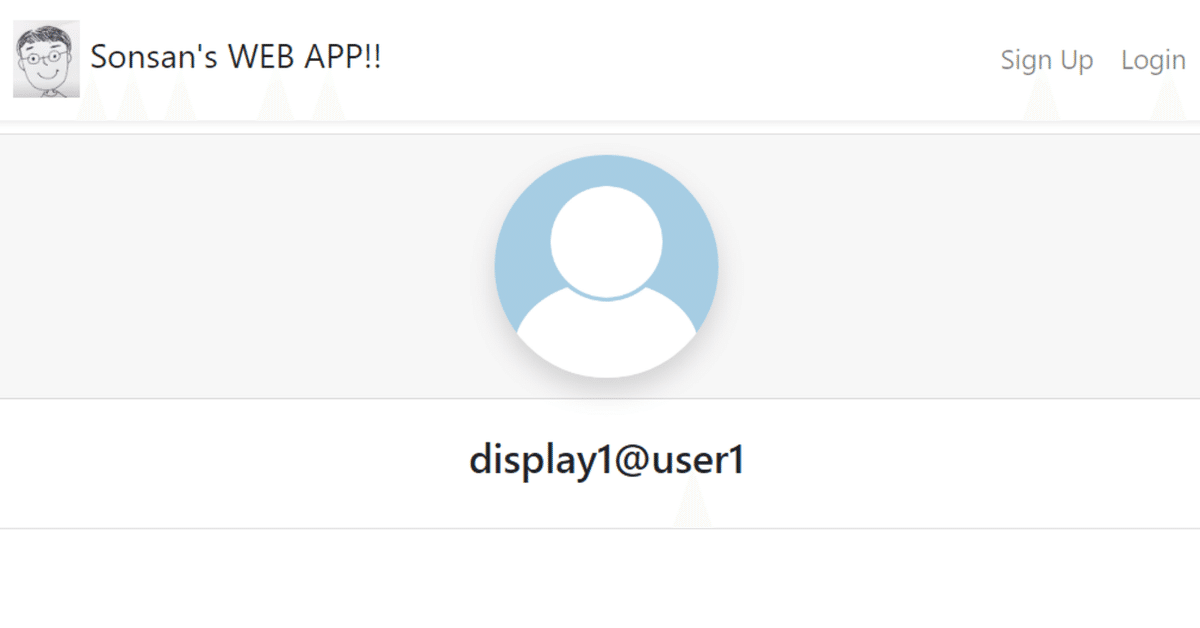
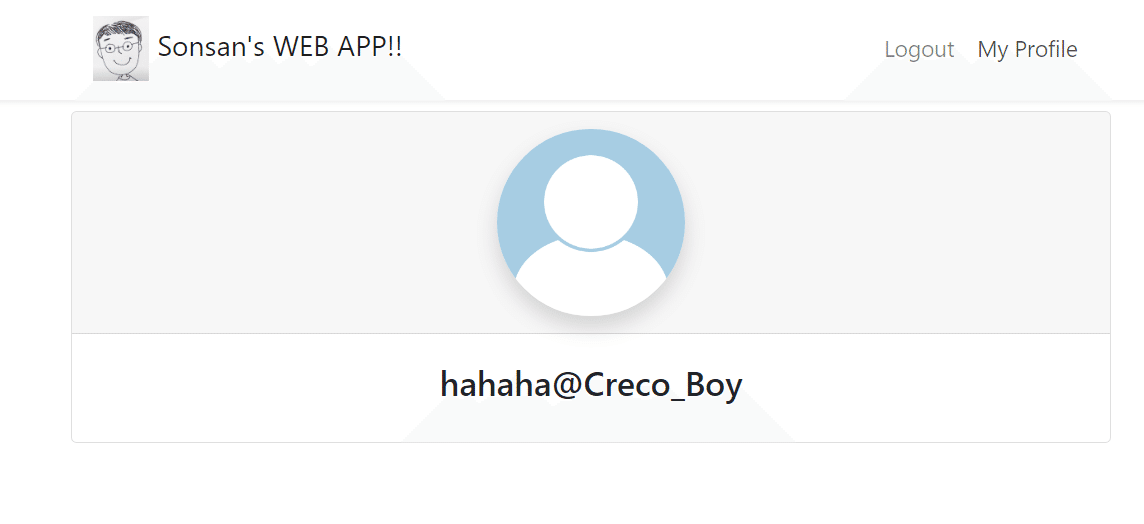
今日の実装完成の画面です。
2. 実装過程
3.1 名前によりユーザー照会
まず、バックエンドからビジネスロジックを作成します。
/UserControllerTest.java
	@Test
	public void getUserByUsername_whenUserExist_receiveOk() {
		String username = "test-user";
		userService.save(TestUtil.createValidUser(username));
		ResponseEntity<Object> response = getUser(username, Object.class);
		assertThat(response.getStatusCode()).isEqualTo(HttpStatus.OK);
	}

	@Test
	public void getUserByUsername_whenUserExist_receiveUserWithoutPassword() {
		String username = "test-user";
		userService.save(TestUtil.createValidUser(username));
		ResponseEntity<String> response = getUser(username, String.class);
		assertThat(response.getBody().contains("password")).isFalse();
	}
	@Test
	public void getUserByUsername_whenUserDoesNotExist_receiveNotFound() {
		ResponseEntity<Object> response = getUser("unknown-user", Object.class);
		assertThat(response.getStatusCode()).isEqualTo(HttpStatus.NOT_FOUND);
	}
	@Test
	public void getUserByUsername_whenUserDoesNotExist_receiveApiError() {
		ResponseEntity<ApiError> response = getUser("unknown-user", ApiError.class);
		assertThat(response.getBody().getMessage().contains("unknown-use")).isTrue();
	}
…
	public <T> ResponseEntity<T> getUser(String username, Class<T> responseType){
		String path = API_1_0_USERS + "/" + username;
		return testRestTemplate.getForEntity(path, responseType);
	}
指定したユーザー名に関連するユーザー情報を取得するコントローラーメソッドをテストしています
getUserByUsername_whenUserExist_receiveOk()
ユーザーが存在する場合に、HTTPステータスコードが200(OK)を受け取ることを確認するテストケースです。
userService.save(TestUtil.createValidUser(username))を使用して、テスト用の有効なユーザーを作成し、保存します。
getUser(username, Object.class)を呼び出して、指定したユーザー名の情報を取得し、HTTPステータスコードが200であることを確認します。
getUserByUsername_whenUserExist_receiveUserWithoutPassword()
ユーザーが存在する場合に、ユーザー情報にパスワードが含まれていないことを確認するテストケースです。
同様に、有効なユーザーを作成し、保存します。
getUser(username, String.class)を呼び出して、ユーザー情報を取得し、パスワードが含まれていないことを確認します。
getUserByUsername_whenUserDoesNotExist_receiveNotFound()
ユーザーが存在しない場合に、HTTPステータスコードが404(Not Found)を受け取ることを確認します。
getUserByUsername_whenUserDoesNotExist_receiveApiError()
ユーザーが存在しない場合に、エラーメッセージを含むApiErrorオブジェクトを受け取ることを確認するテストケースです。
UserController.java
	@GetMapping("/users/{username}")
	UserVM getUserByName(@PathVariable String username) {
		User user = userService.getByUsername(username);
		return new UserVM(user);
	}
UserService.java
	public User getByUsername(String username) {
		User inDB = userRepository.findByUsername(username);
		if(inDB == null) {
			throw new NotFoundException(username + " not found");
		}
		return inDB;
	}
if(inDB == null)の条件文は、データベースからユーザー情報が見つからなかった場合をチェックしています。ユーザーが見つからない場合、NotFoundExceptionという例外をスローしています。この例外は、指定されたユーザー名(username)が見つからなかったことを示すエラーメッセージとともにスローされます。
/error/NotFoundException.java
@ResponseStatus(HttpStatus.NOT_FOUND)
public class NotFoundException extends RuntimeException{

	/**
	 *
	 */
	private static final long serialVersionUID = -4410642648720018834L;

	public NotFoundException(String message) {
		super(message);
	}

}
HTTPステータスコード404(Not Found)を持つエラーレスポンスを生成するために使用されるカスタム例外クラス NotFoundExceptionです。
super(message)は、親クラスである RuntimeException のコンストラクタにエラーメッセージを渡しています。これにより、エラーメッセージが例外オブジェクトに設定されます。
3.2. ユーザー照会のAPI作成
これからは、フロントエンドを実装します。
frontend/src/api/apiCalls.spec.js
  describe('getUser', () => {
    it('calls /api/1.0/users/user5 when user5 is provided for getUser', () => {
      const mockGetUser = jest.fn();
      axios.get = mockGetUser;
      apiCalls.getUser('user5');
      expect(mockGetUser).toBeCalledWith('/api/1.0/users/user5');
    });
  });
モック関数 mockGetUser を作成しています。この関数は、Axiosのaxios.get関数のモックを表します。
axios.get = mockGetUser;:
axios.get関数をモック関数 mockGetUser に置き換えています。これにより、実際のHTTPリクエストは行わず、代わりにモック関数が呼び出されます。
apiCalls.getUser('user5');:
apiCallsオブジェクトのgetUser関数を呼び出し、'user5'を引数として渡しています。
expect(mockGetUser).toBeCalledWith('/api/1.0/users/user5');:
モック関数 mockGetUser が'/api/1.0/users/user5'という引数で呼び出されたことを検証しています。これにより、getUser関数が指定されたユーザー名に対して正しいAPIエンドポイントを呼び出していることが確認されます。
frontend/src/api/apiCalls.js
	export const getUser = (username) => {
  return axios.get(`/api/1.0/users/${username}`);
};
ユーザー照会の成功と失敗を実装します。
frontend/src/pages/UserPage.js
import React from 'react';
import * as apiCalls from '../api/apiCalls';

class UserPage extends React.Component {
  state = {
    user: undefined,
    userNotFound: false
  };
  componentDidMount() {
    const username = this.props.match.params.username;
    if (!username) {
      return;
    }
    apiCalls
      .getUser(username)
      .then((response) => {
        this.setState({ user: response.data });
      })
      .catch((error) => {
        this.setState({
          userNotFound: true
        });
      });
  }

  render() {
    if (this.state.userNotFound) {
      return (
        <div className="alert alert-danger text-center">
          <div className="alert-heading">
            <i className="fas fa-exclamation-triangle fa-3x" />
          </div>
          <h5>User not found</h5>
        </div>
      );
    }
    return (
      <div data-testid="userpage">
        {this.state.user && (
          <span>{`${this.state.user.displayName}@${
            this.state.user.username
          }`}</span>
        )}
      </div>
    );
  }
}
UserPage.defaultProps = {
  match: {
    params: {}
  }
};
export default UserPage;
componentDidMount():
componentDidMountメソッドは、コンポーネントがマウントされた後に自動的に呼び出されます。
このメソッド内では、
this.props.match.params.usernameを取得して、ユーザー名を確認します。
ユーザー名が存在しない場合、何も行いません。
ユーザー名が存在する場合、apiCalls.getUser(username)を呼び出して、指定されたユーザー名に対応するユーザー情報をリクエストします。
リクエストが成功した場合は、ユーザー情報をthis.state.userに設定します。
リクエストがエラーとなった場合は、this.state.userNotFoundをtrueに設定して、ユーザーが見つからなかったことを示します。
render():
renderメソッドは、コンポーネントのUIを描画します。this.state.userNotFoundがtrueの場合、"User not found"というエラーメッセージを表示するアラートをレンダリングします。
UserPage.defaultProps = { ... }:
UserPageコンポーネントにデフォルトプロップスを設定しています。デフォルトプロップスは、match.paramsオブジェクトを空のオブジェクトに設定しています。これは、match.params.usernameが存在しない場合に備えてデフォルト値を提供します。
3.3 自分のプロフィールの照会
  componentDidMount() {
    this.loadUser();
  }
  componentDidUpdate(prevProps) {
    if (prevProps.match.params.username !== this.props.match.params.username) {
      this.loadUser();
    }
  }
componentDidUpdate(prevProps):
このメソッドは、コンポーネントが更新された後に自動的に呼び出されます。
引数prevPropsは、前回のプロパティ(props)の値を表します。
条件文 if (prevProps.match.params.username !== this.props.match.params.username) は、前回のユーザー名と現在のユーザー名が異なる場合にのみ処理を実行することを示しています。
3.4 プロフィールカード
frontend/src/components/ProfileCard.spec.js
import React from 'react';
import { render } from '@testing-library/react';
import ProfileCard from './ProfileCard';
const user = {
  id: 1,
  username: 'user1',
  displayName: 'display1',
  image: 'profile1.png'
};

describe('ProfileCard', () => {
  describe('Layout', () => {
    it('displays the displayName@username', () => {
      const { queryByText } = render(<ProfileCard user={user} />);
      const userInfo = queryByText('display1@user1');
      expect(userInfo).toBeInTheDocument();
    });
    it('has image', () => {
      const { container } = render(<ProfileCard user={user} />);
      const image = container.querySelector('img');
      expect(image).toBeInTheDocument();
    });
    it('displays default image when user does not have one', () => {
      const userWithoutImage = {
        ...user,
        image: undefined
      };
      const { container } = render(<ProfileCard user={userWithoutImage} />);
      const image = container.querySelector('img');
      expect(image.src).toContain('/profile.png');
    });
    it('displays user image when user has one', () => {
      const { container } = render(<ProfileCard user={user} />);
      const image = container.querySelector('img');
      expect(image.src).toContain('/images/profile/' + user.image);
    });
  });
});
describe('ProfileCard', () => { ... }):
ProfileCard コンポーネントに関するテストスイートを定義しています。
describe('Layout', () => { ... }):
コンポーネントのレイアウトに関するテストスイートを定義しています。ここでは、コンポーネントの外観と表示に焦点を当てます。
it('displays the displayName@username', () => { ... }):
"displayName@username" が表示されていることを確認するテストケースです。
render(<ProfileCard user={user} />) を使用して、ProfileCard コンポーネントをレンダリングし、queryByText を使用して指定したテキストが表示されているかを確認します。
it('has image', () => { ... }):
画像が存在することを確認するテストケースです。
render(<ProfileCard user={user} />) を使用して、ProfileCard コンポーネントをレンダリングし、container.querySelector を使用して<img>要素が存在するかを確認します。
it('displays default image when user does not have one', () => { ... }):
ユーザーが画像を持っていない場合にデフォルト画像が表示されることを確認するテストケースです。
user オブジェクトから画像情報を削除して、ユーザーが画像を持たない状態をシミュレートします。
render(<ProfileCard user={userWithoutImage} />) を使用して、ProfileCard コンポーネントをレンダリングし、デフォルト画像が表示されるかを確認します。
it('displays user image when user has one', () => { ... }):
ユーザーが画像を持っている場合に、そのユーザーの画像が表示されることを確認するテストケースです。
render(<ProfileCard user={user} />) を使用して、ProfileCard コンポーネントをレンダリングし、ユーザーの画像が正しいURLにリンクしているかを確認します。
frontend/src/components/ProfileCard.js
import React from 'react';
import defaultPicture from '../assets/profile.png';
const ProfileCard = (props) => {
const { displayName, username, image } = props.user;
let imageSource = defaultPicture;
if (image) {
imageSource = '/images/profile/' + image;
}
return (
<div className="card">
<div className="card-header text-center">
<img
alt="profile"
width="200"
height="200"
src={imageSource}
className="rounded-circle shadow"
/>
</div>
<div className="card-body text-center">
<h4>{`${displayName}@${username}`}</h4>
</div>
</div>
);
};
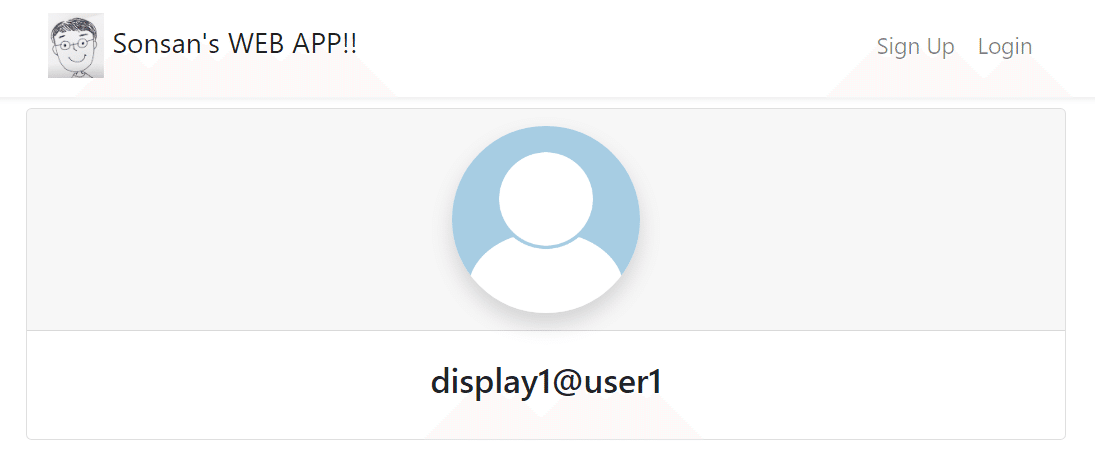
export default ProfileCard;ProfileCard コンポーネントは、ユーザープロファイル情報を表示するためのシンプルなカードを作成します。
${}: テンプレートリテラル内で変数や式を埋め込むために使用される構文です。この場合、${}内にJavaScriptの変数や式が含まれています。
テンプレートリテラルとは? テンプレートリテラル(Template Literals)は、JavaScriptの文字列を生成するための強力な機能で、バックティック(`)を使用して文字列を囲むことから始まります。テンプレートリテラルを使用すると、文字列内に変数や式を埋め込むことが容易になります。
${displayName}: displayName変数の値を表示名として埋め込みます。
@: 文字列リテラルとして表示名とユーザー名を区切る記号として使用されています。
${username}: username変数の値をユーザー名として埋め込みます。
frontend/src/pages/UserPage.js
  render() {
    if (this.state.userNotFound) {
      return (
        <div className="alert alert-danger text-center">
          <div className="alert-heading">
            <i className="fas fa-exclamation-triangle fa-3x" />
          </div>
          <h5>User not found</h5>
        </div>
      );
    }
    return (
      <div data-testid="userpage">
        {this.state.user && <ProfileCard user={this.state.user} />}
      </div>
    );
frontend/src/components/ProfileImageWithDefault.js
import React from 'react';
import defaultPicture from '../assets/profile.png';

const ProfileImageWithDefault = (props) => {
  let imageSource = defaultPicture;
  if (props.image) {
    imageSource = `/images/profile/${props.image}`;
  }
  return (
    //eslint-disable-next-line
    <img
      {...props}
      src={props.src || imageSource}
      onError={(event) => {
        event.target.src = defaultPicture;
      }}
    />
  );
};

export default ProfileImageWithDefault;
このコンポーネントは、プロフィール画像を表示し、もし画像が存在しない場合はデフォルト画像を表示するために使用できます。また、画像の読み込みエラーに対処する機能も組み込まれています。
onError イベントハンドラは、画像の読み込みに失敗した場合にデフォルト画像を表示するために使用されます。画像の読み込みエラーが発生したとき、event.target.src をデフォルトの画像 (defaultPicture) に設定しています。
frontend/src/components/ProfileCard.js
return (
    <div className="card">
      <div className="card-header text-center">
        <ProfileImageWithDefault
          alt="profile"
          width="200"
          height="200"
          image={image}
          className="rounded-circle shadow"
        />
      </div>
ProfileImageWithDefault タグを返すことで以下のように実装されます。
3. 最後に
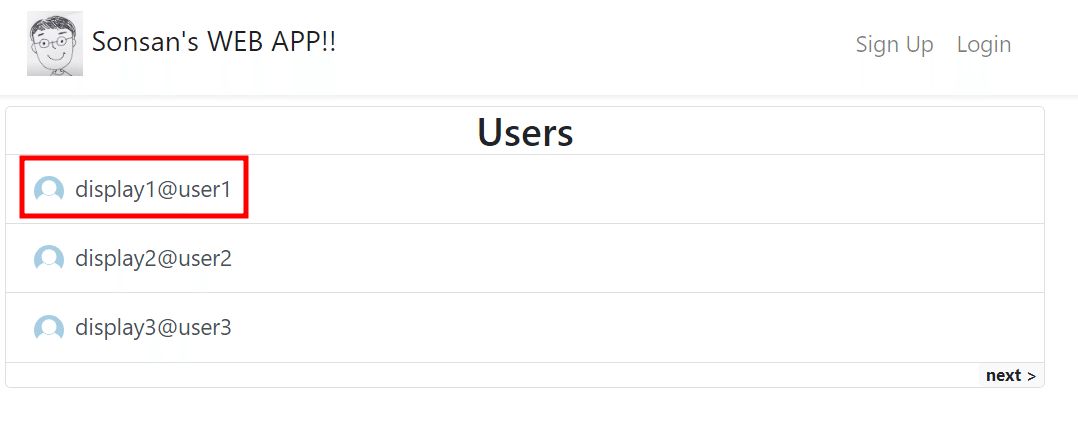
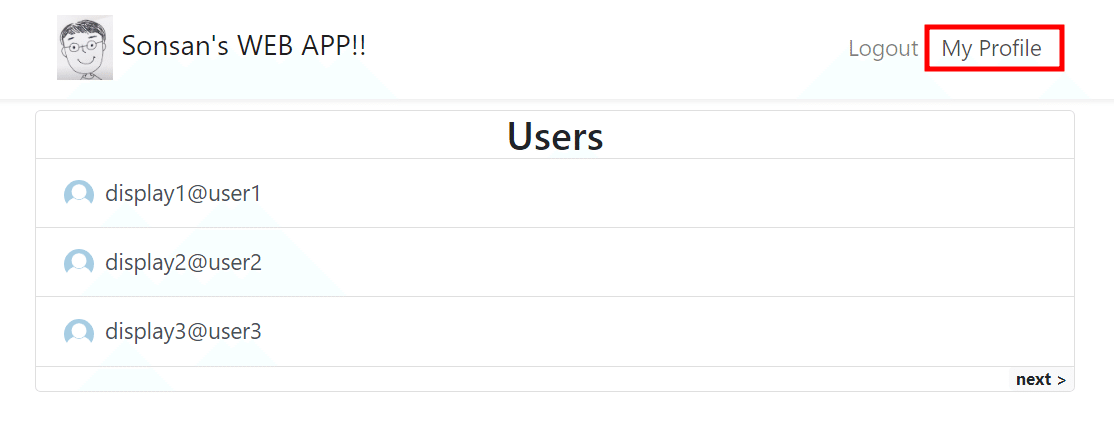
今日はユーザープロファイルを実装してみました。ユーザーリストからユーザープロファイルを照会するだけでなく、自分のプロファイルも表示されるのがポイントです。 次回はユーザープロファイルを修正する機能を実装してみます!
エンジニアファーストの会社 株式会社CRE-CO
ソンさん
【参考】
[Udemy] Spring Boot and React with Test Driven Development
この記事が気に入ったらサポートをしてみませんか?