
変わる Try different things

今日もシャッターは切れずでした。数日は時間が取れなさそうなので普段やらないことを試してみました。
I couldn't release the shutter today. It seems that I can't take a few days, so I tried something I wouldn't normally do.
現像をする際に「ビネット」を調整してみました。これまで「ビネット」は全くと言っていいほど触っていませんでした。コントラストや明るさ、色温度の調整はよく使用しています。どちらかというとコントラストを強めに調整する事が多いでしょうか。
I adjusted the "vignette" when developing. Until now, I haven't touched the "vignette" at all. I often use contrast, brightness, and color temperature adjustments. If anything, you often adjust the contrast a lot.
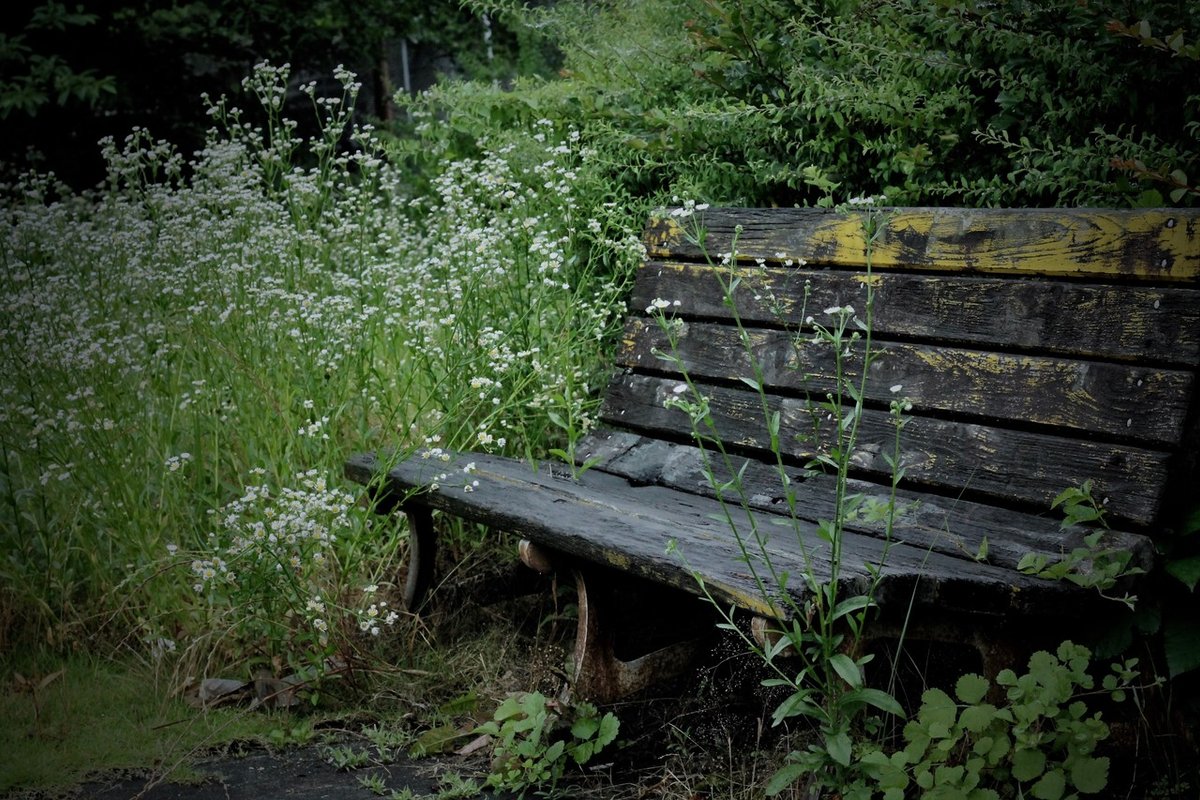
「ビネット」を調整すると写真の周辺が暗くできます。タイトルの写真も少し暗くしていますがもっと暗くす事も可能です。それに併せて写真全体のコントラストも調整してみました。コントラストは弱めで淡くしています。
Adjusting the "vignette" can darken the area around the photo. The title photo is a bit darker, but you can make it darker. At the same time, I also adjusted the contrast of the entire photo. The contrast is weak and light.

こういう現像もお面白いですね。
This kind of development is also interesting.
全てMacに標準搭載の「写真」ソフトで現像しています。もっと色々できそうなので試していこうと思います。現像の過程もここで記事にできるかなと考えていますが「iBooksAuthor」を使用した方が面白いものができそうかも。
All are developed with the "photograph" software that is standard on the Mac. I think I can do more, so I'll try it. I think that the development process can be written here as an article, but it may be more interesting to use "iBooks Author".
この記事が参加している募集
この記事が気に入ったらサポートをしてみませんか?