TROCCOのプランが変わったので、Cloud FunctionsでHubSpotからBigQueryへデータ転送してみたよ

こんにちは、すずきです。
どうにも盛り上がりに欠けるバチェロレッテシーズン3を最新話まで観終わったので、バーベキュー最強決戦!シーズン3を観始めました。第六話の「牛肩バラ肉勝負」は名勝負でしたね..
はじめに
本記事では、HubSpotで管理している「コンタクト(contacts)」「会社(companies)」「取引(deals)」データを、BIツール(Looker Studioなど)のデータソースとなるBigQueryに転送する方法を紹介します。
これまでTROCCOというSaaSでHubSpotからスプレッドシートにデータを転送し、スプレッドシートからLooker Studioでデータを読み込んでいたのですが、TROCCOの料金プラン変更により、以前のように2時間に1回の頻繁なデータ更新が無料範囲で行えなくなってしまいました。加えて、スプレッドシートからのデータ読み込みが遅いという課題もあったため、TROCCOとスプレッドシートの代替としてGoogle Cloud Functions(GCF)とBigQueryを利用する新しい方法を採用しました。
GCP構成
プロジェクト名: hubspot-to-bigquery
Google Cloud Functions(GCF): sync-hubspot-to-bigquery
スクリプトはPythonで実装
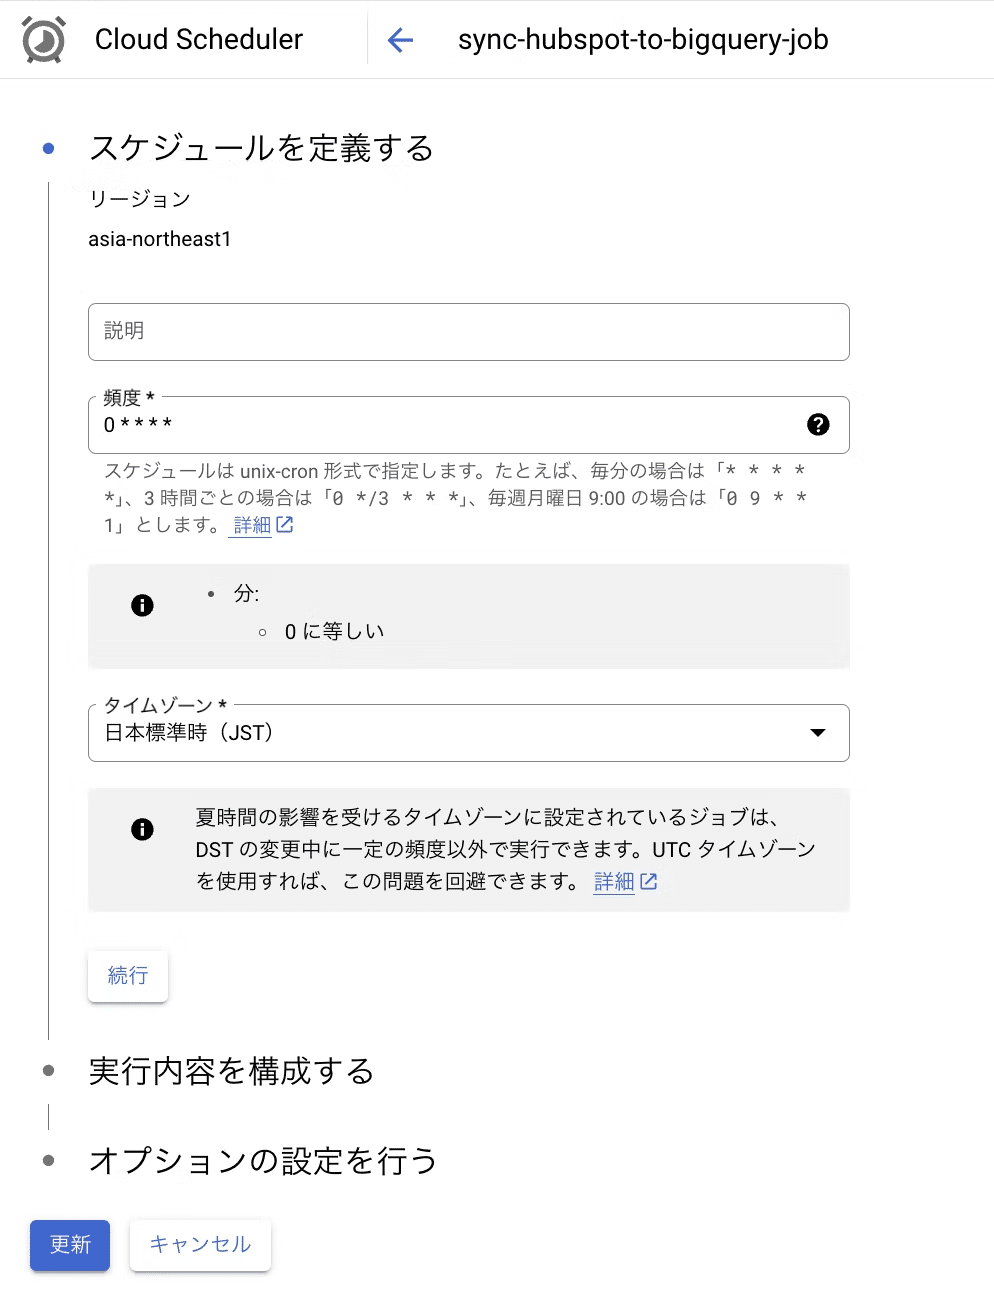
Cloud Scheduler: sync-hubspot-to-bigquery-job
毎時0分にジョブを実行
BigQuery:
データセット: hubspot_data
テーブル: contacts, companies, deals
データの流れ
Cloud Schedulerが1時間に1回GCFをトリガーする
GCFはHubSpotからのデータを抽出し、BigQueryに転送する
※データ更新のため、全レコードを削除後にレコードを新たに追加するLooker StudioはBigQueryのテーブルを参照してレポートを生成する
実装
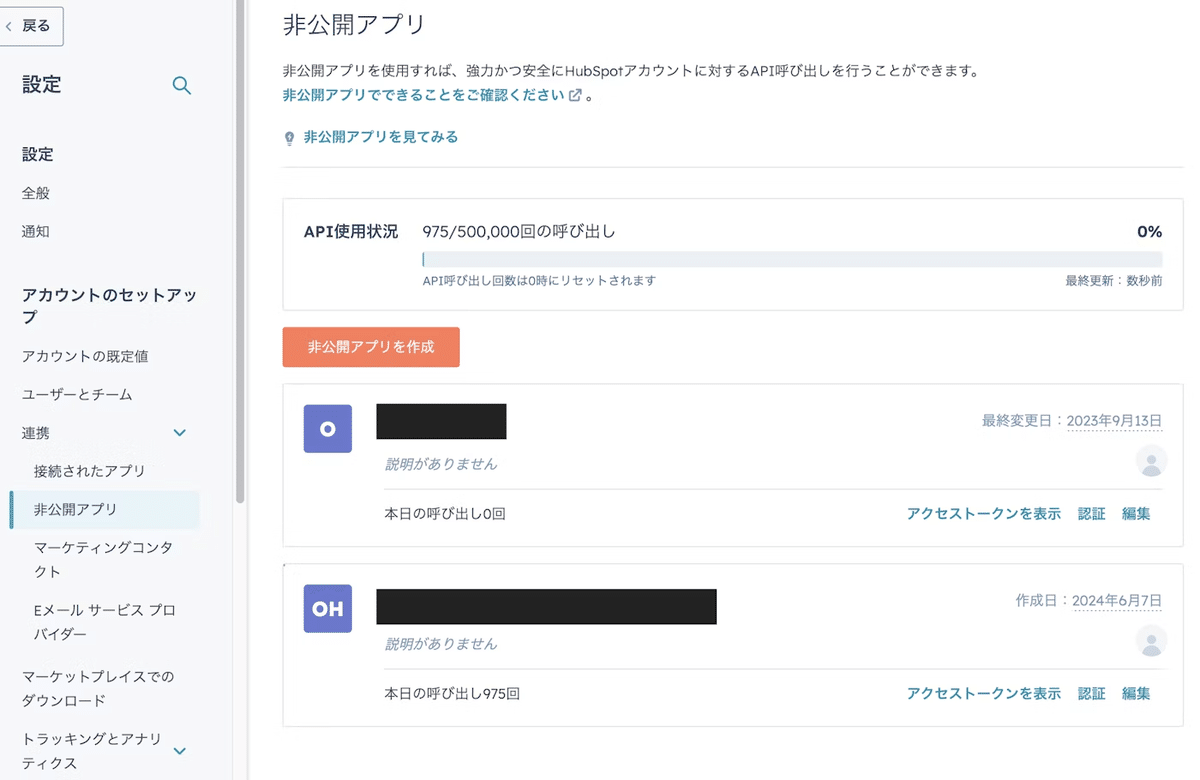
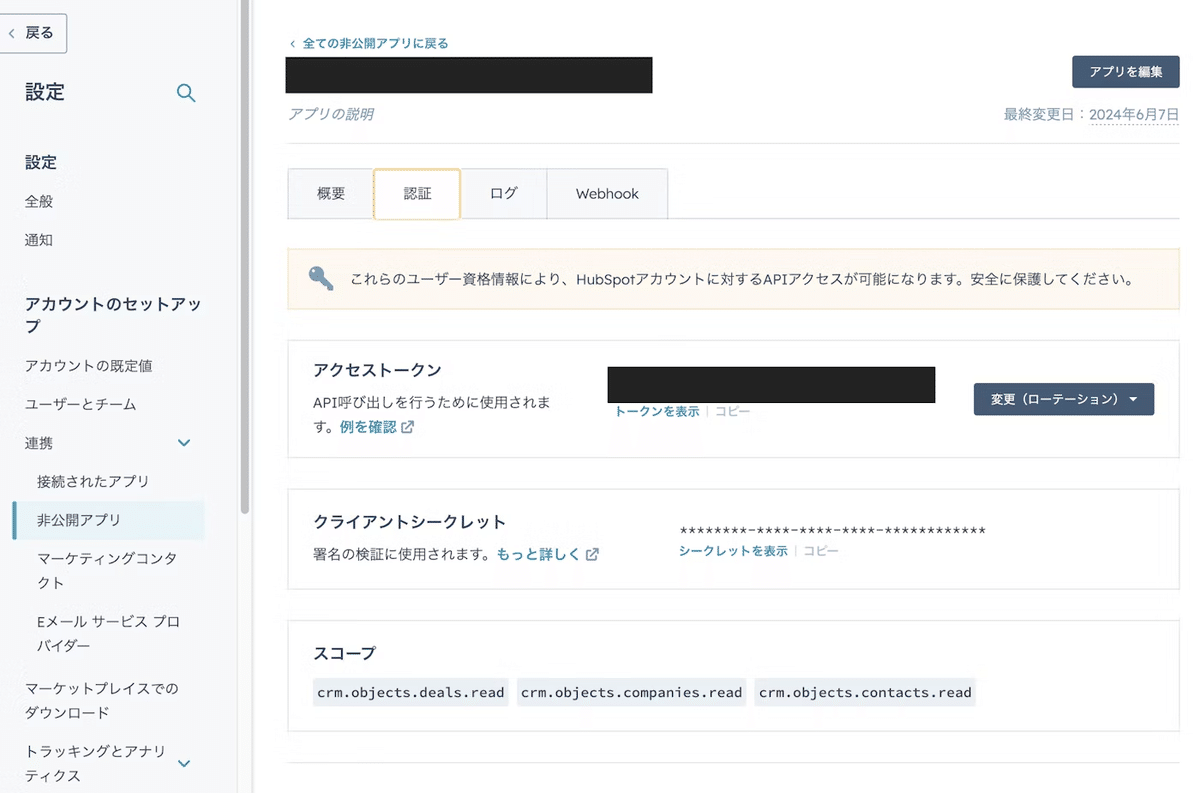
HubSpotアクセストークンの発行
HubSpotの設定メニューから非公開アプリを作成し、必要なスコープ(crm.object.deals.read, crm.object.companies.read, crm.object.contacts.read)を設定します。非公開アプリの作成後、アクセストークンをコピーして後ほど使用します。
BigQueryテーブルの作成
BigQueryでhubspot_dataデータセットを作成し、deals, companies, contactsテーブルをクエリから作成します。以下は`companies`テーブルの作成例です。
CREATE TABLE `hubspot-to-bigquery.hubspot_data.companies` (
  id INT64,
  created_at TIMESTAMP,
  updated_at TIMESTAMP,
  about_us STRING,
  ...
)
GCFの作成
以下がスクリプトの全文です。
import os
import logging
from datetime import datetime, timezone, timedelta
from hubspot import HubSpot
from hubspot.crm.contacts import ApiException
from google.cloud import bigquery
from google.api_core.retry import Retry

logging.basicConfig(level=logging.INFO)

client = bigquery.Client()

contacts_table_id = "hubspot-to-bigquery.hubspot_data.contacts"
contacts_table = client.get_table("hubspot-to-bigquery.hubspot_data.contacts")
contacts_table_schema_keys = {field.name for field in contacts_table.schema}

companies_table_id = "hubspot-to-bigquery.hubspot_data.companies"
companies_table = client.get_table("hubspot-to-bigquery.hubspot_data.companies")
companies_table_schema_keys = {field.name for field in companies_table.schema}

deals_table_id = "hubspot-to-bigquery.hubspot_data.deals"
deals_table = client.get_table("hubspot-to-bigquery.hubspot_data.deals")
deals_table_schema_keys = {field.name for field in deals_table.schema}

contacts_properties = [
    "id", "created_at", "updated_at", "company_size", "date_of_birth",...
]

companies_properties = [
    "id", "created_at", "updated_at", "about_us",...
]

deals_properties = [
    "id", "created_at", "updated_at", "amount_in_home_currency",...
]


def sync_hubspot_to_bigquery(_):
    access_token = os.getenv("ACCESS_TOKEN")
    if not access_token:
        logging.error("Access token not found in environment variables")
        return "Access token not found in environment variables", 500

    # HubSpot APIクライアントの初期化
    api_client = HubSpot(access_token=access_token)

    try:
        # 全件更新のため各テーブルから全レコードを削除
        delete_table_records(contacts_table_id)
        delete_table_records(companies_table_id)
        delete_table_records(deals_table_id)

        # HubSpotからデータを取得
        contacts_fetched = api_client.crm.contacts.get_all(properties=contacts_properties)
        companies_fetched = api_client.crm.companies.get_all(properties=companies_properties)
        deals_fetched = api_client.crm.deals.get_all(properties=deals_properties)

        # 挿入レコードの作成
        contacts_rows = create_rows_to_insert(contacts_fetched, contacts_table_schema_keys)
        companies_rows = create_rows_to_insert(companies_fetched, companies_table_schema_keys)
        deals_rows = create_rows_to_insert(deals_fetched, deals_table_schema_keys)

        # BigQueryの各テーブルにデータ挿入
        insert_rows_bigquery(contacts_table_id, contacts_rows)
        insert_rows_bigquery(companies_table_id, companies_rows)
        insert_rows_bigquery(deals_table_id, deals_rows)

        success_message = f"Data synchronized successfully: {len(contacts_rows)} contacts, {len(companies_rows)} companies, and {len(deals_rows)} deals updated."
        logging.info(success_message)
        return success_message, 200

    except ApiException as e:
        error_message = f"Exception when requesting: {e}"
        logging.error(error_message)
        return error_message, 500

def delete_table_records(table_id):
    delete_query = f"""
    DELETE FROM `{table_id}` WHERE TRUE
    """

    try:
        query_job = client.query(delete_query)
        query_job.result()
        logging.info(f"All records have been deleted from {table_id}.")
    except Exception as e:
        logging.error(f"Failed to delete records from {table_id}: {e}")

def convert_utc_to_jst(timestamp):
    # 日本標準時(JST)に変換
    jst_zone = timezone(timedelta(hours=9))
    jst_time = timestamp.astimezone(jst_zone)
    logging.debug(f"Converted {timestamp} to {jst_time}")
    return jst_time.isoformat()

def create_rows_to_insert(fetched_data, table_schema_keys):
    rows_to_insert = []
    for data in fetched_data:
        data_properties = data.properties

        # BigQueryに挿入するための行データを作成
        row = {
            "id": data.id,
            "created_at": convert_utc_to_jst(data.created_at) if data.created_at else None,
            "updated_at": convert_utc_to_jst(data.updated_at) if data.updated_at else None
        }

        for key, prop in data_properties.items():
            if key in table_schema_keys:  # スキーマに存在するカラムのみ処理
                value = prop if prop != '' and prop is not None else None

                # datetimeオブジェクトだった場合、JSTに変換してISOフォーマットにする
                if isinstance(value, datetime):
                    value = convert_utc_to_jst(value)

                row[key] = value

        rows_to_insert.append(row)
    return rows_to_insert

def insert_rows_bigquery(table_id, rows_to_insert, batch_size=100):
    # リトライポリシーの設定
    custom_retry = Retry(
        initial=1.0,  # 初期遅延時間 1 秒
        maximum=10.0,  # 最大遅延時間 10 秒
        multiplier=2.0,  # 遅延時間の倍増係数
        deadline=1200.0  # 全体の最大試行時間 1200 秒
    )

    # 分割してデータを挿入
    for i in range(0, len(rows_to_insert), batch_size):
        batch = rows_to_insert[i:i + batch_size]

        try:
            errors = client.insert_rows_json(table_id, batch, retry=custom_retry)
            if errors:
                logging.error(f"Errors occurred in batch {i // batch_size + 1}: {errors}")
            else:
                logging.info(f"Batch {i // batch_size + 1} inserted successfully into {table_id}.")
        except Exception as e:
logging.error(f"Error inserting data into {table_id}: {e}")functions-framework==3.*
hubspot-api-client
google-cloud-bigqueryログ設定とBigQueryクライアントの初期化
ロギングは情報レベルで設定され、BigQueryクライアントはデフォルトのプロジェクト設定で初期化されます。また、使用するBigQueryテーブルのIDとスキーマのキーを取得し、後のデータ挿入で使用します。
logging.basicConfig(level=logging.INFO)
client = bigquery.Client()

contacts_table_id = "hubspot-to-bigquery.hubspot_data.contacts"
contacts_table = client.get_table(contacts_table_id)
contacts_table_schema_keys = {field.name for field in contacts_table.schema}
# 同様に会社と取引データテーブルの設定も行います。
データ同期関数の定義
sync_hubspot_to_bigquery関数では、環境変数からHubSpotのアクセストークンを取得し、APIクライアントを初期化します。その後、指定されたプロパティでHubSpotのデータを抽出し、BigQueryに挿入する一連のステップを実行します。
def sync_hubspot_to_bigquery(_):
    access_token = os.getenv("ACCESS_TOKEN")
    if not access_token:
        logging.error("Access token not found in environment variables")
        return "Access token not found in environment variables", 500

    api_client = HubSpot(access_token=access_token)
    # データ抽出と挿入の詳細な手順は後述します。
データ挿入とリトライポリシー
抽出したデータはBigQueryにバッチで挿入されます。リトライポリシーは失敗した挿入操作を自動的に再試行するために設定され、データ整合性を保ちます。
def insert_rows_bigquery(table_id, rows_to_insert, batch_size=100):
    custom_retry = Retry(initial=1.0, maximum=10.0, multiplier=2.0, deadline=1200.0)
    for i in range(0, len(rows_to_insert), batch_size):
        batch = rows_to_insert[i:i + batch_size]
        errors = client.insert_rows_json(table_id, batch, retry=custom_retry)
        if errors:
            logging.error(f"Errors occurred in batch {i // batch_size + 1}: {errors}")
BigQueryのデータ更新と時刻変換の注意点
ストリーミングバッファの制限: BigQueryのストリーミングバッファ仕様により、データ更新頻度を1時間より短く設定するとエラーになってしまいました。TROCCO使用時の更新頻度は2時間に1回だったので、むしろ今回は頻度を短くできたのですが、もっと短い頻度が必要である場合は注意が必要です。
時刻データの変換必要性: BigQueryではTIMESTAMP型のデータがUTCで保管されるため、日本時間に変換する処理が必要です。Looker Studioでデータを分析する際には、この時刻変換を適切に行うことで、時差の影響を受けずに正確なレポート作成が可能です。
Cloud Schedulerの作成
Cloud Schedulerを使用して、GCFを毎時0分に自動的に実行するジョブを設定します。このスケジュールにより、HubSpotのデータが定期的に更新され、常に最新の情報がBigQueryに保持されます。スケジューラのCron設定は0 * * * *で、これで毎時0分にジョブがトリガーされます。
参考
採用情報
この記事が気に入ったらサポートをしてみませんか?