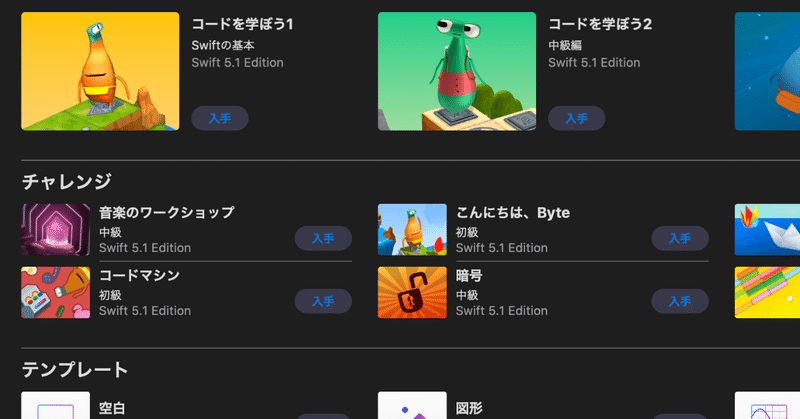
iPadでSwift Playgrounds!

iPad のアプリ。Swiftのプログラミングが見て楽しく、触って面白くできてます。アプリが登場してから数年が経過して、日本語にも対応しています。
今ではAR(拡張現実)や去年発表されたSwiftUIというフレームワークまで使えるようになっています。このアプリが良いところはIPadのアプリということもありiPadのセンサーなどが即座に使えるところです。MacのXcodeでは一手間かけて実機に出力して試さないといけないところをすぐ使えるというのは良いですね。
そしてiPadのアプリなのにMacでもSwift Playgroundsができるようになりました!さらに使いやすくなりましたのでいろいろやってみようかなと思います。
まず言葉をしゃべらせてみます。以下参考にしています。
import AVFoundation
import PlaygroundSupport
let syntherizer = AVSpeechSynthesizer()
let voice = AVSpeechSynthesisVoice(language: "ja-JP")
let utterance = AVSpeechUtterance(string: "おはよう")
utterance.voice = voice
syntherizer.speak(utterance)
PlaygroundPage.current.needsIndefiniteExecution = true
Swift Playgroundsで実行すると"おはよう”と言ってくれます。
ここで注意点です。Swift Playgroundsで実行するときは特別な命令を書いておかないと動きません。まず、Swift Playgroundsでのコード実行をするときはまず、必要なライブラリをimport。
import PlaygroundSupport
作成したViewをタイムラインに表示させたいときの
PlaygroundPage.current.liveView = view
あとは非同期で実行させたい場合は
PlaygroundPage.current.needsIndefiniteExecution = true
をコードに含めます。
SwiftUIの表示をしてみます。Appleの公式チュートリアルから、
Mapと写真を表示させます。コードは以下
import SwiftUI
import MapKit
import PlaygroundSupport

struct MapView: UIViewRepresentable {
   func makeUIView(context: Context) -> MKMapView {
       MKMapView(frame: .zero)
   }

   func updateUIView(_ view: MKMapView, context: Context) {
       let coordinate = CLLocationCoordinate2D(
           latitude: 34.011286, longitude: -116.166868)
       let span = MKCoordinateSpan(latitudeDelta: 2.0, longitudeDelta: 2.0)
       let region = MKCoordinateRegion(center: coordinate, span: span)
       view.setRegion(region, animated: true)
   }
}
struct CircleImage: View {
   var body: some View {
       Image(uiImage: #imageLiteral(resourceName: "cosmos.jpeg"))
           .resizable()
           .frame(width: 500.0, height: 500.0, alignment: .leading)
           .clipShape(Circle())
           .overlay(Circle().stroke(Color.white,lineWidth: 4))
           .shadow(radius: 10)
   }
}

struct ContentView: View {
   var body: some View {
       VStack {
           MapView()
               .frame(height: 300)

           CircleImage()
               .offset(y: -150)
               .padding(.bottom, -130)

           VStack(alignment: .leading) {
               Text("Turtle Rock")
                   .font(.title)
               HStack(alignment: .top) {
                   Text("Joshua Tree National Park")
                       .font(.subheadline)
                   Spacer()
                   Text("California")
                       .font(.subheadline)
               }
           }
           .padding()
       }
   }
}
let content = ContentView()
PlaygroundPage.current.liveView = UIHostingController(rootView: content)
プレビューでは、
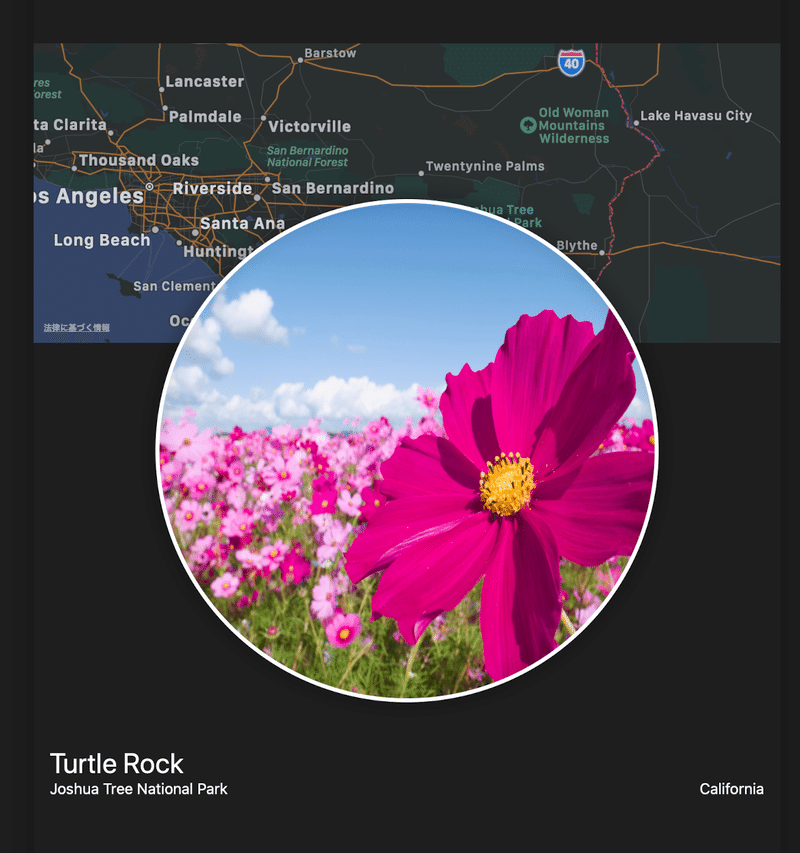
になります。Xcodeのプレビューと遜色はなく使えます。さらにXcodeのPlaygroundsよりも安定しているかも。
この記事が気に入ったらサポートをしてみませんか?