![見出し画像](https://assets.st-note.com/production/uploads/images/45781532/rectangle_large_type_2_b36064cce8bccfed1eecd31266ddb459.jpeg?width=1200)
Backslide anchor 1
Related article 💁♂️関連記事
Backslide anchor 1
Backslide anchor 2
Backslide anchor 3
Backslide anchor 4
This is a tutorial for the new machine introduced on Instagram. I will improvise, so I think there are twists and turns, but thank you.
In this work, the bumper and lantern are separated, and the G-system is realized by the bumper alone. Full of other new gimmicks. A must-see for Mini4WD freaks.
Let's make it together!
インスタでご紹介したバクスラアンカーのチュートリアルです。即興で考えてゆくので紆余曲折あると思いますがよろしくお願いします。
今作はバンパーと提灯が分離していて、バンパー単品でG-systemを実現しました。他にも新ギミック満載。ミニヨンフリーク必見です。
それでは一緒に作ってゆきましょう!
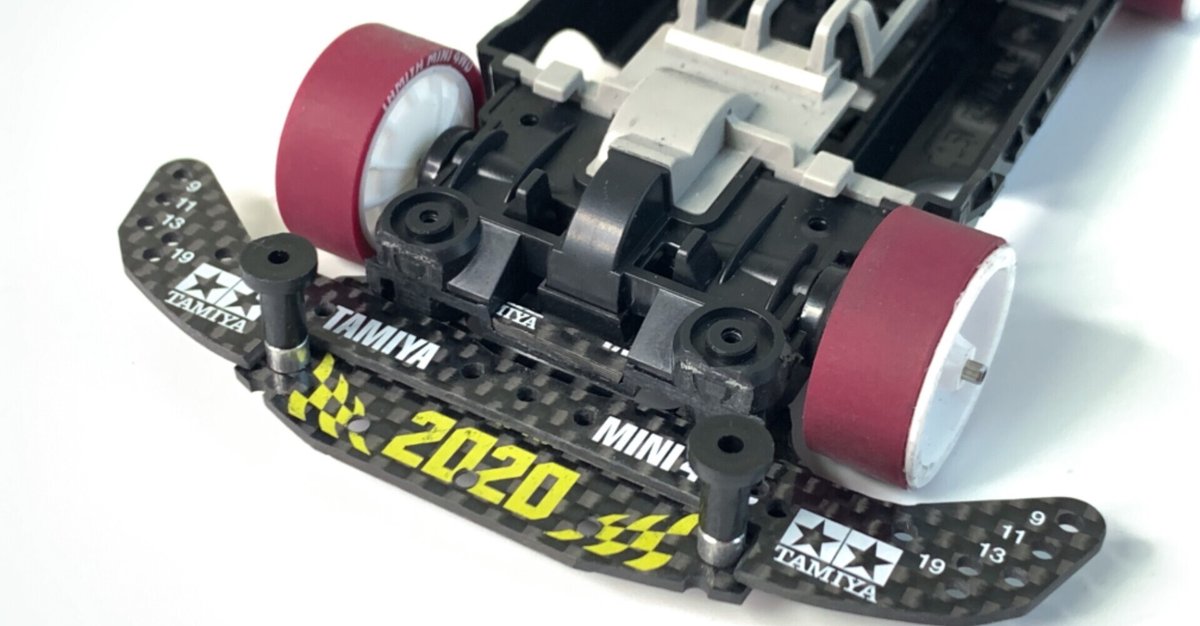
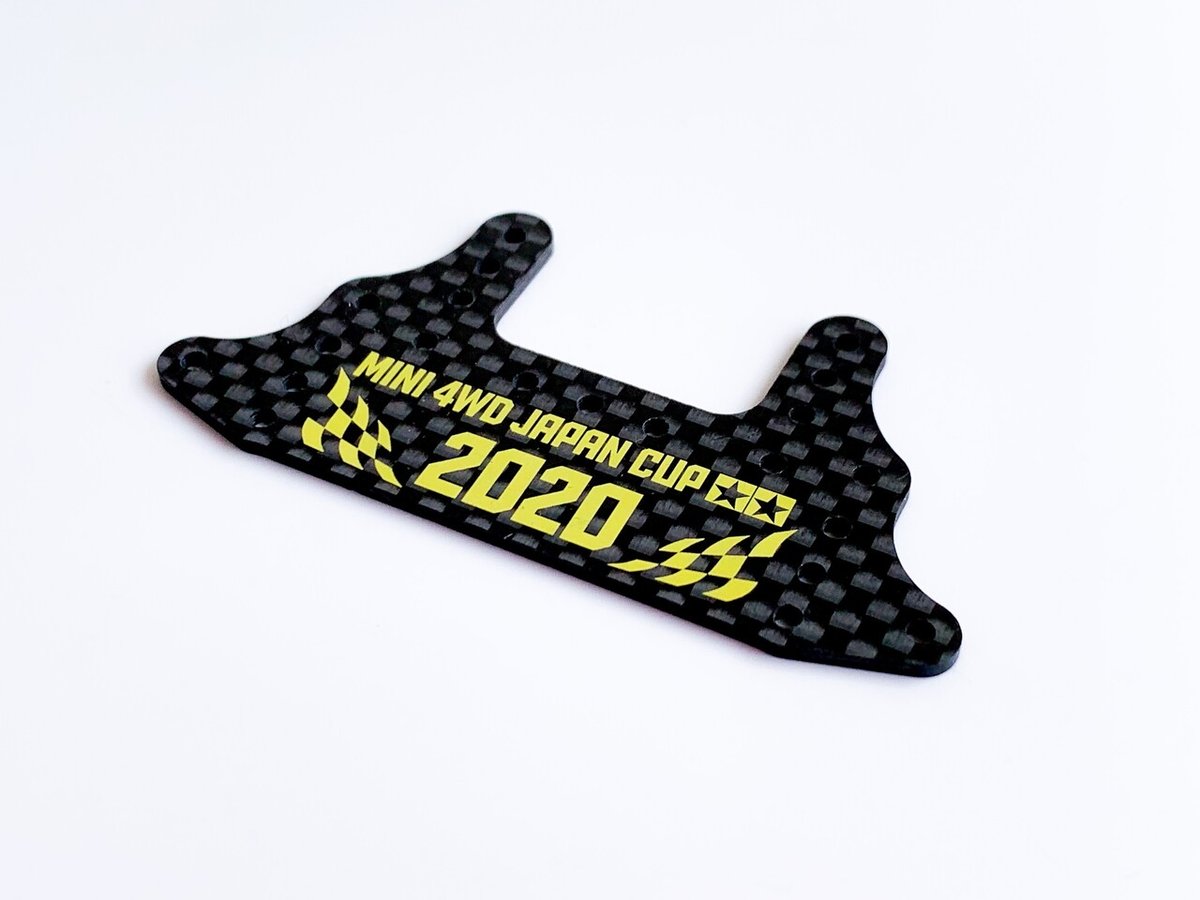
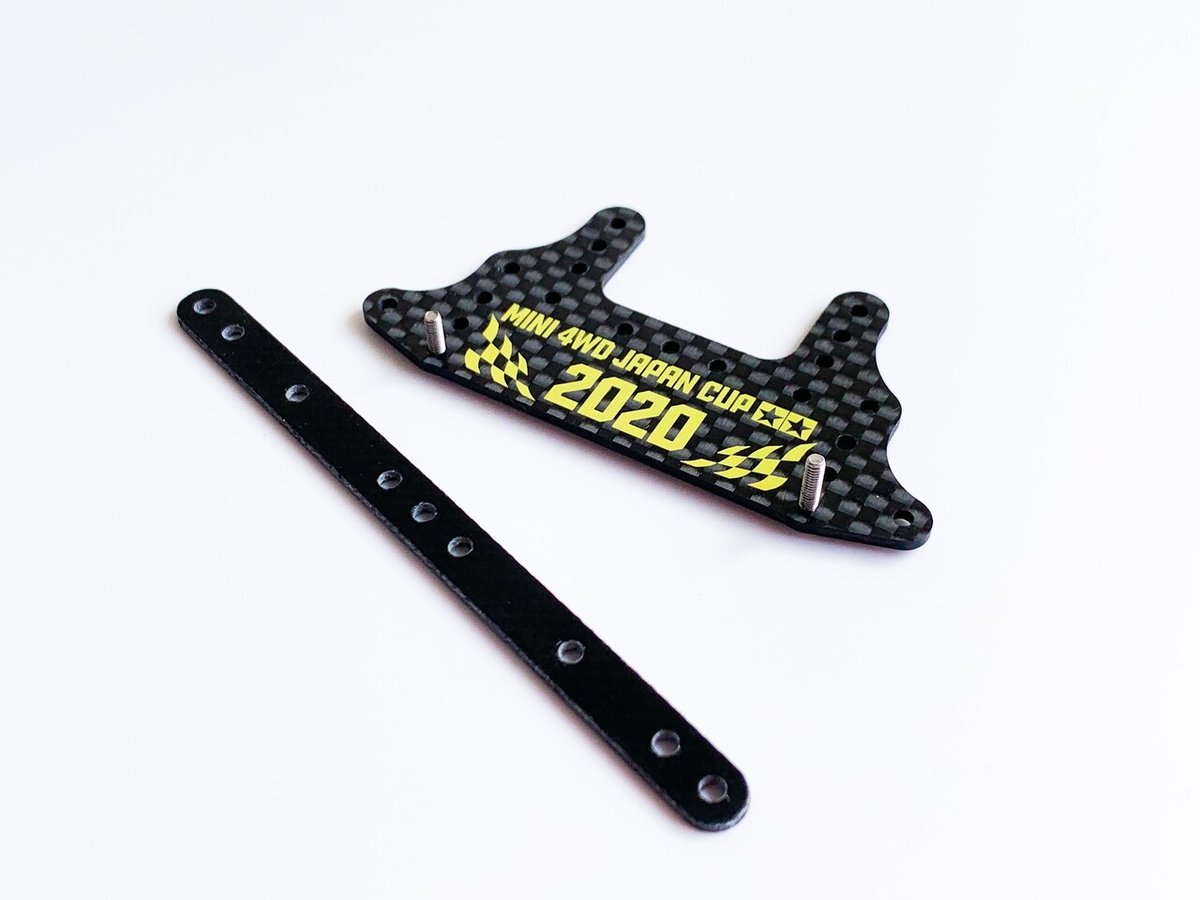
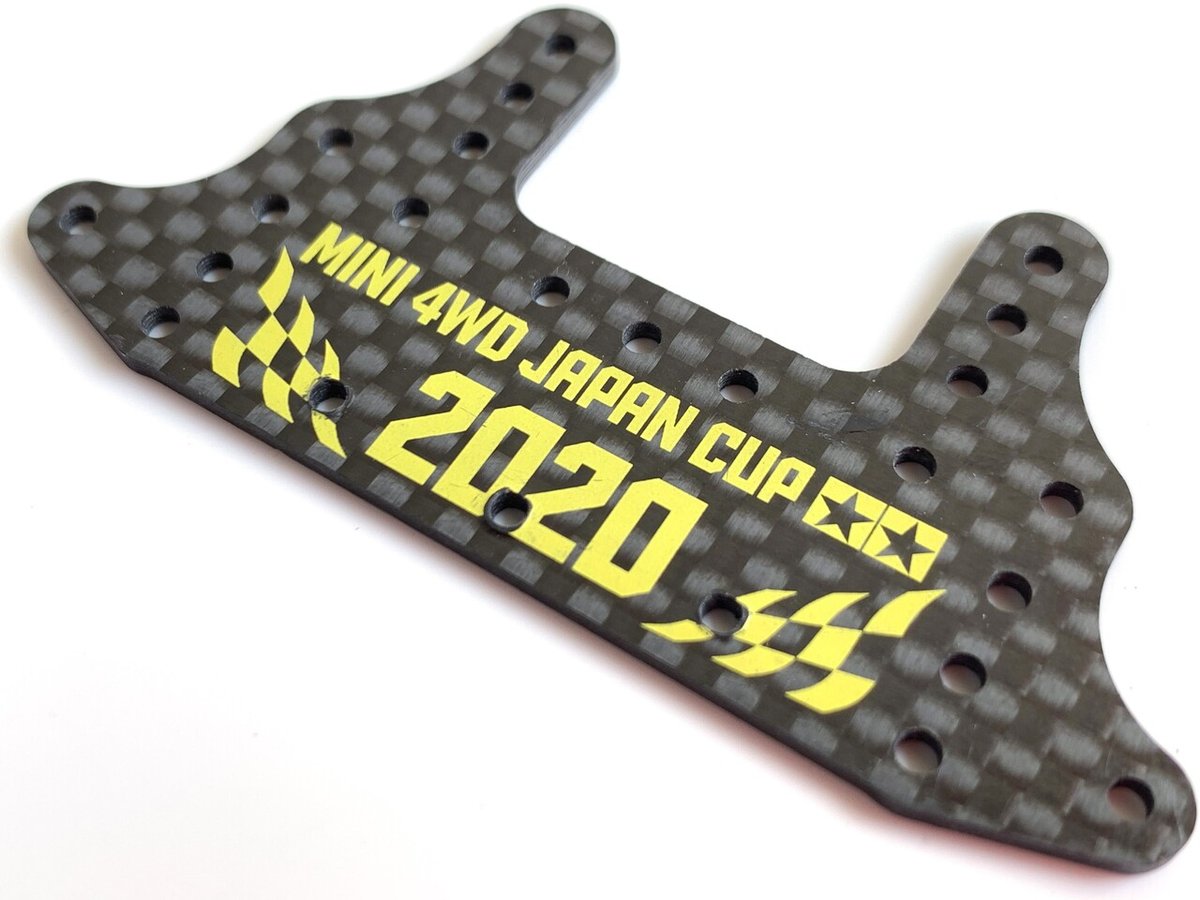
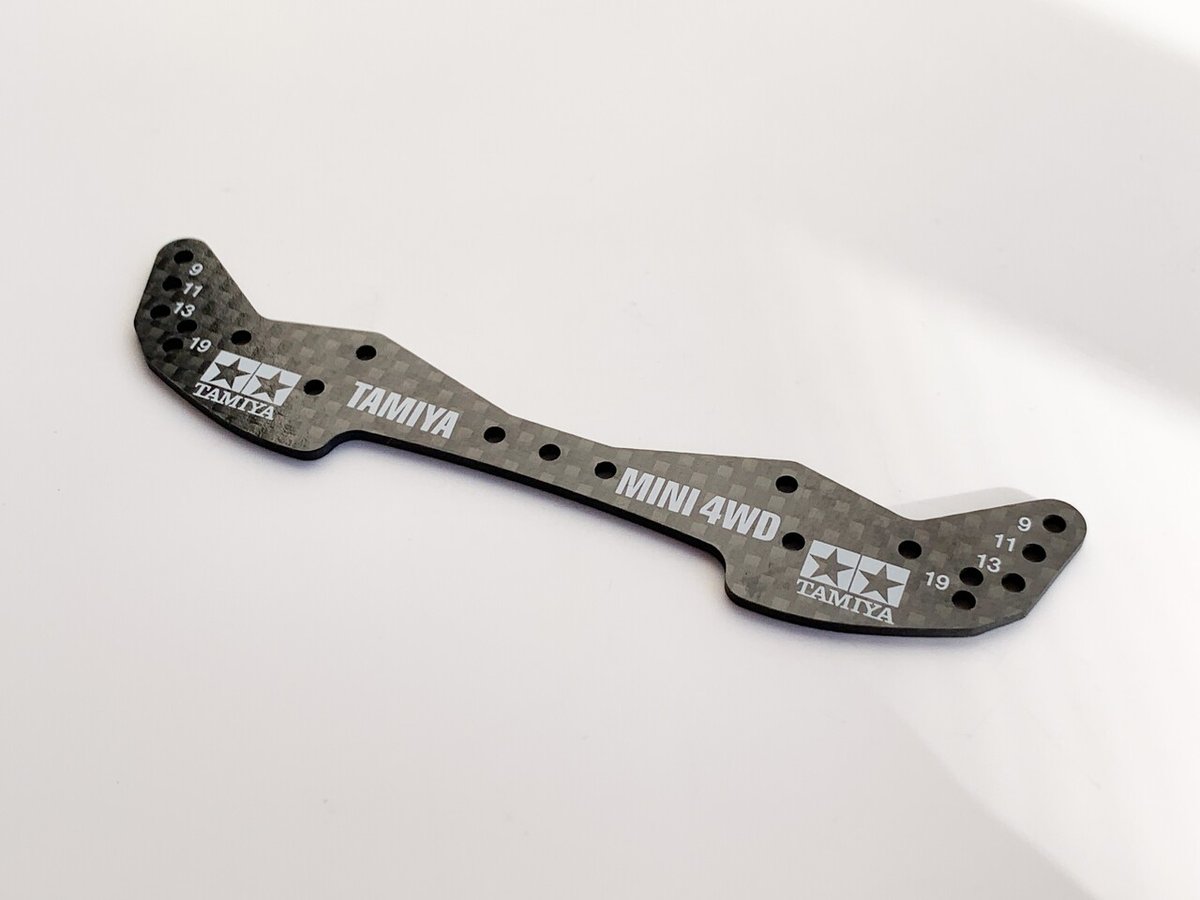
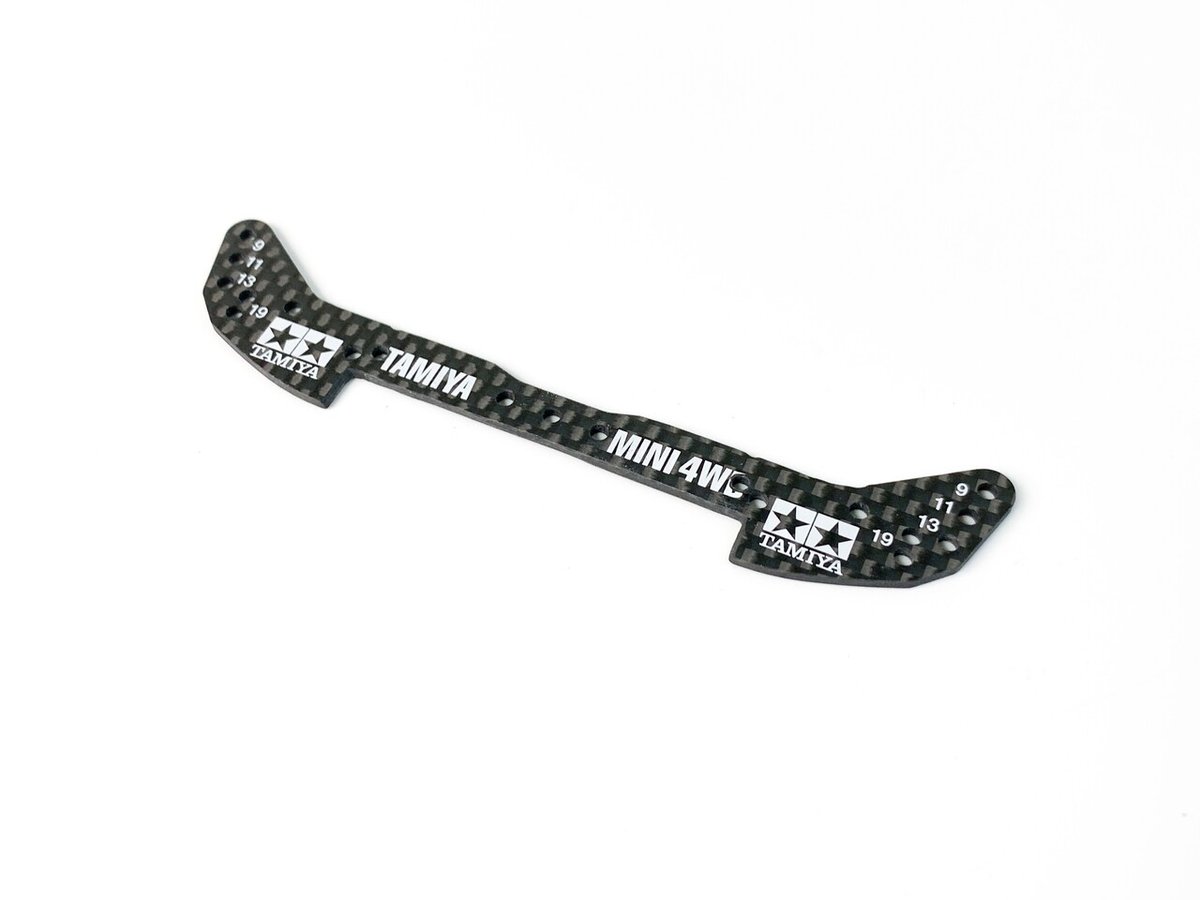
1.Make a Front brake plate / 前ブレーキ板作成
The photo is carbon, but GFRP is also.
写真はカーボンですがFRPでもOKです。
![画像1](https://assets.st-note.com/production/uploads/images/45759368/picture_pc_c4279cc64f61a1ddede63e0e1f865573.jpeg?width=1200)
![画像7](https://assets.st-note.com/production/uploads/images/45760351/picture_pc_58b18c46b9f39f10d21b73dca32cc5a3.jpeg?width=1200)
![画像7](https://assets.st-note.com/production/uploads/images/45760295/picture_pc_ce6fbd5d197f14e53949d5b6f36780ce.png?width=1200)
![画像7](https://assets.st-note.com/production/uploads/images/45760378/picture_pc_d41855f35b6f882bbad064222bbff6d0.jpeg?width=1200)
![画像44](https://assets.st-note.com/production/uploads/images/54414538/picture_pc_416a0090b04550312dc7e80fb0dc6b1a.png?width=1200)
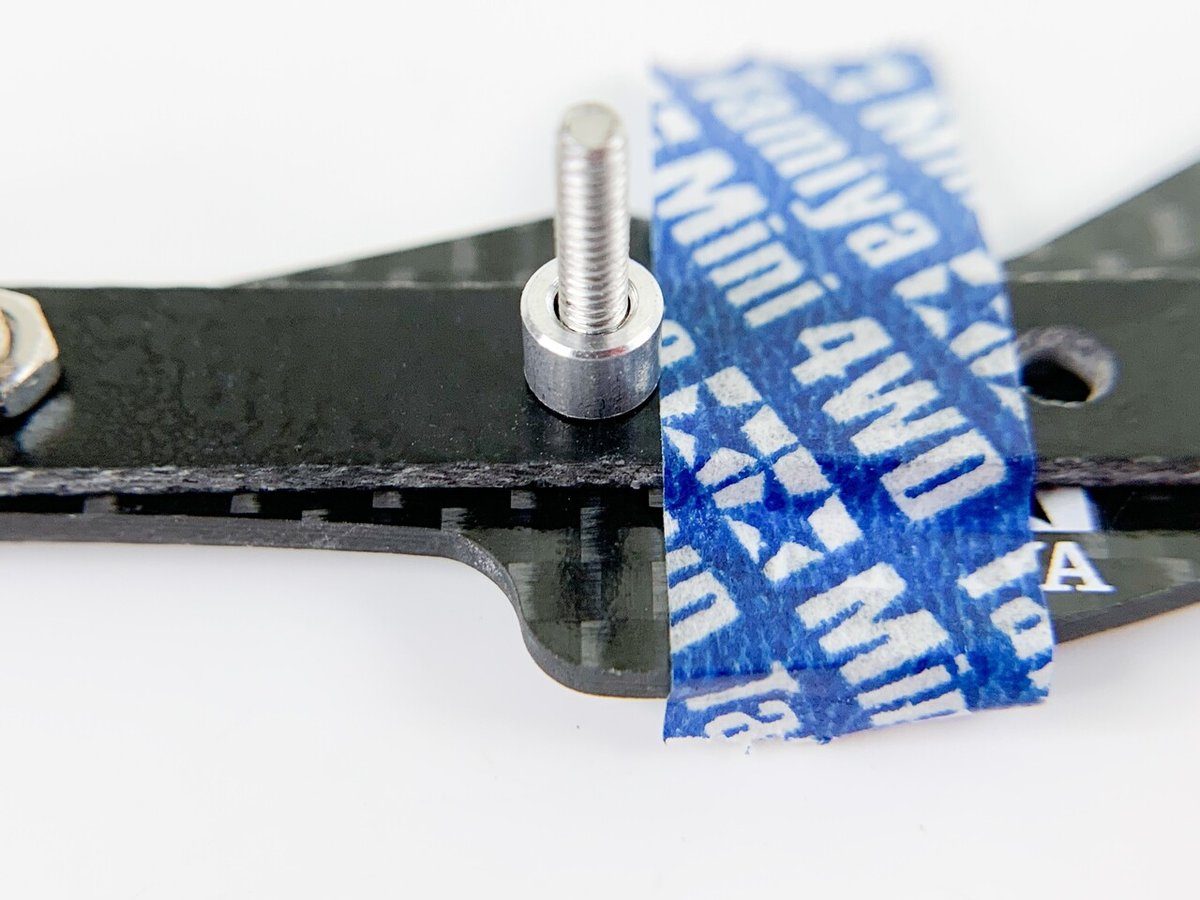
👆If you don't install the lantern in this position, you don't have to make a hole.
提灯用ビス穴です。もしこの位置に提灯を設置しない場合は穴を開ける必要はありません。
![画像6](https://assets.st-note.com/production/uploads/images/45760128/picture_pc_b299bffdd3e0c207b17a8dd423b60c2d.jpeg?width=1200)
![画像7](https://assets.st-note.com/production/uploads/images/45760143/picture_pc_f612702e03b6698a590fe101d5c38011.jpeg?width=1200)
![画像8](https://assets.st-note.com/production/uploads/images/45760759/picture_pc_7868a6d47836033eb4a03ba846db96f0.png?width=1200)
皿ビス加工
![画像13](https://assets.st-note.com/production/uploads/images/45766737/picture_pc_743cd9d82cd4a15a2e0f454ed0ebc969.jpeg?width=1200)
![画像10](https://assets.st-note.com/production/uploads/images/45761312/picture_pc_bf7b330b464274dc335b256494adb98f.png?width=1200)
![画像11](https://assets.st-note.com/production/uploads/images/45766331/picture_pc_89913113d22a3a54e004b5ce2a71972a.jpeg?width=1200)
![画像13](https://assets.st-note.com/production/uploads/images/45766474/picture_pc_574695315204dd1ccb57ca12b8ddb5c1.jpeg?width=1200)
![画像13](https://assets.st-note.com/production/uploads/images/45766548/picture_pc_a51389c690310da9f6da0ba432380b4f.png?width=1200)
The tire will hit, so scrub a little.
タイヤが干渉するのでちょっと削ります🤏
![画像14](https://assets.st-note.com/production/uploads/images/45766824/picture_pc_7f039c4e985d48e9568b3c6e552b1d9f.jpeg?width=1200)
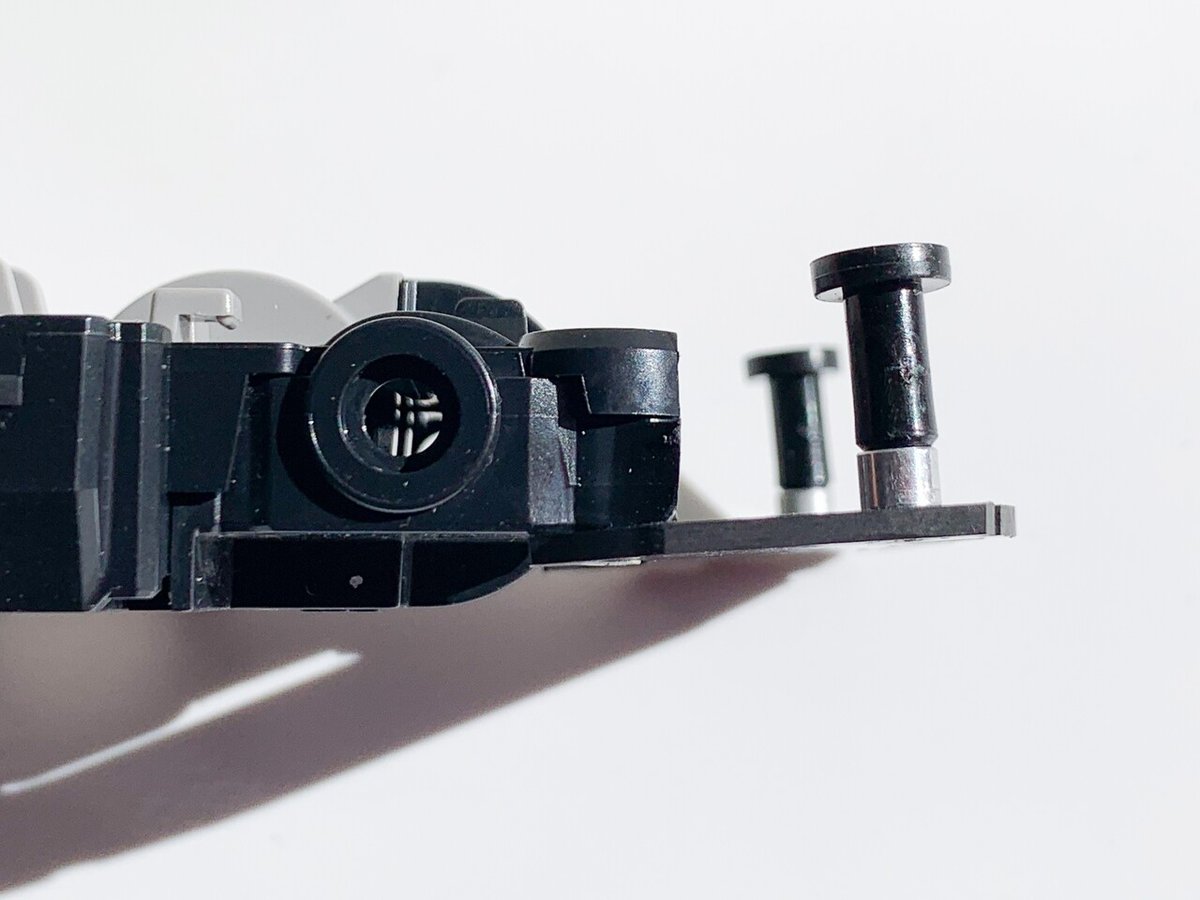
Wheel bush / ホイールブッシュ
![画像15](https://assets.st-note.com/production/uploads/images/45767065/picture_pc_604b41ba8ddd92e18e778a349ed6715a.png?width=1200)
Make a hole with a pin and then expand to 1.8mm.
ピンで穴を開けてから1.8mmに拡大します。
![画像16](https://assets.st-note.com/production/uploads/images/45767280/picture_pc_74284201bcb679da9f6e1559f6039eae.jpeg?width=1200)
![画像17](https://assets.st-note.com/production/uploads/images/45767382/picture_pc_a58849e1a26056f44128a5c998763cd6.jpeg?width=1200)
Finished ✅ 完成!
[update / アップデート]
![](https://assets.st-note.com/img/1640134361993-xkcMf0f2me.jpg?width=1200)
Initially I used PP wheel bushes and aluminum spacers for the stanchions, but now I recommend POM spacers. POM has a long life, is resistant to friction, and strokes smoothly. Please use spring washers as the POM is easy to loosen.
当初はPPホイールブッシュやアルミスペーサーを支柱に使ってましたが、POMスペーサーをおすすめします。POMはライフが長く、摩擦に強く、そしてスムーズにストロークします。POM支柱は緩みやすいのでスプリングワッシャーを使用してみてください。
2.Chassis processing / シャーシ加工
![画像25](https://assets.st-note.com/production/uploads/images/45769865/picture_pc_c4a87239efe2b18af4175dc92a3f797a.jpeg?width=1200)
Cut the bumper. Glue the t1.5mm carbon scraps.
バンパーをカットし、1.5mm厚カーボン端材を瞬着で貼ります。
![画像26](https://assets.st-note.com/production/uploads/images/45770119/picture_pc_f67f1b9f6c9757693cca9665b670d173.png?width=1200)
![](https://assets.st-note.com/img/1640078370589-xnH3x09eLm.png?width=1200)
![画像27](https://assets.st-note.com/production/uploads/images/45770172/picture_pc_61d6fcb41ca52bc81d36afc5b09bee04.jpeg?width=1200)
![画像18](https://assets.st-note.com/production/uploads/images/45768018/picture_pc_c7658a33588e59ca50ccb00bd5098318.jpeg?width=1200)
![画像19](https://assets.st-note.com/production/uploads/images/45768127/picture_pc_b310db2262024834a4cf4e576fe3dfd3.jpeg?width=1200)
File the bottom of the chassis with a plate file.
シャーシ底を板ヤスリで斜めにヤスリます。
![画像20](https://assets.st-note.com/production/uploads/images/45768279/picture_pc_42333bb4729fa286c745adafec7ad6eb.jpeg?width=1200)
![画像21](https://assets.st-note.com/production/uploads/images/45768467/picture_pc_163d80fd76bf53046c98b72f57970dc7.jpeg?width=1200)
![画像27](https://assets.st-note.com/production/uploads/images/45771315/picture_pc_0e26eb09224a2eeca7986a36e564c0b2.jpeg?width=1200)
![画像27](https://assets.st-note.com/production/uploads/images/45771609/picture_pc_557defc34edcd5b731e902ccb7c27e32.jpeg?width=1200)
Adjust the brake plate so that it is negative 3 to 3.5 degrees.
ブレーキ板がマイナス3からマイナス3.5度になるように調整します。
![画像24](https://assets.st-note.com/production/uploads/images/45768985/picture_pc_9951bab74ab00e6d9258f3e23f533457.jpeg?width=1200)
That’s not bad. If the angle is too high, the brakes will not work. Pay attention to the angle.
The tire is supposed to be about 23.5mm, and a t2mm sponge brake is used. 30degree bank through specification of 3 lanes.
ええ感じすね🐑。角度付けすぎるとブレーキ効かなくなります笑。カチ上げすぎないように。
タイヤは23.5mm位を想定していて、2mm厚スポンジブレーキを使用します。3レーンの30度バンクスルー仕様です。
![](https://assets.st-note.com/img/1640078186421-3EY0aB6Gfs.png?width=1200)
It's easy to get caught by moving up and down, so it's a good idea to cut diagonally.
上下動で引っ掛かりやすいので斜めに追加カットするといいですよ。
3. Make a front bumper / フロントバンパー作成
[upper plate / アッパープレート]
![画像28](https://assets.st-note.com/production/uploads/images/45774182/picture_pc_b93e3ad3cf0020d42c3b8cddb389de4b.jpeg?width=1200)
![画像29](https://assets.st-note.com/production/uploads/images/45774197/picture_pc_81b44c4f126e9b2aef7efeaf9582daab.jpeg?width=1200)
![画像30](https://assets.st-note.com/production/uploads/images/45774212/picture_pc_de357f91fcb39bced1b70bd220b24f72.jpeg?width=1200)
![画像31](https://assets.st-note.com/production/uploads/images/45774363/picture_pc_2e521d33249ca87fe83ace7b32794595.png?width=1200)
![画像32](https://assets.st-note.com/production/uploads/images/45774669/picture_pc_453db938f8c1764c8d09fefab391a4d1.png?width=1200)
![画像33](https://assets.st-note.com/production/uploads/images/45774695/picture_pc_5731f3cdd6fd0a172a5c05a1963068eb.jpeg?width=1200)
![画像34](https://assets.st-note.com/production/uploads/images/45775044/picture_pc_98298cca6a74ad98cd82db3c22e6916c.png?width=1200)
Reference cut line / 基準カットライン
You can fine-tune the amount of backslide by changing this cut line.
このカットラインを変更するとバックスライド量を微調整できます。
![画像35](https://assets.st-note.com/production/uploads/images/45776258/picture_pc_601dcb4b8407c972fff52b3ec431188f.jpeg?width=1200)
![画像40](https://assets.st-note.com/production/uploads/images/45783354/picture_pc_0eca4553a50e3db7f02df2ebe29db0c2.jpeg?width=1200)
![画像40](https://assets.st-note.com/production/uploads/images/45783447/picture_pc_6756267e3ce95bf466e79a87c24763f9.jpeg?width=1200)
![画像40](https://assets.st-note.com/production/uploads/images/45783714/picture_pc_68fc60304b82292d774cf5f6593db7c0.png?width=1200)
![画像40](https://assets.st-note.com/production/uploads/images/45784076/picture_pc_5f042c8ebcb03af36764bbc42efb57d3.png?width=1200)
Cut a little inside the aluminum spacer.
アルミスペーサーのちょっとだけ内側でカット。
![画像44](https://assets.st-note.com/production/uploads/images/53876520/picture_pc_0baa8b76775049b07db34497045ac658.png?width=1200)
Postscript / 追記
Cut into a round shape for stress distribution. Finishing it round will prevent cracks.
応力分散のため丸くカットしましょう。丸く仕上げる事でクラックを防止します。
![画像40](https://assets.st-note.com/production/uploads/images/45784426/picture_pc_ba691c11aba0cd226480a4d497767a93.jpeg?width=1200)
![画像41](https://assets.st-note.com/production/uploads/images/45784640/picture_pc_ff9d1bb1a8801ab754beec5b93148569.jpeg?width=1200)
Repeat fine adjustments with a plate file so that it moves up and down smoothly with as little horizontal play as possible.
The backslide anchor does not slide sideways. Slide back.
なるべく横ガタがなく、スムーズに上下に動くように板ヤスリ等で微調整を繰り返します。
バックスライドアンカーは横にはスライドしません。後ろにスライドします。
![画像42](https://assets.st-note.com/production/uploads/images/45785101/picture_pc_c79a0a6532f25eb983323aad6acfe55b.jpeg?width=1200)
Finished ✅ 完成!
![画像43](https://assets.st-note.com/production/uploads/images/45785198/picture_pc_a21f8e1a06ace4dcf4d0fefc3b0b57aa.jpeg?width=1200)
That's all for today. Next time, I will start with the under plate of the front bumper. Stay tuned 👋
今日はここまで。次回はフロントバンパーのアンダープレートから始めます。お楽しみに。
Related article 💁♂️関連記事
Backslide anchor / バックスライドアンカー
Related article 💁♂️関連記事
2step anchor / 2ステップアンカー
-.-.-.-.-.-.-.-.-.-.-.-.-.-.-.-.-.-.-.-.-.-.-.-.-.-.-.-.-.-.-
Thank you for watching!
I would be happy if you could tap the ♡ mark at the bottom right.
See you again👋 BECK JPN
ご視聴ありがとうございます。
右下の♡ボタンをTAPしてもらえると喜びます。
ではまた!
Feel free to follow me🌊🌊🌊
instagram.com/beck.jpn
twitter.com/beckjpn_
YouTube
youtube.com/c/BECKJPN
この記事が気に入ったらサポートをしてみませんか?