
Backslide anchor 4

Related article 💁♂️関連記事
Backslide anchor 1
Backslide anchor 2
Backslide anchor 3
Backslide anchor 4
The back slide anchor is finally complete. This time, I will explain about lanterns and cowl damper.
In this series of works, each gimmick is completely independent and does not interfere with each other. Actually, this is a great thing, because the weight of each moving part can be lightened, the operation response is very good.
Let's make it together!
いよいよバックスライドアンカー完結編。今回はボルトオン組み継ぎ提灯とボディダンパーをご紹介いたします。
今回の一連の作品は各ギミックが完全に独立し、互いに干渉していません。実はこれは凄い事で、各稼働部分の重量を軽く出来る事に繋がります。各ギミックの質量が軽いと初期レスポンスがとても良く、正確に作動します。
モータースポーツ界隈では稼働部分の軽量化は固定物軽量化の2〜3倍の効果があるというのが一般的。いわゆる慣性モーメントの減少ですね。って理屈っぽい話は置いといて…笑
それではどうぞ!
Postscript
When I think about it now, it was a very special lantern. The point is anything as long as the bumper and lantern are separated. By separating the lantern and the lantern, the lightest and lightest G system in history is completed, and you can clear the lane change at a tremendous speed. Please make your favorite lantern.
追記
記事公開して数ヶ月経ちましたが、今思えばかなり特殊な提灯でした笑。ポイントはバンパーと提灯が分離していれば何でもOKです。バクスラと提灯と分離する事で史上最速稼働最軽量のGシステムが完成し、LCパコパコ入ります。お好きな提灯を作ってくださいね。

VZ


MS


FMA

MS
-.-.-.-.-.-.-.-.-.-.-.-.-.-.-.-.-.-.-.-.-.-.-.-.-.-.-.-.-.-.-
9. Lantern / ランタン


👆This part is called a lantern in Japan, but I don't know what it is called abroad. I hope the lantern conveys the meaning.
日本では提灯と呼ばれていますが、国外では何と呼ばれているか知りません。ランタンで意味が伝われば良いですねー。
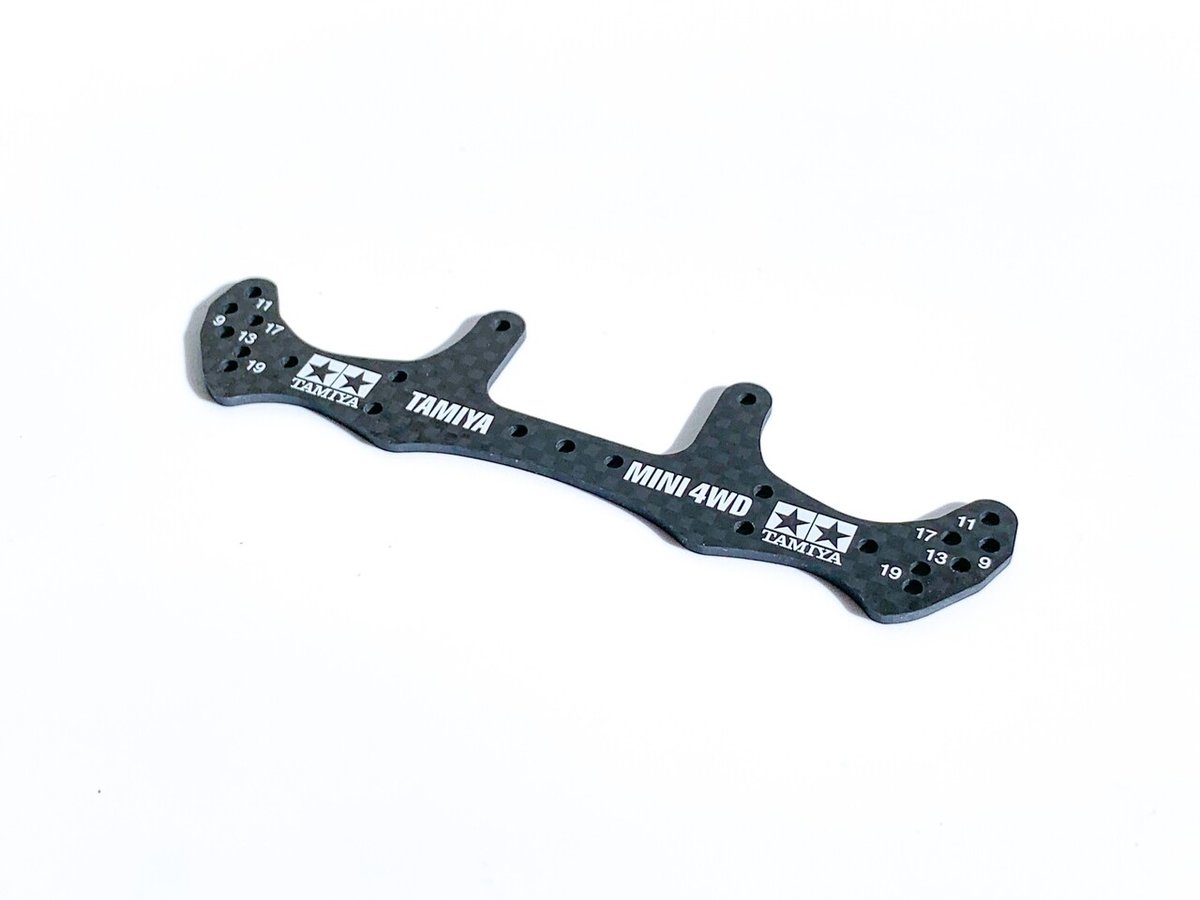
10. Make a lantern center plate / 提灯センタープレート作成


cut🪚

Finished ✅
11. Make a main arm / メインアーム作成

Make a hole diagonally so that the lantern can be opened easily.
しっかり提灯が開くようにナナメに穴を開けます。

I'm sorry for the different photo, but I crimp the eyelets with a countersunk screw like this.
違う写真で申し訳ないですが、こんな風に皿ビスでハトメをカシメます。

Push and bend the eyelets with the motor shaft to familiarize them, and secure the lantern opening.
モーターシャフトでハトメを押し曲げて馴染ませ、提灯開度を確保してください。

Frontside / 表側

Backslide / 裏側
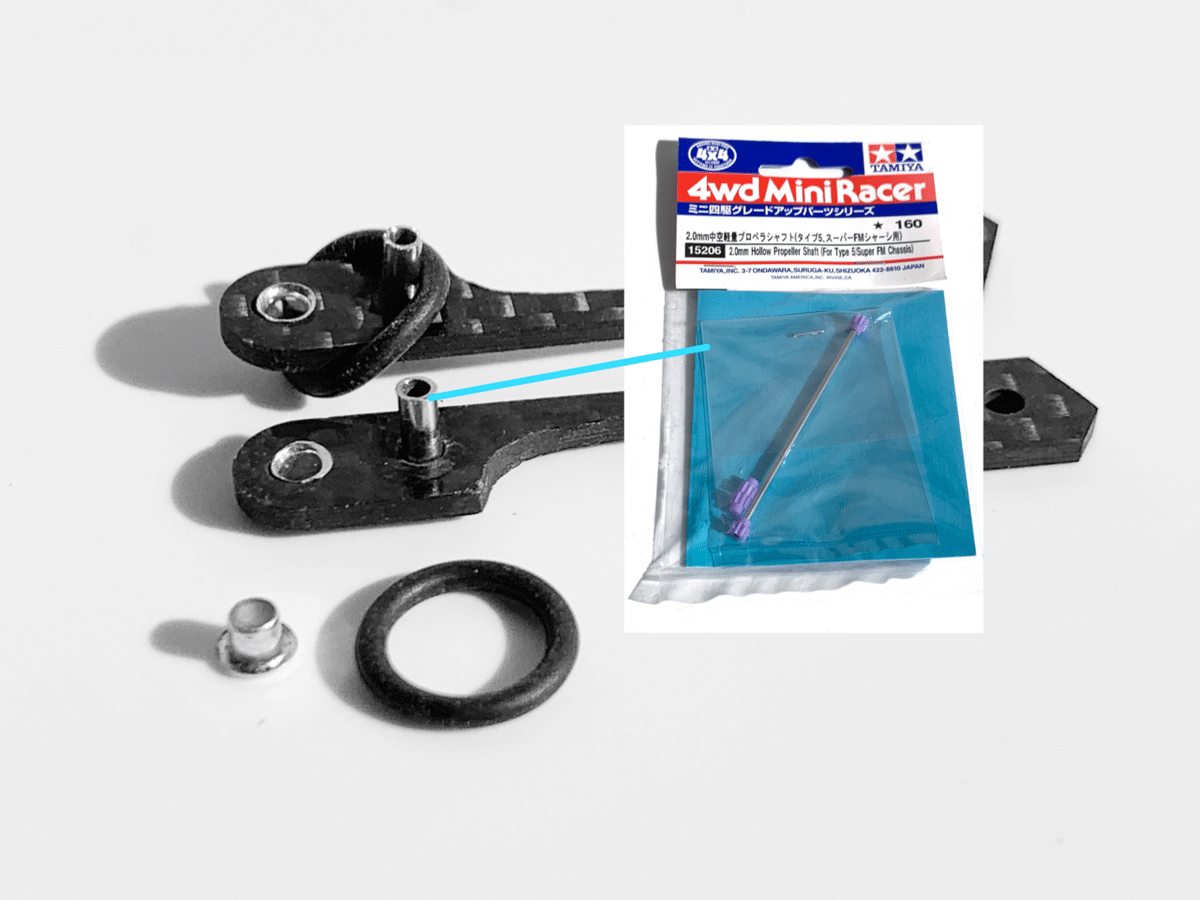
GUP 15206

Backslide
The O-ring is often lost when the lantern is attached or detached, so glue it with glue.
提灯脱着時によくOリングを紛失するので、瞬着で接着します。

Finished ✅

The screw end hits the chassis.
The length of the screw is your choice.
長ビスがシャーシを直接叩きます。
ビス長はお好みでどうぞ。
12.Make a side arm / サイドアーム作成


👆Glued 3mm thick carbon. The angle is your choice. Make left and right.
貼り合わせた3mmカーボン。角度はお好みで。左右作ります。


Finished ✅
13.Assembling the lantern / 提灯の組み立て


Completed by pouring glue ✅
瞬着を流し込んで完成!
14. Installation of lantern post / 提灯ステー取り付け


Finished ✅
Please adjust the length of spacers and screws.
スペーサーやビスの長さは調整してください。
15. Cowl damper / ボディーダンパー

I thought it would be possible to omit the catcher damper.
キャッチャーダンパーを省略できればと思い考案に至りました。

I will explain with TRF racer Jr.
TRFワークスJrでお話し進めますね。

Rear view. Screw GFRP or carbon plate to the cowl end.
リアビュー。ボディー後端にFRPやカーボン板をビス止めします。

This GFRP is about 1g. If there are few, please add one. The jumping posture changes.
こちらのFRPは約1g。少ない場合はもう一枚足してください。
16. Cowl mounting / ボディ取り付け


👆Cut because the lantern screw interferes. Battery holderless specifications are desirable.
提灯ビスが干渉するのでカット。電池ホルダーレス仕様が望ましいですね。


Adjusted the height by sandwiching the plastic 620 between the cowl posts
ボディステーのビスにプラスチック620を挟んで高さ調整しました。


Finished ✅
17. Install the lantern / 提灯取り付け


👆Hook the o-ring (lantern lifter) on the screw.
提灯のリフターをビスに引っ掛けます。


TRF Racer Jr🔥
I write it in 4 parts, but this is the end of the back slide anchor. It would be great if it could be a hint for your inspiration!
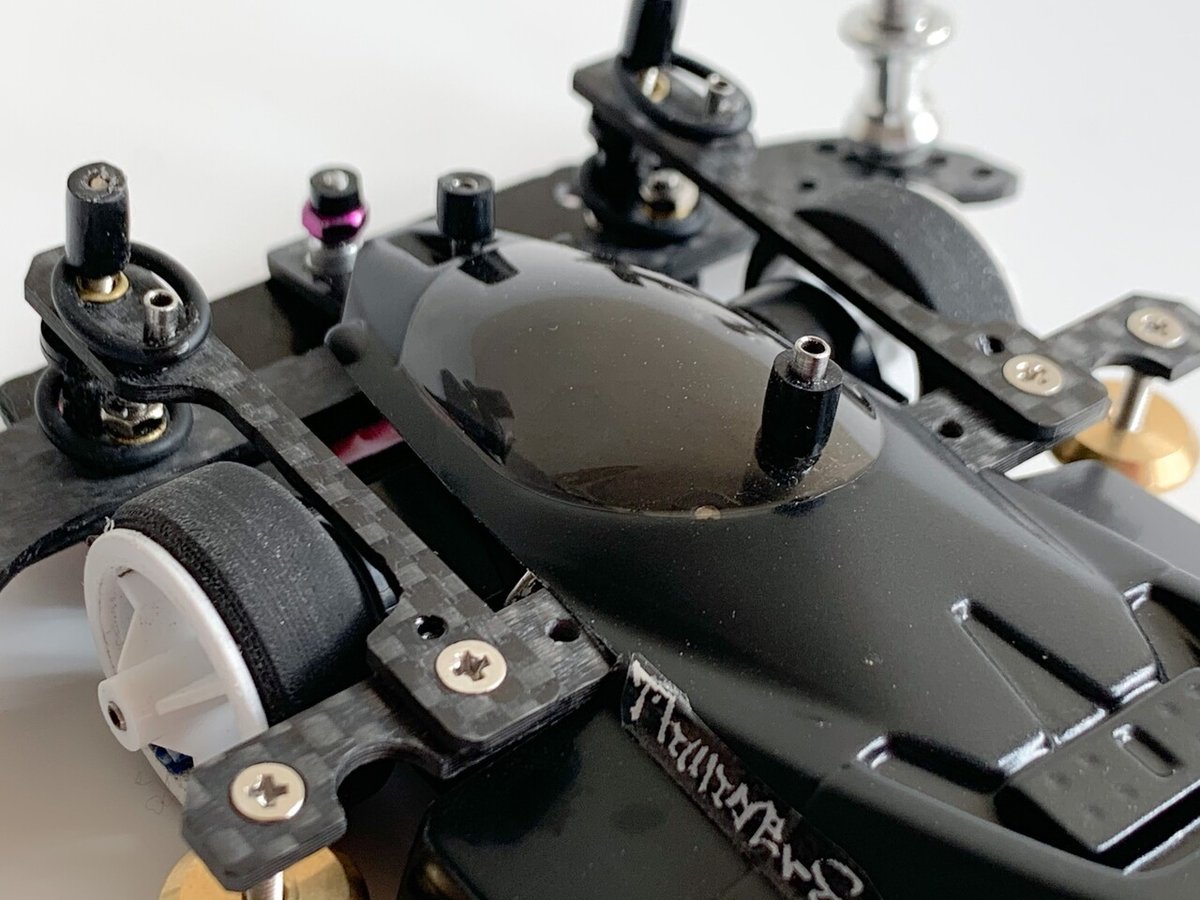
18. Maintenance / メンテナンス

Postscript
If an aluminum spacer is used, the carbon side will wear, and lateral play will gradually increase, causing cornering deceleration.
Regularly apply a thin layer of Super Glue to the blue line to reduce the lateral clearance.
追記
アルミ支柱を使うとカーボン側が摩耗し、次第に横ガタが増えてコーナリングが遅くなります。
定期的に青線部分に瞬着を薄く塗り、横ガタクリアランスを減らしてみてください。もし瞬着を塗り過ぎた場合はヤスって微調整してください。
19.Update / アップデート

Please spread it out a little as shown in the picture. Widen the entrance. It's just a little.🤏 The vertical stroke changes smoothly.
写真のように手前を少しだけ広げてみてください。ほんの少しです。上下ストロークの引っ掛かりが解消される場合があります。
-.-.-.-.-.-.-.-.-.-.-.-.-.-.-.-.-.-.-.-.-.-.-.-
I wrote it in four parts, but the backslide anchor is complete. I hope it will be a hint for your inspiration!
以上4回に分けてお送りしましたが、これにてバックスライドアンカーは完結です。皆様のインスピレーションのヒントになれば幸いです!
Related article 💁♂️関連記事
Backslide anchor / バックスライドアンカー
Related article 💁♂️関連記事
2step anchor / 2ステップアンカー
-.-.-.-.-.-.-.-.-.-.-.-.-.-.-.-.-.-.-.-.-.-.-.-.-.-.-.-.-.-.-
Thank you for watching!
I would be happy if you could tap the ♡ mark at the bottom right.
See you again👋 BECK JPN
ご視聴ありがとうございます。
右下の♡ボタンをTAPしてもらえると喜びます。
ではまた!
Feel free to follow me💡
instagram.com/beck.jpn
twitter.com/beckjpn_
YouTube
youtube.com/c/BECKJPN
この記事が気に入ったらサポートをしてみませんか?