
[Shopify]アプリを使わずにお気に入り機能を付ける(Dawn)51/100

こんにちは。Shopify専門エンジニアのまりん(@crowd37cord)です。
アプリを使わないでお気に入り機能をつけてみようと思い作ってみました。クライアントさんでもたまにサードパーティアプリは使いたくないという所も結構ありますよね。
手順が多いのでちょっとめんどくさいです。アプリを使った方が早いのでアプリ使っても問題ないという場合はアプリのほうが良いと思いますよ。
対象テーマ:Dawn
Debutなど他のテーマでもレイアウトとかは異なると思いますが使えると思うので一度試してみて下さいね。
✔️今回のゴール
下記の動作になります
1)商品ページのお気に入りボタンクリックするとお気に入りリストに追加
2)お気に入りリストからカートへ追加
※カートに追加しても自動的にお気に入りリストからそのアイテムは消えません
3)商品ページのお気に入りボタンを再度クリックするとお気に入りリストから削除
4)お気に入りボタンにグーグルアナリティクスのイベントを付与
※GAでどの商品がお気に入りに登録されやすいのか分析できるようにしました
5)ログイン/ログアウトしているかは関係なしで使えるようにする
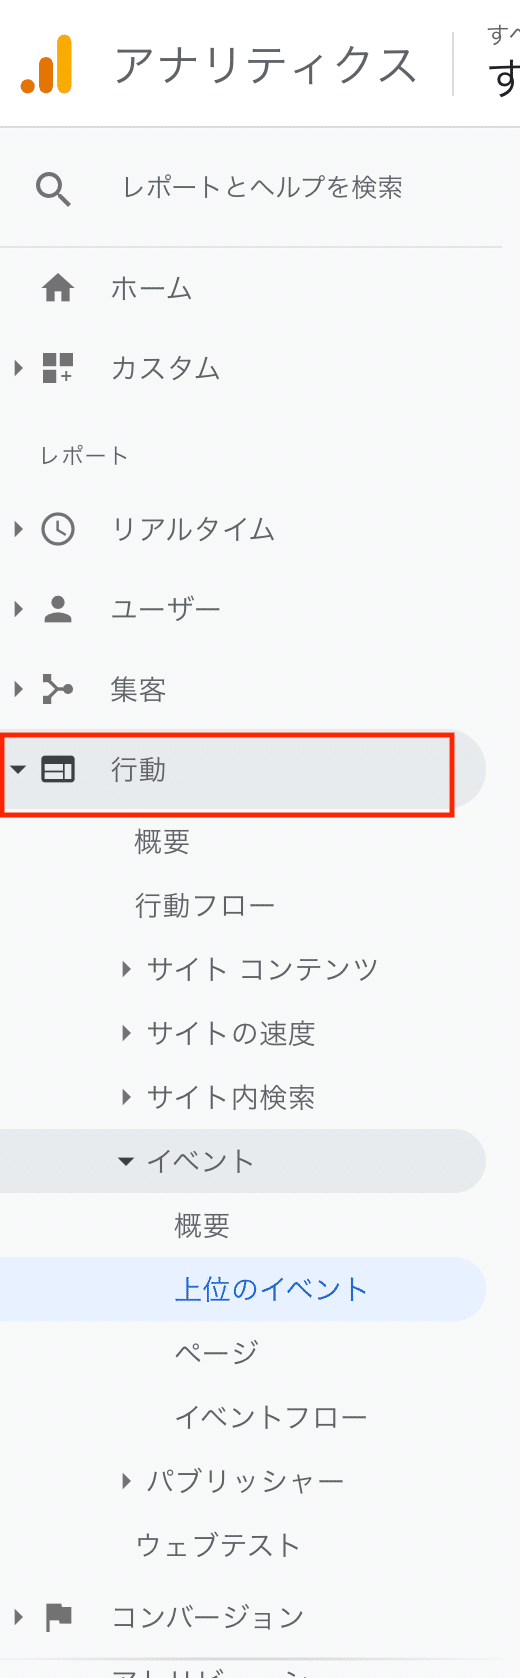
GAでクリック数をチェック
GAのイベントはこちら
イベント名:Wishlist Icon Click
イベントアクション:商品タイプ
イベントラベル:商品名

カートに追加された数とお気に入りリストに追加された数を比較してみたり色々使えると思います。
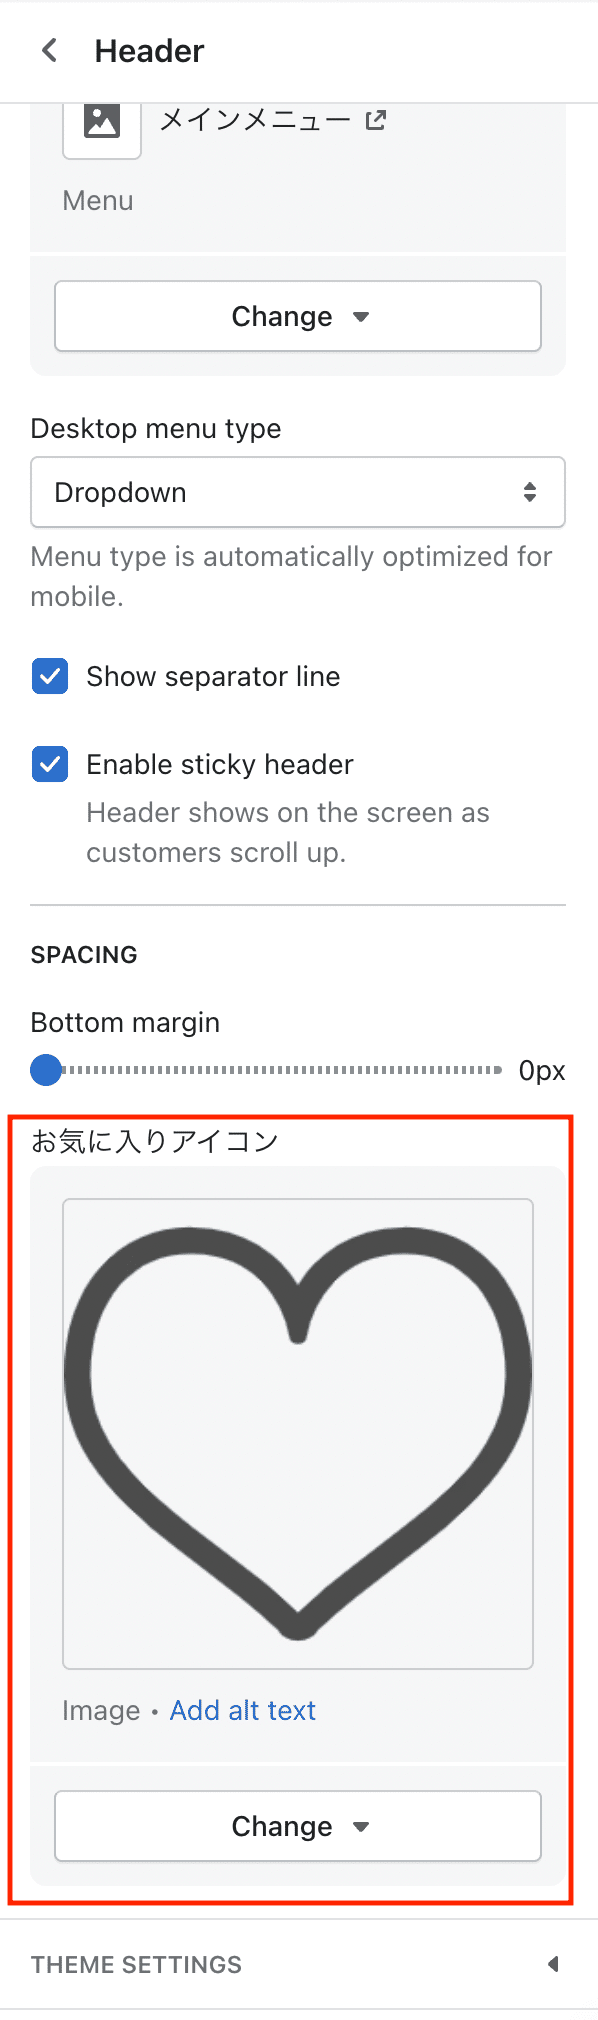
CMSの特徴
2箇所変えれます
・ヘッダーのアイコン追加
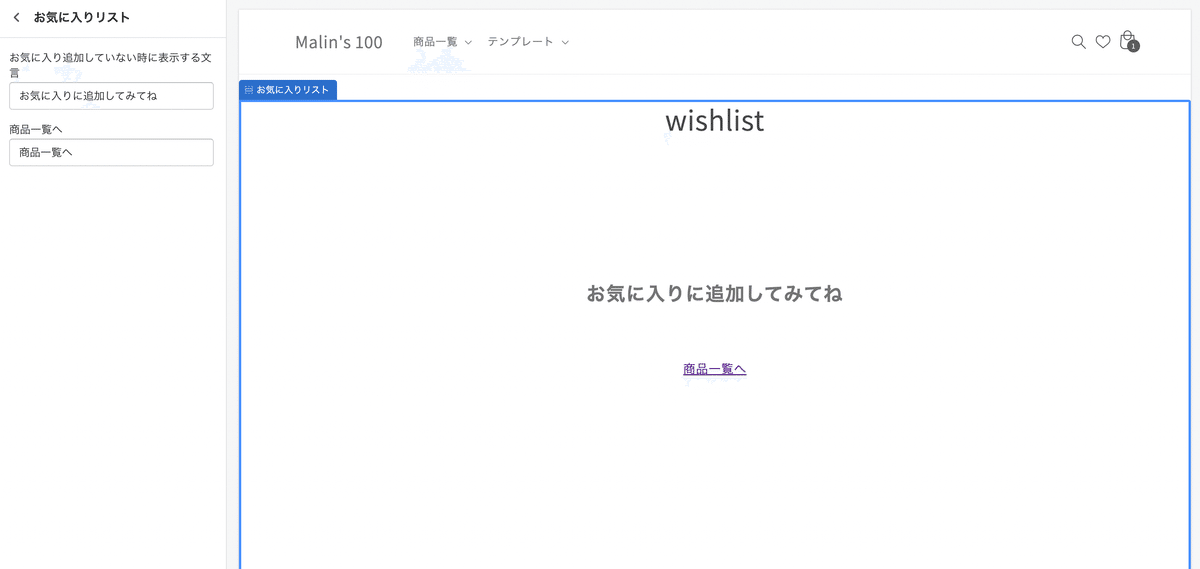
・お気に入りリストの何もリストに入っていない時に表示する文言
✔️設置方法
管理画面>テーマ>コード編集を開いて下さい
事前準備
jQueryを入れないと動かないので事前に入れておいて下さいね。
Step1 スニペットを作る
①新しいスニペットを2個作ります。
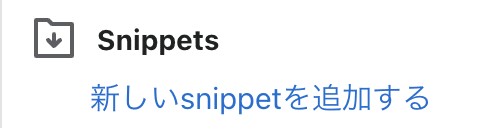
下記のファイル名で作成
1)wishlist-product-list
2)wishlist-button
②作成した各スニペットにそれぞれ下記のコードをコピペ
1)wishlist-product-list
<div class="product-tile-container wishlist-tile-container grid__4col" data-product-id="{{ product.id }}" data-product-handle="{{ product.handle }}">
  <div>
    <div>
      <a href="{{ product.url }}">
        <div class="wishlist__product-img">
          <img src="{{ product.featured_image | product_img_url: 'grande' }}" alt="{{ product.title }}">
        </div>
      </a>
    </div>
    <div>
      <div>
        <p class="wishlist__product-name">{{ product.title | truncate: 18 }}</p>
        {% if product.compare_at_price > product.price %}
          <p class="wishlist__product-price">
            <span><s>{{ product.compare_at_price | money }}</s></span> <span>{{ product.price | money }}</span>
          </p>
        {% else %}
          <p class="wishlist__product-price">{{ product.price | money }}</p>
        {% endif %}
      </div>
      <div>

        <a href="/cart/add?id={{ product.selected_or_first_available_variant.id }}&quantity=1" class="button ">Add To Cart</a>

      </div>
    </div>
  </div>
</div>
2)wishlist-button
<style>
  .icon__heart {
    position: relative;
  }

 a.action--wishlist.tile-actions--btn.flex.wishlist-btn {
  height: 38px;
    width: 38px;
    background: #f1f1f1;
    padding: 1rem;
    border-radius: 50px;
    display:inline-block;
    transition-duration: 0.5s;
  }

  a.action--wishlist.tile-actions--btn.flex.wishlist-btn.is-active {
    background: transparent;
    border: 1px solid #f1f1f1;
  }

  a.action--wishlist.tile-actions--btn.flex.wishlist-btn.is-active > .heart:before,
  a.action--wishlist.tile-actions--btn.flex.wishlist-btn.is-active > .heart:after {
    background: #e63c3c ;
  }

.heart {
  position: absolute;
  width: 25px;
  height: 25px;
  top: 10px;
  left: 6px;

  display: block !important;
}
.heart:before,
.heart:after {
  position: absolute;
    content: "";
    left: 13px;
    top: 0;
    width: 13px;
    height: 20px;
    background: #fff;
    border-radius: 50px 50px 0 0;
    transform: rotate(-45deg);
    transform-origin: 0 100%;
}
.heart:after {
  left: 0;
  transform: rotate(45deg);
  transform-origin :100% 100%;
}

</style>

<div class="icon__heart">
<a class="action--wishlist tile-actions--btn flex wishlist-btn" href="#" data-product-handle="{{ product.handle }}" onclick="ga('send', 'event', 'Wish Icon Click', '{{ product.type }}', '{{ product.title }}');">
  <div class="heart"></div>
</a>
</div>
Step2 セクションを作る
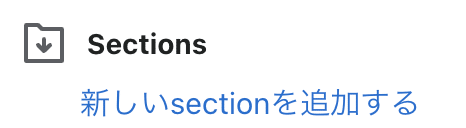
下記のファイル名で作成
・wishlist
wishlist.liquidに下記コピペ
<div class="page-width wishlist">
<div class="wishlist-container">
  <!-- Hero Banner -->
  <div class="wishlist-hero">
    <h1 class="center">{{ page.title }}</h1>
  </div>
  <!-- Product Tile Grid -->
  <div class="wishlist-grid flex">
    {% paginate collections.all.products by 9999 %}
      {% for product in collections.all.products %}
    {% include 'wishlist-product-list' %}
      {% endfor %}
    {% endpaginate %}
    <div class="wishlist-grid--empty-list">
      <div class="empty-list--info">
        <h6 class="empty-list--text black center">{{ section.settings.text }}</h6>
        <a class="btn empty-list--btn center" href="/collections/all">{{ section.settings.shopping }}</a>
      </div>
    </div>
  </div>
  <!-- Loader -->
  <div class="wishlist-loader">
    <p class="wishlist-loader--text">Loading ...</p>
  </div>
</div>
</div>


{% schema %}
{
  "name": "お気に入りリスト",
  "tag": "section",
  "settings": [
    {
      "type": "text",
      "id": "text",
      "label": "お気に入り追加していない時に表示する文言",
	  "default": "お気に入りに追加してみてね"
    },
    {
      "type": "text",
      "id": "shopping",
      "label": "商品一覧へ",
	  "default": "商品一覧へ"
    }


  ]
}
{% endschema %}
Step3 テンプレートJSONファイル作成
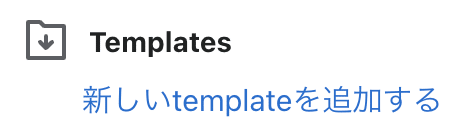
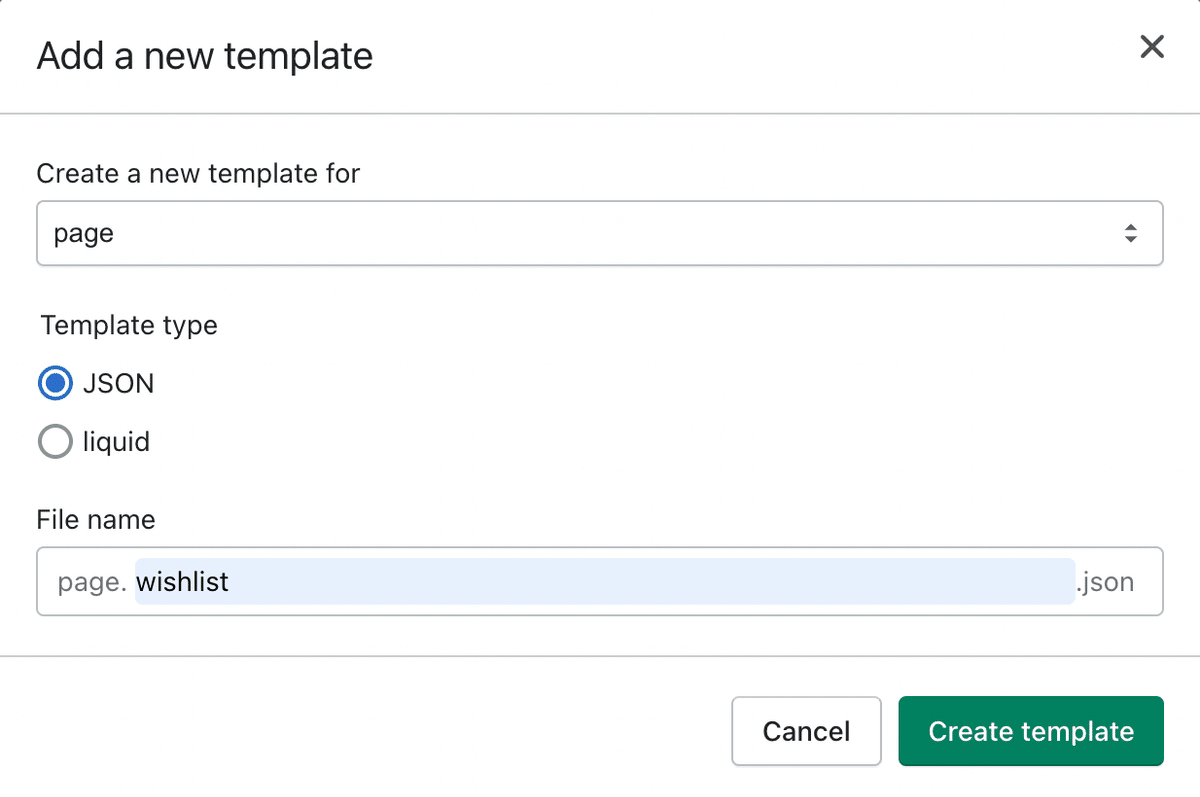
下記のファイル名で作成
・wishlist
page.wishlist.jsonに下記コピペ
{
  "sections": {
    "main": {
      "type": "wishlist",
      "settings": {
      }
    }
  },
  "order": [
    "main"
  ]
}
Step4 AssetにJSファイルを作成

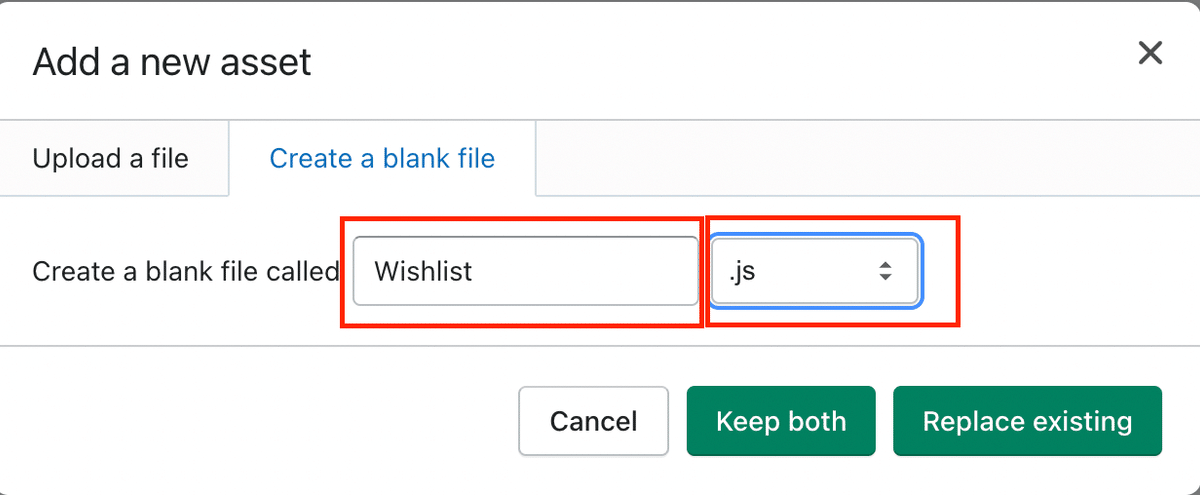
下記のファイル名で作成
・Wishlist.js
Wishlist.jsに下記をコピペ
(function (Wishlist, $) {

  var $wishlistButton = $('.wishlist-btn');
  var $wishlistTile = $('.wishlist-tile-container');
  var $wishlistItemCount = $('.wishlist-item-count');
  var numProductTiles = $wishlistTile.length;
  var wishlist = localStorage.getItem('user_wishlist') || [];
  if (wishlist.length > 0) {
    wishlist = JSON.parse(localStorage.getItem('user_wishlist'));
  }

  /*
   * Update button to show current state (gold for active)
   */
  var animateWishlist = function (self) {
    $(self).toggleClass('is-active');
  };

  /*
   * Add/Remove selected item to the user's wishlist array in localStorage
   * Wishlist button class 'is-active' determines whether or not to add or remove
   * If 'is-active', remove the item, otherwise add it
   */
  var updateWishlist = function (self) {
    var productHandle = $(self).attr('data-product-handle');
    var isRemove = $(self).hasClass('is-active');
    /* Remove */
    if (isRemove) {
      var removeIndex = wishlist.indexOf(productHandle);
      wishlist.splice(removeIndex, 1);
      localStorage.setItem('user_wishlist', JSON.stringify(wishlist));
    }
    /* Add */
    else {
      wishlist.push(productHandle);
      localStorage.setItem('user_wishlist', JSON.stringify(wishlist));
    }
    console.log(JSON.stringify(wishlist));
  };

  /*
   * Loop through wishlist buttons and activate any items that are already in user's wishlist
   * Activate by adding class 'is-active'
   * Run on initialization
   */
  var activateItemsInWishlist = function () {
    $wishlistButton.each(function () {
      var productHandle = $(this).attr('data-product-handle');
      if (wishlist.indexOf(productHandle) > -1) {
        $(this).addClass('is-active');
      }
    });
  };

  /*
   * Loop through product titles and remove any that aren't a part of the wishlist
   * Decrement numProductTiles on removal
   */
  var displayOnlyWishlistItems = function () {
    $wishlistTile.each(function () {
      var productHandle = $(this).attr('data-product-handle');
      if (wishlist.indexOf(productHandle) === -1) {
        $(this).remove();
        numProductTiles--;
      }
    });
  };

  /*
   * Check if on the wishlist page and hide any items that aren't a part of the wishlist
   * If no wishlist items exist, show the empty wishlist notice
   */
  var loadWishlist = function () {
    if (window.location.href.indexOf('pages/wishlist') > -1) {
      displayOnlyWishlistItems();
      $('.wishlist-loader').fadeOut(2000, function () {
        $('.wishlist-grid').addClass('is_visible');
        $('.wishlist-hero').addClass('is_visible');
        if (numProductTiles == 0) {
          $('.wishlist-grid--empty-list').addClass('is_visible');
        } else {
          $('.wishlist-grid--empty-list').hide();
        }
      });
    }
  };


  /**
   * Display number of items in the wishlist
   * Must set the $wishlistItemCount variable
   */
  var updateWishlistItemCount = function () {
    if (wishlist) {
      $wishlistItemCount.text(wishlist.length);
    }
  };

  var bindUIActions = function () {
    $wishlistButton.click(function (e) {
      e.preventDefault();
      updateWishlist(this);
      animateWishlist(this);
    });
  };

  Wishlist.init = function () {
    bindUIActions();
    activateItemsInWishlist();
    loadWishlist();
    updateWishlistItemCount();
  };

}(window.Wishlist = window.Wishlist || {}, jQuery, undefined));
Step5 theme.liquidに追記
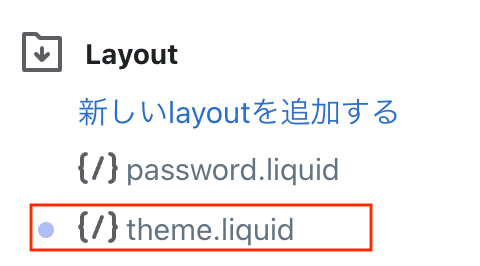
Layoutフォルダ内のtheme.liquidファイルを開く。
</body>タグの直前に下記をコピペ
<!-- Footer Scripts ================================ -->
    {{ 'Wishlist.js' | asset_url | script_tag }}
    <script>
      (function() {
        Wishlist.init();
      }());
    </script>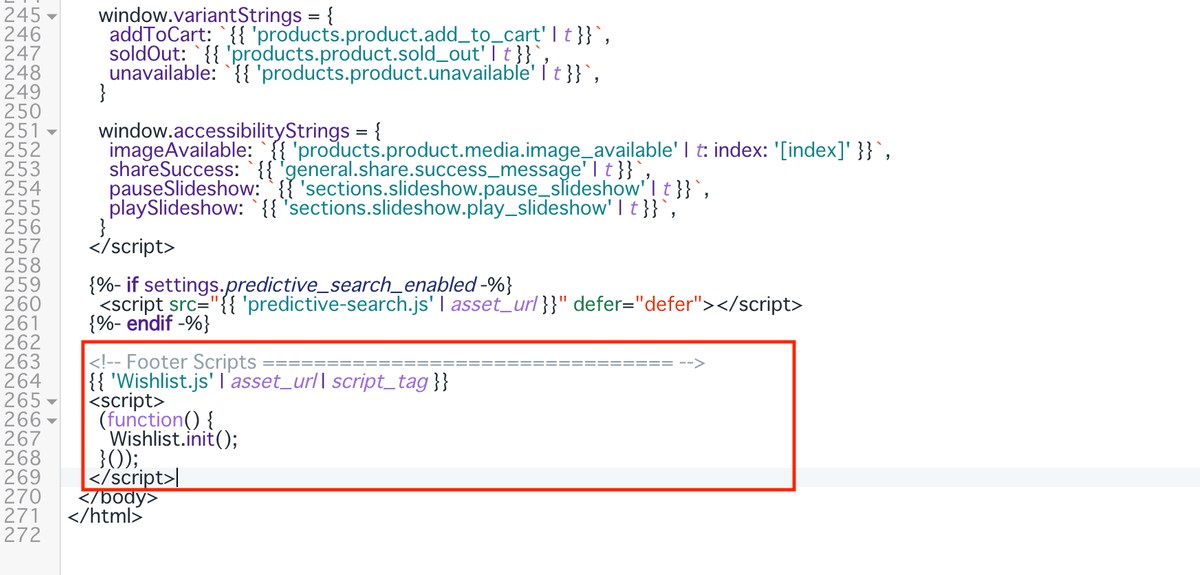
Step6 商品ページにお気に入りボタン設置
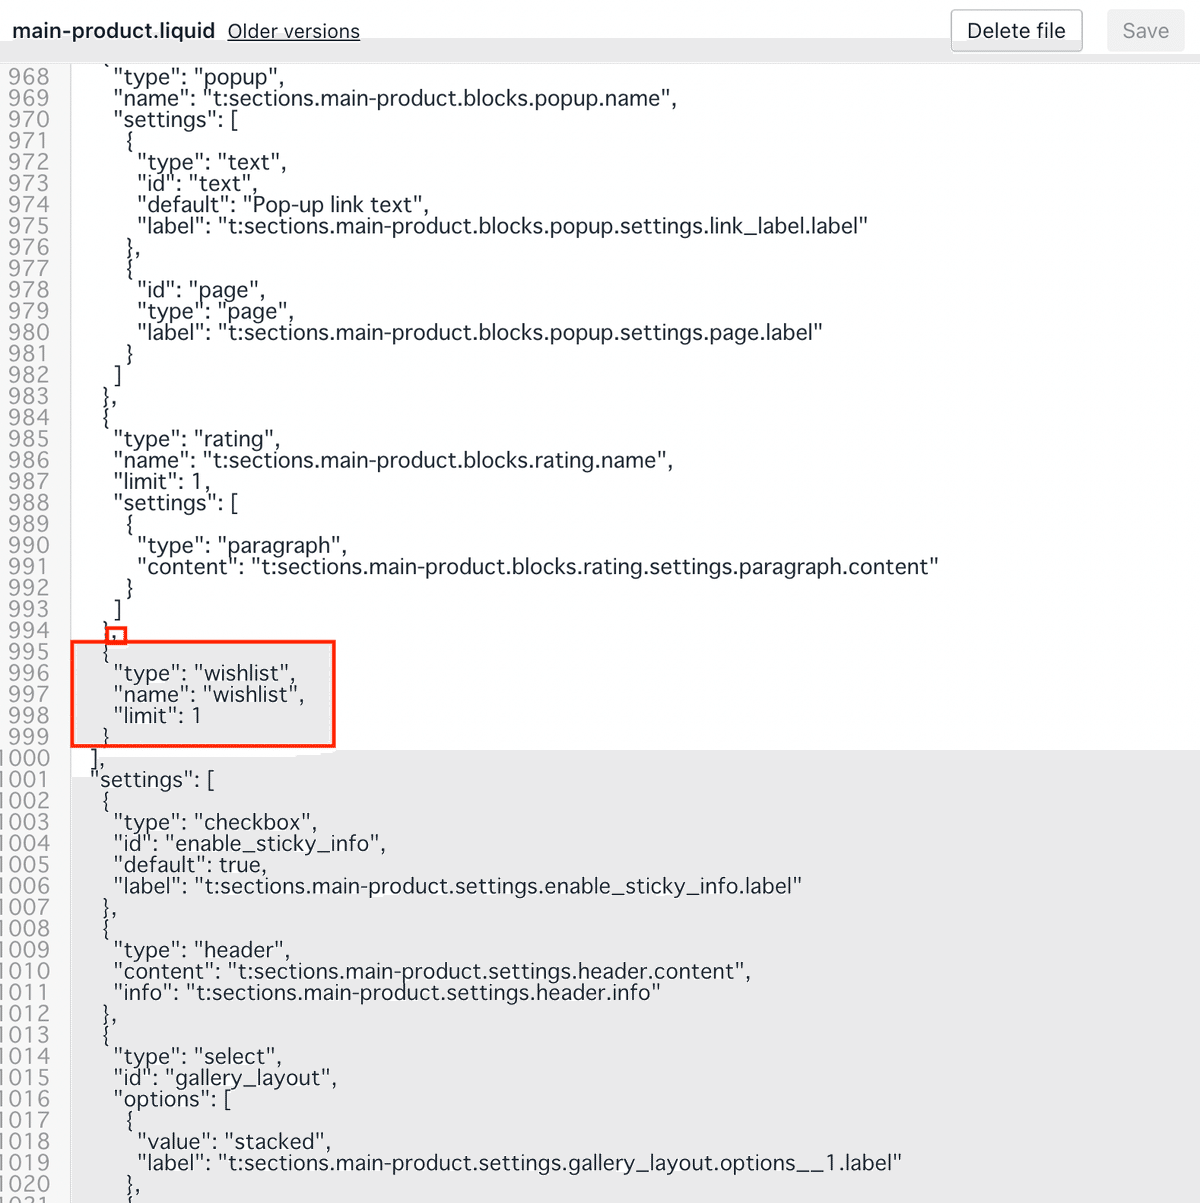
①既存のmain-product.liquidファイルを開く
②Schemaのratingの下に下記コピペ
,
    {
      "type": "wishlist",
      "name": "wishlist",
      "limit": 1
    }
②{%- endcase -%}の直前に下記コピペ
{%- when 'wishlist' -%}
  {% render 'wishlist-button' %}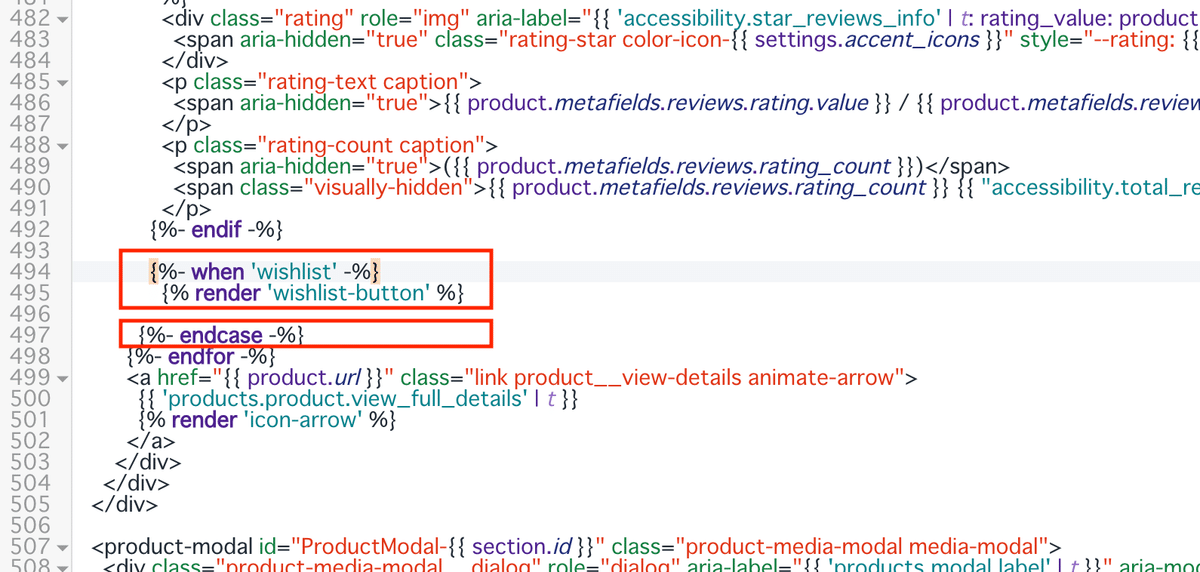
③CMSでブロック追加クリックするとWishlistが追加されているので選択。
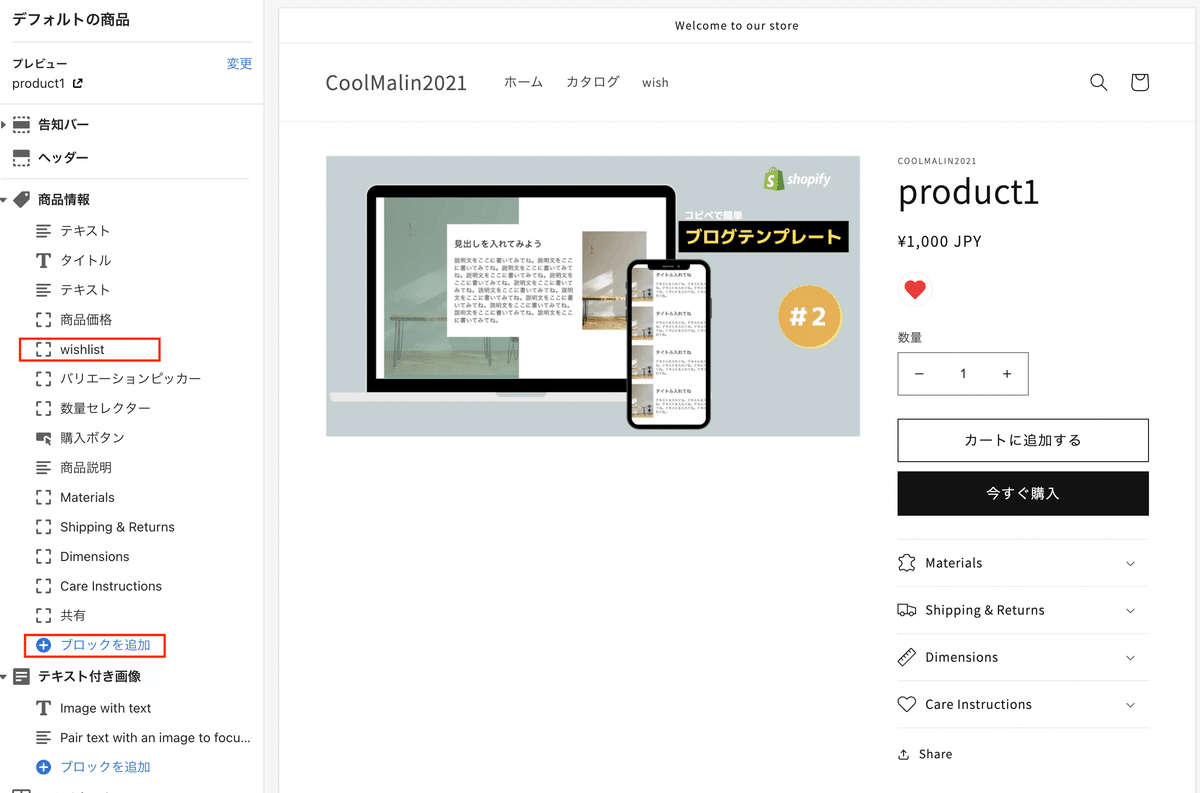
あとはお好きな位置に設置してみて下さい。
ここで、一旦うまく動作しているか確認してみましょう。
Step7 お気に入りリストページ追加
一旦管理画面に戻ります。
①管理画面>ページで新しいページを追加
②テンプレートはwishlistを選択
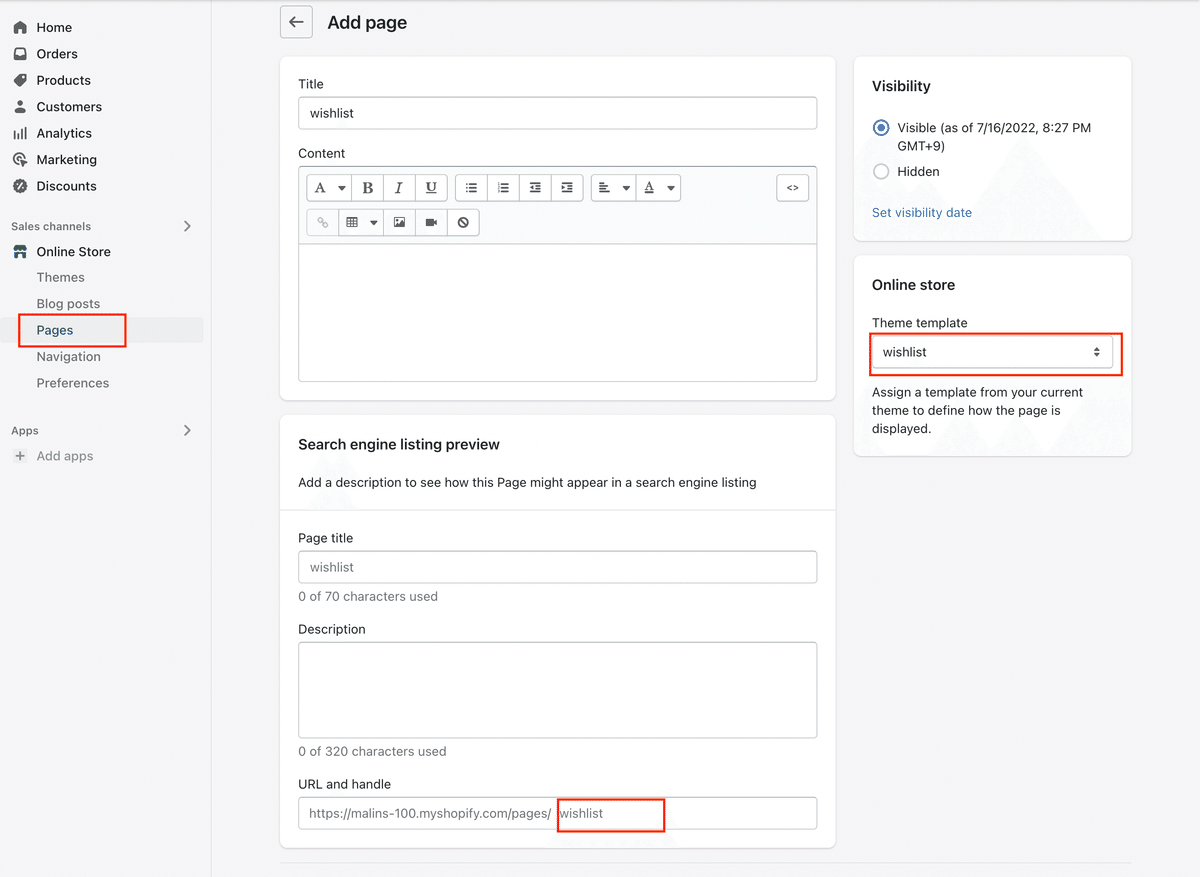
SEO編集箇所のハンドラ名がwishlistになっているか確認。ページタイトルはなんでもOKです。例えばページタイトルを「お気に入りリスト」にするとハンドラ名がwishlistにならないので、その場合は手動でハンドラ名をwishlistに変更して下さい。
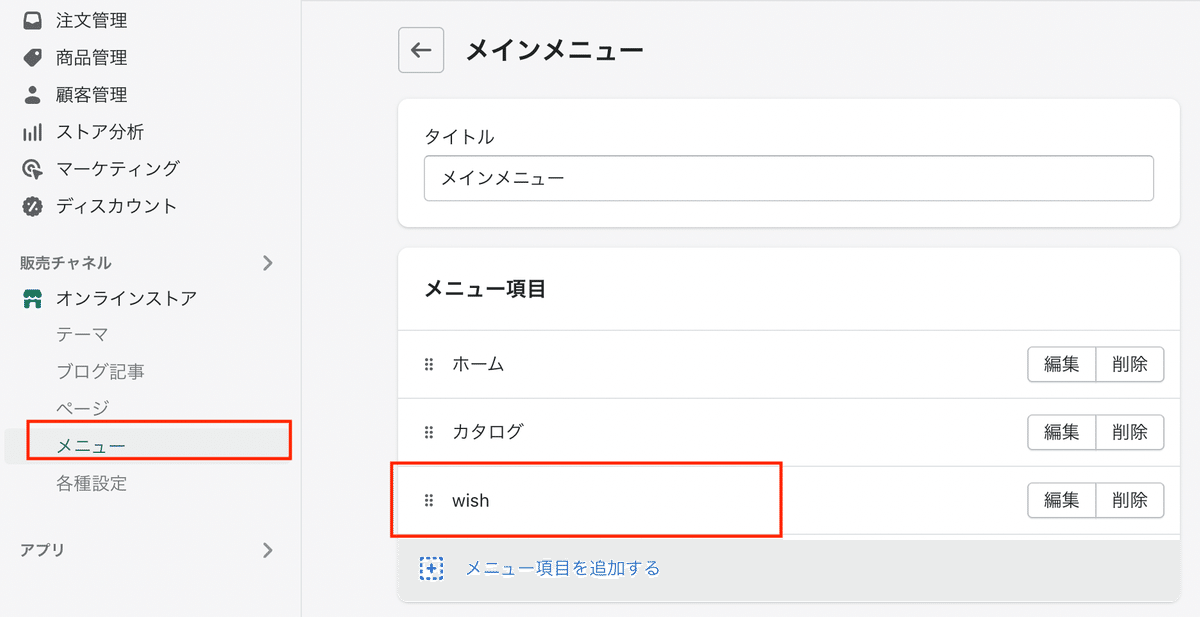
③ヘッダーメニューに追加

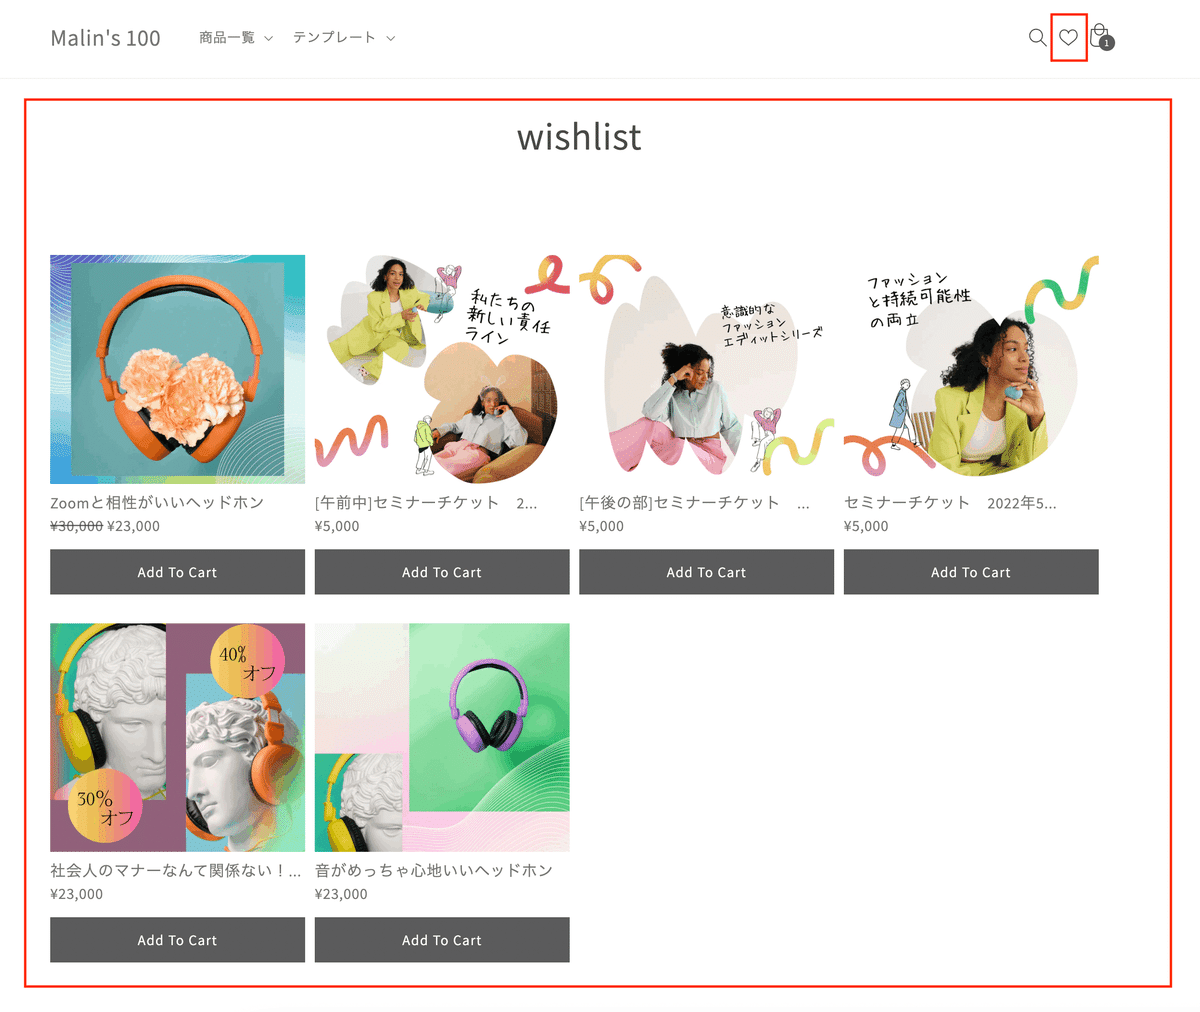
レイアウト部分は後ほどご紹介するので現時点ではレイアウトはめちゃくちゃだと思いますが、商品ページのお気に入りアイコンをクリックしてリストに追加し、そこからカート追加と商品ページのお気に入りアイコンを再度クリックしてリストから消えていたらうまく動作してます。
また、リストからカート追加した時に自動的にリストから消したり、リスト上でお気に入りを外すといった仕様にはしてません。
次は、リスト内のレイアウトとヘッダーにハートアイコンを設置してハートアイコンからリストに遷移するようにします。
もしうまく動作していない場合は、jQueryが入っていない可能性があります。事前準備のリンクから設置してみて下さいね。
Step8 レイアウトを整える
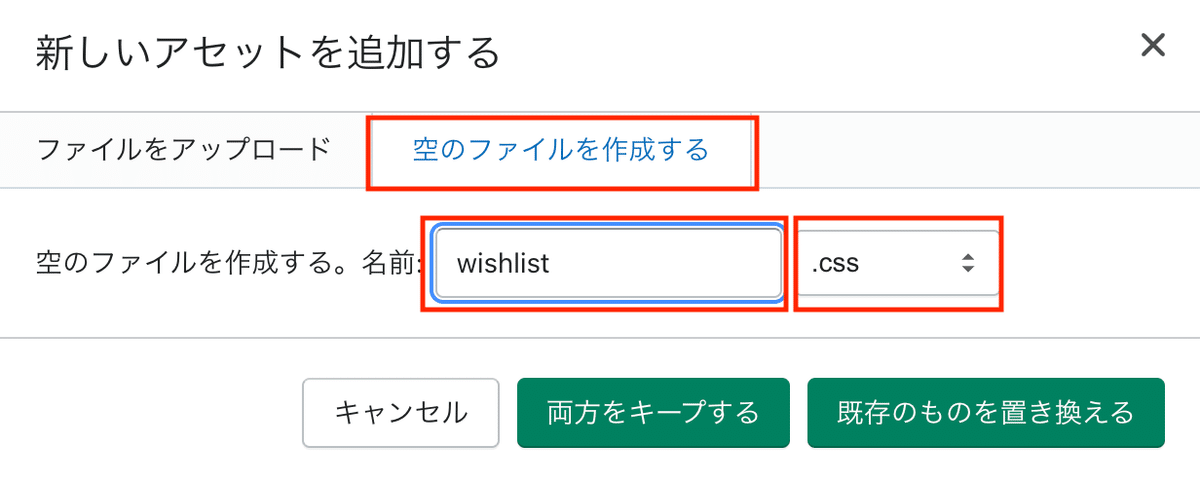
①Assetsを開きwishlist.cssファイルを追加

ここから先は
この記事が気に入ったらサポートをしてみませんか?