
【Gmail】Googleカレンダー招待メールの振り分け方法

GmailでGoogleカレンダーの招待メールを振り分けた手順をまとめました。
新しいラベルの作成
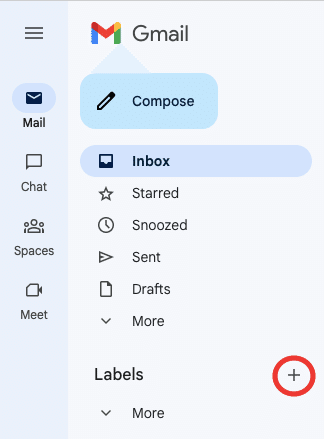
1. GmailのサイドバーLabelsの横にある[+]ボタンを押下します。
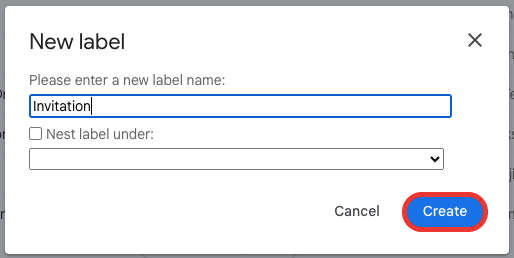
2. ラベル名を入力し、[Create]ボタンを押下します。
フィルターの作成
1. トップバーの検索ボックスにある[Show search options]アイコンボタンを押下します。

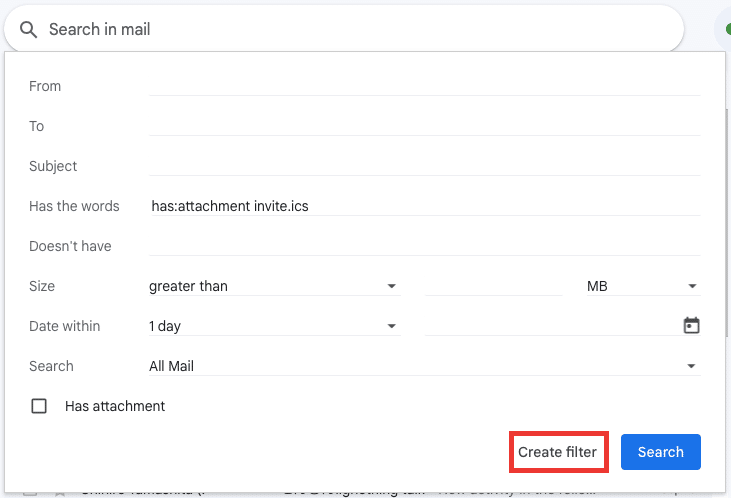
2. Has the wordsに「has:attachment invite.ics」を入力し、[Create filter]ボタンを押下します。
3. 下記項目ににチェックを入れて、[Create filter]ボタンを押下します。
Skip the Inbox (Archive it)
Apply the label: 先ほど作成したラベルを選択
Also apply filter to 〇 matching conversations.

まとめ
今回はGmailでGoogleカレンダーの招待メールを振り分けする方法を紹介しました。
この記事がお役に立てたら幸いです!