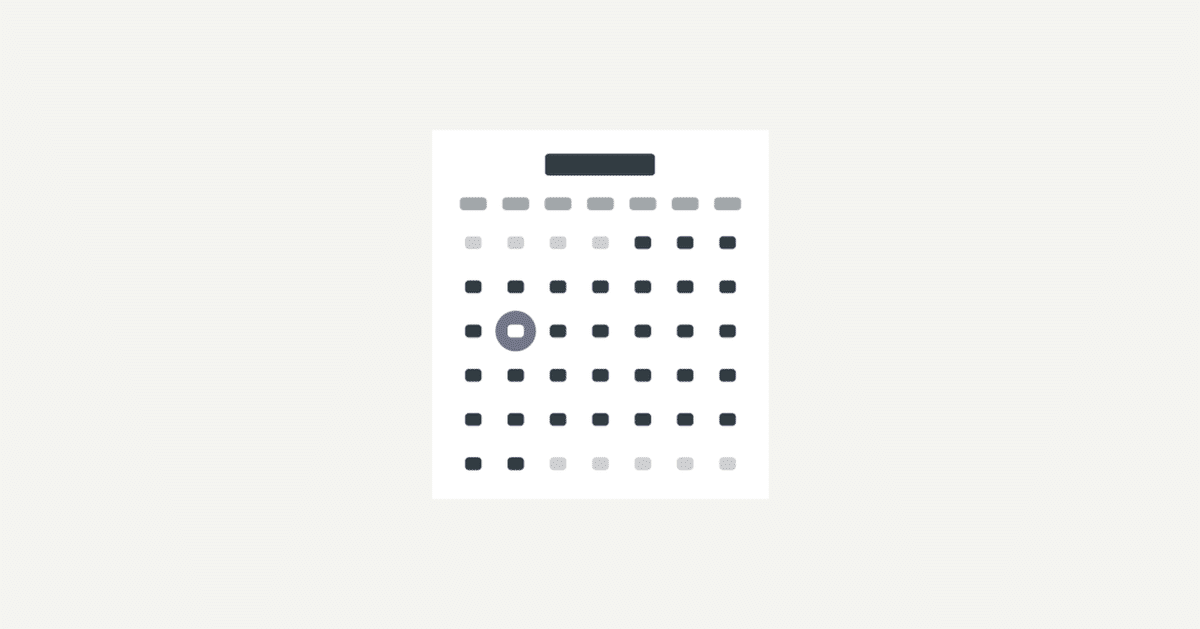
🛠JavaScriptでdayjsを使ってカレンダーを作成

生の JavaScript で日付関係の処理をすると、非常に仕様がわかりづらいため、日付の処理を簡単に書ける dayjs ライブラリを使って簡単なカレンダーを作成してみます。
今月のカレンダーを作成
以下のリンクから完成したデモがみられます。
https://note-demo.netlify.app/dayjs-calendar/basic/
まずは、dayjs をダウンロードします。
$ npm i dayjsそして、JavaScript で生成されたカレンダーを入れるための .c-calendar-container 要素を用意します。
<div class="c-calendar-container"></div>dayjs ライブラリを読み込みます。dayjs/locale/ja を読み込むことで、日本時間で日付が計算されるようになります。dayjs/locale/ja には weekdayShort という日〜土までの曜日が定義された配列があるので、同時に読み込みます。
import dayjs from 'dayjs'
import {weekdaysShort as weekdays} from 'dayjs/locale/ja'

// カレンダーを生成する要素
const element = document.querySelector('.c-calendar-container')
// 現在を取得
const now = dayjs()
// 月初の日付
const start = now.startOf('month')
// 月末の日付
const end = now.endOf('month')
// 月末の日にち
const endDate = end.get('date')
// 先月末の日にち
const lastEndDate = start.add(-1, 'day').get('date')
// 月初の曜日
const startWeekday = start.get('day')
// 月末の曜日
const endWeekday = end.get('day')
// カレンダーのHTML文字列
let calendar = ''
カレンダーに必要な情報を定義しておきます。
// table開始タグ
calendar += '<table class="c-calendar">'
// 年月を表示
calendar += `<caption class="c-calendar_title">${now.format('M')}月 ${now.format('YYYY')}</caption>`
// 曜日の見出しを作成
calendar += `<tr>${weekdays.map(weekday => `<th class="c-calendar_weekday">${weekday}</th>`).join('')}</tr>`
カレンダーの年月と曜日の列を作成します。年月には <caption> タグを使っています。
// tr開始タグ
calendar += '<tr>'

// 先月の日を埋める
for (let date = startWeekday; date > 0; date--) {
  calendar += `<td class="c-calendar_date -prev">${lastEndDate - date + 1}</td>`
}
月初の曜日は 0 から 6 の数字で取得できるため、それを利用して先月の日を埋めます。
// 当月の日にちを出力
for (let date = 1; date <= endDate; date++) {
  const current = now.set('date', date)
  const weekday = current.get('day')

  // 日曜日のとき
  if (weekday === 0) {
    calendar += '<tr>'
  }

  calendar += `<td class="c-calendar_date${date === now.get('date') ? ' -today' : ''}"><span>${date}</span></td>`

  // 土曜日のとき
  if (weekday === 6) {
    calendar += '</tr>'
  }
}
そして、今月の日にちを 1 から順に月末までループして出力します。日曜日に <tr> 開始タグを追加して、土曜日に </tr> 終了タグで閉じることで、1 行ごとに区切っています。
// 来月の日を埋める
for (let date = 1; date < 7 - endWeekday; date++) {
  calendar += `<td class="c-calendar_date -next">${date}</td>`
}
先月の日を埋めたのと同様に来月の日も埋めます。
// 月末の曜日が土曜日でないとき
if (endWeekday !== 6) {
  calendar += '</tr>'
}
月末の曜日が土曜日のときは来月の日にちを入れるスペースがなく、すでに </tr> タグで閉じられているため、それ以外のときに </tr> タグで閉じます。
// table終了タグ
calendar += '</table>'

// HTML挿入
if (element) {
  element.insertAdjacentHTML('beforeend', calendar)
}
あとは </table> タグで閉じて、HTML を挿入するだけです。
.c-calendar-container {
  padding: 5px;
  background-color: #fff;
  @media (min-width: 768px) {
    padding: 12px;
  }
}
.c-calendar {
  max-width: 100%;
  border-collapse: collapse;
}
.c-calendar_title {
  padding: 14px 0;
  font-size: 1.05em;
  font-weight: 500;
}
.c-calendar_weekday {
  padding: 8px 0;
  color: #a3a8ab;
  font-weight: 400;
}
.c-calendar_date {
  padding: 6px 4px;
  text-align: center;
  &.-prev,
  &.-next {
    color: #cecfd1;
  }
  span {
    display: block;
    padding: 8px;
    @media (min-width: 768px) {
      padding: 11px;
    }
    @at-root .c-calendar_date {
      &.-today {
        span {
          color: #fff;
          font-weight: 500;
          border-radius: 50%;
          background-color: #71728e;
        }
      }
    }
  }
}
さいごに、CSS でいい感じにスタイルをつけます。
複数のカレンダーを表示
今月だけでなく、今月以降もカレンダーを表示してみます。
https://note-demo.netlify.app/dayjs-calendar/multiple/
リンクからデモをみられます。
<div class="c-calendar-container"></div>先ほどと同じようにカレンダーを挿入する要素を作成します。
import dayjs from 'dayjs'
import {weekdaysShort as weekdays} from 'dayjs/locale/ja'

const generate = (number = 2) => {
  // 現在を取得
  const now = dayjs()
  // カレンダーのHTML文字列
  let calendar = ''

  // 出力するカレンダーの数だけループ
  for (let i = 0; i < number; i++) {
    // 該当月
    const target = now.add(i, 'month')
    // 月初の日付
    const start = target.startOf('month')
    // 月末の日付
    const end = target.endOf('month')
    // 月末の日にち
    const endDate = end.get('date')
    // 先月末の日にち
    const lastEndDate = start.add(-1, 'day').get('date')
    // 月初の曜日
    const startWeekday = start.get('day')
    // 月末の曜日
    const endWeekday = end.get('day')

    // table開始タグ
    calendar += '<table class="c-calendar">'
    // 年月を表示
    calendar += `<caption class="c-calendar_title">${target.format('M')}月 ${target.format('YYYY')}</caption>`
    // 曜日の見出しを作成
    calendar += `<tr>${weekdays.map(weekday => `<th class="c-calendar_weekday">${weekday}</th>`).join('')}</tr>`
    // tr開始タグ
    calendar += '<tr>'

    // 先月の日を埋める
    for (let date = startWeekday; date > 0; date--) {
      calendar += `<td class="c-calendar_date -prev">${lastEndDate - date + 1}</td>`
    }

    // 該当月の日にちを出力
    for (let date = 1; date <= endDate; date++) {
      const current = target.set('date', date)
      const weekday = current.get('day')

      // 日曜日のとき
      if (weekday === 0) {
        calendar += '<tr>'
      }

      calendar += `<td class="c-calendar_date${i === 0 && date === now.get('date') ? ' -today' : ''}"><span>${date}</span></td>`

      // 土曜日のとき
      if (weekday === 6) {
        calendar += '</tr>'
      }
    }

    // 来月の日を埋める
    for (let date = 1; date < 7 - endWeekday; date++) {
      calendar += `<td class="c-calendar_date -next">${date}</td>`
    }

    // 月末の曜日が土曜日でないとき
    if (endWeekday !== 6) {
      calendar += '</tr>'
    }

    // table終了タグ
    calendar += '</table>'
  }

  return calendar
}
カレンダーを複数表示するための generate() 関数を用意します。number 引数には何個のカレンダーを生成するかを指定でき、初期値は 2 個です。
// カレンダーを生成する要素
const element = document.querySelector('.c-calendar-container')

// HTML挿入
if (element) {
  element.insertAdjacentHTML('beforeend', generate())
}
あとは、generate() 関数を使えばカレンダーの HTML 文字列が取得できるので、挿入すればよいです。
今回のデモに使ったソースコードは GitHub で公開しているので、参考にしてみてください。
この記事が気に入ったらサポートをしてみませんか?