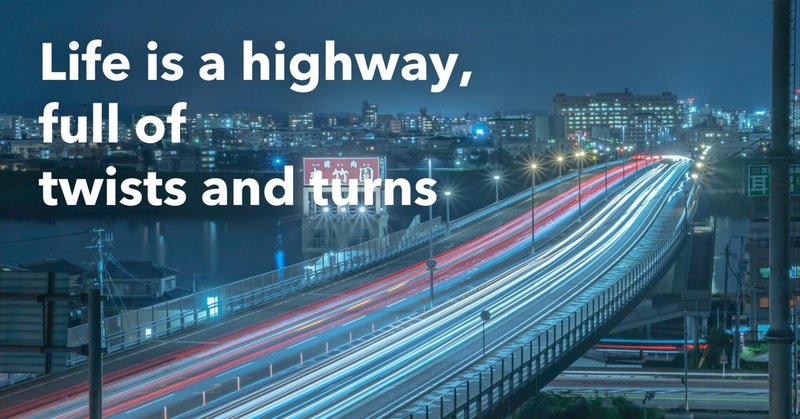
SONY a7iii/tamron 28-200mmで『車の光跡』に挑戦

みなさんこんにちはソライトです。
※今回の記事は以前投稿していた記事を英語と日本語の文章で再投稿したものになります。
英語学習の一環として英語学習をしている方やカメラを始めた方の役に立てば幸いです。
英語の文章はChatGPTにて作成しています。
Attempting Car Light Trails with SONY a7iii/tamron 28-200mm
I spend each day enriching my life by taking photos and videos, writing notes, and just generally making the most of it. My photography skills are steadily improving.
(毎日、写真や動画を撮ったり、noteを書いたり、充実した日を送れています。写真に関してはどんどんスキルアップしていってます。)
Just the other day, I went out to take pictures of "car light trails" with my newly purchased camera, the "SONY a7iii."
(先日も、新しく買ったカメラ「SONY a7iii」で『車の光跡』を撮って来ました。)
While the photos weren't perfect, I learned a lot from the experience, so I thought I'd share what I learned in this article.
(写真の出来を言うと、完璧では無かったですが、学べた事が多かったので、ここで共有させて頂こうと思い記事にしました。)
※For those viewing on a mobile web browser, turning your phone sideways will make the photos appear larger, so please try it if you'd like.
(※スマホのウェブ版で見ている方は、スマホを横にすると写真が大きく写るので、良かったら横にして見てみてください。)
Location: "Miyazaki Prefecture, Tenmanbashi"
Camera: "SONY a7iii"
Lens: "tamron 28-200mm f/2.8-5.6"
場所:「宮崎県 天満橋」
カメラ:「SONY a7iii」
レンズ:「tamron28-200mm f/2.8-5.6」
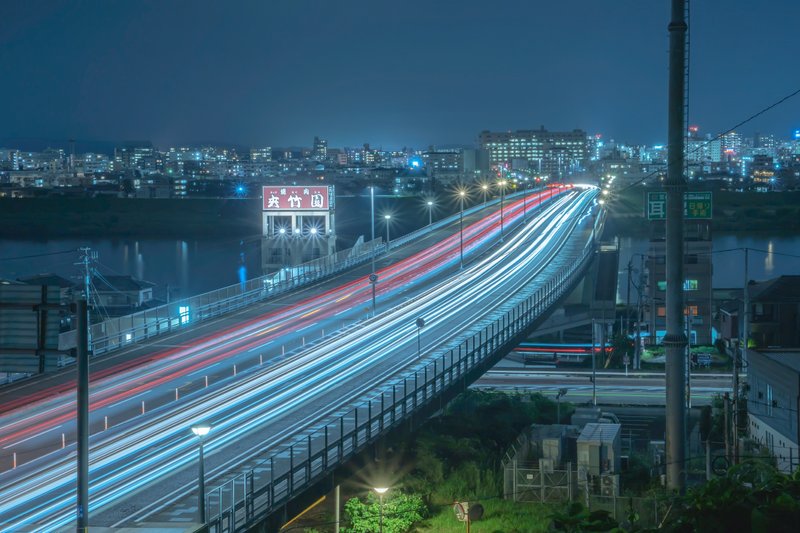
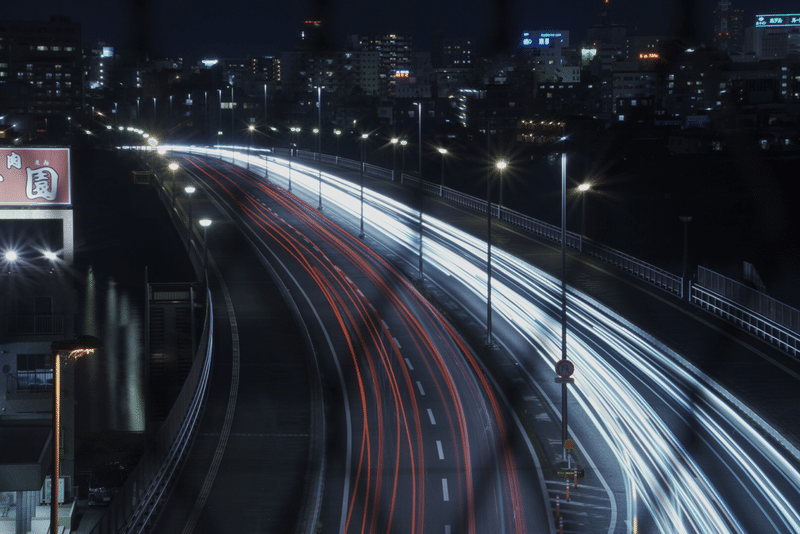
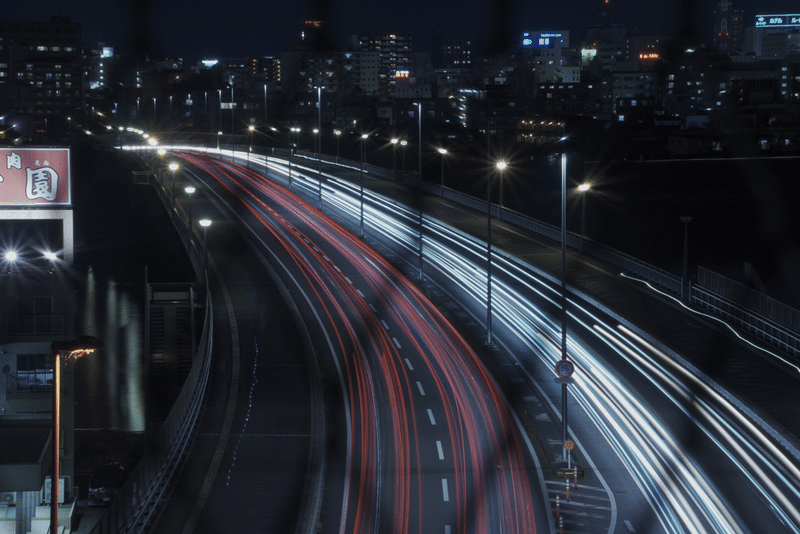
First, here is the best photo I took out of the several attempts (※above: after editing, below: before editing).
(まず最初に、何枚か撮った中で、1番良かった写真です。(※上:編集後 下:編集前))
Camera Settings
Focal length: 58mm
Aperture: f/20
Shutter speed: 30"
EV compensation: ±0.0
ISO: 100
【カメラ設定】
焦点距離:58mm
絞り:20
シャッタースピード:30"
EV補正:±0.0
ISO:100
It took me about 30 minutes to an hour to get this shot. Capturing "car light trails" requires timing the cars' movement correctly, and it's clear that you can't always get a good shot anytime.
(なんだかんだで、この写真を撮るまでに30分〜1時間ぐらい掛かりました⤵︎
「車の光跡」を撮る時は、車の通るタイミングが重要になってくるので、いつでも良い写真が撮れる訳じゃ無いのがよく分かりました。)
The road in this photo is a total of four lanes, two lanes each way. If cars don't pass through at least one of the lanes, the light trails become disjointed, and even if cars pass through all four lanes, changing lanes adds blinker lights to the photo or alters the flow of light, making the photo look odd.
(この写真に写っている道路は、片側2車線の合計4車線になるんですが、その4車線の内1車線でも車が通らないと、まとまりの無い光跡になるし、4車線全部通ったとしても、車線変更をする車がいたら、ウインカーの光が写ったり、光の流れが変わるので、変になったりします。)

In this particular photo, you can see the light from a car changing lanes, which stands out. Without the blinker light, it might have been a better photo, but it really comes down to timing and, to an extent, luck.
(実際にこの写真にも、車線変更をした車の「ウインカーの光」が少し写っているんですが、やはりそこだけ目立ちますよね⤵︎
ウインカーの光が無ければ、さらに良い写真だったのかなぁと思ったんですが、本当にタイミングと、もはや「運」が必要な気もします。)
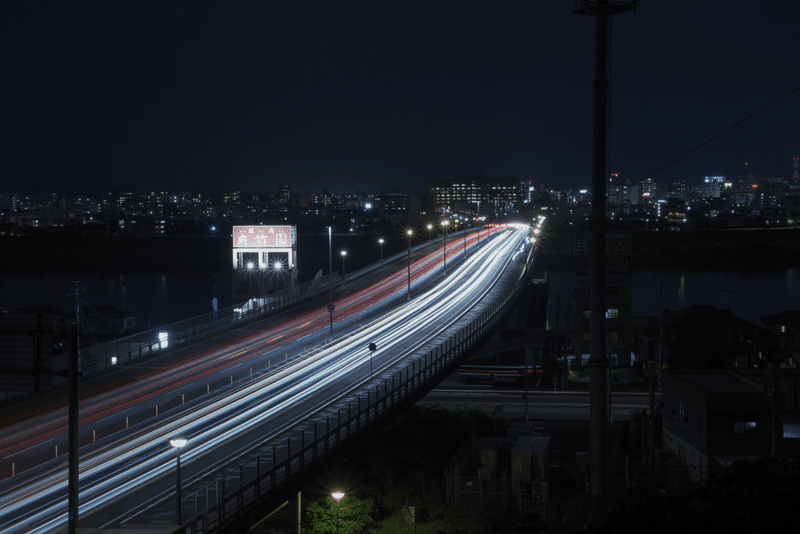
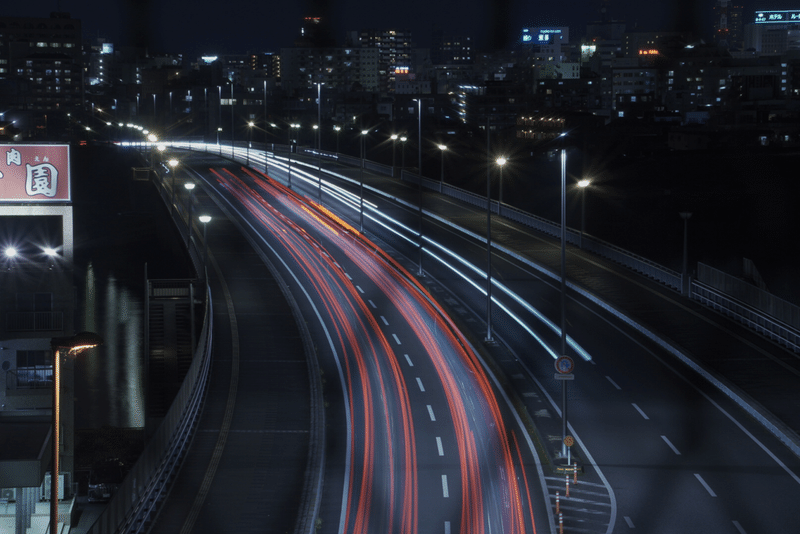
I also took photos from a different angle, but while those didn't have blinker lights, the traffic volume on the left lane was lower, resulting in a photo that feels like it's lacking in light.
(ちなみに、別の角度から撮ったのが、あるんですが、こちらはウインカーの光は無いものの、左側車線の交通量が少なかったので、少し光量が物足りない感じになりました。)
(※above: after editing, below: before editing)
(※上:編集後 下:編集前)
Camera Settings
Focal length: 146mm
Aperture: f/25
Shutter speed: 30"
EV compensation: ±0.0
ISO: 100
【カメラ設定】
焦点距離:146mm
絞り:25
シャッタースピード:30"
EV補正:±0.0
ISO:100
The intrinsic brightness of tail lights is low, so it's somewhat unavoidable.
(そもそもテールランプ自体の光量が少ないので、しょうがないと言えばしょうがないですが。)
However, I quite like how the chain-link fence blurs in the foreground, with the night view and car light trails extending beyond it.
(でも、金網の柵が良い感じに前ボケしていて、その奥に広がる夜景と車の光跡が良い感じで、けっこう気に入ってます。)
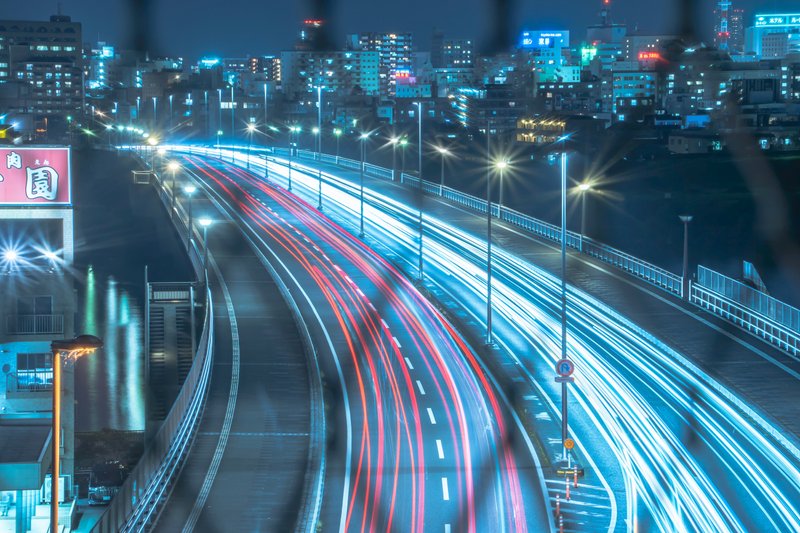
Finally, I'll share some failed attempts.
(最後に何枚か撮った内の失敗例を載せときます。)
In one, the balance of traffic volume between lanes was good, but the discontinuity in the lights of cars in the right lane and the presence of bicycle lights created a sense of incongruity.
(両車線の交通量のバランスは良かったんですが、右車線の車のライトが途切れていて目立つのと、自転車のライトが写っていて、違和感があります。)
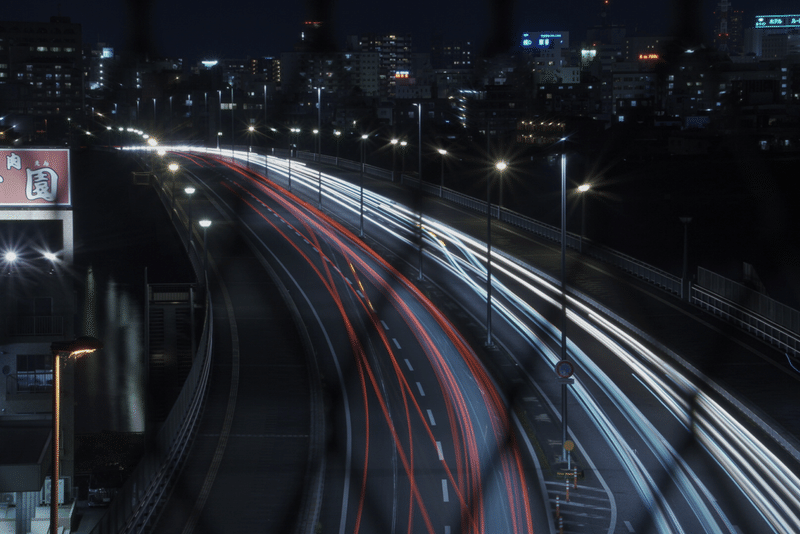
Another photo was ruined by the light trails of a car changing lanes, leading to a lack of cohesion and an odd-looking photo.
(上記でも言った、車線変更をする車の光跡が写っていて、まとまりが無くなって変な写真になってしまいました。)
In yet another, the timing of the shutter press was clearly off, and with a too-short shutter speed, the light trails were interrupted.
(この写真は明らかに失敗で、シャッターを押すタイミングも悪く、シャッタースピードも短かいので、途中で途切れてしまっています。)
Despite numerous failures, I managed to take some decent photos in the end.(何度も失敗しましたが、最終的には、まずまずと言った写真が撮れて良かったです。)
After I finished, I looked up tips for night photography and found out that it's better to turn off image stabilization, among other things (※the photos this time had image stabilization turned on). I plan to use what I learned for another try in the future.
(ちなみに撮り終わった後に、夜景撮影の際の注意点などを調べたら、チブレ補正は切った方が良いなどいろいろあったので、(※今回の写真は手ブレ補正「入り」でした)また今度、調べた事を生かして再挑戦したいと思います。)
この記事が気に入ったらサポートをしてみませんか?