
【Flutter】Firebase App Checkを試す

バックエンドのAPIをFirebase Functionsで作成する場合、アプリ以外の不正な呼び出しからAPIを守る手段としてApp Checkなるサービスを利用できるようだ。ざっくり試してみたメモ。
今回は、iOSとAndroidアプリがシミュレーター経由で機能することを確認する。本番リリースやWebの検証はまた別の機会に。
App Checkとは
証明書プロバイダーにより保証されたアプリ・端末に対してトークンを発行し、バックエンドへのリクエストの妥当性を保証する仕組み。
前提
以下が実現できているものとして手順を進めていく。
FirebaseプロジェクトのFunctionsにAPIが実装済み
FlutterプロジェクトにCloud Functionsパッケージを導入済み
同パッケージからAPIを呼び出せている
1. App Checkを有効化
Firebaseコンソールから、iOSとAndroidアプリのApp Checkを有効化する。それぞれ以下のものが必要。
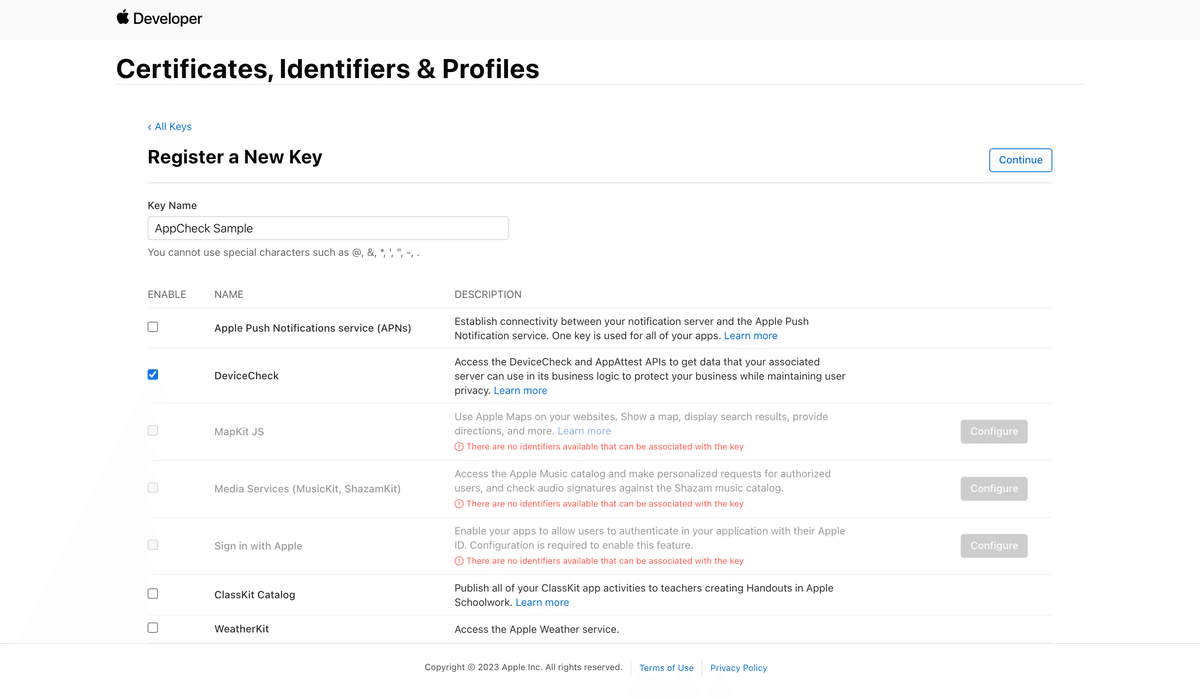
1-1. iOSの認証キー
Apple Developerの「Certificates, Identifiers & Profiles」からキーを発行する。秘密鍵(P8)ファイルを取得しておく。取得の際は、Device Checkにチェックを入れておく。
1-2. Androidの証明書フィンガープリント
Android Studioを使っていれば下記のコマンドから取得できる。
# 証明書フィンガープリント取得
$ cd path/to/Flutterプロジェクト/android
$ ./gradlew :app:signingReport
2. アプリにSDKを組み込む
2-1. パッケージインストール
FlutterプロジェクトにApp Checkパッケージをインストールする。
2-2. App Check SDKの初期化
Firebaseの初期化に続いて初期化する。
void main() async {
  WidgetsFlutterBinding.ensureInitialized();
  // Firebaseの初期化
  await Firebase.initializeApp();
  // App Checkの初期化
  await FirebaseAppCheck.instance.activate();
  ...
}
3. APIにチェックを実装
公式サイトの手順に従ってAPIにチェックロジックを実装していく。
Firebase CLIで作成されたプロジェクトの雛形からAPIを作成しているが、ライブラリの更新が必要なようだ。
# ディレクトリ移動
$ cd path/to/Fireabaseプロジェクト

# ライブラリ更新
$ npm install firebase-functions@">=4.0.0"
$ npm install firebase-admin@">=9.8.0"
今回使ってみた、サンプルベースのコードはこちら(ほぼそのまんま)
const functions = require("firebase-functions");

exports.helloWorld = functions.region("asia-northeast1")
    .runWith({
      // App Checkを有効にする
      enforceAppCheck: true,
    })
    .https.onCall((data, context) => {
             // チェック処理を実装する
      if (context.app == undefined) {
        throw new functions.https.HttpsError(
            "failed-precondition",
            "The function must be called from an App Check verified app."
        );
      }

      functions.logger.info("Hello logs!", {structuredData: true});
      return "Hello from Firebase!";
    });
4. App Checkが機能することを確認
iOSシミュレータとAndroidエミュレータからアプリから呼び出しを実行し、チェック処理が機能してそれぞれ弾かれていることをログで確認する。
# iOSのログ
[VERBOSE-2:dart_vm_initializer.cc(41)] Unhandled Exception: [firebase_functions/failed-precondition] The function must be called from an App Check verified app.

# Andoroidのログ
E/flutter (20639): [ERROR:flutter/runtime/dart_vm_initializer.cc(41)] Unhandled Exception: [firebase_functions/failed-precondition] The function must be called from an App Check verified app.
良さげ。
5.シミュレーターでの実行を可能にする
このままではシミュレーターが使えない。App CheckのSDKは、デバッグ用のトークンを発行する仕組みを用意しているようなので利用する。
公式サイトの手順に従ってこちらの手順に従って実行する。
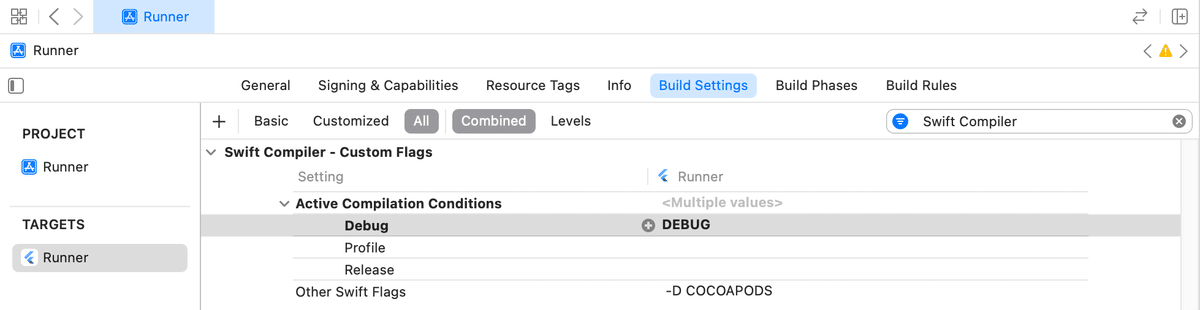
5-1. デバックトークンを取得(iOS)
XcodeのBuild Settingsでデバッグフラグを渡すようにしておく。
デバッグビルド時にプロバイダーファクトリーを作成して設定するよう、AppDelegateに実装する。
...
import Firebase

@UIApplicationMain
@objc class AppDelegate: FlutterAppDelegate {
  override func application(
    _ application: UIApplication,
    didFinishLaunchingWithOptions launchOptions: [UIApplication.LaunchOptionsKey: Any]?
  ) -> Bool {
    // Use the debug provider in Debug builds:
  #if DEBUG
    let providerFactory = AppCheckDebugProviderFactory()
    AppCheck.setAppCheckProviderFactory(providerFactory)
  #endif

    ...
  }
}
スキームの編集画面にて、デバッグ実行に「-FIRDebugEnabled」パラメータを渡すように設定する。
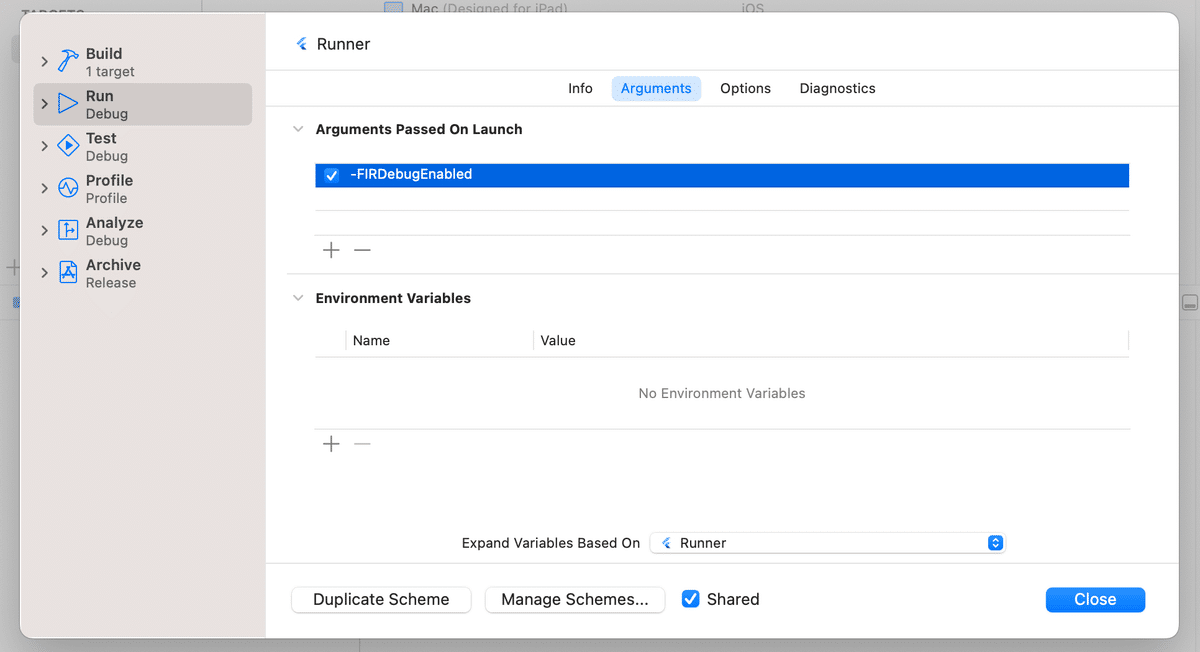
上記の設定を行った上でXcodeでシミュレーターとアプリを起動、APIを呼び出すと、デバッグトークンがログに出力されている。
2023-01-09 13:25:57.599465+0900 Runner[5337:84826] 10.3.0 - [FirebaseAppCheck][I-FAA005001] Firebase App Check debug token: 'xxxxxxxx-xxxx-xxxx-xxxx-xxxxxxxxxxxx'.5-2. デバッグトークンを取得(Android)
App Check SDKの初期化時にデバッグプロバイダーを設定する。
void main() async {
  WidgetsFlutterBinding.ensureInitialized();
  await Firebase.initializeApp();
  await FirebaseAppCheck.instance.activate(
    // デバッグプロバイダーを設定
    androidProvider: AndroidProvider.debug,
  );
  ...
}
エミュレーターからアプリを起動し、ログに出力されたデバッグトークンを確認する。
D/com.google.firebase.appcheck.debug.internal.DebugAppCheckProvider(22787): Enter this debug secret into the allow list in the Firebase Console for your project: xxxxxxxx-xxxx-xxxx-xxxx-xxxxxxxxxxxx5-3. デバッグトークンを登録
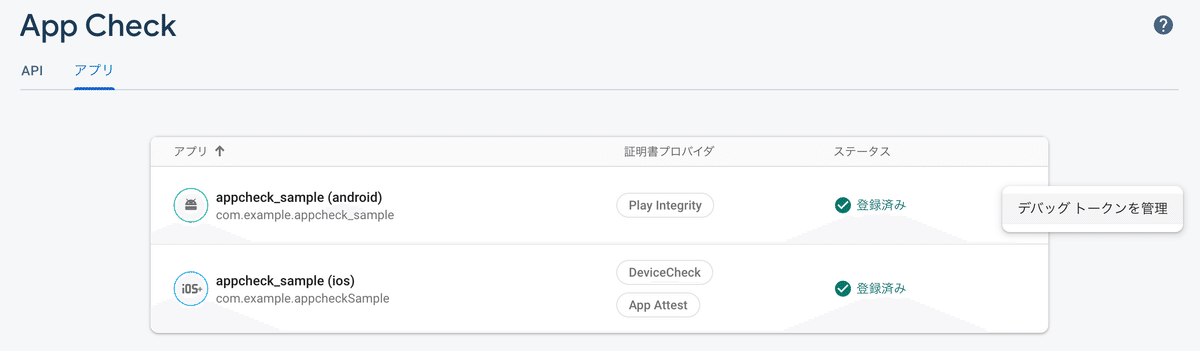
Firebaseコンソールからそれぞれのデバッグトークンを登録する。
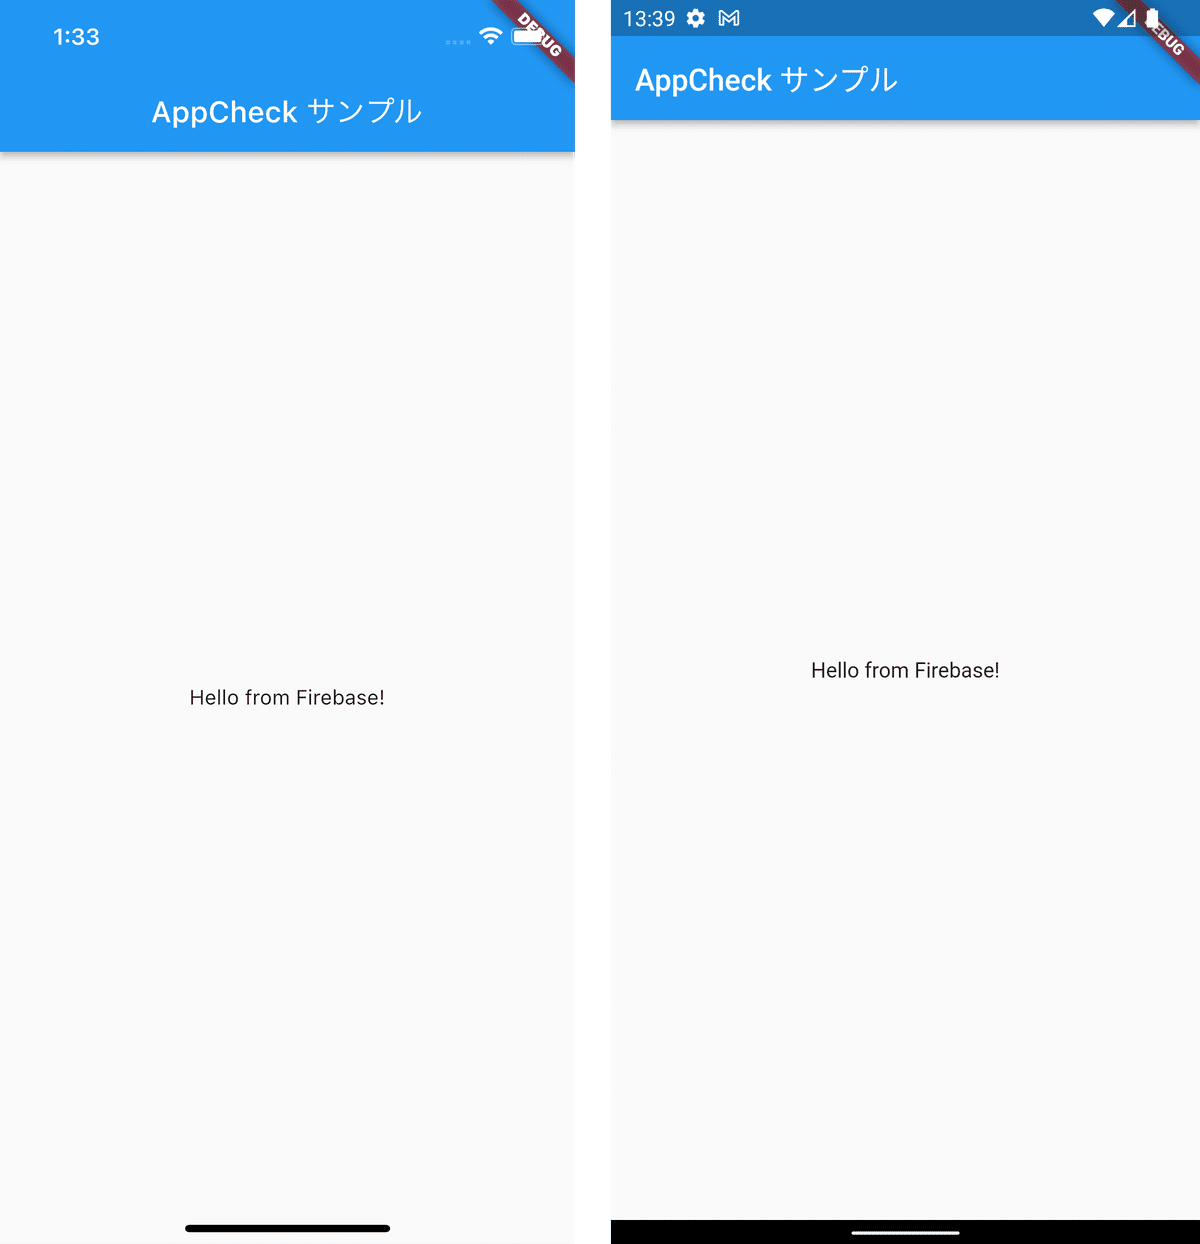
5-4. シミュレーターで確認
iOSのシミュレーターとAndroidのエミュレーターで確認。APIからのレスポンスを表示できた、良さげ。
この記事が気に入ったらサポートをしてみませんか?