【GAS】Google Apps Script 活用事例 Googleドキュメントにスプレッドシートのシート一覧をリンク付きで貼り付ける方法

Photo by Andrew Buchanan on Unsplash
スプレッドシートをGASで効率化した際、各シートの役割を説明するマニュアルを書く機会が多く、Spreadsheetのシートの一覧をGoogle Documentに書き出せないかなという思い、何度かの試行錯誤を重ねた結果、上手く出来たので、ご紹介したいと思います。
Ctrl + Kで、地道に頑張ってもいいんですが、大変じゃないですか.....。積極的に楽をしましょう!!
こんな感じ
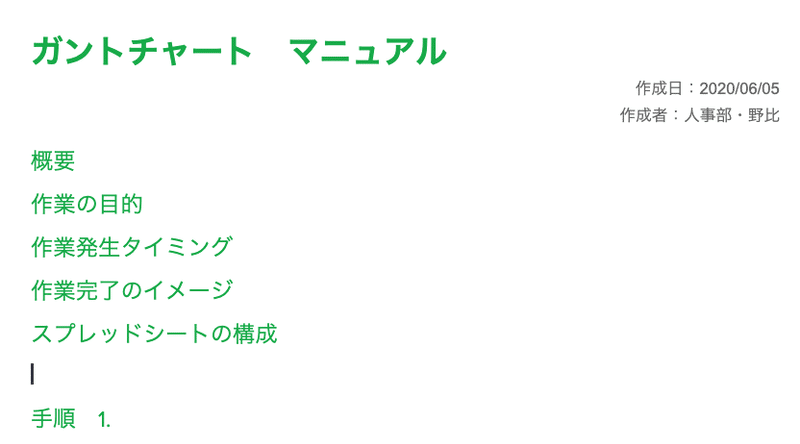
今回は、前回の記事で自動作成したマニュアルを使います。シート一覧を挿入したい位置にカーソルを合わせて、スクリプトを実行します。
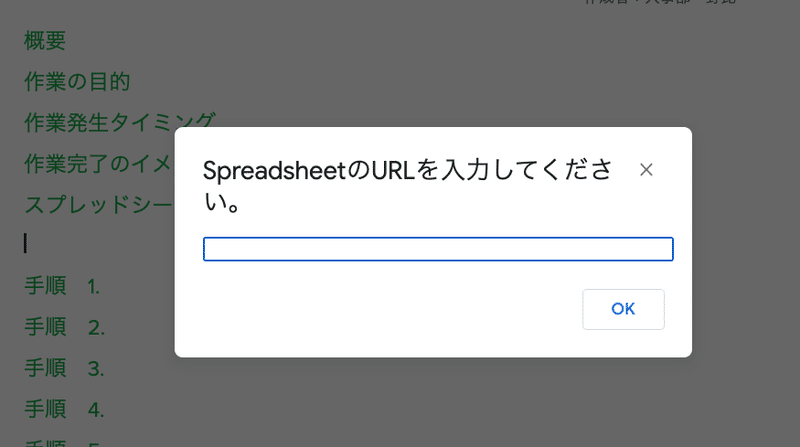
そうすると、ポップアップウインドウが現れます。ここにスプシー(スプレッドシート)のURLをコピペで貼り付けます。
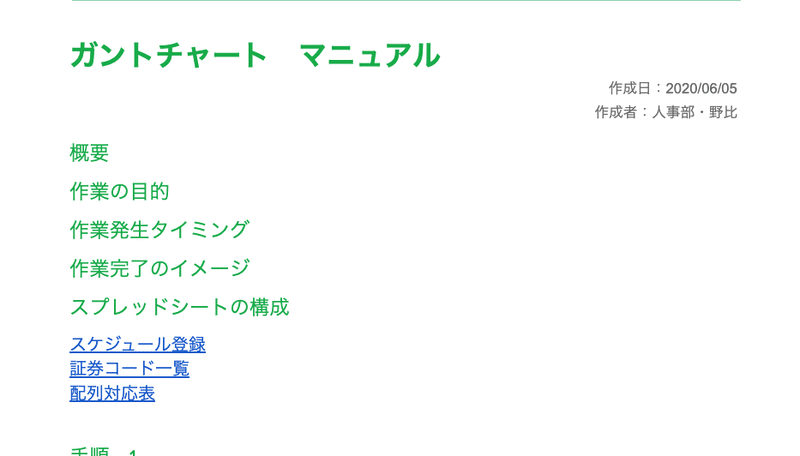
そうすると、全てリンク付きのシート一覧がドキュメントに書き出され、マニュアル作成を助けてくれます。
ソースコードは、こんな感じ
function insertSheetName() {

 const document  = DocumentApp.getActiveDocument();
 const body      = document.getBody();
 const position  = document.getCursor();
 const sheets    = sheetNameList_(); //['シート名','シートのURL']

 for(let i = 0; i < sheets.length; i++){

  //カーソルがある位置を取得して、そこにテキストを挿入する。
  position
  .insertText(sheets[i][0] + '\n')
  .setLinkUrl(sheets[i][1])
  .setFontSize(12);

 }//for

 const paragraph = body.getParagraphs();
 console.log(paragraph);

}//end


function sheetNameList_() {

 //入力画面から、シートのURLを入力させる。
 const url            = getUrl_();
 const spreadsheet    = SpreadsheetApp.openByUrl(url);
 const spreadsheetUrl = spreadsheet.getUrl();
 const sheets         = spreadsheet.getSheets();

 let sheetNameValues = [];

 for(const sheet of sheets){

   const sheetName = sheet.getName();
   const sheetId   = sheet.getSheetId();
   const sheetUrl  = spreadsheetUrl + "#gid=" + sheetId;

   sheetNameValues.push([sheetName, sheetUrl]);
   console.log('シート名:',sheetName, 'URL:',sheetUrl);
 }

 //書き出した際に、シートの順序が反対になってしまうので、リバースする。
 sheetNameValues.reverse();
 console.log('配列:',sheetNameValues);

 return sheetNameValues
}//end


function getUrl_() {

 const ui       = DocumentApp.getUi();
 const response = ui.prompt(
 'SpreadsheetのURLを入力してください。',
 '',
 ui.ButtonSet.OK
);

 const url = response.getResponseText()
 console.log(url);

 switch (response.getSelectedButton()) {
   case ui.Button.OK:
     console.log('%s と入力され、OKが押されました。',url);
     break;
   case ui.Button.CLOSE:
     console.log('閉じるボタンが押されました。');
     break;
   default:
     console.log('処理が中断されました。');
 }//switch
 return url
}
今回、理由がよく分からないのですが、シートを書き出す際に、シート名が右から順になってしまう現象が発生したので、配列の要素を逆に入れ替える処理を初めて書きました。
sheetNameValues.reverse();Googleドキュメントは、位置の特定が結構難しい......と感じていて、一番楽だったのが、カーソル位置の特定です。
const position = document.getCursor();
position.insertText('コンテンツ');
insertText(index, 'text')みたいに挿入する場所を指定して使う事も出来ますが、今回は、普通にテキストだけを追加する方法で使っています。
GASで実現した、Google Documentの活用事例をマガジンを新規作成しました。
前回のマニュアル作成効率化の記事......力作
シート名を書き出したり、変更したりするスクリプトはこちら
この記事が気に入ったらサポートをしてみませんか?