
50 Minutes Live in the Metaverse Classroom! Preparation and tips. meta Quest2 is a MUST!

I recently had the opportunity to give an online class using the AVOS (AOIKE Virtual Online School) system. Here is a summary of that class, the preparation that was necessary up to that point, and things to keep in mind during the class.
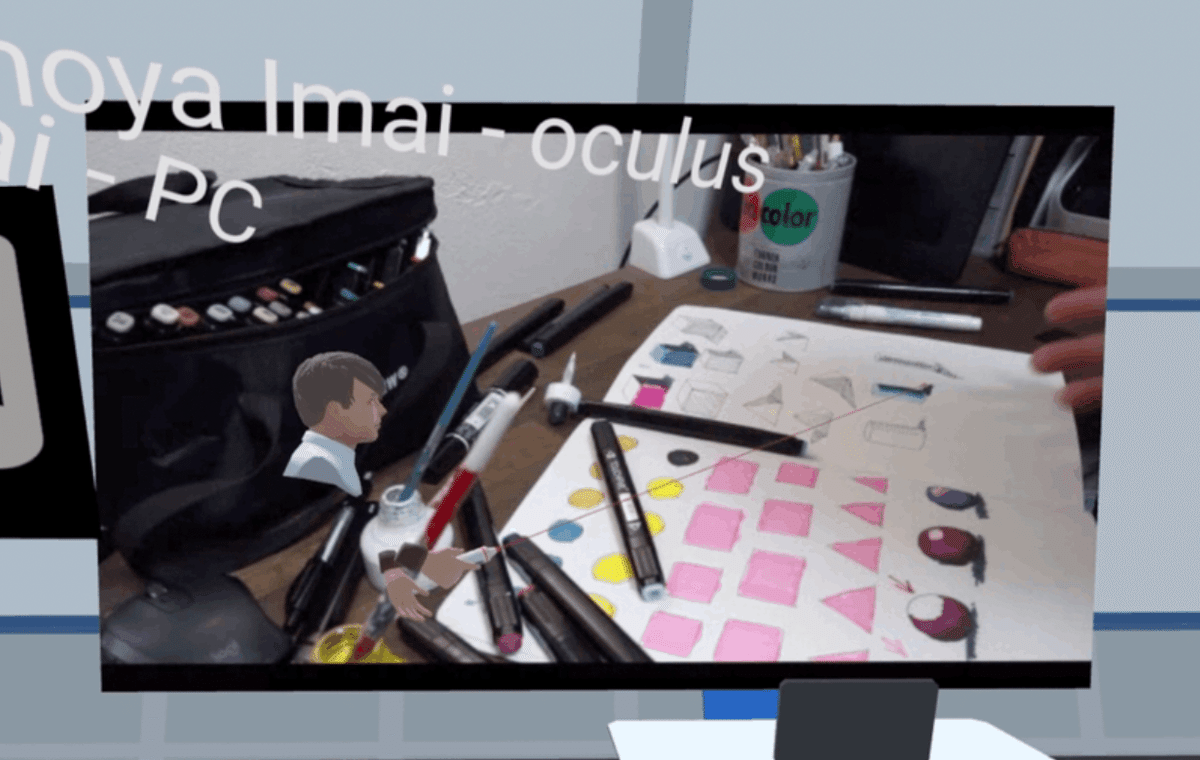
Also, check out the video I recorded of the actual class from the student's perspective!
1)Lesson Content
This class is not a real school class, but a demonstration of what happens when you do a school class. Therefore, the class time is set at 50 minutes, just as in a real school. The content of the class should be light, and can be completed in one session. The content could be anything, but we decided to make it a "drawing" class.
One reason is that I thought it would be possible to demonstrate using 3D space. Another reason was that I already had a how-to video that I had published once on YouTube, so I thought it would be easy to prepare for the class by following up on that video without having to come up with new content.
2)Required Equipment
The following equipment was prepared for the class
Meta Quest 2
MacBook Air (13-inch, M1, 8GB memory)
Room to move around easily
Meta Quest 2 (formerly Oculus Quest) is a must for virtual classes. Of course, AVOS can be logged in and taught from a computer or smartphone, so classes can be taught on a computer, smartphone, or tablet without a VR headset. However, the VR headset will make what you are talking about more compelling.
This is something that we have felt during several 3D live-streaming sessions prior to this class. Compared to those who are logged in with a computer or smartphone, those who are participating with a VR headset can speak very expressively.
I can turn toward the other person while I am speaking.
Your neck movements (nodding, shaking your head, etc.) are transmitted directly to your words.
Hand movements are also reproduced, so you can add body language to what you are saying.
The VR headset has the above advantages. There is a big difference in the way the content of the teacher's speech is conveyed to the viewer (the student) with and without the VR headset.
Meta Quest 2
https://www.oculus.com/quest-2/?locale=ja_JP
MacBook Air, in particular, does not have to be a Mac. You will have a computer of some kind at hand, and you will log into the virtual classroom from your computer as well (you can log in from multiple devices with the same account). Therefore, two avatars will appear in the classroom, one of you wearing a VR headset and one with a computer account. The avatar logged in on the computer will function as the teacher's assistant.
The images, videos, and other materials to be shared in class will be uploaded to the virtual classroom using this assistant's account, and since it is unlikely that the VR headset will be used to store class content, it will be uploaded directly from the computer.
We recommend using Chrome to access AVOS, whether on Mac or Windows, because some parts of the AVOS system are not compatible with Safari. Edge on Windows is the same as Chrome, so there is no difference in display between Edge and Chrome.
There is no problem even with standard PC specs, as in this case with MacBook Air.
A room that is easy to move around in, is also important. When you actually put on the VR headset and start teaching, the only thing you see for yourself is the virtual classroom. If you walk around in the real room, you can walk around in the virtual classroom in the same way and perform actions such as approaching the blackboard (whiteboard), talking closer to the students, approaching the materials you have placed and pointing to them with your own hand, and so on. However, in the real room, you will walk the same distance as in the virtual classroom, so if you reach out to point at something, you may end up crashing into a real wall. Of course, you can operate the handles of the VR headset to move anywhere in the virtual space without moving in the real one. However, when you reach for something on the wall, you may knock a cup of coffee off the wall. Therefore, it is necessary to have enough space to avoid hitting anything even if you swing your hand around a little.
3)Preparation for the start of classes
The materials used in this class included the following
YouTube video
Link to YouTube video
Sound of chimes
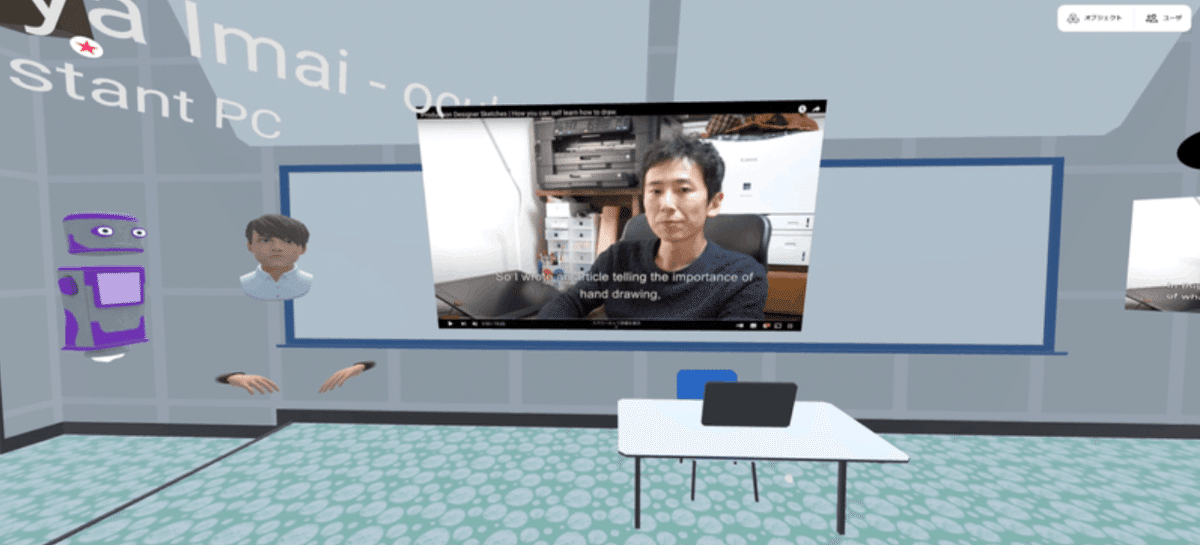
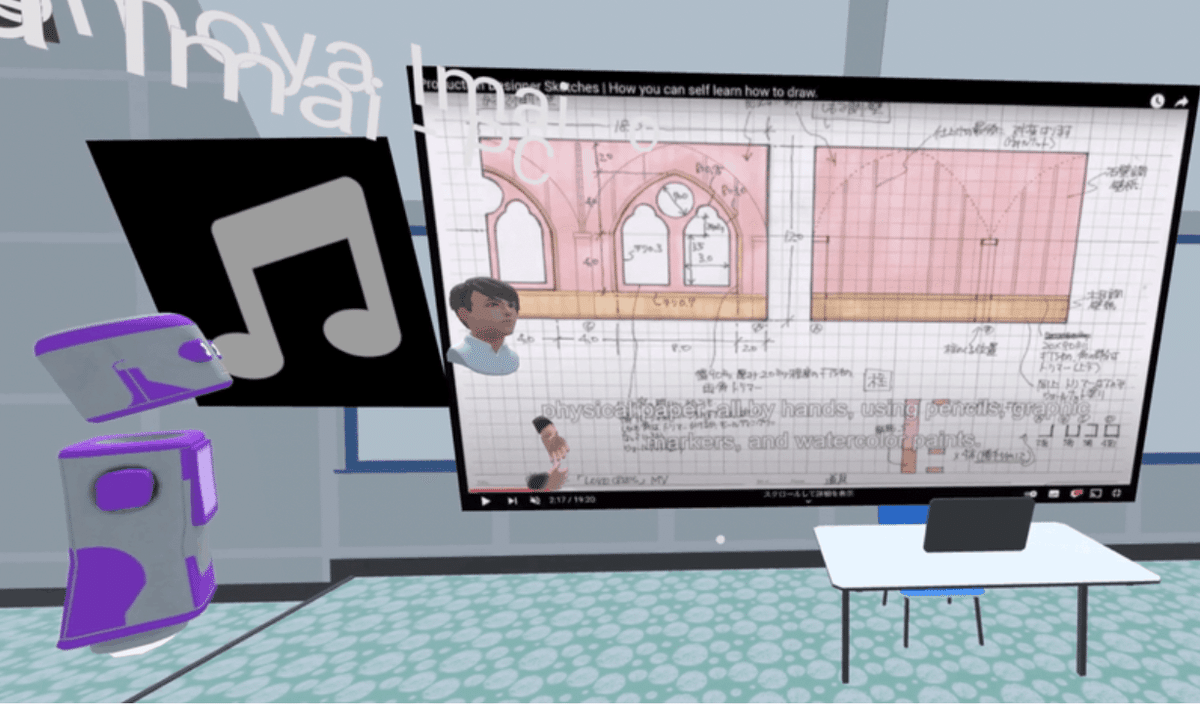
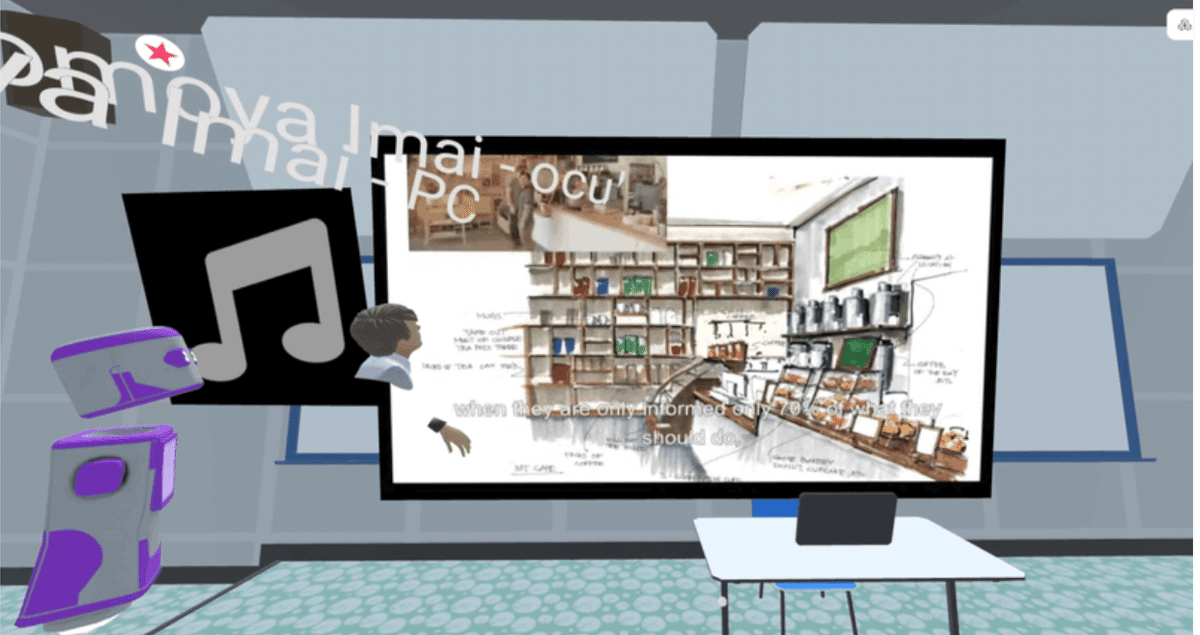
The YouTube video was a video I created myself in advance. It started with me talking to the camera, and it also recorded me actually drawing in my sketchbook. I planned to use these videos as they were in the past to teach the class, stopping the videos to give additional explanations or answer questions from the students as needed.
Past experiments with online classes conducted with high school teachers had concluded that this was a good way to conduct classes. This is because it is very easy for the teacher not to have to repeat the lectures from previous classes.
There are two ways to share videos in AVOS. There are two ways to share videos in AVOS: "screen sharing" and "video file uploading. The class can be taught using either, but this time we chose the simple "screen sharing" method since the video had already been uploaded to YouTube.
To show a video using "Share Screen," open YouTube in a separate tab from the one in which the virtual classroom is open and set it to full-screen mode. Since we will not be using the sound from the video, leave "Share Audio" unchecked.
The placement in the classroom is a little closer to the students than on the whiteboard. This is so that they can see a larger screen.
A link to the YouTube video should also be placed in the classroom corner and pinned. Students should be able to click there and view the original YouTube video at any time. Pinning it will prevent accidents where students try to click on it and accidentally go somewhere else.
Chime sounds. This should ring at the beginning and end of class to create the feel of an actual class, and was downloaded and placed in a hurry at the start of class.
4)In the Classroom
Ring a chime
It's time to start class! Log in a little earlier and wait for the students.
Then, when the class is about to start, we play the sound of the chime. Just the sound of the chime playing, "Keek-keek-keek-keek," gives the students the feeling that class is about to start.
Mute your computer account
Since I am logged in with two devices, the VR headset and the computer, and both devices are in the same room, the teacher's voice will come from two different places if I leave it on. Set the microphone on the computer to mute.
Confirm attendance
We are often asked, "When you teach in a virtual classroom, how do you make sure there are actually students there?" We are often asked this question. While it is possible to automatically check students' log-in status and confirm their attendance, the simplest way is to take attendance by calling out to them. Is Ms. XXX present?" Confirm attendance by saying, "Yes." There are other methods such as using pictograms or chatting, but calling out is probably the simplest and quickest way to confirm attendance.
Check with the student to make sure your voice is being heard properly
Check with the student to make sure his or her voice is heard properly. In a virtual classroom, the voices of those who are near you will be heard more easily, while those who are far away will sound muffled. Therefore, students in the back of the classroom may have difficulty hearing the teacher's voice. In such cases, you can increase the volume of the teacher's voice, and we will instruct you how to do so.
Play the video and start the lecture
Video playback is controlled by opening a YouTube tab on the computer and pressing the play/stop button. wearing a VR headset, you will be able to watch the lecture with the students and the video, and if necessary, control the computer. even with the VR headset on, you will be able to see out through the gap between the bottom, nose and the goggles. Even with the VR headset on, you can see out of the room to some extent through the gap between your nose and the goggles. So you can operate the computer even if you are wearing the VR headset.
In case of defects
We have received feedback from students about problems such as, "I can't hear my teacher anymore," or "I can't see the video."
The connection may be broken for a variety of reasons, such as an Internet connection or insufficient memory in the computer. The MacBook Air in this case has only 8GB of memory, and the VR headset has only the specifications of a mid-sized smartphone. In such cases, don't panic, most problems can be quickly cleared up by doing the following.
I'll try "I can't hear the teacher anymore"->VR headset and turn on/off the mute on my mic. It usually takes a few seconds to recover.
If only some students are not seeing the video, they can usually fix the problem by "reloading" their browser and "re-entering" the room. If many students are not seeing the video, from the computer, stop screen sharing once, press the screen sharing button again, and specify the tab that is playing YouTube again.
The teacher has disappeared"->There was a problem with the VR headset that caused the teacher to disappear from the room. The computer is still logged in, so the student hears "The teacher has disappeared" from the computer. Calmly, you can "leave" the virtual classroom once with the VR headset and "enter" the room again, and you will be back in the classroom immediately.
I have extra time, so I'll show you another YouTube video
When the first lecture video is finished and you want to show another video, you can continue the lecture by playing another video in the browser as long as the YouTube video is "screen-shared".
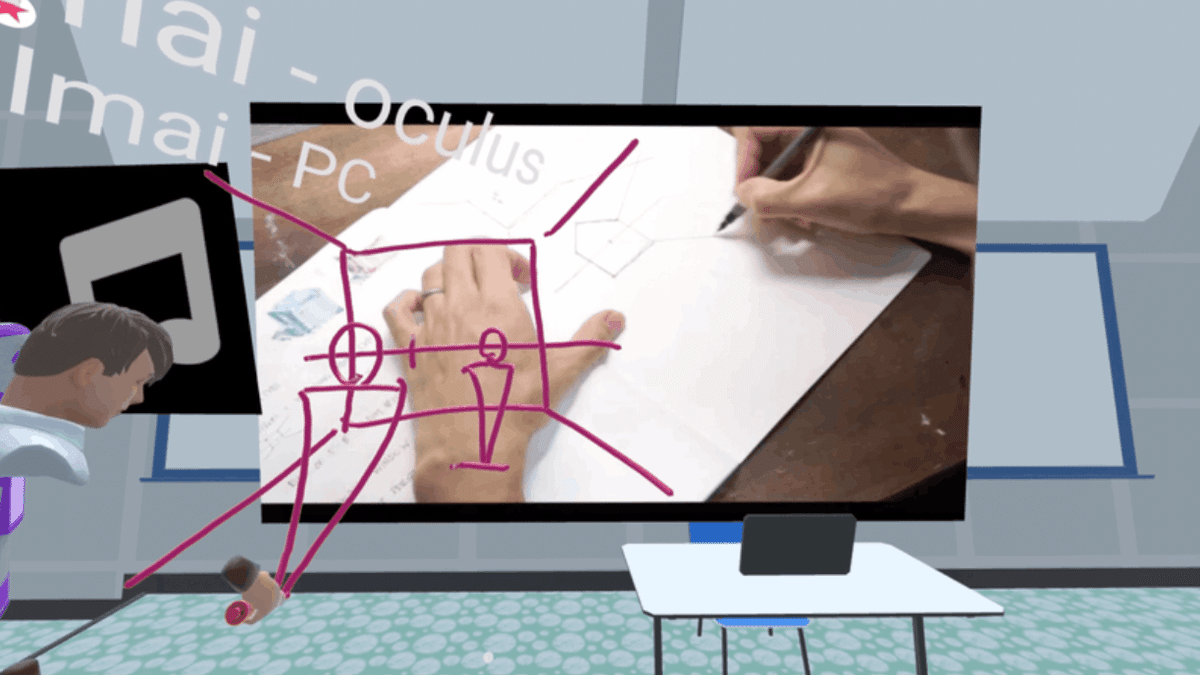
Demonstrate using a 3D pen
This lesson was on how to draw a picture, but there was a part of the video playing that was difficult to see where the students were drawing lines in their sketchbooks.
At that time, I added an explanation by drawing lines in front of the students using a 3D pen on the spot.
The 3D pen can also be used to mark parts of the images or videos being introduced, or as a laser pointer.
End of class
When it is time for class to end, ring the chime again to end the class.
5)impressions
After teaching for 50 minutes this time, I frankly thought, "I can teach a normal class! I thought, "I can give a class just like a normal class!
The content of this class was almost the same as the ones I have given in the past overseas workshops, but I think I was able to give a class with almost no difference from that time. Even though I was looking at the whiteboard while I was speaking, I could hear the students' comments through the earphones. I could also directly tell if the students were listening to the lecture or not. I even felt closer to the students than in a real classroom (though I could only see their avatars!).
I think this sensation is due in large part to the fact that the teacher is wearing a VR headset. Using the earphones and in accordance with the direction of my face, sound from the right is heard in my right ear and sound from the left in my left, and the volume of the voice is also adjusted according to the distance from the student, so I can recognize which student is speaking by feel. Furthermore, although I am an avatar, I can see the students in three dimensions (since it is a 3D headset). In general, I can properly "feel" that I am in the classroom and listen to the students' questions.
On reflection, I was not able to perform the action of actually having the students do some work and seeing their feedback. I would like to try that kind of action next time.
Also, there was an event where the computer and VR headset ran low on charge in the middle of class; both the Meta Quest2 and MacBook Air are USB Type-C cables, and there was only one cable in the room, so we alternated between charging these while teaching. headset adds extra weight and restricts movement when the cables are connected. I would like to charge it properly before class.
The VR headset is definitely heavy, but I did not find it particularly painful for the 50-minute duration of the class.
Sorry for the long post. I hope this will be helpful to those who are trying to teach some kind of class in the Metaverse.
Many of the schools that use AVOS are actual high schools or vocational schools, but I believe that the simple use of "virtual classes" can be used in a wider variety of genres, such as culture schools, cram schools, English conversation classes, and so on.
The AVOS Twitter account is hosting many more events using AVOS and virtual classrooms. Please take a look!
If you would like to try AVOS for yourself, you can start using it right away, free of charge, from the AOIKE Enterprises website. We invite you to experience the virtual classroom for yourself.
この記事が気に入ったらサポートをしてみませんか?