
EDGE(Editable Dance Generation from Music)で遊ぶメモ

このメモを読むと
・EDGEを導入できる
・曲からそれぽいダンスを生成できる
こんなかんじのができます pic.twitter.com/DVD7nWv8ZZ
— おれっち (@__olender) June 3, 2023
検証環境
・Windows11
・VRAM24GB
・ローカル(Anaconda)
・2023/6/B時点
事前準備
Anacondaを使うメモ|おれっち (note.com)
Gitを使うメモ|おれっち (note.com)
PythonでC/C++環境を使うメモ|おれっち (note.com)
ffmpegを入れるメモ|おれっち (note.com)
WSL2を入れるメモ|おれっち (note.com)
blenderのインストール
EDGE(Editable Dance Generation from Music)とは
音楽に合わせてダンスモーションを振り付ける生成AIモデルです。
導入して遊んでみましょう!
前提
ダンスモーションの生成時にVRAMを14GBくらい使います。
EDGE導入
とても簡単です!
1. 仮想環境構築を行い、EDGEのプロジェクトをDL
conda create -n edge python=3.10
activate edge
git clone https://github.com/Stanford-TML/EDGE.git
2. パッケージ追加
まずはこの4つ。
・PyTorch
・pytorch3d 失敗するときはこちら
・jukemirlib
・accelerate
pip install torch torchvision torchaudio --index-url https://download.pytorch.org/whl/cu118
pip install git+https://github.com/facebookresearch/pytorch3d.git
pip install git+https://github.com/rodrigo-castellon/jukemirlib.git
pip install accelerate
accelerateは”fp16”にしたいので設定を変えましょう。
accelerate configPlease select a choice using the arrow or number keys, and selecting with enter
* This machine
AWS (Amazon SageMaker)
Which type of machine are you using?Please select a choice using the arrow or number keys, and selecting with enter
* No distributed training
multi-CPU
multi-GPU
TPU
Do you want to run your training on CPU only (even if a GPU / Apple Silicon device is available)? [yes/NO]: NO
Do you wish to optimize your script with torch dynamo?[yes/NO]: NO
Do you want to use DeepSpeed? [yes/NO]: NO
What GPU(s) (by id) should be used for training on this machine as a comma-seperated list? [all]: all
Do you wish to use FP16 or BF16 (mixed precision)?
Please select a choice using the arrow or number keys, and selecting with enter
no
* fp16
bf16
fp8
さらにパッケージ追加&更新
pip install yt-dlp wandb matplotlib einops p_tqdm
pip install --upgrade jupyter
3. FBX Python SDKのインストール
3-1. 下記URLからFBX Python SDKインストーラーをDLし実行
FBX | Adaptable File Formats for 3D Animation Software | Autodesk

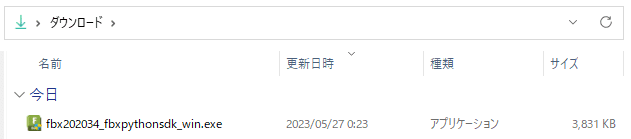
すべてデフォルトでインストール。
3-2. インストール先に移動しwhlファイルをpip
cd /d C:\Program Files\Autodesk\FBX\FBX Python SDK\2020.3.4
python -m pip install fbx-2020.3.4-cp310-none-win_amd64.whl 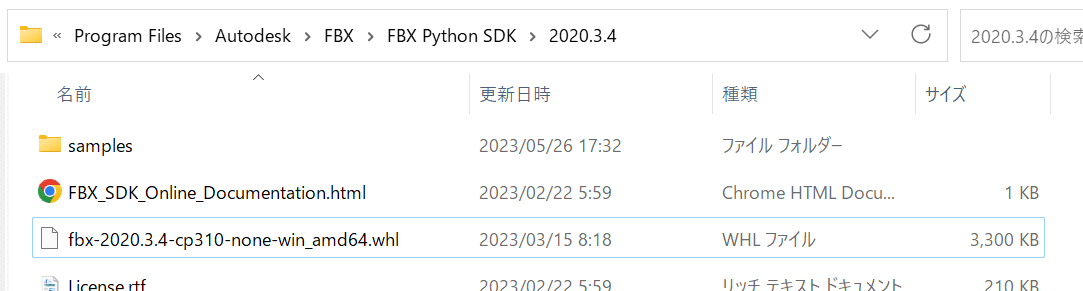
3-3. C:\Program Files\Autodesk\FBX\FBX Python SDK\2020.3.4\samplesにあるFbxCommon.pyをEDGE\SMPL-to-FBX直下にコピー


4. ソースコードの調整(Windowsへ対応させるため)
4-1. EDGE\SMPL-to-FBX\FbxReadWriter.pyのスクリプトを4か所変更
FbxTime.eFrames30をFbxTime.EMode.eFrames30に変更(3か所)
FbxAnimCurveDef.eInterpolationCubicをFbxAnimCurveDef.EInterpolationType.eInterpolationCubicに変更(1か所)

4-2. EDGE\SMPL-to-FBX\Convert.pyのスクリプトを1か所変更、2か所追加
out = os.system(f"wine SMPL-to-FBX/FbxFormatConverter.exe -c {output_dir} -binary")を
out = os.system(f".\\SMPL-to-FBX\\FbxFormatConverter.exe -c {output_dir} -binary")に変更

# Convert.pyの追加部分1
def create_directory(input_dir, output_dir):
    input_dir_basename = os.path.basename(os.path.normpath(input_dir))
    directory_path = os.path.join(output_dir, input_dir_basename)
    if not os.path.exists(directory_path):
        os.makedirs(directory_path)
        print(f"make Dir: {directory_path}")
# Convert.pyの追加部分2
create_directory(input_dir,output_dir)
4-3. EDGE\demo.ipynbの[2]と[3]を以下のように変更
youtubeのURLを一つにする(デモ時間短縮のため)
youtube-dlをyt-dlpに変更

5. チェックポイントのダウンロード
cd /d D:\DevWS\EDGE
bash download_model.sh
準備完了です! 失敗するときはこちら
EDGEを使ってみる
それでは、実際にEDGEをうごかしてみましょう。
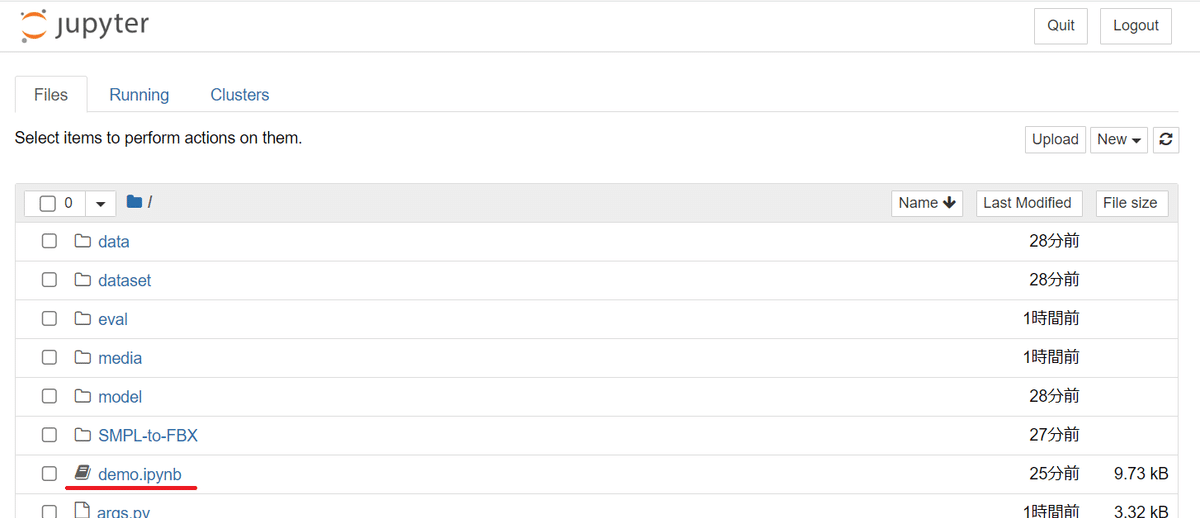
1. コマンドラインからjupyter notebookを起動
jupyter notebook
2. ブラウザでjupyter notebookが開かれるので、demo.ipynbを開く
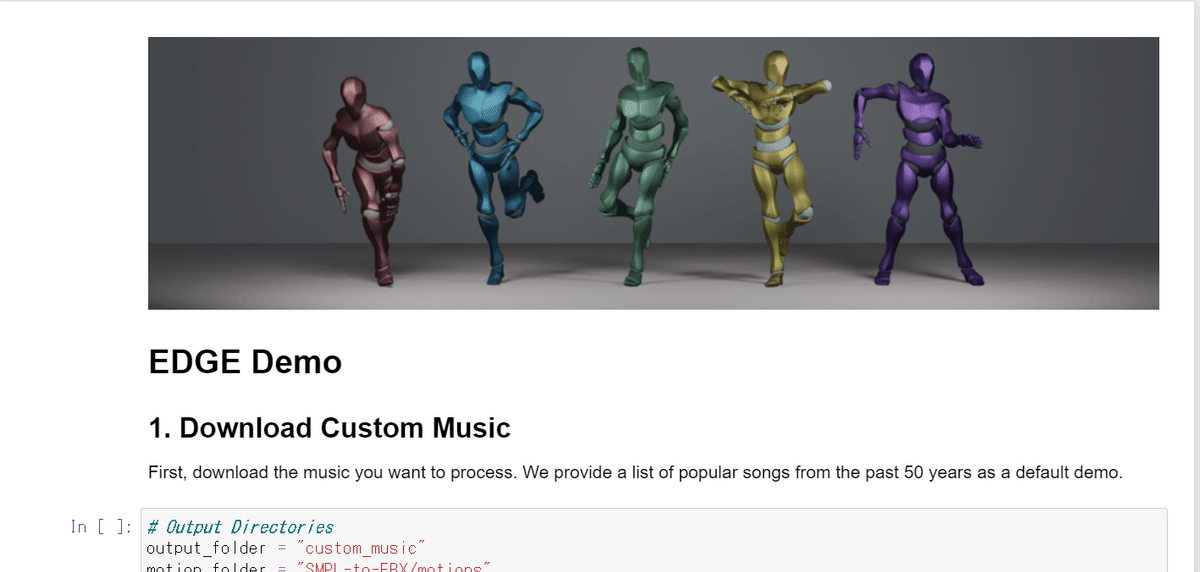
3. プログラムを走らせる


4. 待つ


5. モーションデータが生成されてます

人形を動かしてみる
生成したモーションデータを動かしてみましょう。
1. blenderを起動
2. モーションデータをインポート


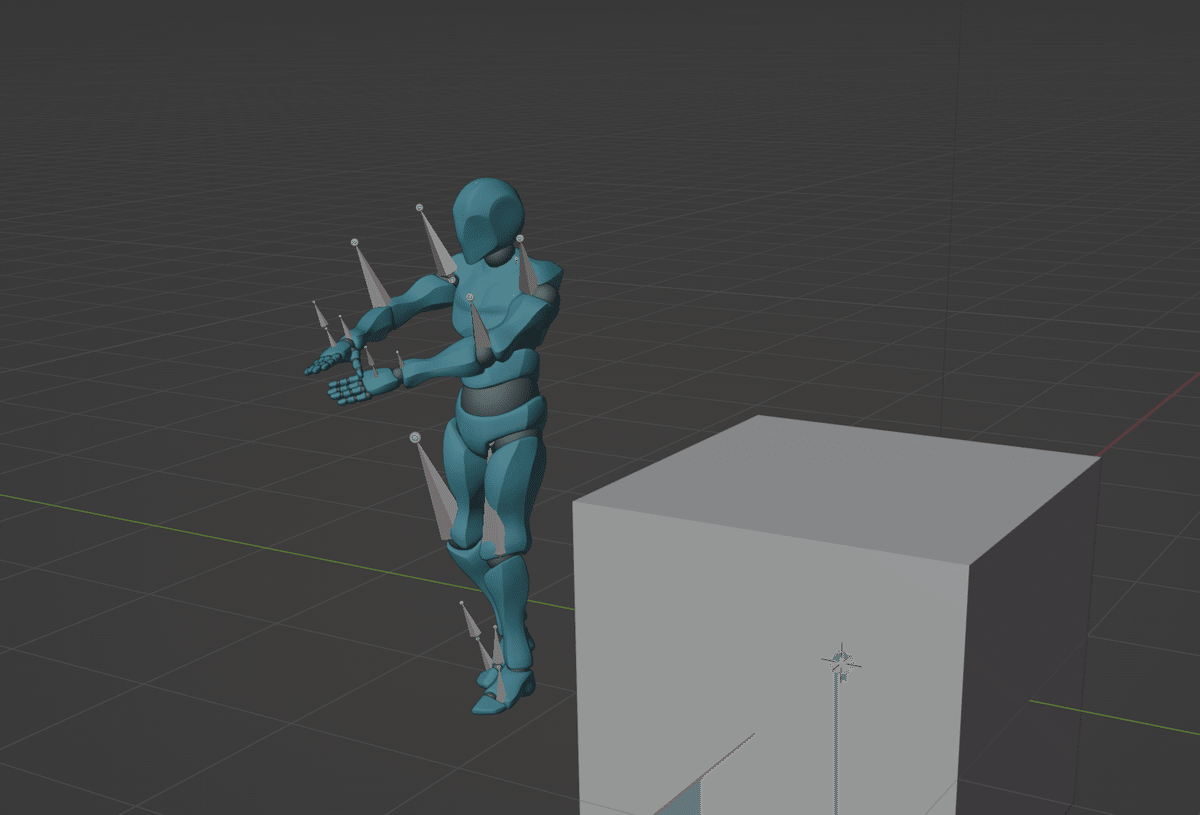
3. モーションを再生


おわり
曲からダンスを生成できました。
デフォルト状態だと900step分のモーションしか作成できないので、パラメーターをいじってフル尺で生成したいです。どこを変えればいいのかな。
この記事が気に入ったらサポートをしてみませんか?