8桁x2行キャラクタLCDの制御

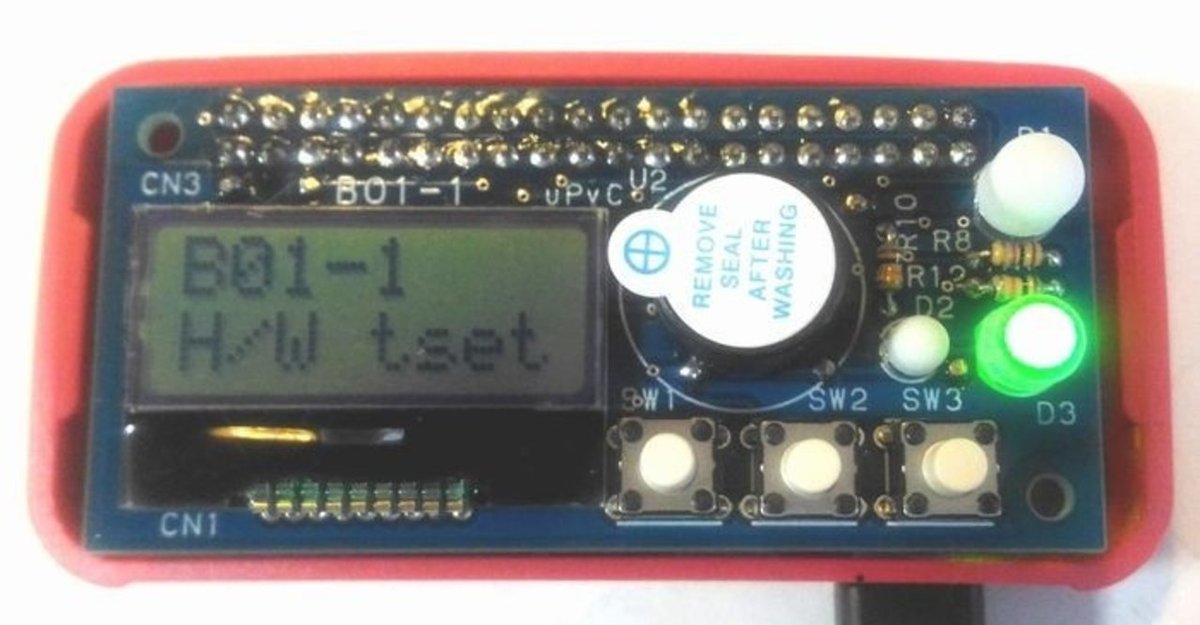
B01-1に採用したキャラクタLCD(AQM0802A-RN-GBW)の制御プログラムを紹介します。バーコード端末(S0102)の一部で、Python3で書いたものです。
この部分について言えば、以前に書いた「B01-1 H/W tester (S0101-0)」からダウンロード出来るものとほぼ同じだと思います。
ソースコード
class I2C と関連する import 部分は以下の通りです。
import smbus    # RasPi のインタフェース設定で I2C enable にして使う
               # I2C enable は /boot read write で設定する。

import RPi.GPIO as GPIO
from time import sleep


class I2C:                          # I2C (LCD)

   def __init__(self):

       self.i2c = smbus.SMBus(1)
       self.lcdaddr = 0x7C
       self.lcdaddr = self.lcdaddr >> 1
       GPIO.setmode(GPIO.BCM)
       GPIO.setup(17,GPIO.OUT)     # RESET
       GPIO.output(17,1)           # RESET = High
       self.lcd_wk = ['Barcode ',' Checker']
       self.lcd_dd = ['        ','        ']


   def lcd_init(self):     # LCD (AQM0802A-RN-GBW) 初期化

       err = 0

       try:
           GPIO.output(17,0)       # LCD RESET PULSE
           sleep(0.1)
           GPIO.output(17,1)
           sleep(0.06)

           self.i2c.write_byte_data(self.lcdaddr, 0x00, 0x38)  # Function set 1
           #sleep (0.0005)
           sleep(0.1)
           self.i2c.write_byte_data(self.lcdaddr, 0x00, 0x39)  # Function set 2
           #sleep (0.0005)
           sleep(0.1)
           self.i2c.write_byte_data(self.lcdaddr, 0x00, 0x14)  # Internal OSC frequency
           #sleep (0.0005)
           sleep(0.1)
           self.i2c.write_byte_data(self.lcdaddr, 0x00, 0x78)  # Contrast set
           #sleep (0.0005)
           sleep(0.1)
           self.i2c.write_byte_data(self.lcdaddr, 0x00, 0x55)  # Power/ICON/Contrast control
           #sleep (0.001)
           sleep(0.1)
           self.i2c.write_byte_data(self.lcdaddr, 0x00, 0x6C)  # Follower control
           sleep(0.3)
           self.i2c.write_byte_data(self.lcdaddr, 0x00, 0x38)  # Function set 3
           #sleep (0.0005)
           sleep(0.1)
           self.i2c.write_byte_data(self.lcdaddr, 0x00, 0x0C)  # Display ON/OFF control
           #sleep (0.0005)
           sleep(0.1)
           self.i2c.write_byte_data(self.lcdaddr, 0x00, 0x01)  # Clear Display
           #sleep (0.001)
           sleep(0.1)
       except:
           err = 1

       if err == 0:
           self.lcd_disp(0)
           self.lcd_disp(1)

       return err


   def lcd_disp(self, L):      # LCD L行目表示 (lcd_wk[L]) L=0,1

       err = 0

       if self.lcd_dd[L] != self.lcd_wk[L]:
           try:
               if L > 0:
                   self.i2c.write_byte_data(self.lcdaddr, 0x80, 0xC0)
               else:
                   self.i2c.write_byte_data(self.lcdaddr, 0x80, 0x80)
           except:
               err = 1

           if err == 0:
               for i in range(7):
                   try:
                       self.i2c.write_byte_data(self.lcdaddr, 0xC0, ord(self.lcd_wk[L][i:i+1]))
                   except:
                       err = 1
                       break

           if err == 0:
               try:
                   self.i2c.write_byte_data(self.lcdaddr, 0x40, ord(self.lcd_wk[L][7:]))
               except:
                   err = 1

           if err == 0:
               self.lcd_dd[L] = self.lcd_wk[L]

       return err


   def write_lcd_wk(self, L, string):  # LCD L行目 表示データ上書き

       err = 1

       if len(string) > 8:
           string = string[:8]
       elif len(string) < 8:
           string = string + ' ' * (8-len(string))

       try:
           self.lcd_wk[L] = string
       except:
           err = 1

       return err
code は文字数が稼げますね。
解説
import
I2Cを使うためにはメインメニューの「Raspberry PI の設定」で「インターフェイス」タブにあるI2CをONにして下さい。
__init__(self):
インスタンス作成によって、I2CバスとAQM0802A-RN-GBWに出力するRESET信号を初期化し、表示データの初期値を準備しています。
lcd_init(self):
AQM0802A-RN-GBWにリセット信号(パルス)を出力した上で、初期化データを送っています。
最後に後述のlcd_disp(self, L)を使って初期表示値を送っています。
lcd_disp(self, L):
2行の内いずれか1行を送信して表示を更新します。
ただし、先に送った表示データと同じ表示内容の時は送信しません。
バーコード端末(S0102)ではタイマー割込みによって定期的に実行しています。
write_lcd_wk(self, L, string):
表示するデータを渡す関数です。
実際に表示するのは前述のlcd_disp(self, L) です。
以上、何らか参考に成れば幸いです。
出来ればサポート頂けると、嬉しいです。 新しい基板や造形品を作る資金等に使いたいと思います。