
Photo by
aizulover
python:WEBアプリを作ろう(djangoでCSVを出力)

前回は、pythonのWEBフレームワークでスクレイピングをしてみましたが、今回は、そのスクレイピングした結果をボタンを押すことによって、CSVに吐き出せるような機能を実装してみましょう。
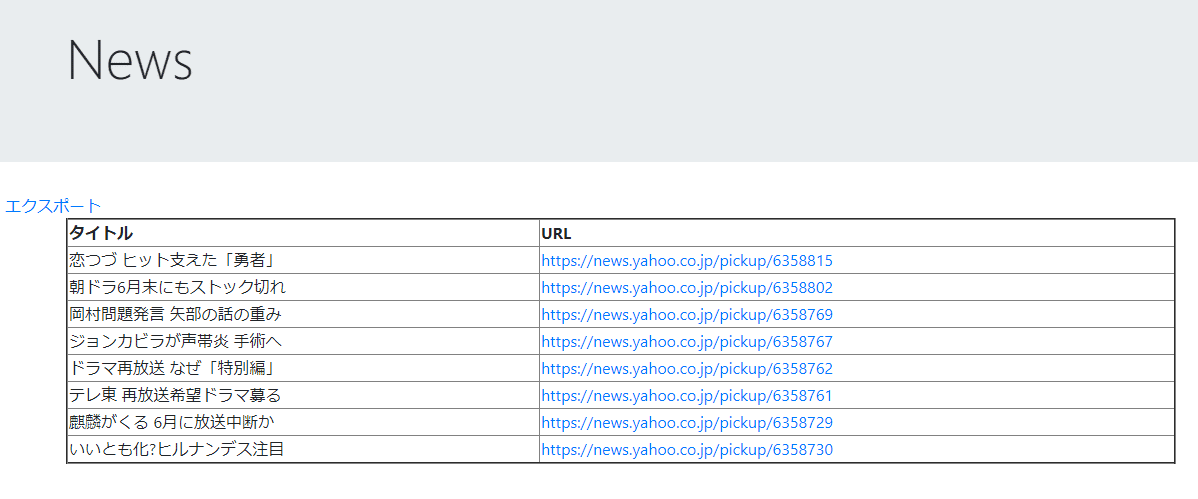
『エクスポート』ボタンを押すと、表示されている表データをCSVでダウンロードすることができます。
modulesを作成
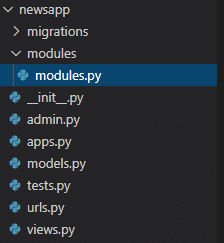
コードを簡素化するためと再利用の観点から、modulesフォルダを作成し、そこへ前回の記事で作成したスクレイピングのコードが記載されたmodules.pyを作成します。
newsapp -> modules -> modules.py
from django.shortcuts import render
from django.views.generic import CreateView
from django.urls import reverse_lazy
import urllib.request
import requests
from bs4 import BeautifulSoup
from django.http import HttpResponse
import csv
import io
from newsapp.models import News


def data_get():
   for post in News.objects.all():
       url = post.url
   list = []
   response = requests.get(url)
   bs = BeautifulSoup(response.text, "html.parser")
   ul_tag = bs.find_all(class_="topicsList_main")
   for tag in ul_tag[0]:
       title = tag.a.getText()
       url2 = tag.a.get("href")
       list.append([title, url2])
   return list
めんどくさかったので、import各種は前回のやつをべたっと貼り付けますので、不要なものもあります。
views.pyを編集
作ったmodules.pyをインポート
from newsapp.modules import modules
前回作ったlistfuncも書き換えておきましょう。
def listfunc(request):
   context = {'list': modules.data_get(),}
   return render(request, 'list.html', context)
csvdownload用の関数を作成します。
from django.http import HttpResponse
import csv
import io
def csvdownload(request):
   response = HttpResponse(content_type='text/csv; charset=Shift-JIS')
   filename = urllib.parse.quote(('データ.csv'))
   response['Content-Disposition'] = 'attachment; filename="{}"'.format(filename)
   writer = csv.writer(response)
   writer.writerow(['タイトル', 'URL'])
   writer.writerows(modules.data_get())
   return response
HttpResponseオブジェクトを作成。content_typeとエンコードを指定します。
urls.pyを編集
from django.urls import path
from .views import Create, listfunc, csvdownload
urlpatterns = [
   path('', Create.as_view(), name='home'),
   path('list/', listfunc, name='list'),
   path('csv/', csvdownload, name='csv'),#追記
]
list.htmlへ以下の行を追加
<li><a href="{% url 'csv' %}" class="">エクスポート</a></li>
{% extends 'base.html' %}
{% block header %}
<div class="jumbotron">
   <div class="container">
     <h1 class="display-4">News</h1>
   </div>
 </div>
{% endblock header %}
{% block content %}
<li><a href="{% url 'csv' %}" class="">エクスポート</a></li>
<div class="container">
<ul class="list-group list-group-flush">
 <table border="2">
   <tr>
     <th>タイトル</th>
     <th>URL</th>
   </tr>
   {% for post, post2 in list %}
   <tr>
     <td>{{ post }}</td>
     <td><a href="{{ post2 }}">{{ post2 }}</a></td>
   </tr>
   {% endfor %}
 </table>
</ul>
</div>
{% endblock content %}
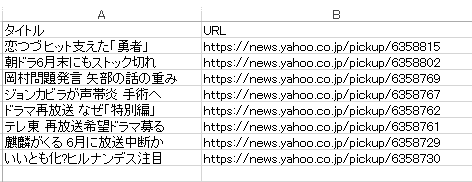
以上で完成となります。サーバーを起動して確認してみると『エクスポート』が追加され、CSVがダウンロードすることができます。
python3 manage.py runserver過去記事
この記事が気に入ったらサポートをしてみませんか?