
🛠webpackでビルドするCloud Functions for Firebase入門編

Cloud Functions for Firebase は Node.js 製のバックエンド環境なので、CommonJS 形式で書く必要があります。
しかし、普段ブラウザ向けに ECMAScript で書いていると、文法の違いや実装されている関数の違いで混乱することがあります。
そこで、webpack を使って ECMAScript を CommonJS 形式に変換すれば、普段と変わらず快適に JavaScript を書けるようになります。
CLI の導入
Firebase をコマンドから扱えるようにします。
$ npm install -g firebase-toolsfirebase --version コマンドでバージョンが表示されればOKです。
$ firebase --version
8.0.2
また、Google アカウントでログインをしておきます。
$ firebase login環境構築
まずは、Firebase コンソールでプロジェクトを作成します。
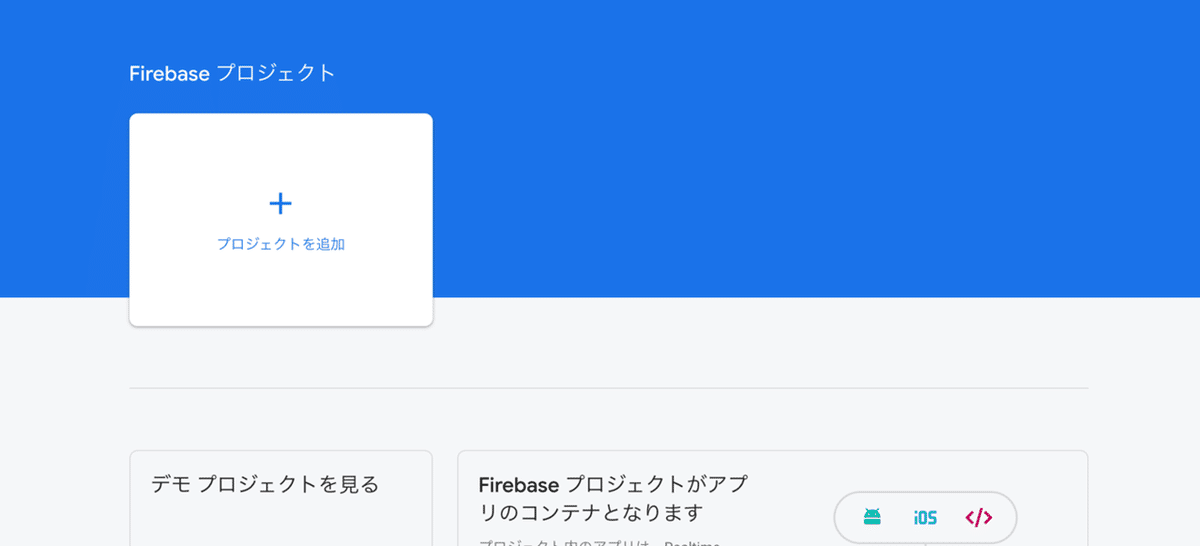
[プロジェクトを追加] をクリックします。
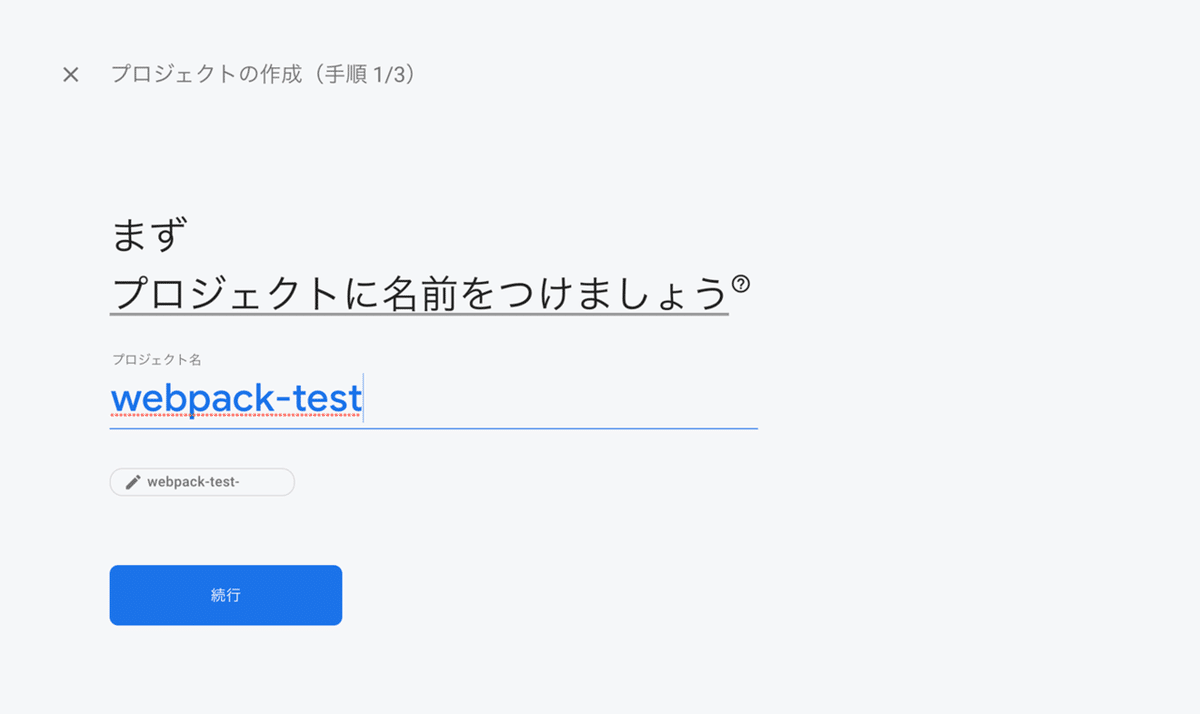
プロジェクト名を入力します。ここでは webpack-test とします。
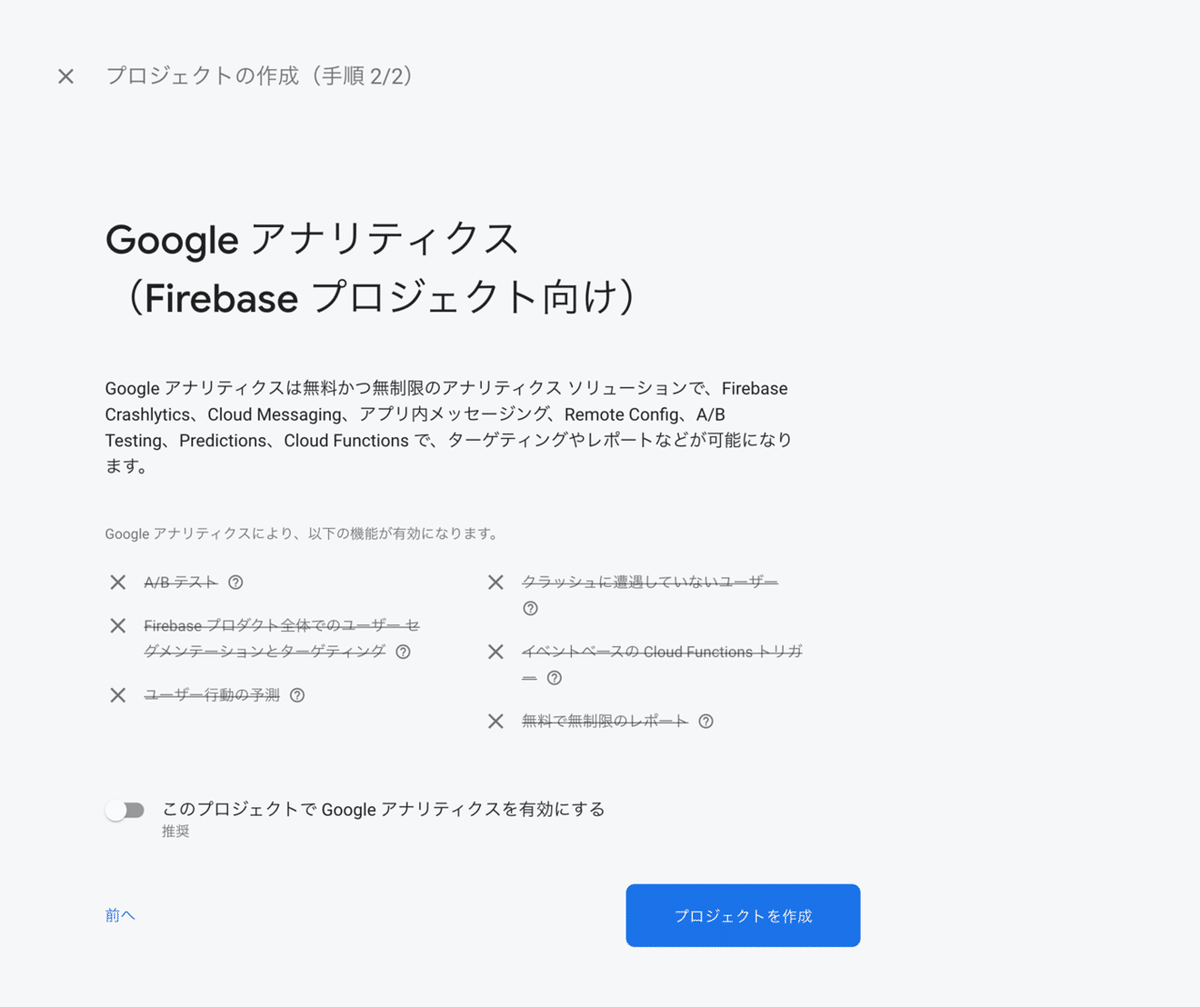
今回はテストなので、Google アナリティクスは無効にしておきます。
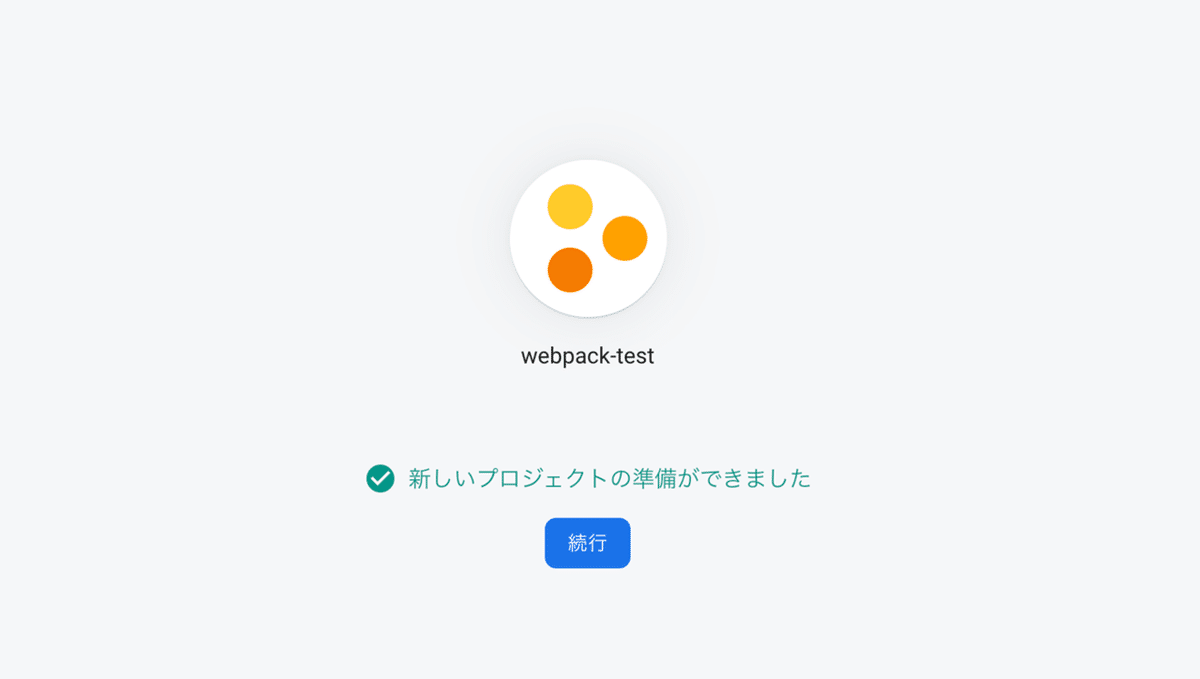
[続行] をクリックすれば、プロジェクトの準備はOKです。
$ firebase init次に、firebase init コマンドで初期設定を行います。対話形式でいくつか質問に答えていけば簡単に環境構築できます。
? Which Firebase CLI features do you want to set up for this folder? Press Space to select features, then Enter to confirm your
choices. (Press <space> to select, <a> to toggle all, <i> to invert selection)
◯ Database: Deploy Firebase Realtime Database Rules
◯ Firestore: Deploy rules and create indexes for Firestore
❯◉ Functions: Configure and deploy Cloud Functions
◯ Hosting: Configure and deploy Firebase Hosting sites
◯ Storage: Deploy Cloud Storage security rules
◯ Emulators: Set up local emulators for Firebase features
Firebase のどの機能を使うか聞かれるので、矢印キーで移動して Functions をスペースキーで選択してから、エンターキーを押します。
? Please select an option:
❯ Use an existing project
Create a new project
Add Firebase to an existing Google Cloud Platform project
Don't set up a default project
プロジェクトの設定について聞かれます。すでに、Firebase コンソールでプロジェクトを作成しているので、Use an existing project を選択します。
? Select a default Firebase project for this directory:
❯ webpack-test-***** (webpack-test)
先ほど作った webpack-test プロジェクトを選択します。
? What language would you like to use to write Cloud Functions? JavaScript
? Do you want to use ESLint to catch probable bugs and enforce style? No
? Do you want to install dependencies with npm now? Yes
その後、TypeScript や ESLint などの設定について聞かれますが、ここでは使わないこととします。
├─ functions/
│   ├─ node_modules/
│   ├─ .gitignore
│   ├─ index.js
│   ├─ package-lock.json
│   └─ package.json
├─ .firebaserc
├─ .gitignore
└─ firebase.json
このようにファイルが生成されていれば大丈夫です。
webpackでビルド
まずは、フォルダ構成を変更します。functions/.gitignore は必要ないので最初に削除しておきます。
├─ functions/
│   ├─ node_modules/
│   ├─ src/
│   │   └─ index.js
│   ├─ package-lock.json
│   └─ package.json
├─ .firebaserc
├─ .gitignore
└─ firebase.json
次に、ビルドするために必要な npm モジュールを追加します。
$ npm i -D webpack webpack-cli webpack-node-externals @babel/core @babel/register @babel/preset-env babel-loader core-js regenerator-runtimenpm モジュールそれぞれの役割は以下の通りです。
・webpack → webpack 本体
・webpack-cli → webpack をコマンドで扱えるように
・webpack-node-externals → バックエンド向けにコンパイル
・@babel/core → Babel 本体
・@babel/register → コマンドから扱う際に必要
・@babel/preset-env → 環境に応じて必要な Babel プラグインを読み込む
・babel-loader → webpack で Babel を使う
・core-js → Polyfill ライブラリ
・regenerator-runtime → async/await の Polyfill
webpack の設定ファイル webpack.config.babel.js を追加します。
import path from 'path'
import nodeExternals from 'webpack-node-externals'

export default {
  mode: process.env.NODE_ENV || 'development',
  target: 'node',
  entry: {
    index: path.resolve(__dirname, './src/index.js'),
  },
  output: {
    filename: '[name].js',
    libraryTarget: 'commonjs',
  },
  module: {
    rules: [
      {
        test: /\.js$/,
        exclude: /node_modules/,
        use: [
          {
            loader: 'babel-loader',
          },
        ],
      },
    ],
  },
  externals: [nodeExternals()],
}
Node.js 向けにコンパイルするので、{target: 'node'}、{output: {libraryTraget: 'commonjs'}} を指定します。
そして、Babel の設定ファイル babel.config.js を追加します。
module.exports = api => {
  api.cache(true)

  return {
    presets: [
      ['@babel/preset-env', {
        useBuiltIns: 'usage',
        corejs: 3,
        targets: {
          node: '8',
        },
      }],
    ],
    overrides: [
      {
        test: './*.babel.js',
        presets: [
          ['@babel/preset-env', {
            targets: {
              node: 'current',
            },
          }],
        ],
      },
    ],
  }
}
presets に @babel/preset-env を指定して、そのオプションで {useBuiltIns: 'usage', corejs: 3, targets: {node: '8'}} を指定することで、Node.js 8 の環境で足りない関数は core-js から自動的に Polyfill を読み込むようにします。
また、overrides オプションで、webpack.config.babel.js 向けに {node: 'current'} でローカルの Node.js バージョンでコンパイルされるように設定を上書きしておきます。
Firebase では現時点で Node.js 8 と 10 (ベータ版) のバージョンをサポートしています。もし、Node.js 10 を指定したい場合は、package.json の engines フィールドに {"node": "10"} と指定する必要があります。もちろん、babel.config.js の Node.js バージョンにも 10 を指定しましょう。
{
  "main": "dist/index.js",
  ...
}
また、フォルダ構成を少し変更したので、webpack によって出力される index.js が認識されるように package.json の main フィールドに "dist/index.js" と指定しておきます。
├─ functions/
│   ├─ node_modules/
│   ├─ src/
│   │   └─ index.js
│   ├─ babel.config.js
│   ├─ package-lock.json
│   ├─ package.json
│   └─ webpack.config.babel.js
├─ .firebaserc
├─ .gitignore
└─ firebase.json
これで、すべての設定ファイルの準備が整いました。
動作確認
functions/src/index.js ファイルに動作確認のコードを書いてみます。
import * as functions from 'firebase-functions'

export const helloWorld = functions.https.onRequest((req, res) => {
  res.send('Hello World!')
})
よくある Hello World! を表示するものです。
$ npx webpackwebpack コマンドでコンパイルします。コンパイルされると functions/dist フォルダに index.js が出力されます。
$ npm run servepackage.json にあらかじめいくつかの npm scripts が設定されているので、その中の serve を実行します。
✔ functions[helloWorld]: http function initialized (http://localhost:5001/webpack-test-*****/us-central1/helloWorld).コマンドライン上に helloWorld 関数のリンクが表示されるのでアクセスします。アクセスしてページ上に Hello World! と表示されればOKです。

この記事が気に入ったらサポートをしてみませんか?