Photo by
m0l
【Linux】 Wordpress構築

各種Ver
インストール
Apache
yum install httpdMysql
yum list installed | grep mariadb # mariadb-libが入っていたらremoveする
yum -y remove mariadb-libs
# 公式サイトから取る
yum -y install http://dev.mysql.com/get/mysql-community-release-el7-5.noarch.rpm
# それぞれインストールする
yum -y install mysql
yum -y install mysql-devel
yum -y install mysql-server
yum -y install mysql-utilities
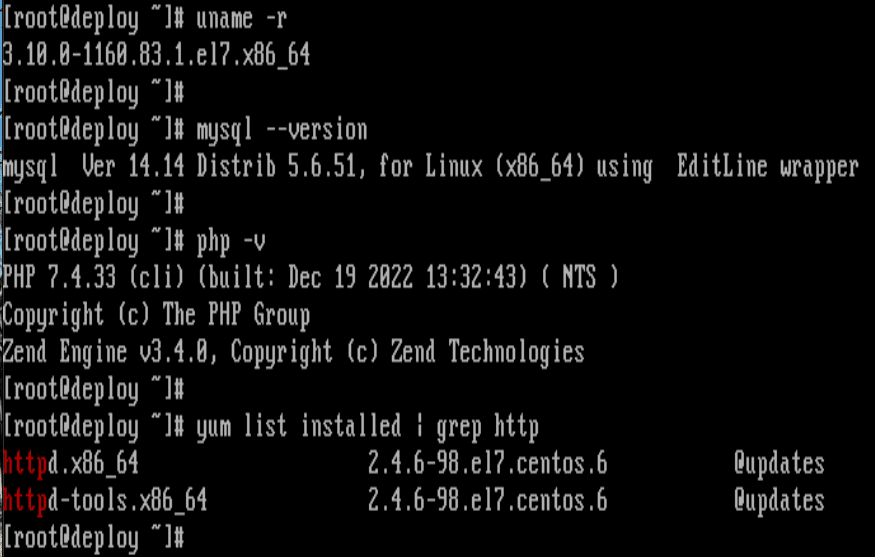
# Verの確認
mysql --versionPHP(7以上をインストールする)
yum remove php-* # 既存のPHPをremove
yum -y install epel-release # リポジトリのインストール
# PHP7のインストール
yum -y install http://rpms.remirepo.net/enterprise/remi-release-7.rpm
yum -y install --enablerepo=remi,remi-php74 php php-mbstring php-xml php-xmlrpc php-gd php-pdo php-pecl-mcrypt php-mysqlnd php-pecl-mysql
systemctl restart httpd
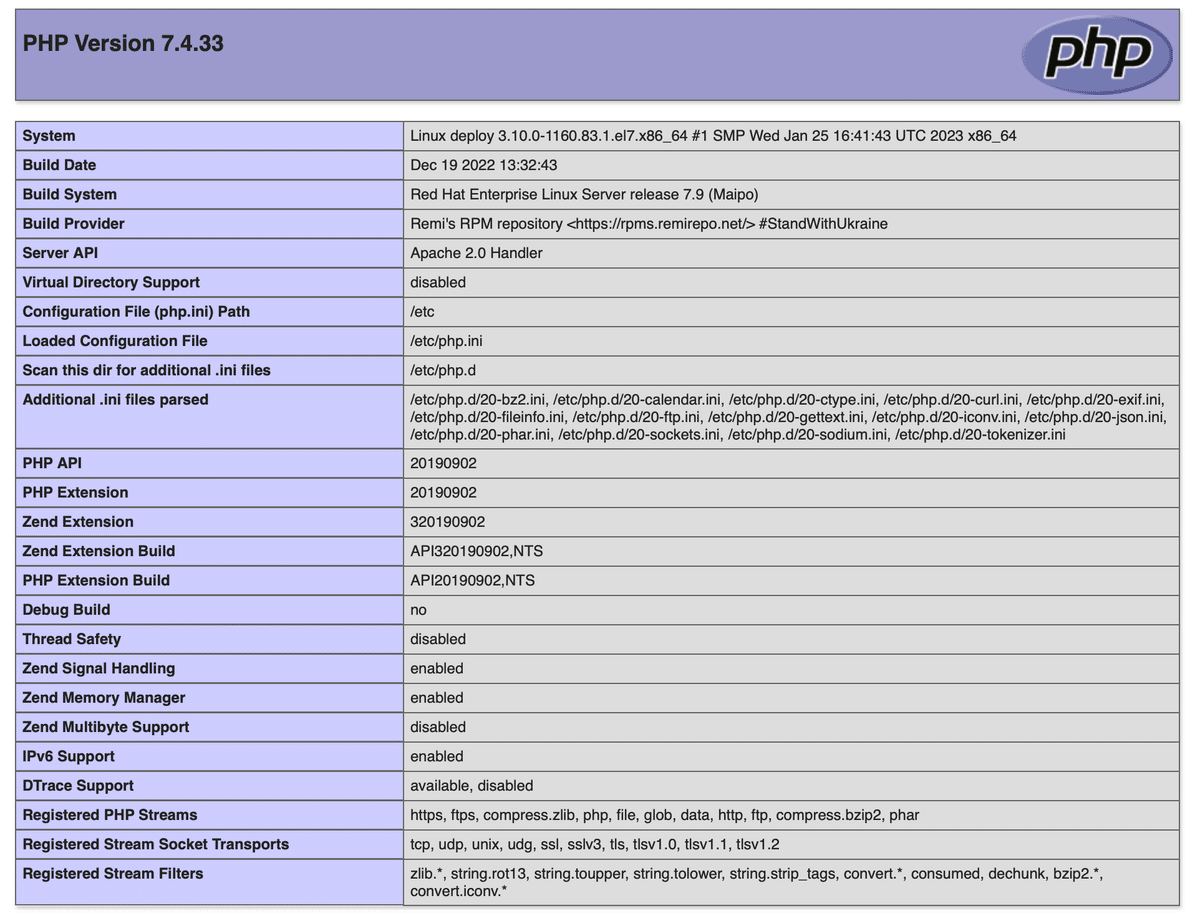
# Verの確認
php -vhttp://(IP addr )/index.php等をブラウザで検索し、以下の画面が出てくれば稼働している。
(Mariadbの場合)
yum -y install mariadb-server
curl -sS https://downloads.mariadb.com/MariaDB/mariadb_repo_setup | sudo bash
yum stop mariadb-server
yum update mariadb-server
mysql - - version
systemctl start mariadb.service
Mysqlの設定
#mysql

------------------------------------------------------------
# DBの作成
> create database wordpress;

# パスワードの設定
> grant all privileges on (ユーザー名). * to wordpress@localhost identified by “パスワード”;

# 作成の確認
> show databases;
> exit
Wordpressの設定
ダウンロード
#yum -y install wget  # ダウンロード用のコマンド
#yum -y install unzip  # 解凍用のコマンド

# wordpressのダウンロード。6.1.1はVerになる。
# wget -p /PATH とすることでダウンロード先の指定もできる
#wget -p /tmp https://ja.wordpress.org/wordpress-6.1.1-ja.tar.gz
解凍
#tar zxvf /tmp/wordpress-6.1.1-ja.tar.gz
#ls /tmp/wordpress  # wordpressファイルがあること

ファイル移動、権限変更
#mv /tmp/wordpress /var/www/
#cd /var/www/
#chown -R apache:apache wordpress/
#ls -l 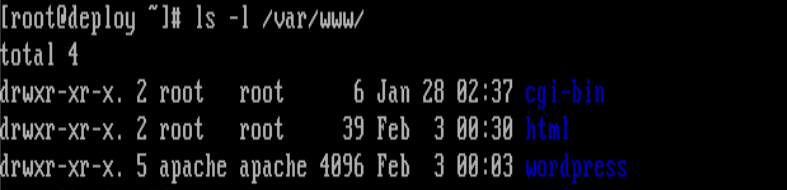
Documentrootの変更
WEBページを表示するための読み込み先を変更する
# back upの取得
#cp /etc/httpd/conf/httpd.conf /etc/httpd/conf/httpd.conf.org

#vi /etc/httpd/conf/httpd.conf

-------------------------------------------------------
DocumentRoot "/var/www/wordpress" ← DocumentRootをWordPressのディレクトリに変更

<Directory "/var/www/wordpress"> ← DocumentRootと同じディレクトリに変更
     AllowOverride All ← .htaccessによるディレクティブの上書きを許可
-------------------------------------------------------

#systemctl restart httpd
初期設定
DBで作成したパスワードなどを設定する
#cd /var/www/wordpress
#cp wp-config-sample.php wp-config.php

#vi wp-config.php

-----------------------------------------------------
  (define( 'DB_NAME', 'wordpress' );
  /** MySQL データベースのユーザー名 */
  define( 'DB_USER', 'wordpress' );
  /** MySQL データベースのパスワード */
  define( 'DB_PASSWORD', 'wordpress' );
-----------------------------------------------------

#systemctl restart httpd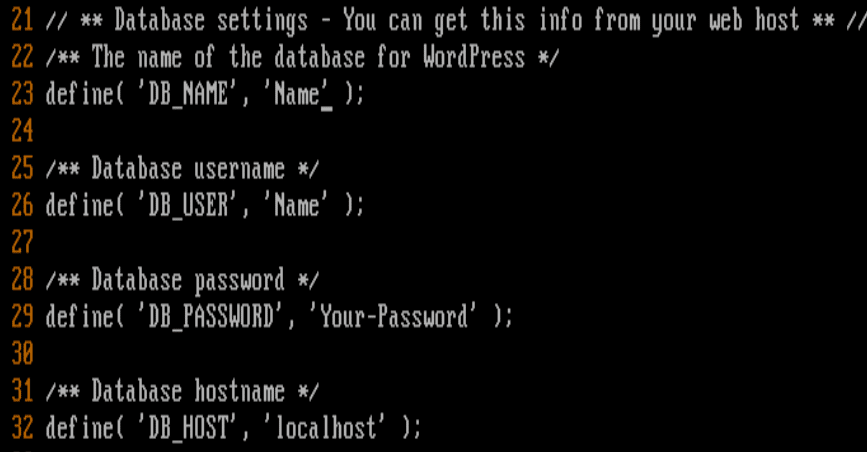
wordpress接続
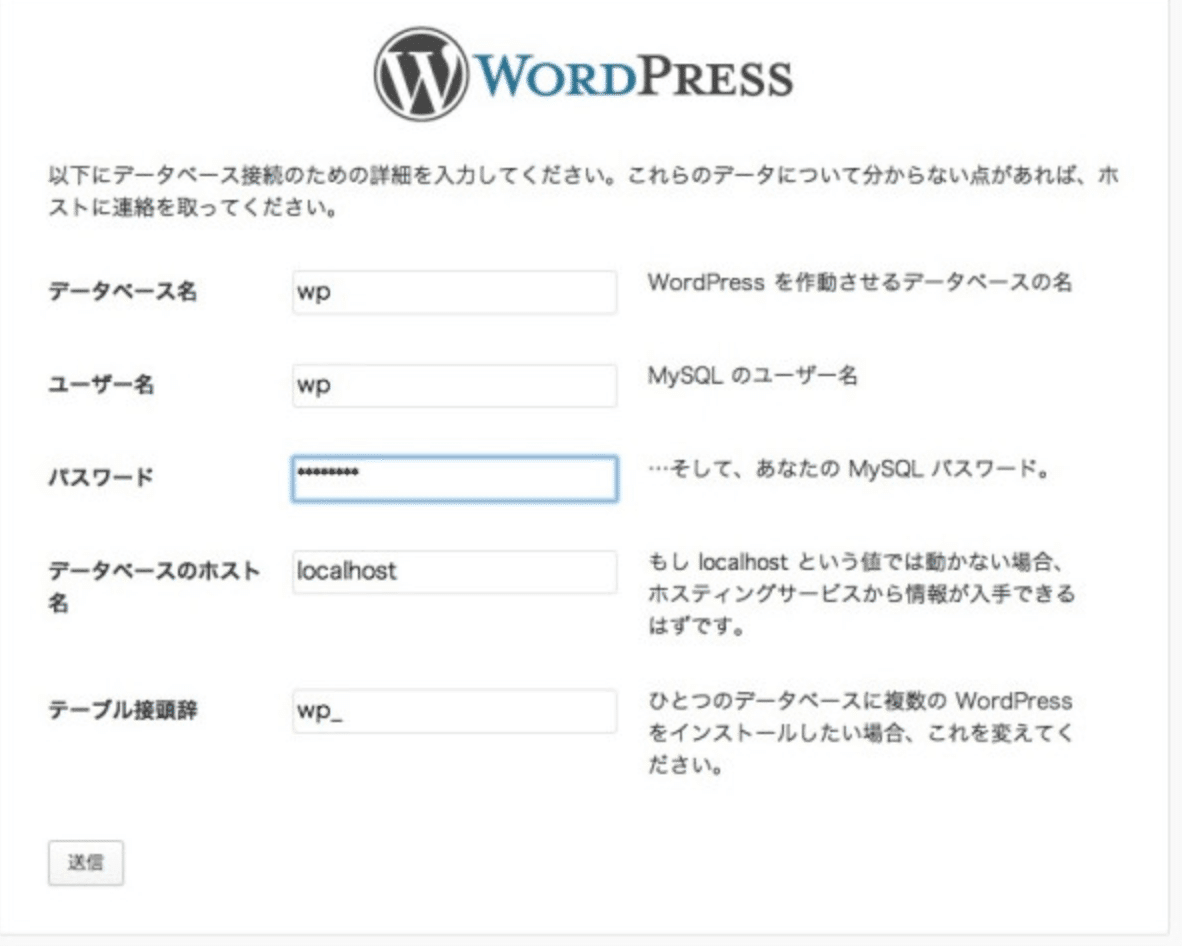
http:// ip address /wordpress をブラウザで打ち込む

Mysqlで設定したWordPress用MySQLのデータベース名(wp)、ユーザー名(wp)、パスワードを入力
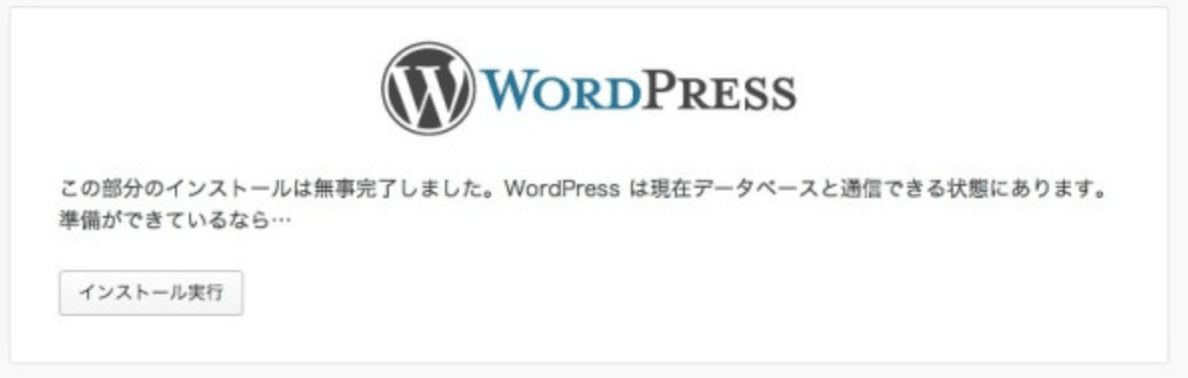
インストールの実行
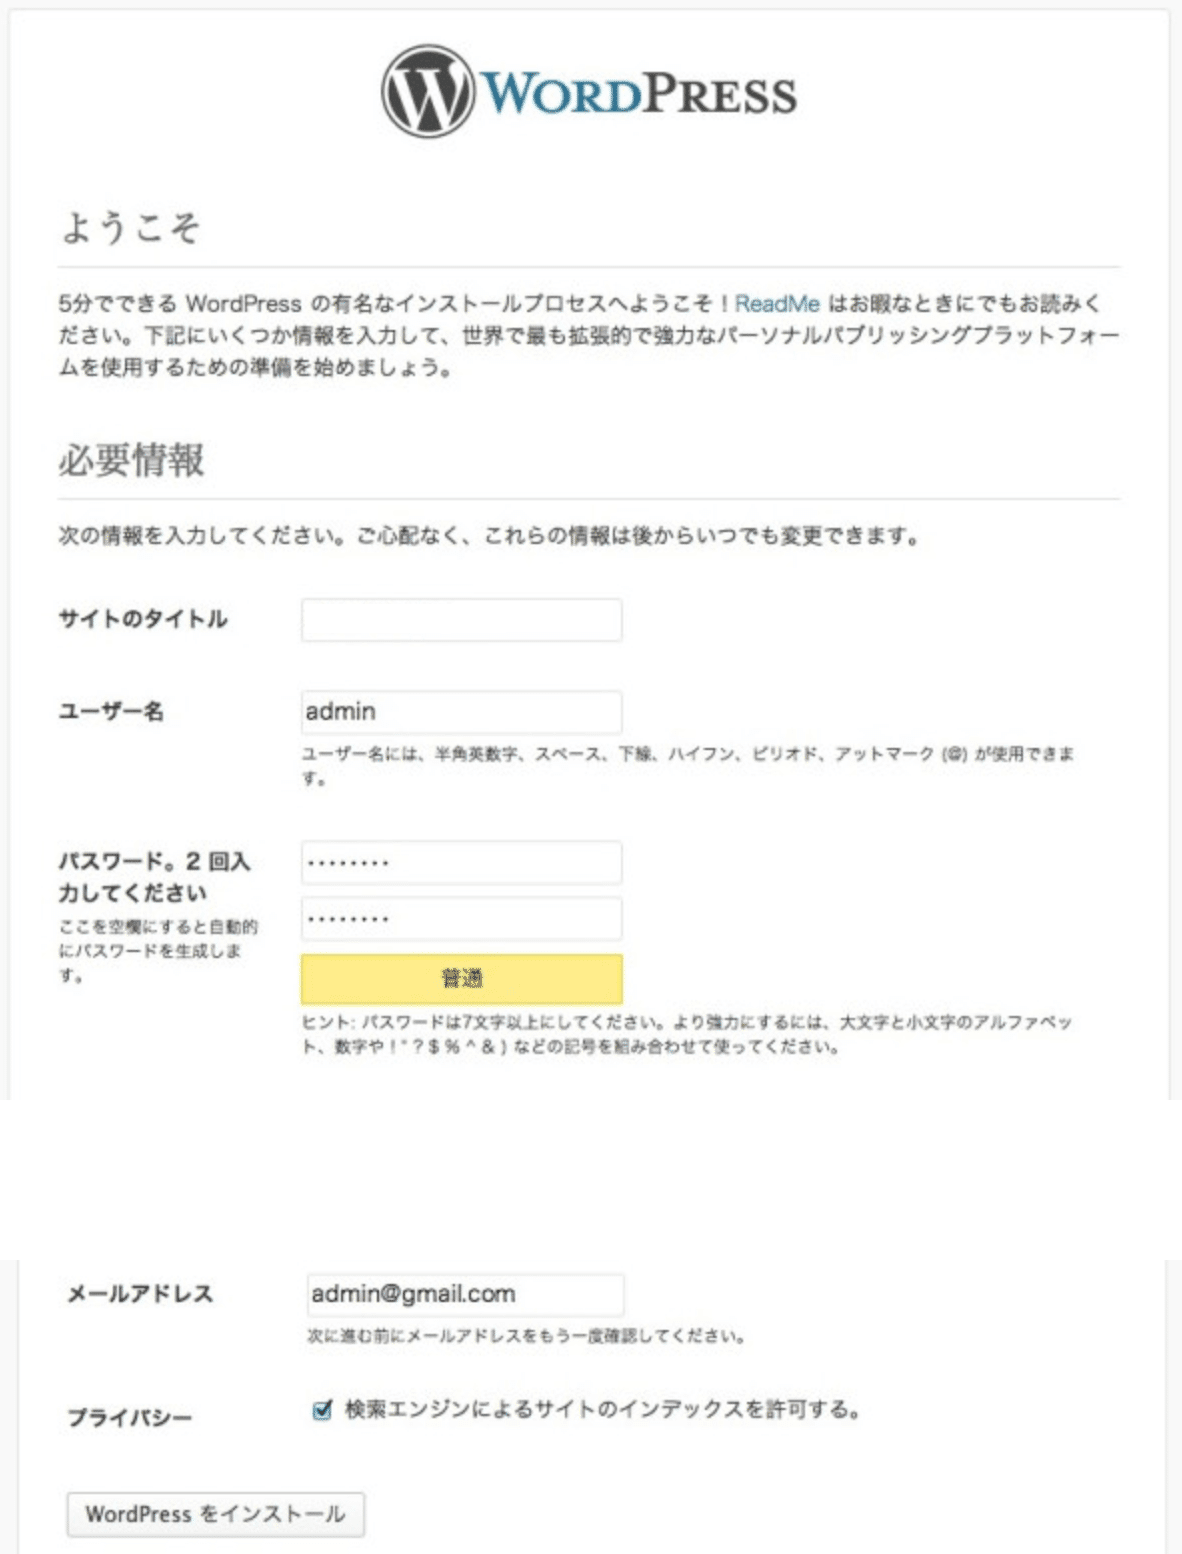
サイトのタイトル、ユーザー名(WordPress編集時に利用)、パスワード、メールアドレスを入力し、「WordPressをインストール」をクリック
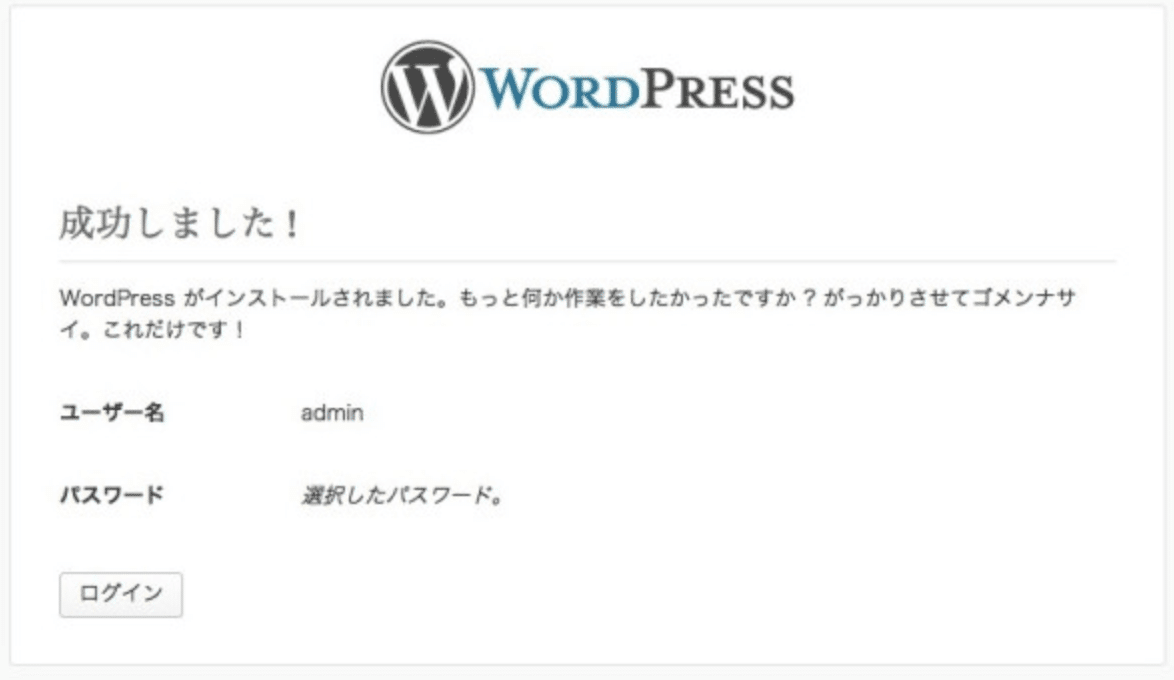
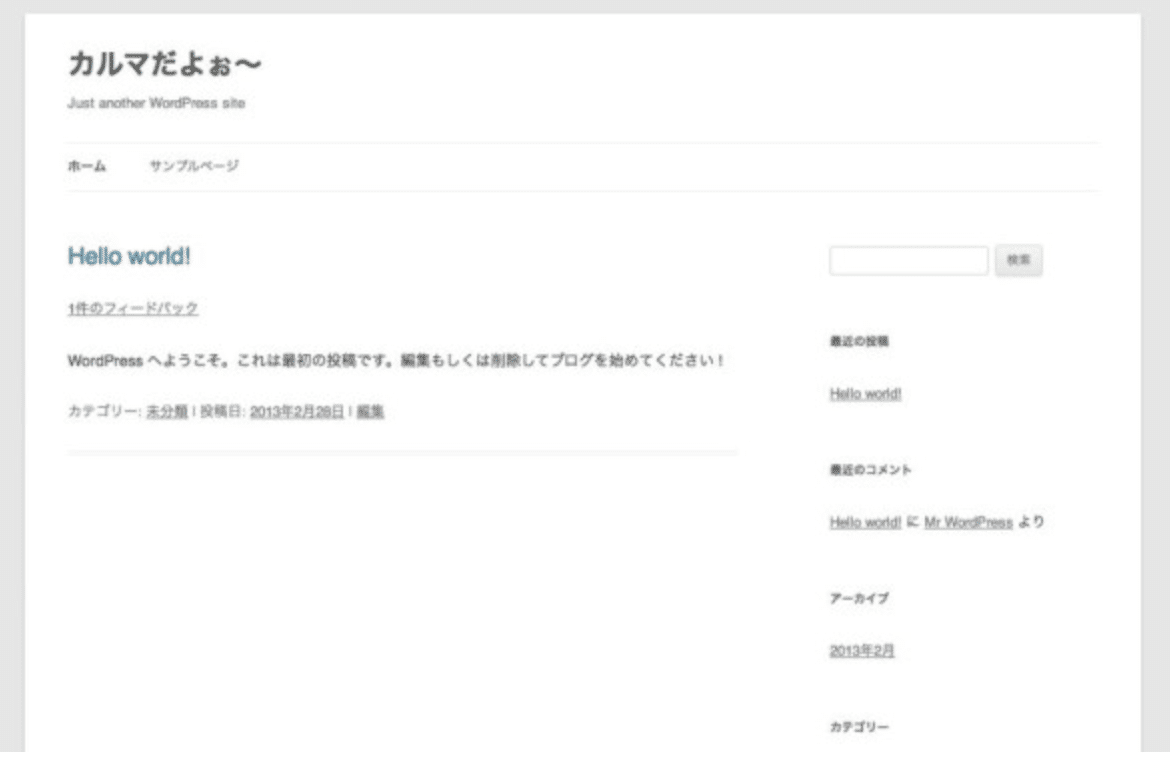
動作の確認。
いいなと思ったら応援しよう!