Python入門 (6) - TkinterによるGUIの作成

「Tkinter」によるPythonのGUIの作成方法をまとめました。
前回
1. Tkinter
「Tkinter」はPythonでGUIを作成するための標準ライブラリです。
利用可能なウィジェットは、次のとおりです。
・Button : ボタン
・Canvas : キャンバス
・Checkbutton : チェックボックス
・Combobox : コンボボックス
・Entry : テキストフィールド
・Frame : フレーム
・Label : ラベル
・LabelFrame : ラベル付きフレーム
・Menubutton : メニューボタン
・Notebook : タブ
・PanedWindow : ペインドウィンドウ
・Progressbar : プログレスバー
・Radiobutton : ラジオボタン
・Scale : スライダーバー
・Scrollbar : スクロールバー
・Separator : セパレータ
・Sizegrip : サイズグリップ
・Treeview : ツリービュー
2. Tkinterのインストール
「Tkinter」はPythonの標準ライブラリなのでインストール不要ですが、画像を扱うのでpillowをインストールします。
$ pip install pillow3. Hello World
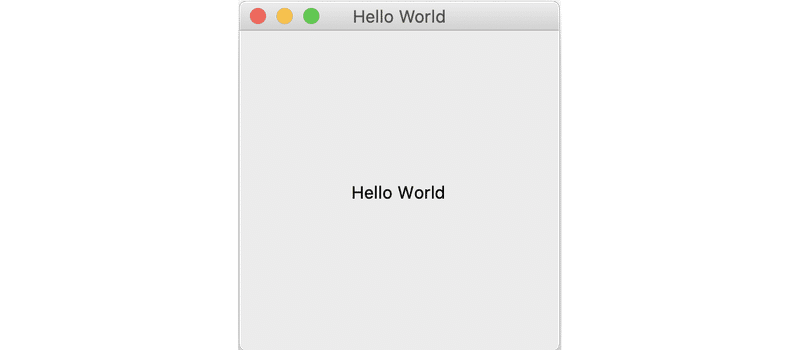
「Hello World」という文字列を表示するコードは、次のとおりです。
import tkinter as tk

# アプリの定義
class HelloWorldApp(tk.Frame):
    # 初期化
    def __init__(self, master=None):
        tk.Frame.__init__(self, master, width=240, height=240)

        # タイトルの表示
        self.master.title('Hello World')

        # ラベルの生成
        self.label = tk.Label(self, text='Hello World')
        self.label.place(x=20, y=100, width=200, height=40)

# アプリの実行
app= HelloWorldApp()
app.pack()
app.mainloop()
Frameのパラメータは、次のとおりです。
・bg/background : 背景色 (red,green,blue...)
・bd/bordewidth : ボーダー幅
・relief : ボーダー (tk.FLAT,tk.RAISED,tk.SUNKENN,tk.GROOVE,tk.RIDGE)
・width : 幅 (px)
・height : 高さ (px)
4. ウィジェットの配置
ウィジェットの配置方法には、絶対座標配置、一列配置、グリッド配置の3種類があります。
◎ ウィジェットの絶対座標配置
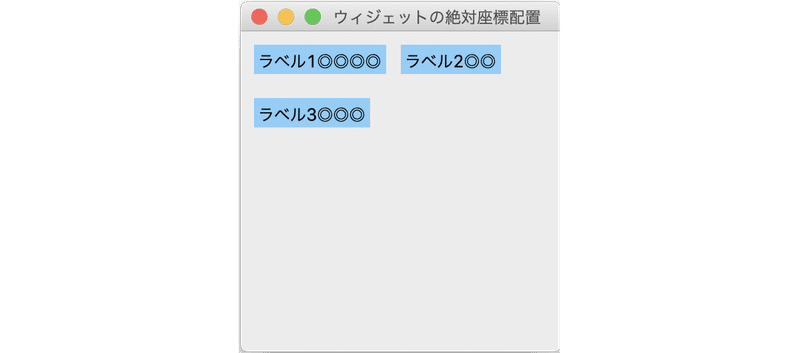
ウィジェットの絶対座標配置のコードは、次のとおりです。
import tkinter as tk

# アプリの定義
class PlaceApp(tk.Frame):
    # 初期化
    def __init__(self, master=None):
        tk.Frame.__init__(self, master, width=240, height=240)

        # タイトルの表示
        self.master.title('ウィジェットの絶対座標配置')

        # ラベル1の生成
        label1 = tk.Label(self, text='ラベル1◎◎◎◎', bg='LightSkyBlue')
        label1.place(x=10, y=10)

        # ラベル2の生成
        label2 = tk.Label(self, text='ラベル2◎◎', bg='LightSkyBlue')
        label2.place(x=120, y=10)

        # ラベル3の生成
        label3 = tk.Label(self, text='ラベル3◎◎◎', bg='LightSkyBlue')
        label3.place(x=10, y=50)

# アプリの実行
app= PlaceApp()
app.pack()
app.mainloop()
place()のパラメータは、次のとおりです。
・anchor : アンカー (tk.CENTER,tk.W,tk.E,tk.N,tk.S または"news"の組み合わせ)
・bordermode : ボーダーモード (tk.INSIDE,tk.OUTSIDE)
・x : X座標(px)
・y : Y座標(px)
・width : 幅(px)
・height : 高さ(px)
・relx : 親ウィジェットに対する相対X座標 (0.0〜1.0)
・rely : 親ウィジェットに対する相対Y座標 (0.0〜1.0)
・relwidth : 親ウィジェットに対する相対幅 (0.0〜1.0)
・relheight : 親ウィジェットに対する相対高さ (0.0〜1.0)
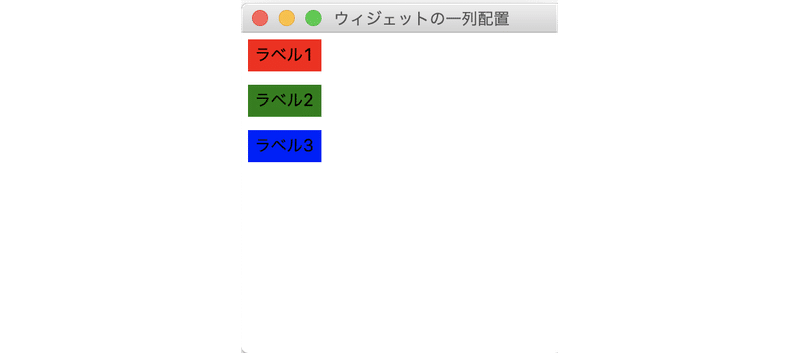
◎ ウィジェットの一列配置
ウィジェットの一列配置のコードは、次のとおりです。
ウィジェットの一列配置のコードは、次のとおりです。
import tkinter as tk

# アプリの定義
class PackApp(tk.Frame):
    # 初期化
    def __init__(self, master=None):
        tk.Frame.__init__(self, master)

        # タイトルとウィンドウサイズの指定
        self.master.title('ウィジェットの一列配置')
        self.master.geometry('240x240')

        # ラベル1の生成
        label1 = tk.Label(self, text='ラベル1', bg='red')
        label1.pack(padx=5, pady=5)

        # ラベル2の生成
        label2 = tk.Label(self, text='ラベル2', bg='green')
        label2.pack(padx=5, pady=5)

        # ラベル3の生成
        label3 = tk.Label(self, text='ラベル3', bg='blue')
        label3.pack(padx=5, pady=5)

# アプリの実行
app= PackApp()
app.pack(anchor='nw', expand=True)
app.mainloop()
pack()のパラメータは、次のとおりです。
・anchor : アンカー (tk.CENTER,tk.W,tk.E,tk.N,tk.S または"news"の組み合わせ)
・expand : 親ウィジェットのサイズ変更時に影響されるか (0 or 1)
・fill : ウィジェットの空きスペースを埋めるかどうか (tk.NONE,tk.X,tk.Y,tk.BOTH)
・padx : 外側の横のスペース (px)
・pady : 外側の縦のスペース (px)
・ipadx : 内側の横のスペース (px)
・ipady : 内側の縦のスペース (px)
・side : 列の方向 (tk.TOP,tk.LEFT,tk.RIGHT,tk.BOTTOM)
◎ ウィジェットのグリッド配置
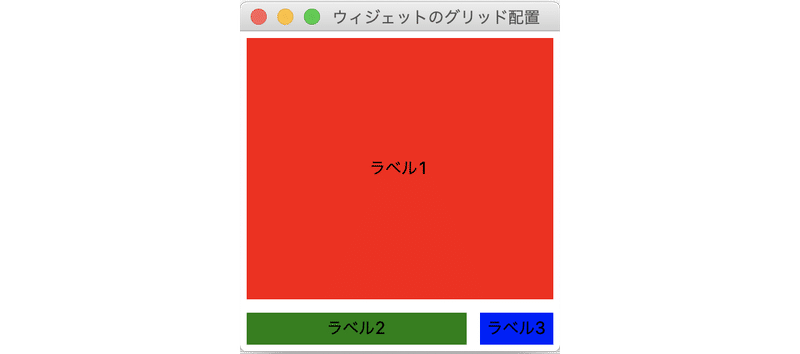
ウィジェットのグリッド配置のコードは、次のとおりです。
import tkinter as tk

# アプリの定義
class GridApp(tk.Frame):
    # 初期化
    def __init__(self, master=None):
        tk.Frame.__init__(self, master)

        # タイトルとウィンドウサイズの指定
        self.master.title('ウィジェットのグリッド配置')
        self.master.geometry('240x240')

        # 伸縮の指定
        self.master.columnconfigure(0, weight=1)
        self.master.rowconfigure(0, weight=1)
        self.columnconfigure(0, weight=1)
        self.rowconfigure(0, weight=1)

        # ラベル1の生成
        label1 = tk.Label(self, text='ラベル1', bg='red', height=100)
        label1.grid(row=0, column=0, columnspan=2, sticky='news', padx=5, pady=5)

        # ラベル2の生成
        label2 = tk.Label(self, text='ラベル2', bg='green')
        label2.grid(row=1, column=0, sticky='news', padx=5, pady=5)

        # ラベル3の生成
        label3 = tk.Label(self, text='ラベル3', bg='blue')
        label3.grid(row=1, column=1, sticky='news', padx=5, pady=5)

# アプリの実行
app= GridApp()
app.grid(sticky='news') # 伸縮の指定
app.mainloop()
grid()のパラメータは、次のとおりです。
・row : 配置する行位置
・rowspan : 配置する行数
・column : 配置する列位置
・columnspan : 配置する列数
・padx : 外側の横のスペース (px)
・pady : 外側の縦のスペース (px)
・ipadx : 内側の横のスペース (px)
・ipady : 内側の縦のスペース (px)
・sticky : anchor + fill (tk.CENTER,tk.W,tk.E,tk.N,tk.S または"news"の組み合わせ)
5. キャンバス
◎ グラフィックスの描画
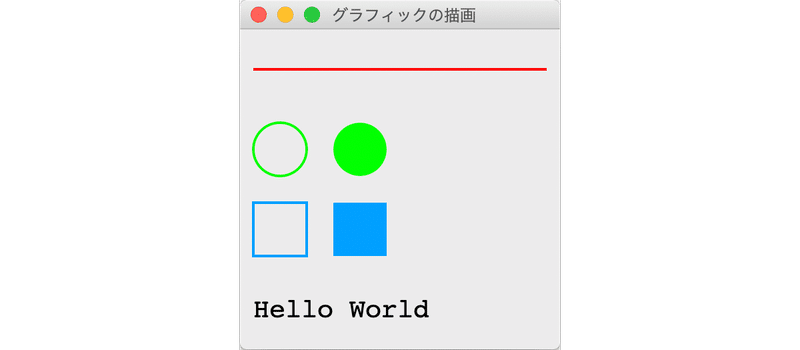
グラフィックスの描画を行うコードは、次のとおりです。
import tkinter as tk

# アプリの定義
class GraphicsApp(tk.Frame):
    # 初期化
    def __init__(self, master=None):
        tk.Frame.__init__(self, master, width=240, height=240)

        # タイトルの表示
        self.master.title('グラフィックの描画')

        # キャンバスの生成
        self.c = tk.Canvas(self, highlightthickness=0)
        self.c.place(x=0, y=0, width=240, height=240)

        # 描画の更新
        self.on_draw()

    # 描画の更新
    def on_draw(self):
        # 描画のクリア
        self.c.delete('all')

        # ラインの描画
        self.c.create_line(10, 30, 230, 30, width=2.0, fill='#FF0000')

        # 円の描画
        self.c.create_oval(10, 70, 50, 110, width=2.0, outline='#00FF00')

        # 円の塗り潰し
        self.c.create_oval(70, 70, 110, 110, width=0.0, fill='#00FF00')

        # 矩形の描画
        self.c.create_rectangle(10, 130, 50, 170, width=2.0, outline='#00A0FF')

        # 矩形の塗り潰し
        self.c.create_rectangle(70, 130, 110, 170, width=0.0, fill='#00A0FF')

        # 文字列の表示
        self.c.create_text(10, 200, text='Hello World', font='courier 20', anchor=tk.NW)

# アプリの実行
app = GraphicsApp()
app.pack()
app.mainloop()
◎ イメージの描画
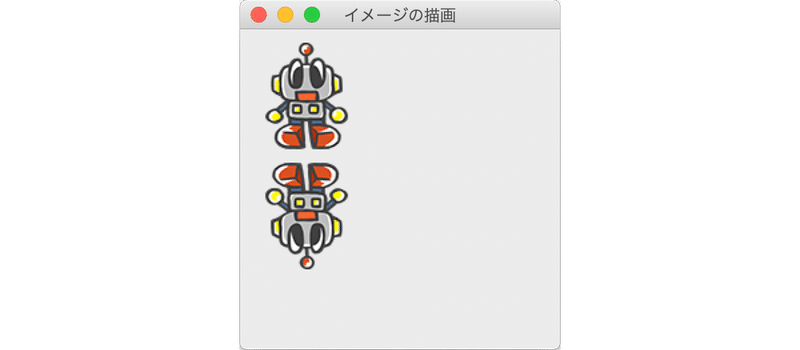
【sample.png】

イメージの描画を行うコードは、次のとおりです。
import tkinter as tk
from PIL import Image, ImageTk

# アプリの定義
class ImageApp(tk.Frame):
    # 初期化
    def __init__(self, master=None):
        tk.Frame.__init__(self, master, width=240, height=240)

        # タイトルの表示
        self.master.title('イメージの描画')

        # イメージの読み込み
        image = Image.open('sample.png')
        self.images = []
        self.images.append(ImageTk.PhotoImage(image))
        self.images.append(ImageTk.PhotoImage(image.rotate(180)))

        # キャンバスの生成
        self.c = tk.Canvas(self, highlightthickness=0)
        self.c.place(x=0, y=0, width=240, height=240)

        # 描画の更新
        self.on_draw()

    # 描画の更新
    def on_draw(self):
        # 描画のクリア
        self.c.delete('all')

        # イメージの描画
        self.c.create_image(10, 10, image=self.images[0],  anchor=tk.NW)

        # 反転イメージの描画
        self.c.create_image(10, 100, image=self.images[1],  anchor=tk.NW)

# アプリの実行
f = ImageApp()
f.pack()
f.mainloop()
◎ マウスイベント
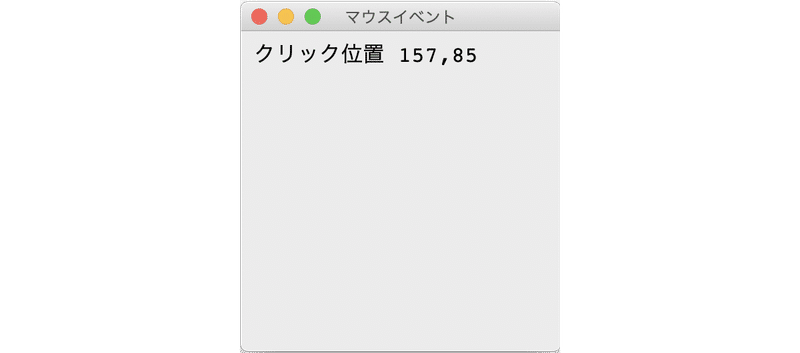
マウスでクリックした位置を表示するコードは、次のとおりです。
import tkinter as tk
from PIL import Image, ImageTk

# アプリの定義
class MouseApp(tk.Frame):
    # 初期化
    def __init__(self, master=None):
        tk.Frame.__init__(self, master, width=240, height=240)

        # タイトルの表示
        self.master.title('マウスイベント')

        # クリック位置
        self.x = 0
        self.y = 0

        # キャンバスの生成
        self.c = tk.Canvas(self, width = 240, height = 240, highlightthickness = 0)
        self.c.bind('<Button-1>', self.on_click) # クリック判定の追加
        self.c.pack()

        # 描画の更新
        self.on_draw()

    # クリック時に呼ばれる
    def on_click(self, event):
        self.x = event.x
        self.y = event.y
        self.on_draw()

    # 描画の更新
    def on_draw(self):
        # 描画のクリア
        self.c.delete('all')

        # 文字列の表示
        str = 'クリック位置 {},{}'.format(self.x, self.y)
        self.c.create_text(10, 10, text = str, font='courier 16', anchor=tk.NW)

# アプリの実行
f = MouseApp()
f.pack()
f.mainloop()
6. ラベル
◎ 文字列
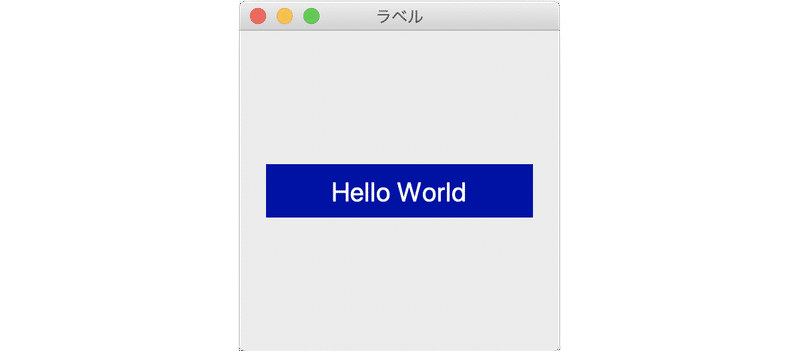
ラベルを利用するコードは、次のとおりです。
import tkinter as tk
from PIL import Image, ImageTk

# アプリの定義
class MouseApp(tk.Frame):
    # 初期化
    def __init__(self, master=None):
        tk.Frame.__init__(self, master, width=240, height=240)

        # タイトルの表示
        self.master.title('ラベル')

        # ラベルの生成
        self.label = tk.Label(self, text='Hello World',
            font=('', 20),
            foreground='#ffffff',
            background='#0000aa')
        self.label.place(x=20, y=100, width=200, height=40)

# アプリの実行
f = MouseApp()
f.pack()
f.mainloop()
◎ イメージ
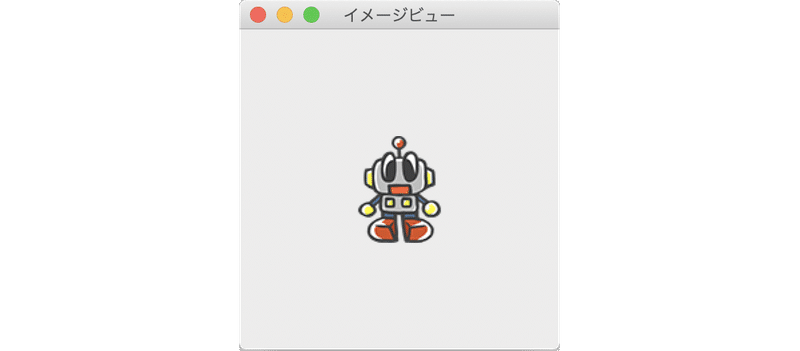

ラベルをイメージビューとして利用するコードは、次のとおりです。
import tkinter as tk

# アプリの定義
class ImageLabelApp(tk.Frame):
    # 初期化
    def __init__(self, master=None):
        tk.Frame.__init__(self, master, width=240, height=240)

        # タイトルの表示
        self.master.title('イメージビュー')

        # イメージビューの生成
        self.photo = tk.PhotoImage(file='sample.png') # メモリ回収防止のためインスタンス変数で保持
        self.label = tk.Label(self, image=self.photo)
        self.label.place(x=80, y=80, width=80, height=80)

# アプリの実行
f = ImageLabelApp()
f.pack()
f.mainloop()
7. ボタン
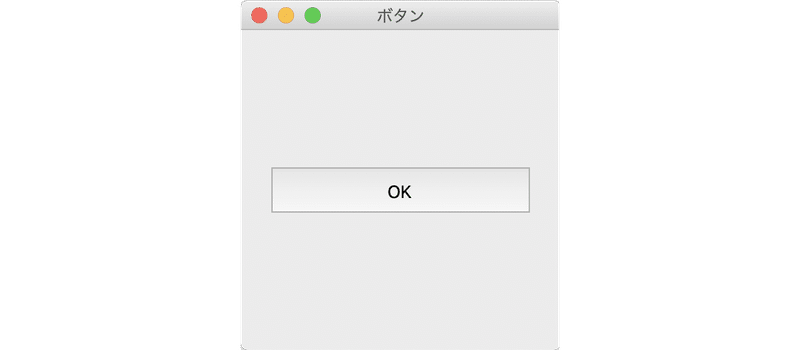
ボタンを利用するコードは、次のとおりです。
import tkinter as tk
from tkinter import messagebox
# アプリの定義
class ButtonApp(tk.Frame):
# 初期化
def __init__(self, master=None):
tk.Frame.__init__(self, master, width=240, height=240)
# タイトルの表示
self.master.title('ボタン')
# ボタンの生成
self.button = tk.Button(self, text='OK', command=self.on_click)
self.button.place(x=20, y=100, width=200, height=40)
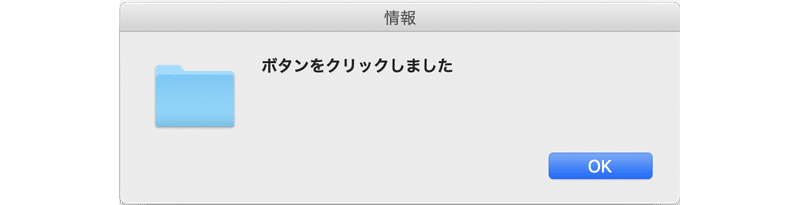
# クリック時に呼ばれる
def on_click(self):
messagebox.showinfo('情報', 'ボタンをクリックしました')
# アプリの実行
app = ButtonApp()
app.pack()
app.mainloop()メッセージボックスの種類は、次のとおりです。
・messagebox.showinfo() : 情報
・messagebox.showwarning() : 警告
・messagebox.showerror() : エラー
・messagebox.askquestion() : 質問
・messagebox.askokcancel() : OK・キャンセル
・messagebox.askyesno() : YES・NO
・messagebox.askretrycansel() : リトライ・キャンセル
8. テキストフィールド
◎ 単一行のテキストフィールド
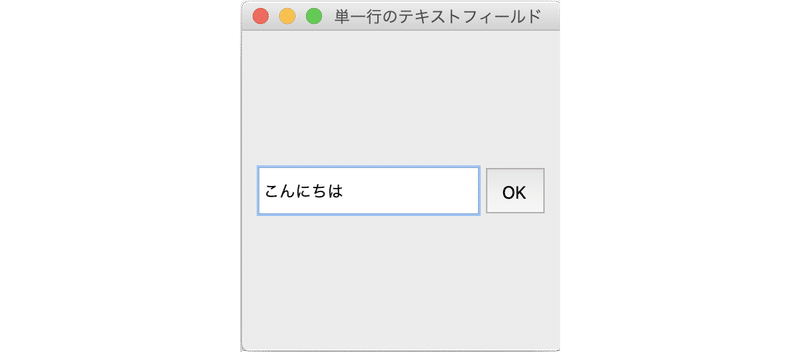
単一行のテキストフィールドを利用するコードは、次のとおりです。
import tkinter as tk
from tkinter import messagebox
# アプリの定義
class TextFieldApp(tk.Frame):
# 初期化
def __init__(self, master=None):
tk.Frame.__init__(self, master, width=240, height=240)
# タイトルの表示
self.master.title('単一行のテキストフィールド')
# 単一行のテキストフィールドの生成
self.text_field = tk.Entry()
self.text_field.place(x=10, y=100, width=170, height=40)
# ボタンの生成
self.button = tk.Button(self, text='OK', command=self.on_click)
self.button.place(x=180, y=100, width=50, height=40)
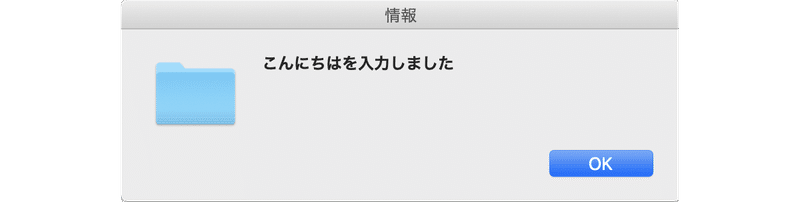
# クリック時に呼ばれる
def on_click(self):
messagebox.showinfo('情報', self.text_field.get()+'を入力しました')
# アプリの実行
app = TextFieldApp()
app.pack()
app.mainloop()◎ 複数行のテキストフィールド
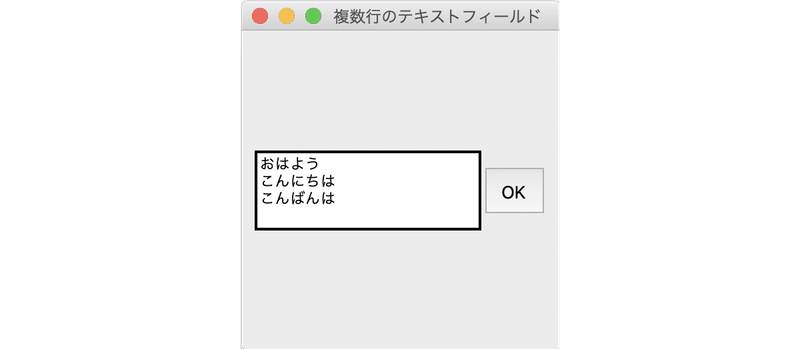

複数行のテキストフィールドを利用するコードは、次のとおりです。
import tkinter as tk
from tkinter import messagebox

# アプリの定義
class MultiTextFieldApp(tk.Frame):
    # 初期化
    def __init__(self, master=None):
        tk.Frame.__init__(self, master, width=240, height=240)

        # タイトルの表示
        self.master.title('複数行のテキストフィールド')

        # 複数行のテキストフィールドの生成
        self.text_field = tk.Text()
        self.text_field.place(x=10, y=90, width=170, height=60)

        # ボタンの生成
        self.button = tk.Button(self, text='OK', command=self.on_click)
        self.button.place(x=180, y=100, width=50, height=40)

   # クリック時に呼ばれる
   def on_click(self):
       messagebox.showinfo('情報', self.text_field.get('1.0', 'end -1c')+'を入力しました')

# アプリの実行
app = MultiTextFieldApp()
app.pack()
app.mainloop()
Textの操作方法は、次のとおりです。
・テキストの挿入 : text_field.insert('1.0', text)
・テキストの取得 : text = text_field.get('1.0', 'end -1c')
・テキストの削除 : text_field.delete('1.0', 'end')
・テキストの編集無効 : text_field.configure(state='disabled')
◎ スクロール可能なテキストフィールド
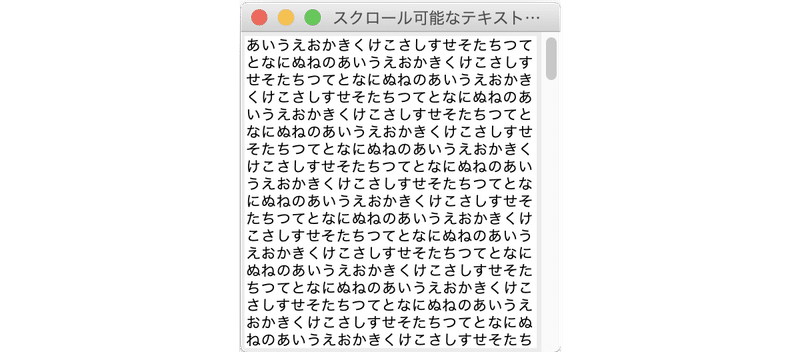
スクロール可能なテキストフィールドを利用するコードは、次のとおりです。
import tkinter as tk
from tkinter.scrolledtext import ScrolledText

# アプリの定義
class ScrollTextFieldApp(tk.Frame):
    # 初期化
    def __init__(self, master=None):
        tk.Frame.__init__(self, master, width=240, height=240)

        # タイトルの表示
        self.master.title('スクロール可能なテキストフィールド')

        # テキストの生成
        text = ''
        for i in range(100):
            text += 'あいうえおかきくけこさしすせそたちつてとなにぬねの'

        # スクロール可能なテキストフィールドの生成
        text_field = ScrolledText(self)
        text_field.insert(1.0, text)
        text_field.configure(state='disabled') # 編集無効
        text_field.place(x=0, y=0, width=240, height=240)

# アプリの実行
app = ScrollTextFieldApp()
app.pack()
app.mainloop()
9. リストボックス
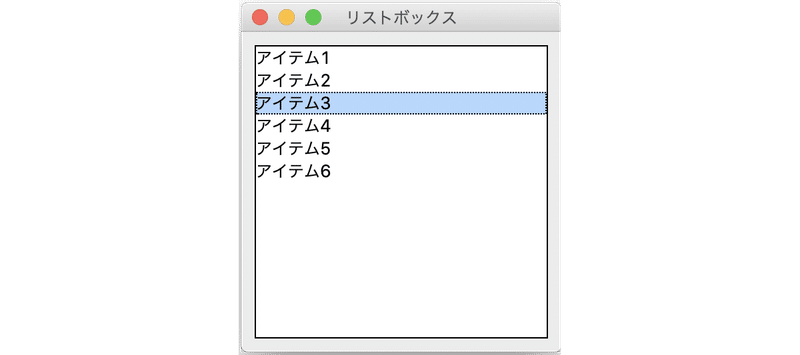
リストボックスを利用するコードは、次のとおりです。
import tkinter as tk
from tkinter import messagebox
# アプリの定義
class ListBoxApp(tk.Frame):
# 初期化
def __init__(self, master=None):
tk.Frame.__init__(self, master, width=240, height=240)
# タイトルの表示
self.master.title('リストボックス')
# リストボックス
items = ['アイテム1', 'アイテム2', 'アイテム3', 'アイテム4', 'アイテム5', 'アイテム6']
self.list_box = tk.Listbox(self, listvariable=tk.StringVar(value=items), selectmode='browse')
self.list_box.bind('<<ListboxSelect>>', lambda e: self.on_select())
self.list_box.place(x=10, y=10, width=220, height=220)
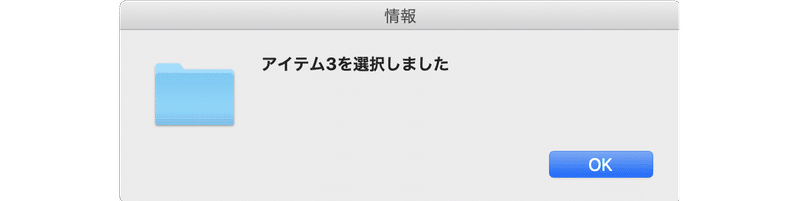
# 選択時に呼ばれる
def on_select(self):
for i in self.list_box.curselection():
messagebox.showinfo('情報', self.list_box.get(i)+'を選択しました')
# アプリの実行
app = ListBoxApp()
app.pack()
app.mainloop()10. メニュー
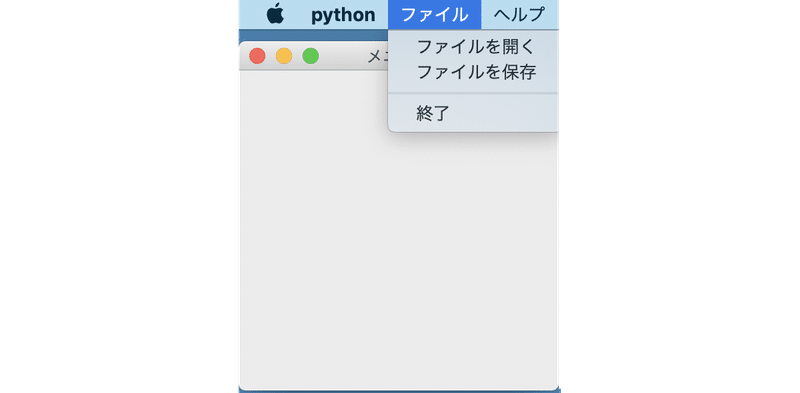
メニューを利用するコードは、次のとおりです。
import tkinter as tk
from tkinter import messagebox

# アプリの定義
class MenuApp(tk.Frame):
    # 初期化
    def __init__(self, master=None):
        tk.Frame.__init__(self, master, width=240, height=240)

        # タイトルの表示
        self.master.title('メニュー')

        # メニューの生成
        menu = tk.Menu(self)

        # ファイルメニューの追加
        file_menu = tk.Menu(menu, tearoff=0)
        file_menu.add_command(label='ファイルを開く', command=self.on_file_open)
        file_menu.add_command(label='ファイルを保存', command=self.on_file_save)
        file_menu.add_separator()
        file_menu.add_command(label='終了', command=quit)
        menu.add_cascade(label='ファイル', menu=file_menu)

        # ヘルプメニューの追加
        help_menu = tk.Menu(menu, tearoff=0)
        help_menu.add_command(label='ヘルプ', command=self.on_help)
        menu.add_cascade(label='ヘルプ', menu=help_menu)

        # メニューの指定
        self.master.config(menu=menu)

    # ファイルを開く
    def on_file_open(self):
        messagebox.showinfo('情報', 'ファイルを開くをクリックしました')

    # ファイルを保存
    def on_file_save(self):
        messagebox.showinfo('情報', 'ファイルを保存をクリックしました')

    # ヘルプ
    def on_help(self):
        messagebox.showinfo('情報', 'ヘルプをクリックしました')

# アプリの実行
app = MenuApp()
app.pack()
app.mainloop()
12. コンボボックス
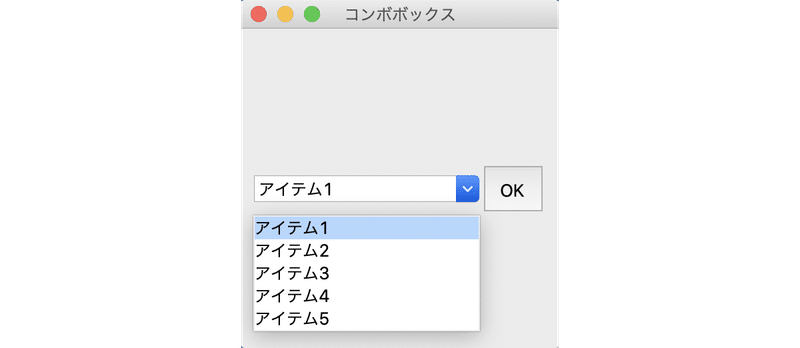
コンボボックスを利用するコードは、次のとおりです。
import tkinter as tk
from tkinter import ttk
from tkinter import messagebox
# アプリの定義
class ComboboxdApp(tk.Frame):
# 初期化
def __init__(self, master=None):
tk.Frame.__init__(self, master, width=240, height=240)
# タイトルの表示
self.master.title('コンボボックス')
# コンボボックスの生成
items = ['アイテム1', 'アイテム2', 'アイテム3', 'アイテム4', 'アイテム5']
self.combobox = ttk.Combobox(self, textvariable=tk.StringVar(),
values=items, width=10)
self.combobox.set(items[0])
self.combobox.place(x=10, y=100, width=170, height=40)
# ボタンの生成
self.button = tk.Button(self, text='OK', command=self.on_click)
self.button.place(x=180, y=100, width=50, height=40)
# クリック時に呼ばれる
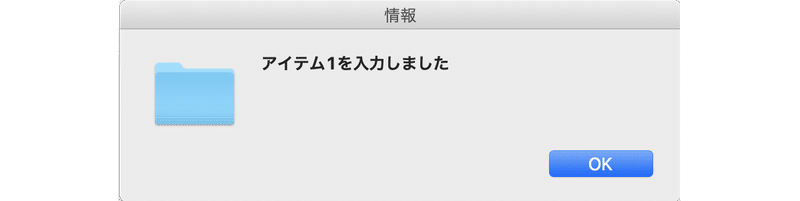
def on_click(self):
messagebox.showinfo('情報', self.combobox.get()+'を入力しました')
# アプリの実行
app= ComboboxdApp()
app.pack()
app.mainloop()13. チェックボックス
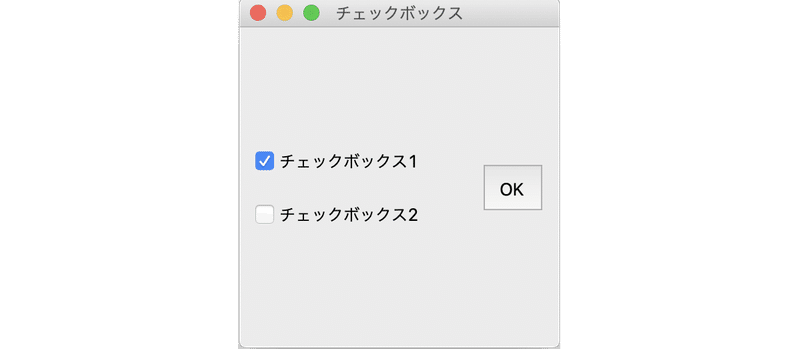

チェックボックスを利用するコードは、次のとおりです。
import tkinter as tk
from tkinter import ttk
from tkinter import messagebox

# アプリの定義
class CheckboxdApp(tk.Frame):
    # 初期化
    def __init__(self, master=None):
        tk.Frame.__init__(self, master, width=240, height=240)

        # タイトルの表示
        self.master.title('チェックボックス')

        # チェックボックス1の生成
        self.value1 = tk.BooleanVar()
        self.value1.set(True)
        self.checkbox1 = ttk.Checkbutton(self,
            variable=self.value1, text='チェックボックス1')
        self.checkbox1.place(x=10, y=80, width=170, height=40)

        # チェックボックス2の生成
        self.value2 = tk.BooleanVar()
        self.value2.set(False)
        self.checkbox2 = ttk.Checkbutton(self,
            variable=self.value2, text='チェックボックス2')
        self.checkbox2.place(x=10, y=120, width=170, height=40)

        # ボタンの生成
        self.button = tk.Button(self, text='OK', command=self.on_click)
        self.button.place(x=180, y=100, width=50, height=40)

    # クリック時に呼ばれる
    def on_click(self):
        messagebox.showinfo('情報',
            str(self.value1.get())+'と'+str(self.value2.get())+'を入力しました')

# アプリの実行
app= CheckboxdApp()
app.pack()
app.mainloop()
14. ラジオボタン
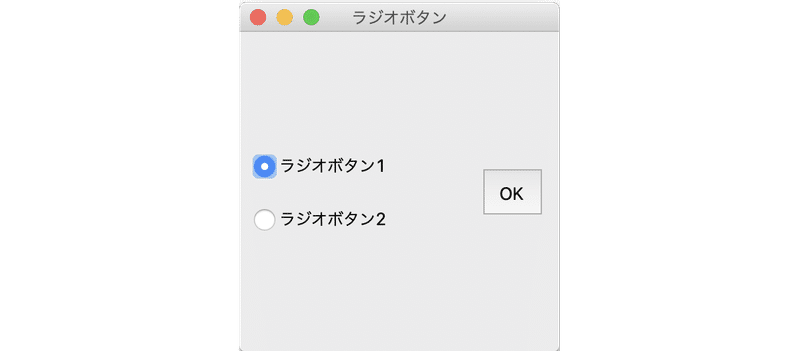
ラジオボタンを利用するコードは、次のとおりです。
import tkinter as tk
from tkinter import ttk
from tkinter import messagebox
# アプリの定義
class RadioButtonApp(tk.Frame):
# 初期化
def __init__(self, master=None):
tk.Frame.__init__(self, master, width=240, height=240)
# タイトルの表示
self.master.title('ラジオボタン')
# ラジオボタンの値
self.value = tk.StringVar()
self.value.set('1')
# ラジオボタン1の生成
self.radiobutton1 = ttk.Radiobutton(self,
variable=self.value, value='1', text='ラジオボタン1')
self.radiobutton1.place(x=10, y=80, width=170, height=40)
# ラジオボタン2の生成
self.radiobutton2 = ttk.Radiobutton(self,
variable=self.value, value='2', text='ラジオボタン2')
self.radiobutton2.place(x=10, y=120, width=170, height=40)
# ボタンの生成
self.button = tk.Button(self, text='OK', command=self.on_click)
self.button.place(x=180, y=100, width=50, height=40)
# クリック時に呼ばれる
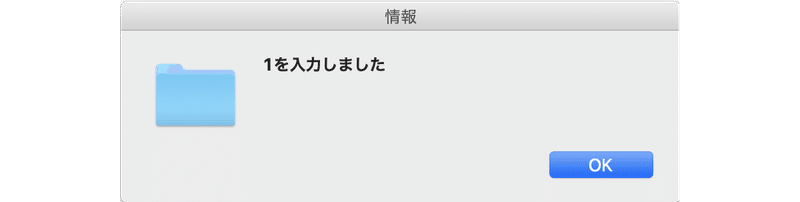
def on_click(self):
messagebox.showinfo('情報',
str(self.value.get())+'を入力しました')
# アプリの実行
app= RadioButtonApp()
app.pack()
app.mainloop()次回
この記事が気に入ったらサポートをしてみませんか?