three.js 入門 (13) - Colladaファイルの読み込み

Colladaファイルの読み込み方法をまとめました。
・three.js@0.133.1
・Node.js v16.13.0
前回
1. モデルの準備
今回は、three.jsのexamplesの「models」と「textures」を利用します。2つのフォルダをdistフォルダにコピーしてください。
・models
・textures
2. Colladaファイルの読み込み
Colladaファイルの読み込み手順は、次のとおりです。
(1) コードの作成。
・index.js
import * as THREE from 'three';
import { OrbitControls } from 'three/examples/jsm/controls/OrbitControls';
import { ColladaLoader } from 'three/examples/jsm/loaders/ColladaLoader.js';
// シーンの準備
const scene = new THREE.Scene();
// カメラの準備
const camera = new THREE.PerspectiveCamera(
45,
window.innerWidth / window.innerHeight,
1,
2000,
);
camera.position.z = 20;
// レンダラーの準備
const renderer = new THREE.WebGLRenderer({ antialias: true });
renderer.setPixelRatio(window.devicePixelRatio);
renderer.setSize(window.innerWidth, window.innerHeight);
renderer.setClearColor(0x7fbfff, 1.0);
document.body.appendChild(renderer.domElement);
// ライトの準備
const ambientLight = new THREE.AmbientLight(0xffffff, 0.4);
scene.add(ambientLight);
const directionalLight = new THREE.DirectionalLight(0xffffff);
directionalLight.position.set(-1, 1, 1).normalize();
scene.add(directionalLight);
// Colladaファイルの読み込み
let object;
const loader = new ColladaLoader();
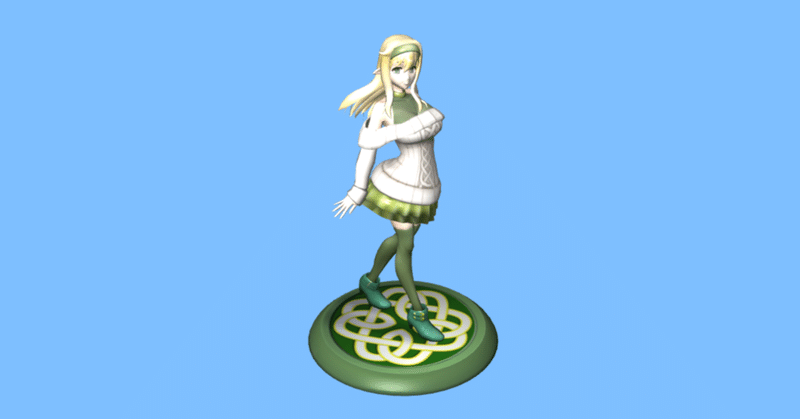
loader.load('./models/collada/elf/elf.dae', function (collada) {
// シーンへのモデルの追加
scene.add(collada.scene);
});
// コントローラの準備
const controls = new OrbitControls(camera, document.body);
// アニメーションループの開始
function animate() {
requestAnimationFrame(animate);
// コントローラの更新
controls.update();
renderer.render(scene, camera);
}
animate();(2) 実行。

3. アニメーション付きColladaファイルの読み込み
アニメーション付きkColladaファイルの読み込み手順は、次のとおりです。
(1) コードの作成。
・index.js
import * as THREE from 'three';
import { OrbitControls } from 'three/examples/jsm/controls/OrbitControls';
import { ColladaLoader } from 'three/examples/jsm/loaders/ColladaLoader.js';
// シーンの準備
const scene = new THREE.Scene();
// カメラの準備
const camera = new THREE.PerspectiveCamera(
45,
window.innerWidth / window.innerHeight,
1,
2000,
);
camera.position.z = 20;
// レンダラーの準備
const renderer = new THREE.WebGLRenderer({ antialias: true });
renderer.setPixelRatio(window.devicePixelRatio);
renderer.setSize(window.innerWidth, window.innerHeight);
renderer.setClearColor(0x7fbfff, 1.0);
document.body.appendChild(renderer.domElement);
// ライトの準備
const ambientLight = new THREE.AmbientLight(0xffffff, 0.4);
scene.add(ambientLight);
const directionalLight = new THREE.DirectionalLight(0xffffff);
directionalLight.position.set(-1, 1, 1).normalize();
scene.add(directionalLight);
// Colladaファイルの読み込み
let mixer;
const loader = new ColladaLoader();
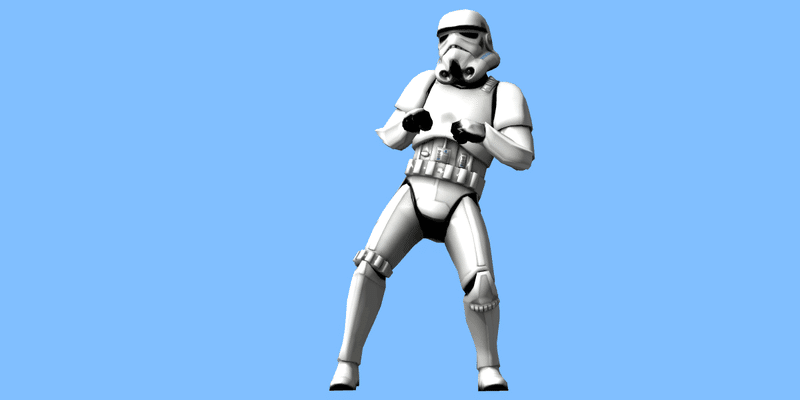
loader.load(
'./models/collada/stormtrooper/stormtrooper.dae',
// ロード完了時の処理
function (collada) {
const avatar = collada.scene;
// アニメーションの再生
const animations = avatar.animations;
avatar.traverse(function (node) {
if (node.isSkinnedMesh) {
node.frustumCulled = false;
}
});
mixer = new THREE.AnimationMixer(avatar);
mixer.clipAction(animations[0]).play();
// シーンへのモデルの追加
scene.add(avatar);
avatar.rotation.z = Math.PI;
},
);
// コントローラの準備
const controls = new OrbitControls(camera, document.body);
// アニメーションループの開始
const clock = new THREE.Clock();
function animate() {
requestAnimationFrame(animate);
// アニメーションの更新
const delta = clock.getDelta();
if (mixer !== undefined) {
mixer.update(delta);
}
// コントローラの更新
controls.update();
renderer.render(scene, camera);
}
animate();
(2) 実行。
この記事が気に入ったらサポートをしてみませんか?