React Native の Pager の使い方
「React Native」の「Pager」の使い方をまとめました。
前回
1. Pager
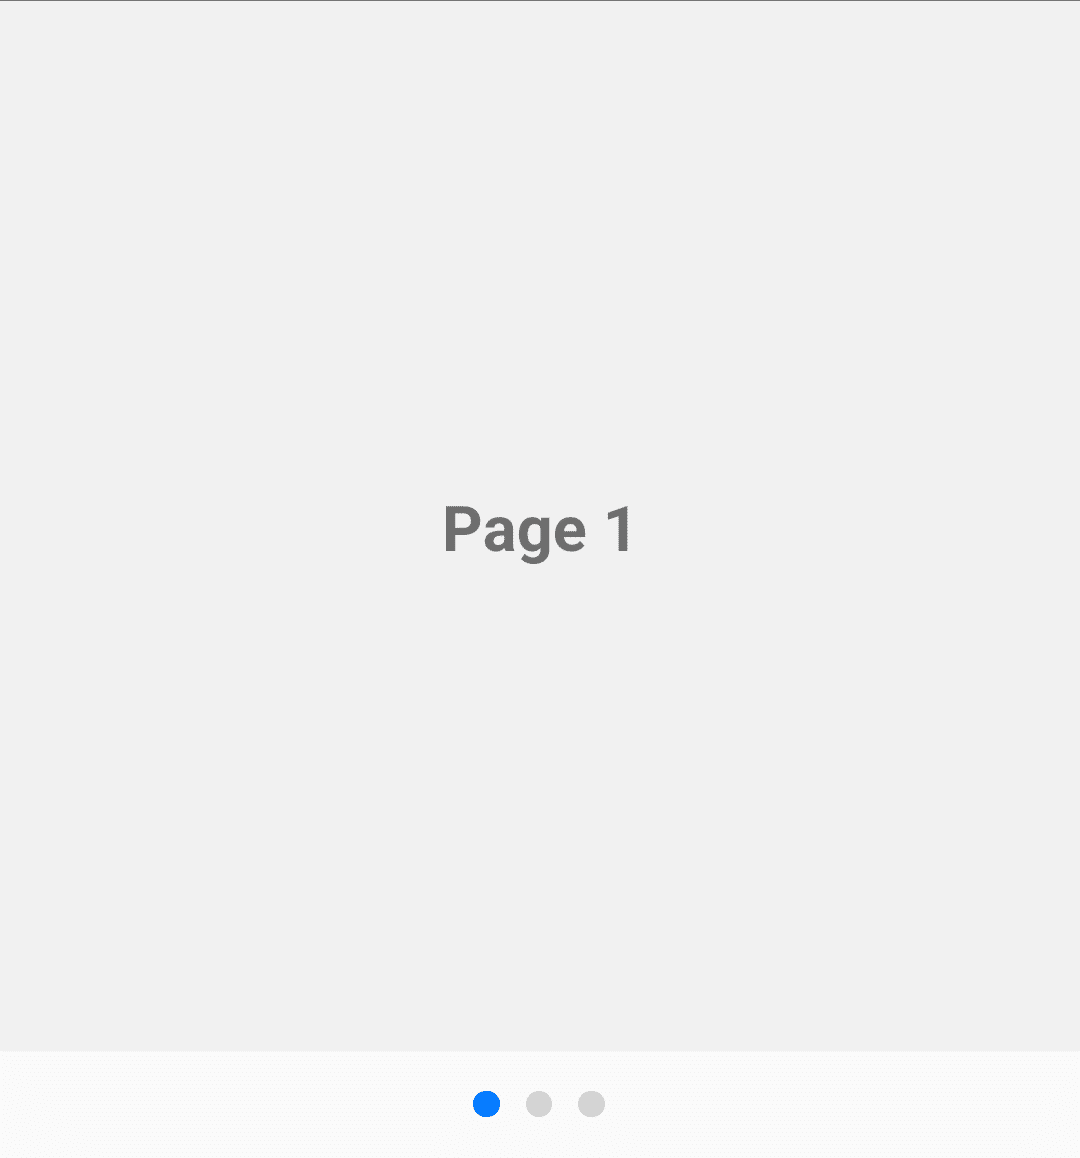
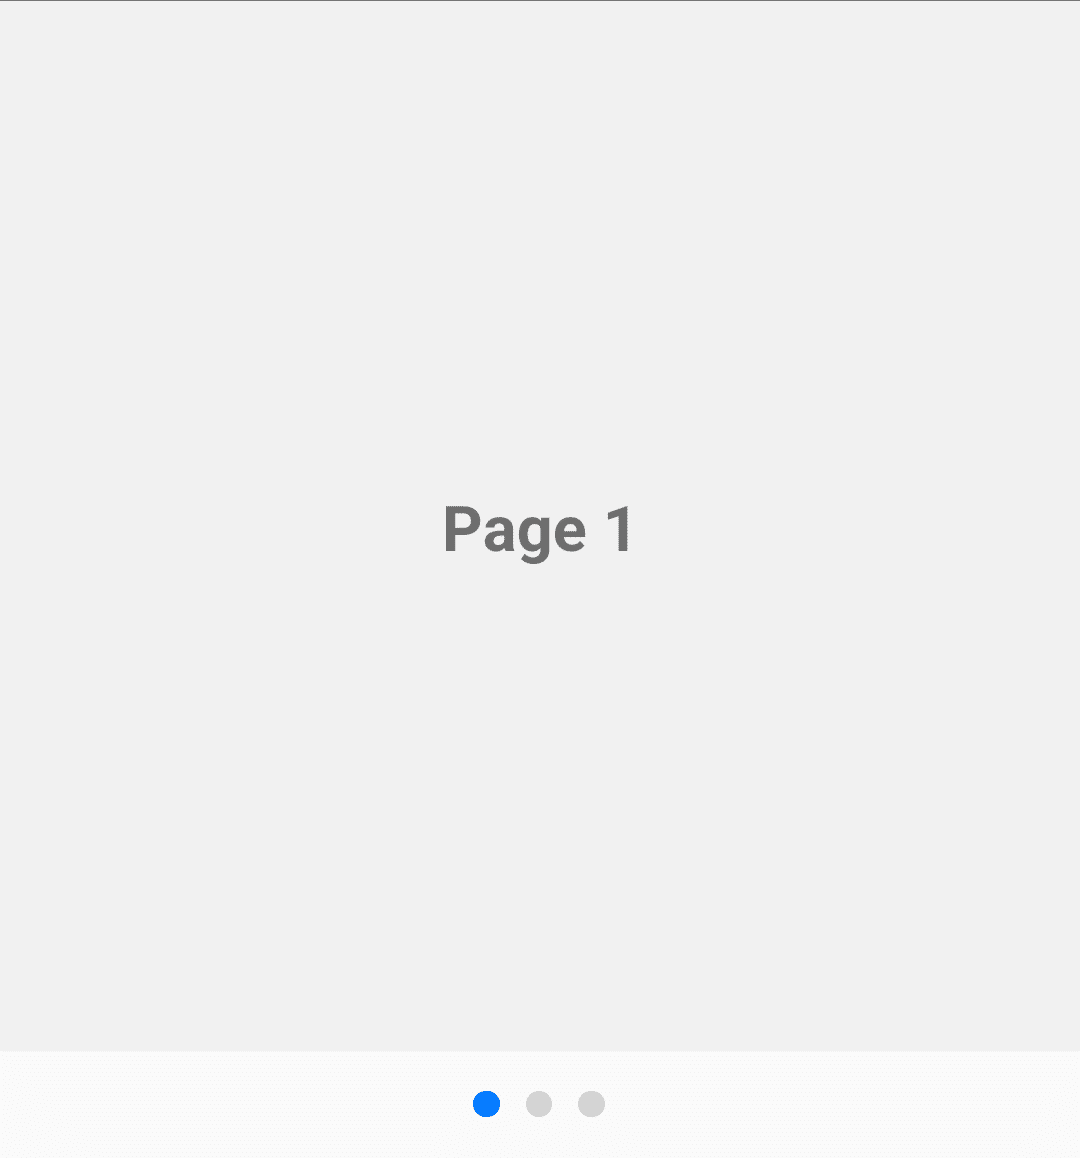
「Pager」は、複数ページを横スワイプで切り替えるためのUIコンポーネントです。ページ位置を示す点「Dots Indicator」とセットで使われることが多いです。「React Native」では「FlatList」で実装することができます。

2. Pagerの実装
Pagerの実装手順は、次のとおりです。
2-1. React Nativeプロジェクトの作成
(1) React Nativeプロジェクトの作成。
最新版はビルドエラーになったので、1つ前をバージョン指定しています。
npx react-native init my_app --version 0.75.3
cd my_app
2-2. iOSのセットアップ
(1) podのインストール。
cd ios
pod install
cd ..
(2) Xcodeで署名し、iPhoneにインストールできることを確認。
2-3. Pagerの実装
(1) コードの編集。
・App.tsx
import React, { useState } from 'react';
import { View, Text, FlatList, Dimensions, NativeScrollEvent, NativeSyntheticEvent } from 'react-native';

const { width: screenWidth } = Dimensions.get('window');

// アプリ
const App = () => {
  const [currentPage, setCurrentPage] = useState(0);
  const data = ['Page 1', 'Page 2', 'Page 3'];

  // スクロール時に呼ばれる
  const onScroll = (event: NativeSyntheticEvent<NativeScrollEvent>) => {
    const offsetX = event.nativeEvent.contentOffset.x;
    const pageIndex = Math.round(offsetX / screenWidth);
    setCurrentPage(pageIndex);
  };

  // ページの描画
  const renderItem = ({ item }: { item: string }) => (
    <View style={{ width: screenWidth, justifyContent: 'center', alignItems: 'center', backgroundColor: '#f0f0f0', height: 400 }}>
      <Text style={{ fontSize: 24, fontWeight: 'bold' }}>{item}</Text>
    </View>
  );

  // ドットインジケータの描画
  const renderDots = () => (
    <View style={{ flexDirection: 'row', justifyContent: 'center', alignItems: 'center', marginVertical: 16 }}>
      {data.map((_, index) => (
        <View key={index} style={[
          { width: 10, height: 10, borderRadius: 5, marginHorizontal: 5 },
          index === currentPage ? { backgroundColor: '#007aff' } : { backgroundColor: '#d3d3d3' } ]}
        />
      ))}
    </View>
  );

  // UI
  return (
    <View style={{ flex: 1, justifyContent: 'center' }}>
      <FlatList
        data={data}
        renderItem={renderItem}
        horizontal
        pagingEnabled
        onScroll={onScroll}
        keyExtractor={(item, index) => index.toString()}
        showsHorizontalScrollIndicator={false}
      />
      {renderDots()}
    </View>
  );
};

export default App;
(2) コードの実行。
npm start
