
ROS入門 (53) - Unityによるナビゲーションの実行

Unityによるナビゲーションの実行の手順をまとめました。
・Noestic
・Unity 2020.3
前回
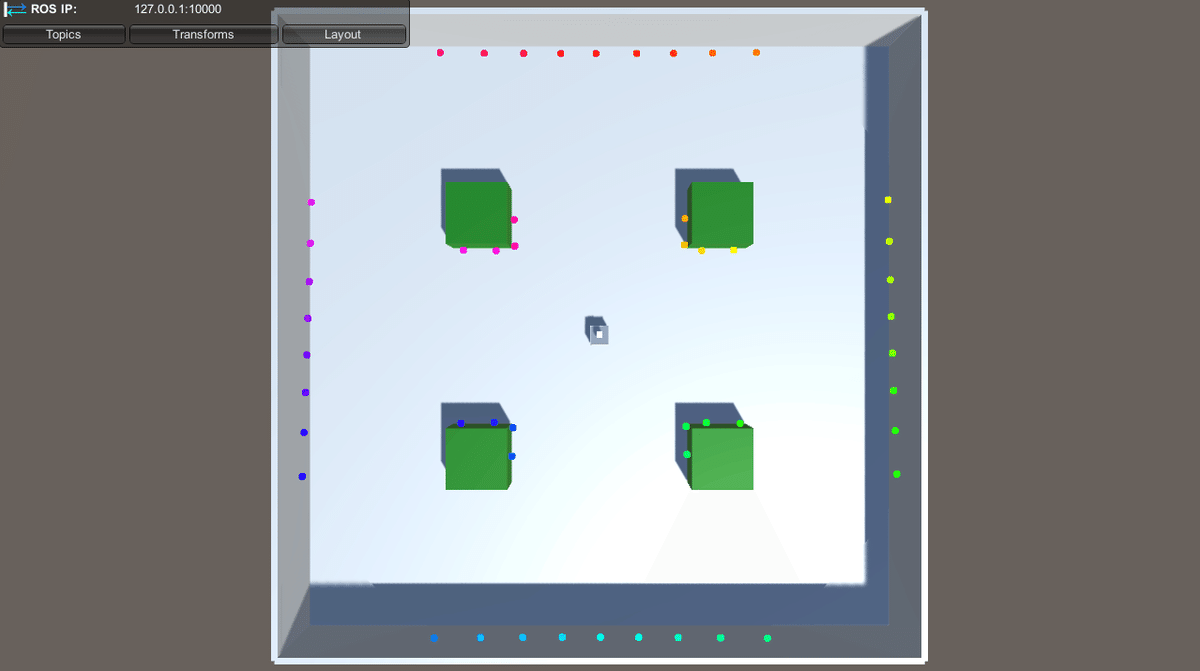
1. ナビゲーション
ROSの移動ロボットの主なタスクとして「ナビゲーション」があります。ゴール地点を指定することで、その場所まで障害物を避けながら移動するタスクになります。
2. 実験環境の準備
「ROS入門 (52) - Unityによるナビゲーション用の地図作成」と同様です。
3. ナビゲーションの準備
ナビゲーションの準備の手順は、次のとおりです。
(1) ナビゲーション用のパッケージのインストール。
$ sudo apt update
$ sudo apt install ros-noetic-slam-gmapping ros-noetic-map-server ros-noetic-amcl ros-noetic-move-base
(2) my_mobile_robotパッケージの作成。
$ cd ~/catkin_ws/src
$ catkin_create_pkg my_mobile_robot rospy
(3) 「~/catkin_ws/src/my_mobile_robot/launch」に「nav.launch」を生成し、以下のように編集。
・nav.launch
<launch>

  <rosparam param="/use_sim_time">true</rosparam>

  <!--Unityのエンドポイントの起動-->
  <param name="ROS_IP" value="0.0.0.0" />
  <param name="ROS_TCP_PORT" value="10000" />
  <node name="server_endpoint" pkg="ros_tcp_endpoint" type="default_server_endpoint.py" args="--wait" output="screen" respawn="true" />

  <!--map_serverの起動-->
  <node name="map_server" pkg="map_server" type="map_server" args="$(find my_mobile_robot)/config/map.yaml" />

  <!--amclの起動-->
  <include file="$(find amcl)/examples/amcl_diff.launch" />

  <!--move_baseの起動-->
  <node pkg="move_base" type="move_base" respawn="false" name="move_base" output="screen">
    <rosparam file="$(find my_mobile_robot)/config/costmap_common_params.yaml" command="load" ns="global_costmap" />
    <rosparam file="$(find my_mobile_robot)/config/costmap_common_params.yaml" command="load" ns="local_costmap" />
    <rosparam file="$(find my_mobile_robot)/config/local_costmap_params.yaml" command="load" />
    <rosparam file="$(find my_mobile_robot)/config/global_costmap_params.yaml" command="load" />
    <rosparam file="$(find my_mobile_robot)/config/base_local_planner_params.yaml" command="load" />
  </node>

</launch>
ロボットでナビゲーションを行うには、次の3つのノードが必要になります。
・map_server : ロボットが位置推定や経路計画に使用する静的地図を提供。
・amcl : 静的な地図に対してロボットの位置を推定。
・move_base : ロボットの大局的な経路計画と局所的な制御を行う。
さらに、Unityのエンドポイントの起動と、シミュレータ時間の利用の有効化(/use_sim_time=true)を行っています。
(3) 「~/catkin_ws/src/my_mobile_robot/config」に以下のファイルを配置。
・map.pgm : 前回作成した地図の画像ファイル。

・map.yaml : 前回作成した地図の設定ファイル。
image: map.pgm
resolution: 0.050000
origin: [-100.000000, -100.000000, 0.000000]
negate: 0
occupied_thresh: 0.65
free_thresh: 0.196
・costmap_common_params.yaml : ローカルコストマップとグローバルコストマップの共通設定。
footprint: [[0.35, 0.15], [0.35, -0.15], [-0.35, -0.15], [-0.35, 0.15]]
observation_sources: laser_scan_sensor
laser_scan_sensor:
  sensor_frame: base_scan
  data_type: LaserScan
  topic: scan
  marking: true
  clearing: true
・local_costmap_params.yaml : ローカルコストマップの設定。
local_costmap:
  global_frame: odom
  robot_base_frame: base_link
  rolling_window: true
  update_frequency: 2.0
  publish_frequency: 2.0
・global_costmap_params.yaml : グローバルコストマップの設定。
global_costmap:
  global_frame: map
  robot_base_frame: base_link
  static_map: true
  update_frequency: 2.0
  publish_frequency: 2.0
・base_local_planner_params.yaml : ローカルプランナーの設定。
TrajectoryPlannerROS:
  holonomic_robot: false
(4) 「~/catkin_ws/src/my_mobile_robot/config」に「goal_pose.py」を作成し、以下のように編集。
ゴール地点(move_base/goal)を指定するスクリプトになります。
・goal_pose.py
#!/usr/bin/env python
import actionlib
import rospy
from move_base_msgs.msg import MoveBaseAction, MoveBaseGoal

def goal_pose(pose):
    goal_pose = MoveBaseGoal()
    goal_pose.target_pose.header.frame_id = 'map'
    goal_pose.target_pose.pose.position.x = pose[0][0]
    goal_pose.target_pose.pose.position.y = pose[0][1]
    goal_pose.target_pose.pose.position.z = pose[0][2]
    goal_pose.target_pose.pose.orientation.x = pose[1][0]
    goal_pose.target_pose.pose.orientation.y = pose[1][1]
    goal_pose.target_pose.pose.orientation.z = pose[1][2]
    goal_pose.target_pose.pose.orientation.w = pose[1][3]
    return goal_pose

if __name__ == '__main__':
    # ノードの生成
    rospy.init_node('goal_pose')

    # クライアントの生成
    client = actionlib.SimpleActionClient('move_base', MoveBaseAction)

    # サーバー接続待ち
    client.wait_for_server()

    # ゴールリクエストの送信
    pose = [(2.0, -3.0, 0.0), (0.0, 0.0, 0.7, 0.7)]
    goal = goal_pose(pose)
    client.send_goal(goal)
(5) ワークスペースのビルドとセットアップ。
$ cd ~/catkin_ws
$ catkin build
$ source ~/catkin_ws/devel/setup.bash
4. ナビゲーションの実行
ナビゲーションの実行手順は、次のとおりです。
(1) launchファイルの起動。
$ roslaunch my_mobile_robot nav.launch(2) UnityのPlayボタンでシミュレータを起動。
(3) ゴール地点の指定。
$ rosrun my_mobile_robot goal_pose.py移動ロボットがゴール地点まで障害物を避けながら移動します。

次回
この記事が気に入ったらサポートをしてみませんか?