
React Native の expo-web-browser の使い方

「React Native」の 「expo-web-browser」の使い方をまとめました。
前回
1. expo-web-browser
「expo-web-browser」は、「Expo」を利用した「React Native」アプリでWebブラウザを開くライブラリです。「Expo」は「React Native」アプリの開発を簡単にするツールキットになります。
2. expo-web-browser の使い方
expo-web-browserの使用手順は、次のとおりです。
2-1. React Nativeプロジェクトの作成
(1) React Nativeプロジェクトの作成。
npx react-native init my_app
cd my_app
(2) パッケージのインストール。
npx install-expo-modules
npm install expo-web-browser
2-2. iOSのセットアップ
(1) podのインストール。
cd ios
pod install
cd ..
(2) Xcodeで署名し、iPhoneにインストールできることを確認。
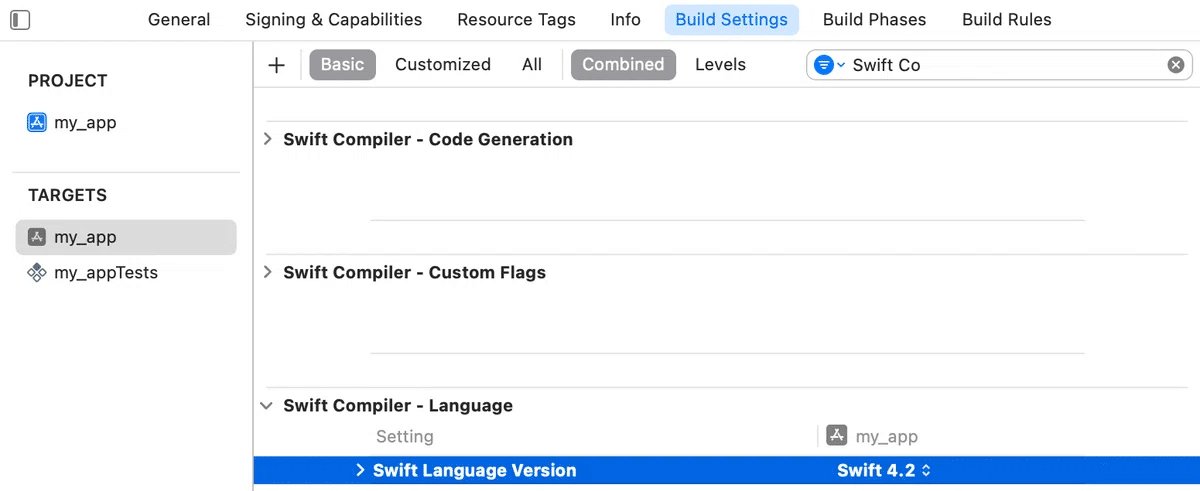
xcworkspaceを開いた時に以下のエラーがでた場合、「Build Settings → Swift Compiler - Language」でバージョン「Swift 4.2」を指定することで解決しました。

2-3. Webブラウザを開く
(1) コードの編集。
・App.tsx
import React from 'react';
import { Button, View } from 'react-native';
import * as WebBrowser from 'expo-web-browser';

// アプリ
const App: React.FC = () => {

  // Webブラウザを開く
  const openBrowser = async () => {
    let result = await WebBrowser.openAuthSessionAsync('https://expo.dev');
    console.log(result);
  };

  // UI
  return (
    <View style={{ flex: 1, alignItems: 'center', justifyContent: 'center' }}>
      <Button title="Webブラウザを開く" onPress={openBrowser} />
    </View>
  );
}

export default App;
アプリ内でWebページを開くためのカスタマイズ可能なブラウザウィンドウは、以下で実装されています。
・iOS : SFSafariViewController
・Android : ChromeのCustom Tab
(2) コードの実行。
npm start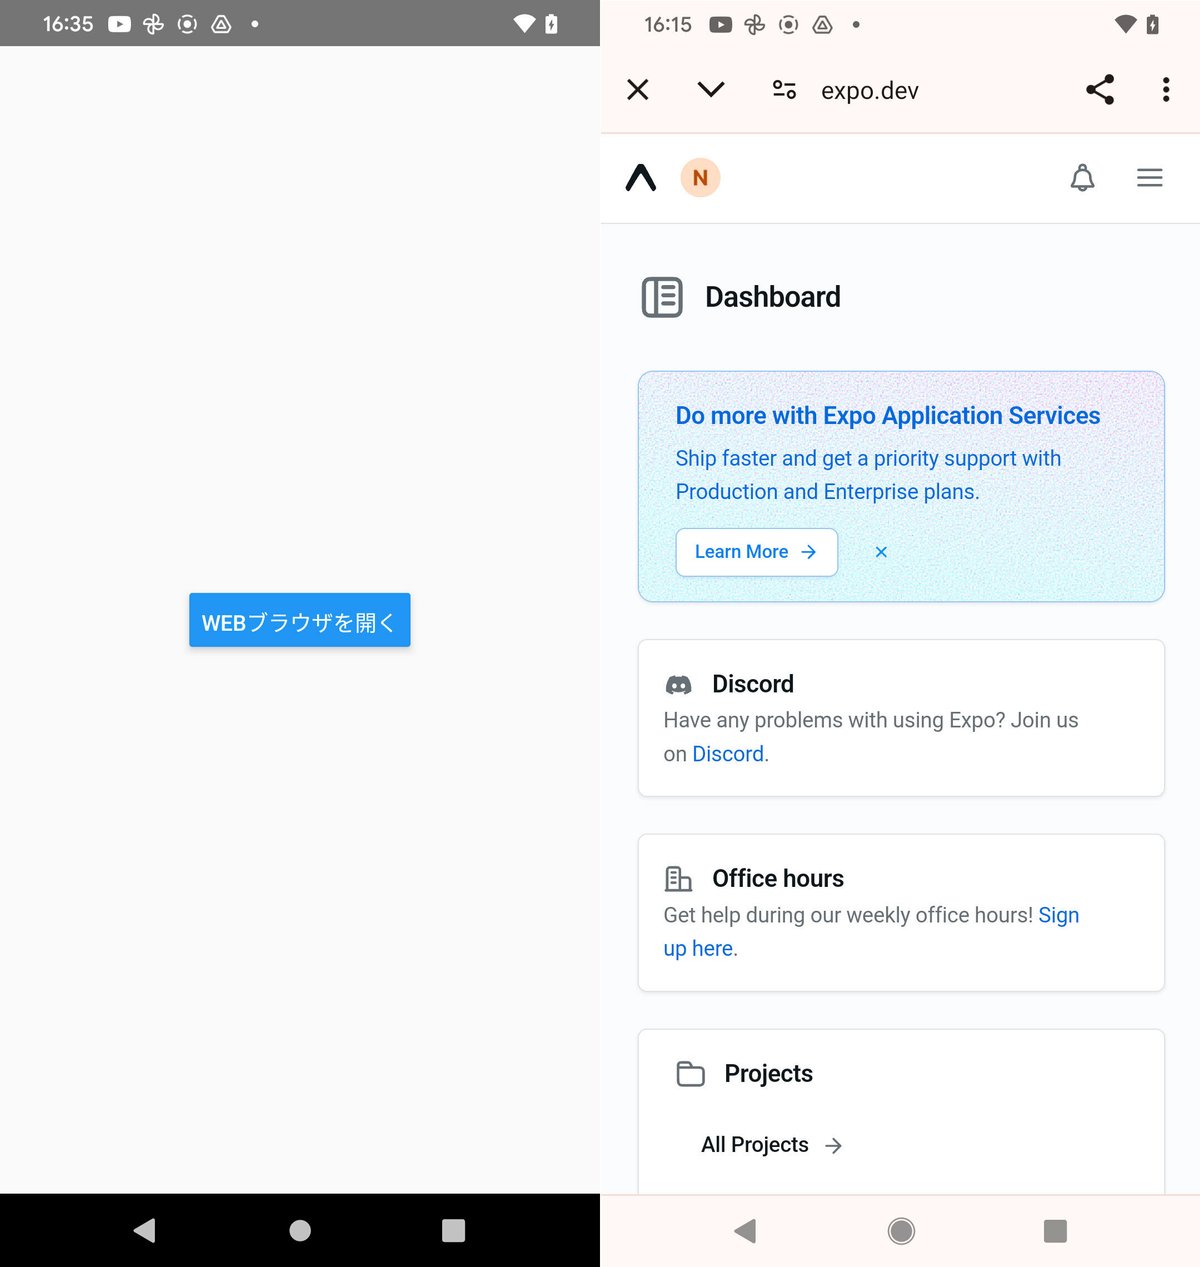
次回
この記事が気に入ったらサポートをしてみませんか?