
Vertex AI 入門 - 画像分類

「Vertex AI」で「画像分類」を行う手順をまとめました。
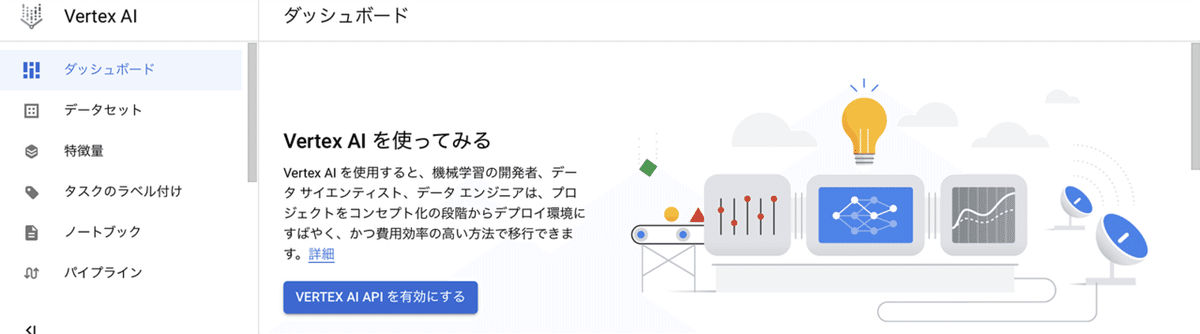
1. 画像分類
「画像分類」は、画像をあらかじめ定義されているラベルに分類するタスクです。
「Vertex AI」の料金は、次のとおりです。
2. プロジェクトの準備
プロジェクトの準備の手順は、次のとおりです。
◎ プロジェクトの作成とAPIの有効化
(1) GCPの「Cloud Console」を開く。
(2) 画面上端の「プロジェクト名」でプロジェクトを作成(または選択)。
(3) 画面上端の「検索ボックス」で「Vertex AI」を検索し、「有効にする」ボタンを押す。
◎ サービスアカウントの作成
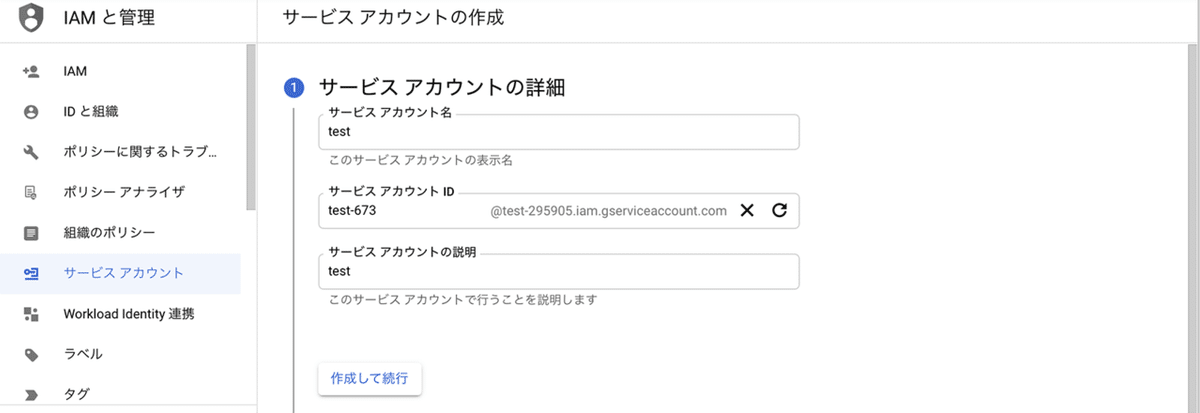
(1) 画面上端の「検索ボックス」で「サービスアカウント」を検索し、開き、「+サービスアカウントを作成」ボタンを押す。

(2) サービスアカウント名とサービスアカウントの説明を入力し、「作成して続行」ボタンを押す。
・サービスアカウント名 : 名前を入力(例 : test)
・サービスアカウントの説明 : 説明を入力(例 : test)
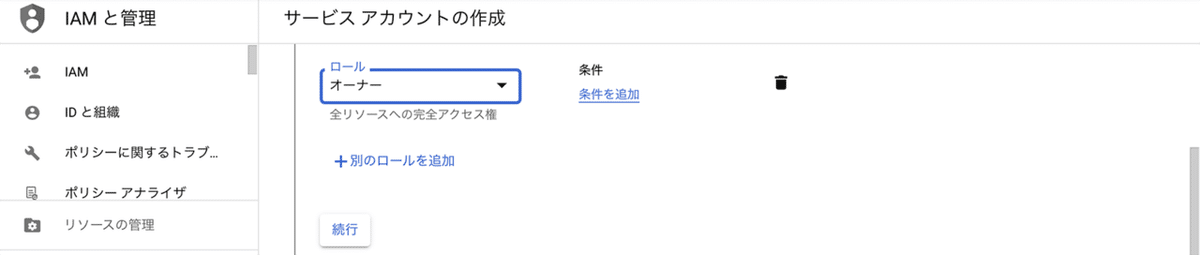
(3) 「ロール」に「基本 → オーナー」を選択し、「続行」ボタンを押す。
(4) 「完了」ボタンを押す。
◎ サービスアカウントキーの作成
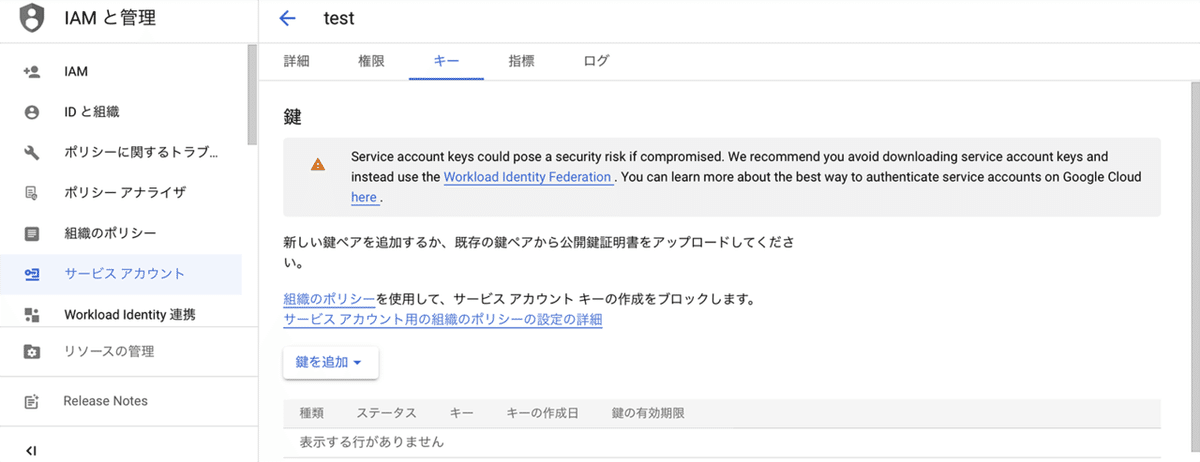
(1) 「サービスアカウント」のページで、作成したサービスアカウントをクリック。
(2) 「キー」をクリック後、「鍵を追加 → 新しい鍵を作成 → JSON」を選択し、「作成」ボタンを押す。
「サービスアカウントキー」(*.json)がPCにダウンロードされます。
3. データセットの準備
データセットの準備の手順は、次のとおりです。今回は、あらかじめ用意されている花の画像分類のデータセットを利用します。
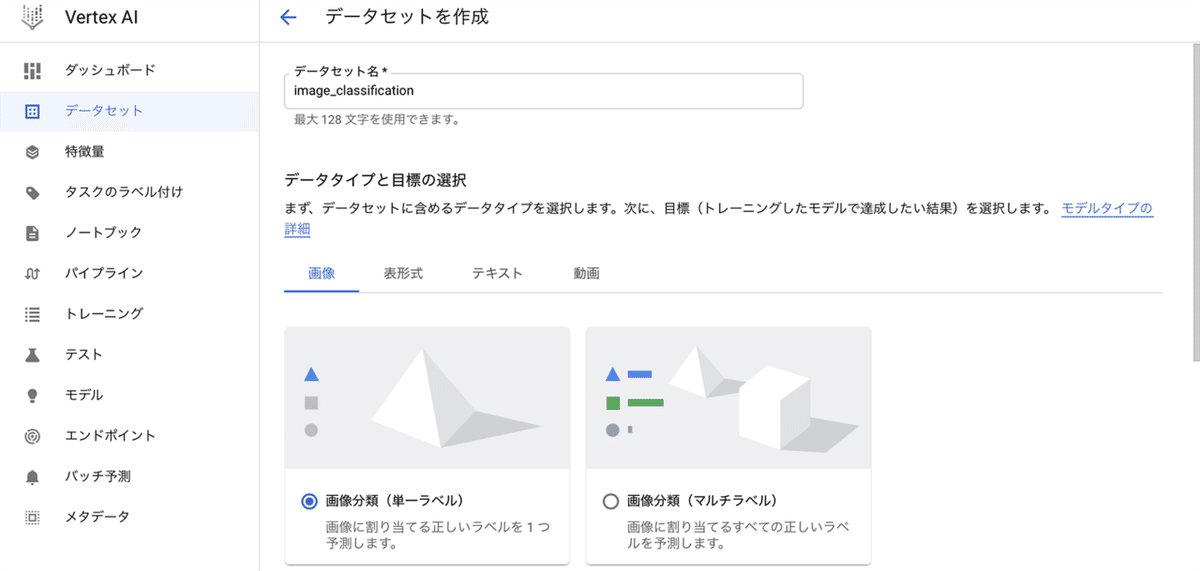
(1) 画面上端の「検索ボックス」で「Vertex AI」を検索し、「Vertex AI」のページを開き、「+データセットを作成」をクリック。
(2) データセット名を指定し(例 : image_classification)、データタイプと目標の選択で「画像 → 画像分類(単一ラベル)」、リージョンを選択し(例 : us-central1)、「作成」ボタンを押す。
(3) 「インポートファイルをCloud Storageから選択」を選択し、インポートファイルのパスで以下のパスを指定し、「続行」ボタンを押す。
cloud-samples-data/ai-platform/flowers/flowers.csv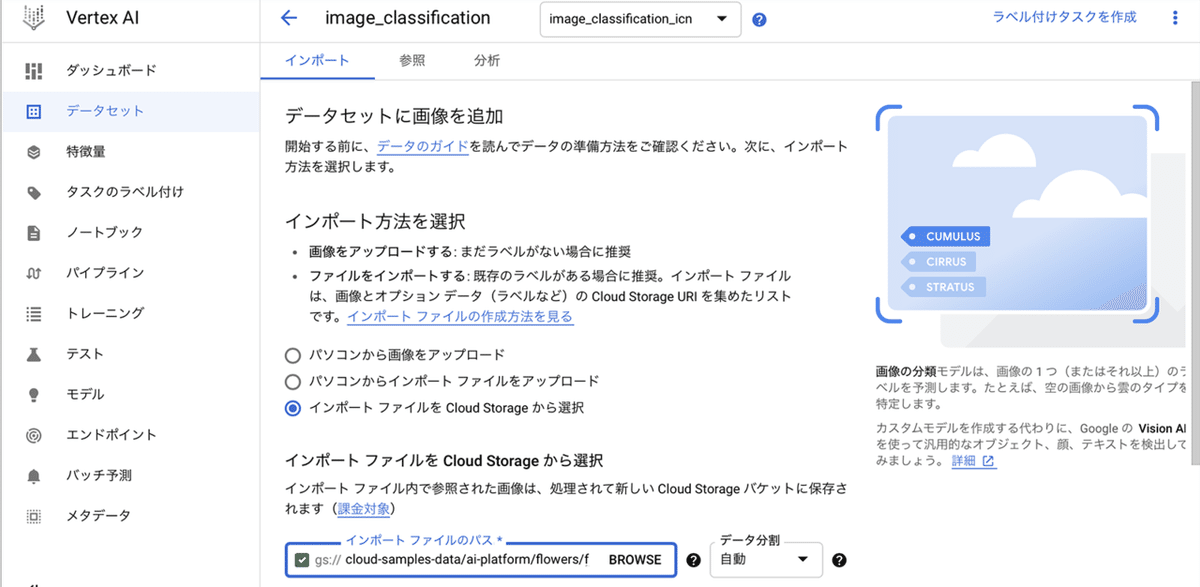
数分待つと、データセットの読み込みが完了します。
4. モデルの学習
モデルを学習する手順は、次のとおりです。
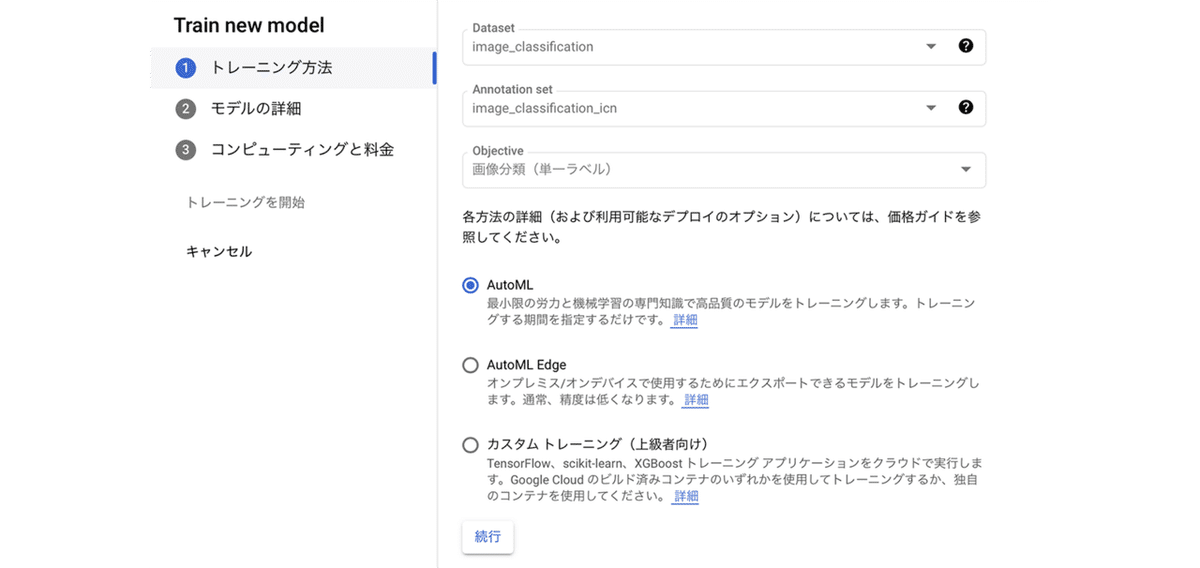
(1) 読み込まれたデータセットを確認してから、「新しいモデルをトレーニング」ボタンを押す。

(2) 「AutoML」を選択して、続行ボタンを押す。
(3) モデル名を指定して(例 : image_classification_202171141755)、「続行」ボタンを押す。

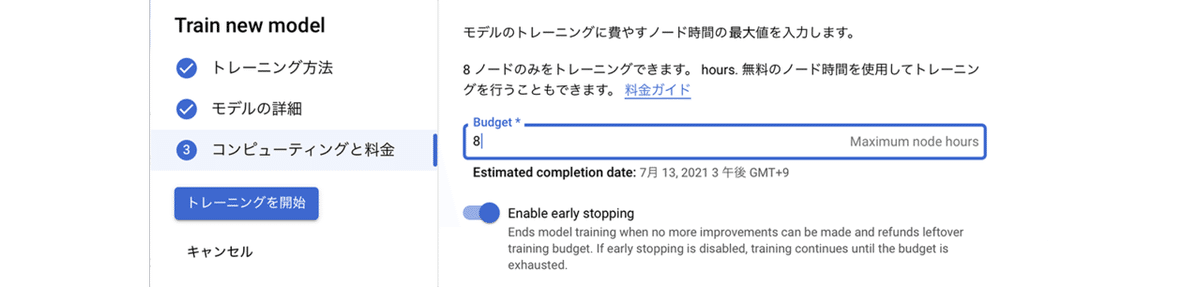
(4) ノード時間に「8」を指定し、「トレーニングを開始」ボタンを押す。
モデルの学習には数時間かかり、学習完了すると、通知メールが届きます。
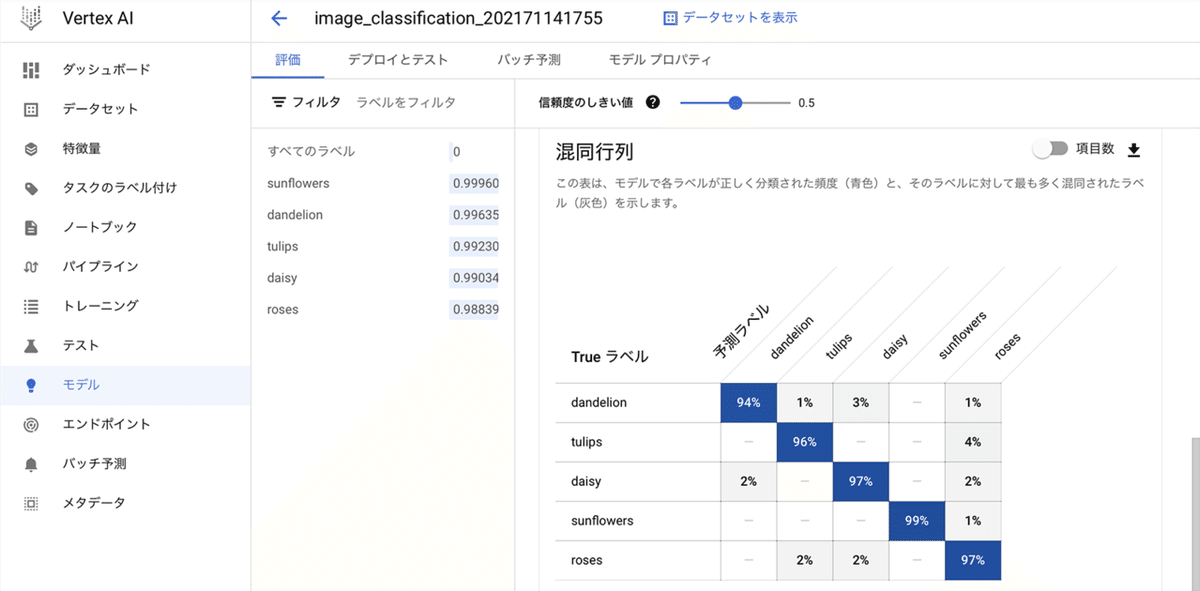
(5) 学習完了後に、「Vertex AI」の「モデル」ページを開いて、学習結果を確認。
95%以上の正解率で、問題なさそうなことがわかります。
5. モデルのデプロイ
モデルをエンドポイントにデプロイする手順は、次のとおりです。
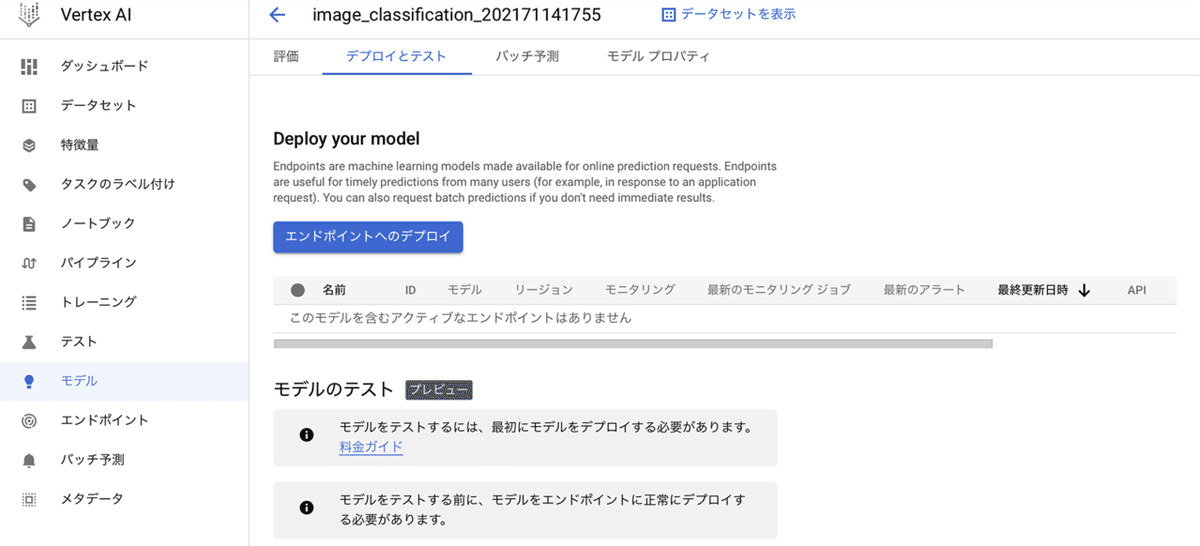
(1) 「モデル」の「デプロイとテスト」の「エンドポイントとデプロイ」を押す。
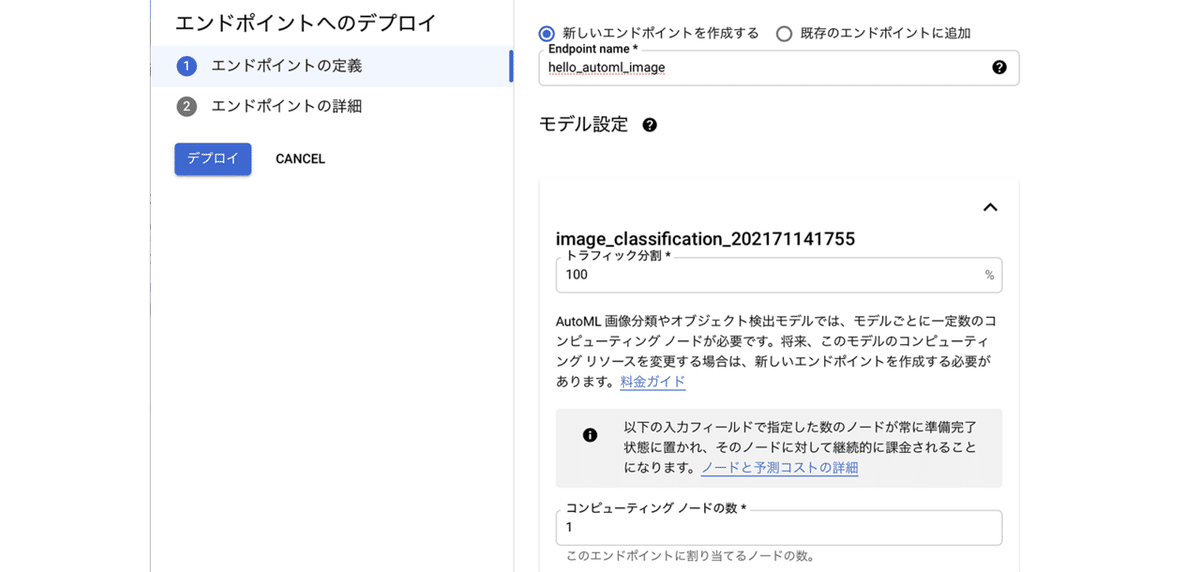
(2) 「新しいエンドポイントを作成する」 を選択し、「エンドポイント名」に「hello_automl_image」、「トラフィック分割」に「100」(%)、「コンピューティング ノードの数」に「1」を指定し、「続行」を押す。
(3) 「デプロイ」ボタンを押す。
デプロイ完了するまで数分かかります。

6. モデルの推論
デプロイしたモデルで推論する手順は、次のとおりです。
◎ Cloud Consoleでの推論
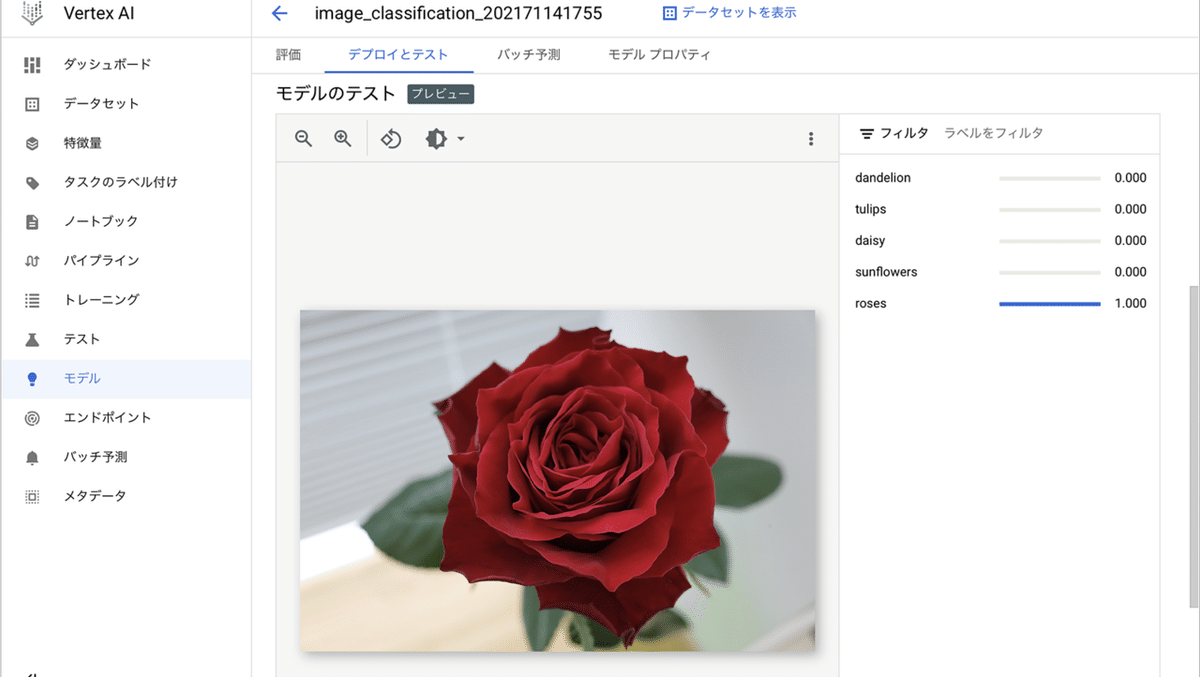
(1) 「モデル」の「デプロイとテスト → モデルのテスト」の「画像のアップロード」ボタンでテストを実行。
◎ Pythonでの推論
(1) Pythonの仮想環境で「google-cloud-aiplatform」をインストール。
$ pip install google-cloud-aiplatform(2) 環境変数にサービスアクセスキーを登録。
・Windows
$env:GOOGLE_APPLICATION_CREDENTIALS="XXXX.json"・macOS/Linux
export GOOGLE_APPLICATION_CREDENTIALS="XXXX.json"(3) 以下のソースコードを実行。
プロジェクトID、エンドポイントID、リージョン、APIエンドポイントは自分の環境のものを指定します。
import base64
from google.cloud import aiplatform
from google.cloud.aiplatform.gapic.schema import predict

# パラメータ
PROJECT_ID = "XXXXXXXXXX" # プロジェクトID
ENDPOINT_ID = "XXXXXXXXXXXXXXXXXXX" # エンドポイントID
LOCATION = "us-central1" # リージョン
API_ENDPOINT = "us-central1-aiplatform.googleapis.com" # APIエンドポイント
FILENAME = "flower.jpg" # 画像パス

# クライアントの初期化
client_options = {"api_endpoint": API_ENDPOINT}
client = aiplatform.gapic.PredictionServiceClient(client_options=client_options)

# 画像の読み込み
with open(FILENAME, "rb") as f:
    file_content = f.read()

# 入力データの準備
encoded_content = base64.b64encode(file_content).decode("utf-8")
instance = predict.instance.ImageClassificationPredictionInstance(
    content=encoded_content,
).to_value()
instances = [instance]

# 推論の実行
parameters = predict.params.ImageClassificationPredictionParams(
   confidence_threshold=0.5, max_predictions=5,
).to_value()
endpoint = client.endpoint_path(
    project=PROJECT_ID, location=LOCATION, endpoint=ENDPOINT_ID
)
response = client.predict(
   endpoint=endpoint, instances=instances, parameters=parameters
)

# 推論結果の出力
predictions = response.predictions
for prediction in predictions:
    print(" prediction:", dict(prediction))
prediction: {'displayNames': ['roses'], 'ids': ['8916367499658788864'], 'confidences': [0.999999881]}7. プロジェクトのクリーンアップ
リソースの一部から予期しない料金が発生しないようにするには、次の手順でプロジェクトのクリーンアップを行う必要があります。
(1) 「モデル」の「デプロイとテスト」で「モデルのデプロイ解除」
(2) 「エンドポイント」で「エンドポイントの削除」
(3) 「モデル」の「モデルを削除」
(4) 「データセット」で「データセットの削除」
(5) 「Cloud Storage」で「バケットの削除」
詳しくは、以下を参照してください。
8. 参考
この記事が気に入ったらサポートをしてみませんか?