![見出し画像](https://assets.st-note.com/production/uploads/images/48207941/rectangle_large_type_2_2780195813be6bf8f3d66c7786df87e0.png?width=1200)
slack API 入門 (1) - Pythonによるメッセージ送信
「slack API」で「Python」によるメッセージ送信を行う方法をまとめました。
1. ワークスペースの準備
slackのメッセージの送信先となる「ワークスペース」を準備します。
![画像13](https://assets.st-note.com/production/uploads/images/54267528/picture_pc_9cf531ebd3c8462898e8eb1ac088e9d8.png?width=1200)
2. slackアプリの準備
slackのサイトで「slackアプリ」を準備します。
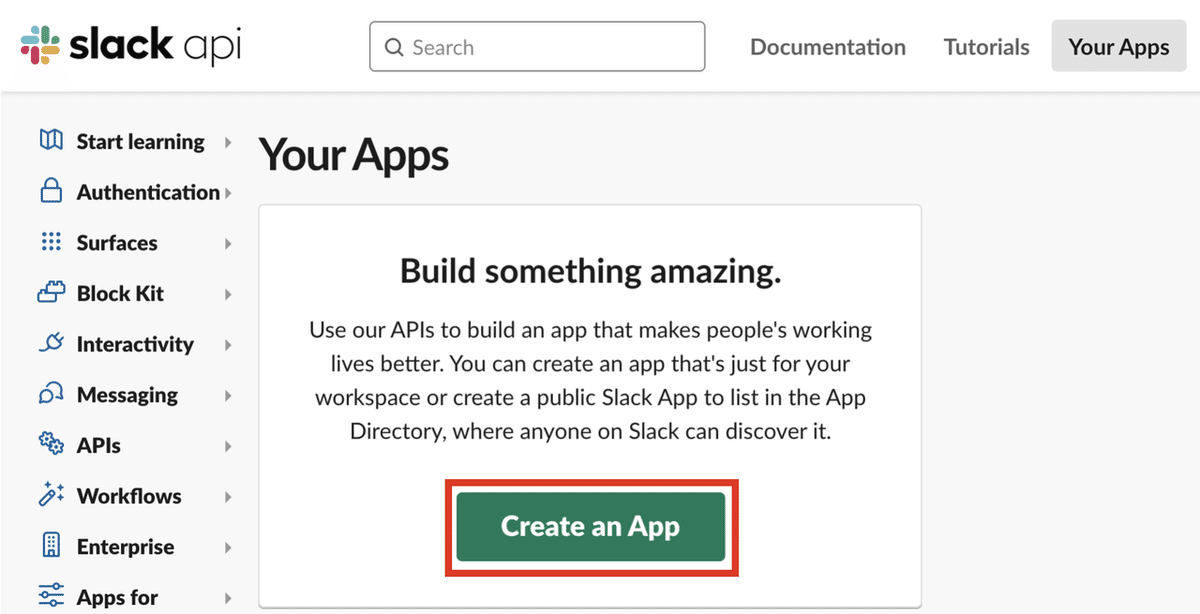
(1) slackの以下のサイトを開き、「Create an App」をクリック。
![画像1](https://assets.st-note.com/production/uploads/images/48210291/picture_pc_1874bfc8a4f063cb87ac42f0599f5e6f.png?width=1200)
(2) 「App Name」と「Development Slack Workspace」を入力し、「Create App」をクリック。
![画像2](https://assets.st-note.com/production/uploads/images/48210441/picture_pc_c3179631265359065069b2fd0dc68829.png?width=1200)
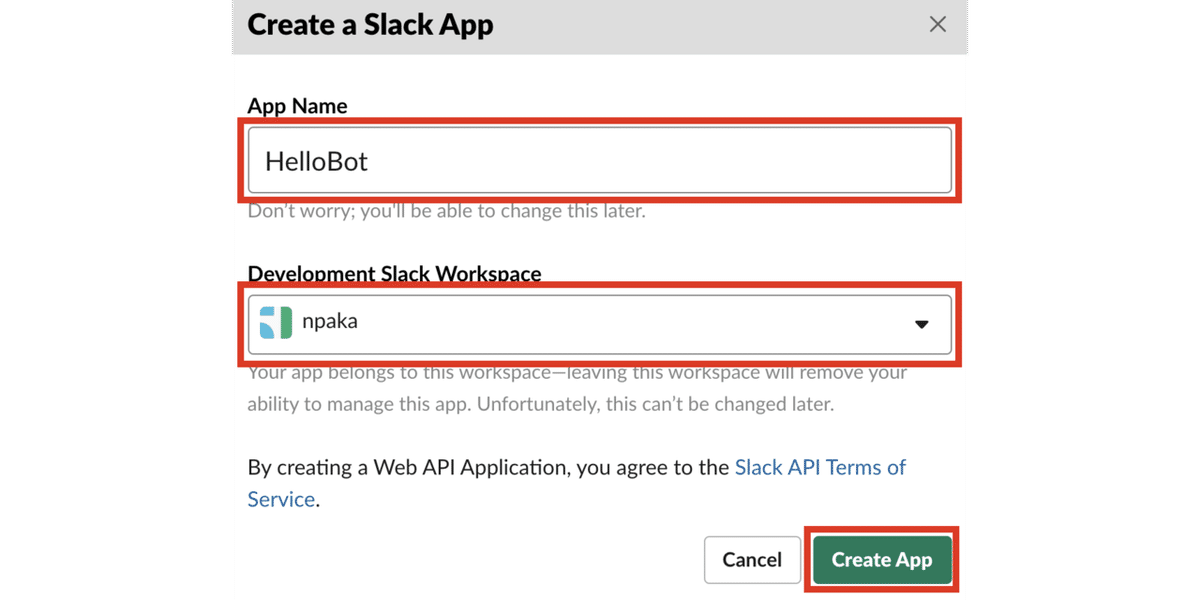
・App Name : slackアプリ名
・Development Slack Workspace : slackのワークスペース
(3) 「OAuth & Permissions」を選択し、「Scopes」で権限を追加。
![画像3](https://assets.st-note.com/production/uploads/images/48211616/picture_pc_f220d605c828a1a4e8fd5d0ab1d7d3b0.png?width=1200)
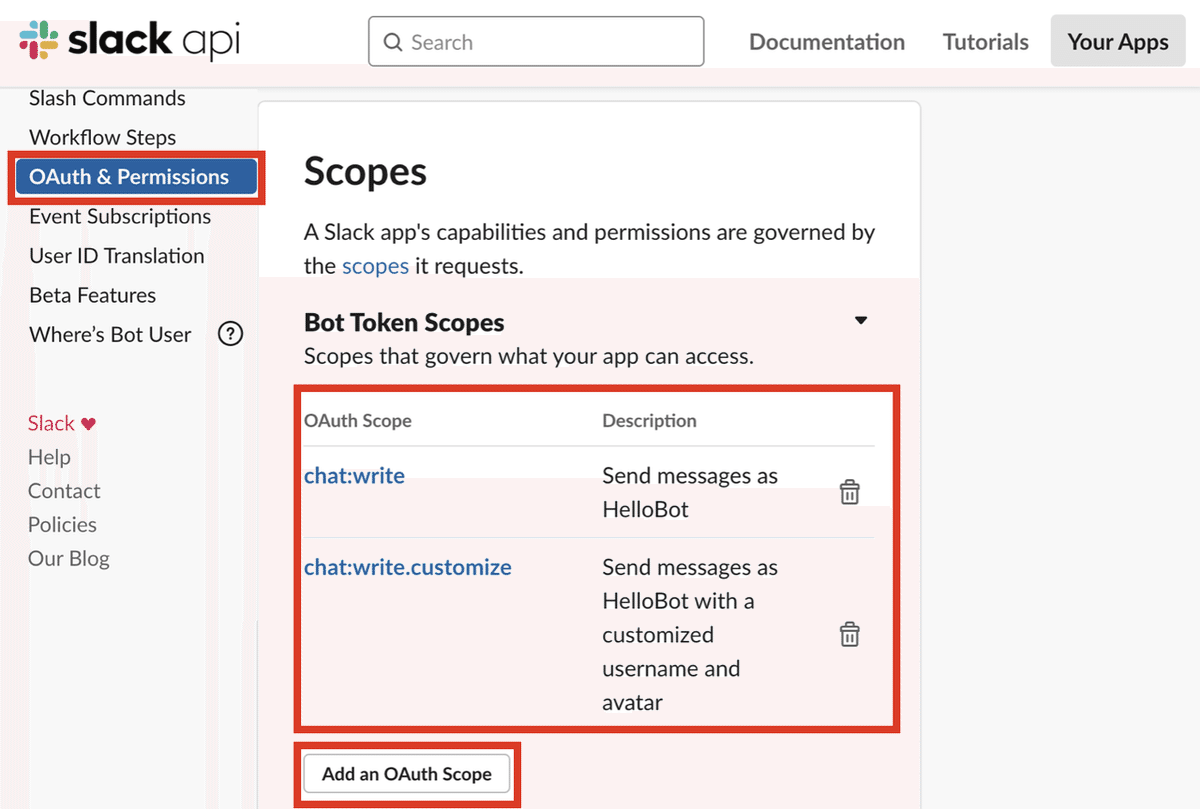
・chat:write : メッセージの送信。
・chat:write.customize : ユーザー名とアバターのカスタマイズ。
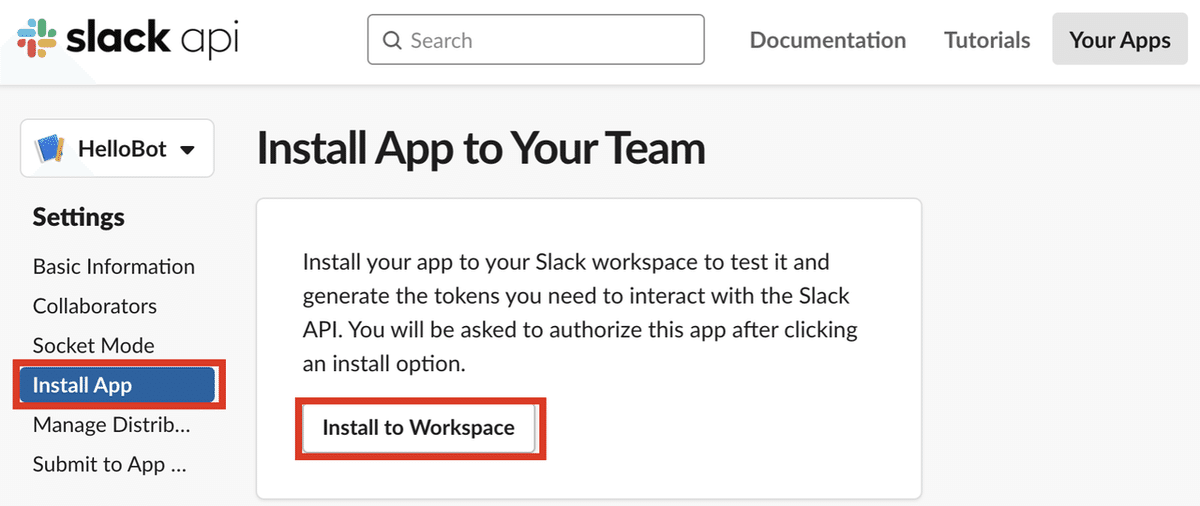
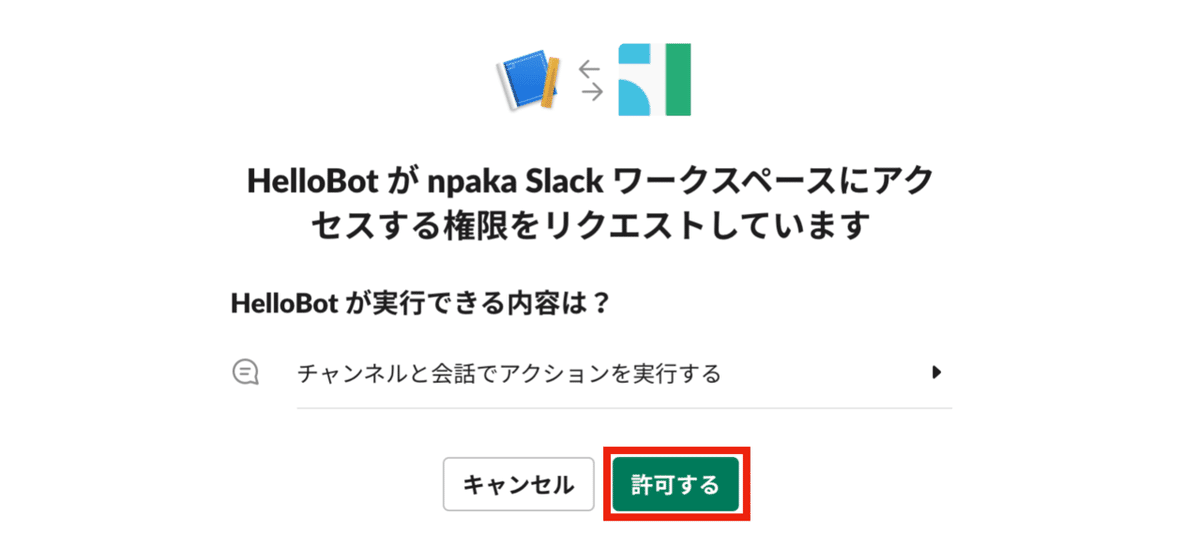
(4) 「Install App」を選択し、「Install to Workspace」をクリック。
![画像4](https://assets.st-note.com/production/uploads/images/48211878/picture_pc_70f36ab2df6a714c11d85e556a9be726.png?width=1200)
(5) 「許可する」をクリック。
![画像5](https://assets.st-note.com/production/uploads/images/48212029/picture_pc_cb36415bca121a251a31d3a902d795d5.png?width=1200)
(6) 「トークン」をメモ。
後ほど、Pythonスクリプトで使います。
![画像6](https://assets.st-note.com/production/uploads/images/48212339/picture_pc_cebd3f7bd9438ba4680f9428e1d7c2a0.png?width=1200)
3. チャンネルへのslackアプリの追加
チャンネルにslackアプリを追加します。
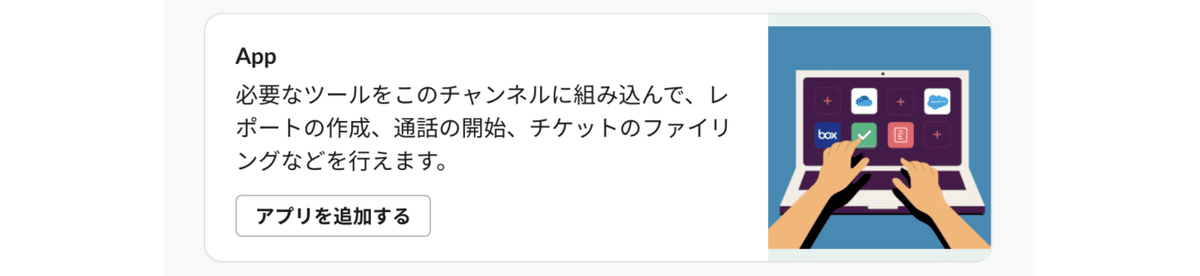
(1) チャンネル名の右クリックの「チャンネル詳細を開く → インテグレーション → アプリを追加」でslackアプリを追加。
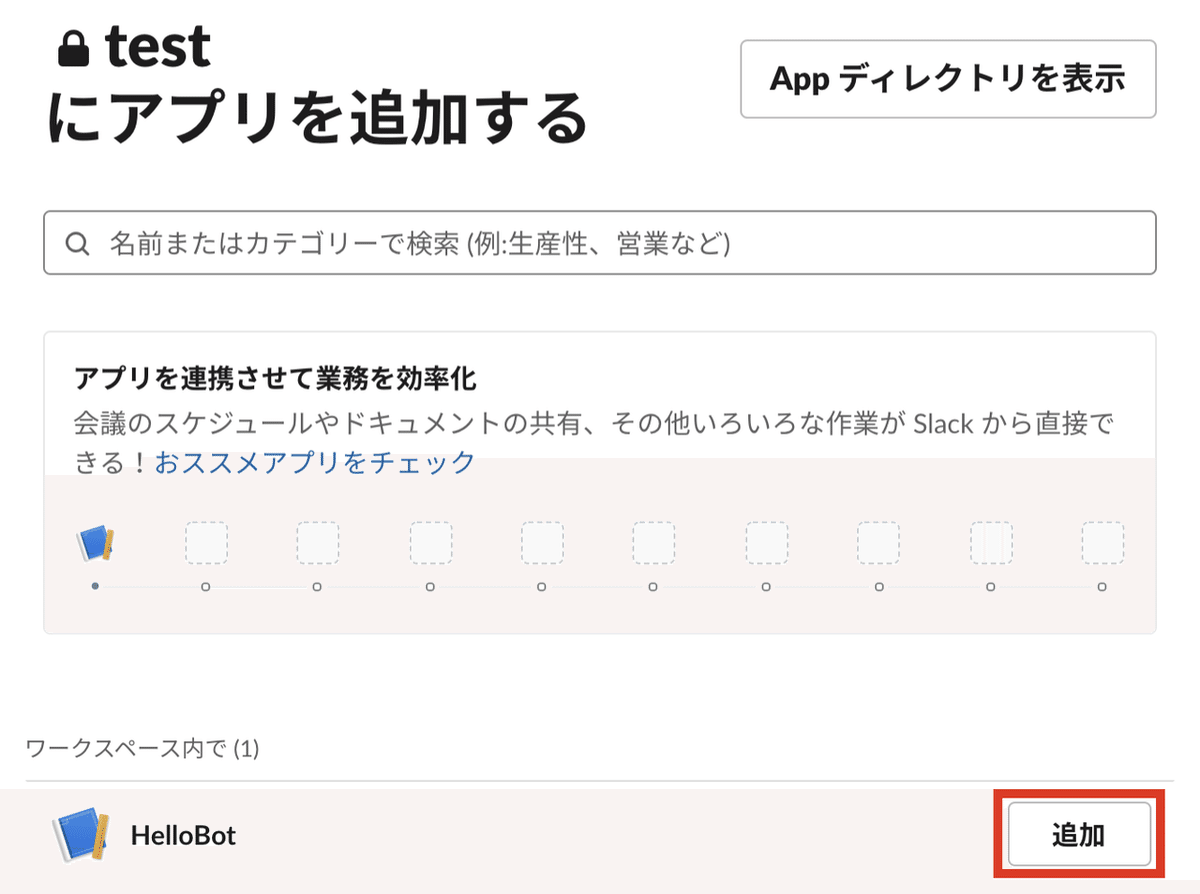
![画像14](https://assets.st-note.com/production/uploads/images/54269655/picture_pc_b7a6a697f42a89792567d792922ac1fd.png?width=1200)
(2) 「追加」をクリック。
![画像8](https://assets.st-note.com/production/uploads/images/48212970/picture_pc_1fe84bcd762356b73a7441b9e61b01cc.png?width=1200)
4. chat.postMessageの動作確認
「chat.postMessage」は、メッセージを送信するAPIです。slackのテスターサイトで動作確認します。
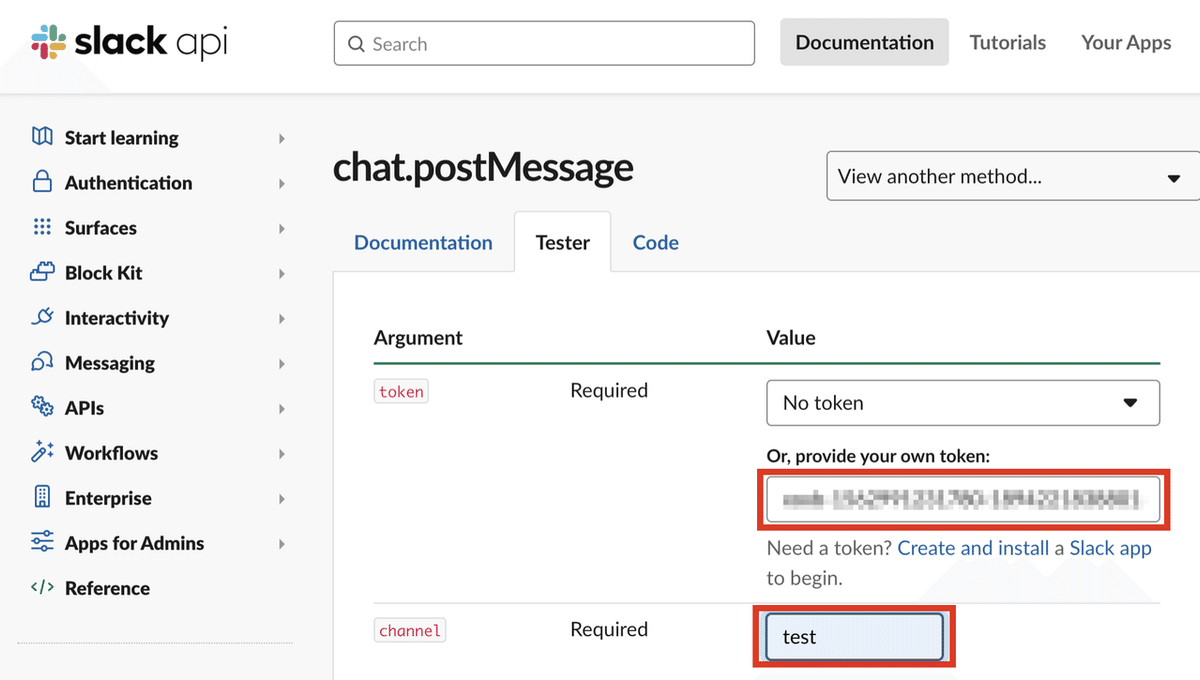
(1) slackのテスターサイトの「chat.postMessage」を開く。
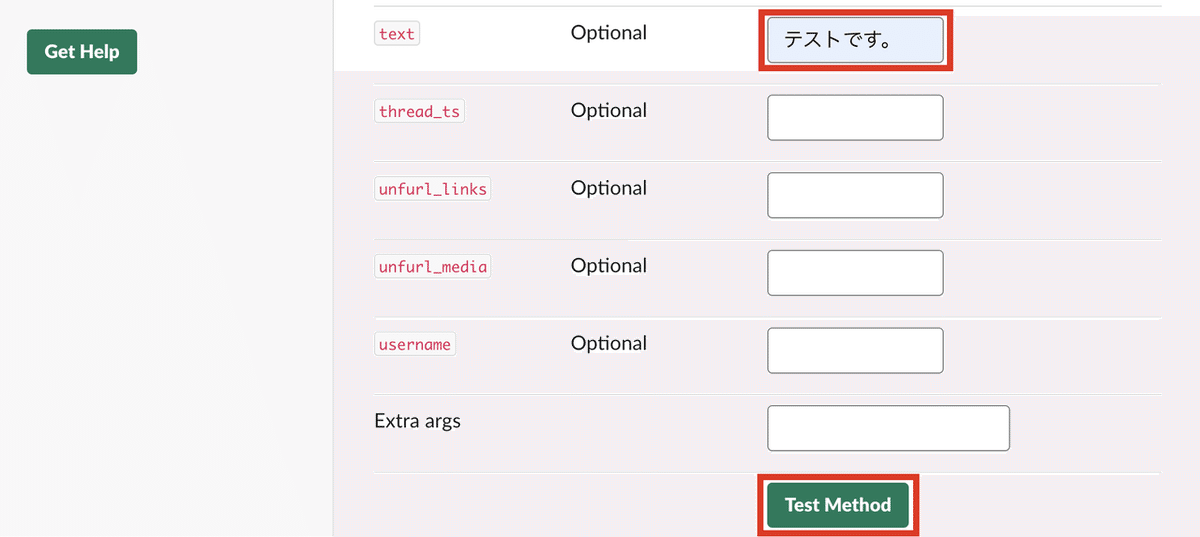
(2) 「token」に先程メモした「トークン」、「channel」にチャンネル名、「text」に送信するメッセージを指定し、「Test Method」をクリック。
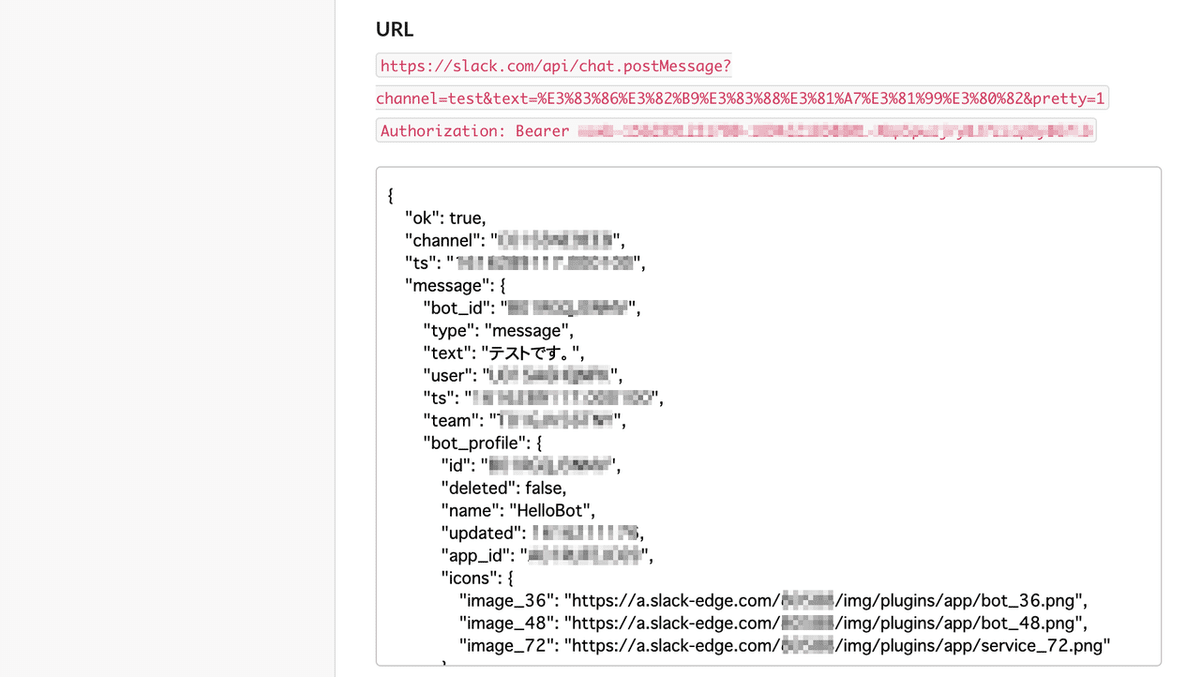
![画像10](https://assets.st-note.com/production/uploads/images/48215340/picture_pc_8fb1c307f99da34d394e96a9ae2a352a.png?width=1200)
![画像10](https://assets.st-note.com/production/uploads/images/48215100/picture_pc_8853006eba64241b9e71bafd8bae822d.png?width=1200)
結果が以下のように表示されます。
![画像11](https://assets.st-note.com/production/uploads/images/48215580/picture_pc_a9626828a267a4b721569cea5c502fe1.png?width=1200)
5. Pythonによるメッセージ送信
Pythonによるメッセージ送信を行います。
(1) 「pip」で「requests」をインストール。
$ pip install requests
(2) 以下のPythonスクリプトを作成して実行。
<トークン>と<チャネンル名>に自身のものを指定してください。
import requests
TOKEN = '<トークン>'
CHANNEL = '<チャンネル名>'
url = "https://slack.com/api/chat.postMessage"
headers = {"Authorization": "Bearer "+TOKEN}
data = {
'channel': CHANNEL,
'text': 'テストです。'
}
r = requests.post(url, headers=headers, data=data)
print("return ", r.json())
![画像12](https://assets.st-note.com/production/uploads/images/48216231/picture_pc_3f75bd474e654a45aa0850ad06b2eb1e.png?width=1200)
パラメータは、次のとおりです。
・token : トークン
・channel : チャンネル名
・text : メッセージ
・as_user : trueの場合は差出人、falseの場合はBotが差出人となる
・username : as_user=false時のBot名
・icon_url : as_user=false時のBotアイコンのURL
・thread_ts : 返信先のスレッドID
・reply_broadcast : リプライをチャンネル全体に表示
次回
この記事が気に入ったらサポートをしてみませんか?