three.js で VRM を表示する (1) - 事始め

three.js を使ってブラウザ上で VRM を表示する方法をまとめました。
・three.js@0.125.1
・typescript@4.1.3
・webpack@5.18.0
前回
1. 開発環境の準備
開発環境の準備手順は、次のとおり。
(1) Node.js と live-server のインストール。
(2) プロジェクトの作成。
$ mkdir helloworld
$ cd helloworld
$ npm init -y
(3) モジュールのインストール。
$ npm i -D webpack webpack-cli typescript ts-loader
$ npm i -S three @pixiv/three-vrm
(4) プロジェクトの設定ファイル「package.json」の「scripts」を以下のように変更。
・package.json
  "scripts": {
    "start": "live-server dist",
    "build": "webpack",
    "watch": "webpack -w"
  },
(5) TypeScriptの設定ファイル「tsconfig.json」をプロジェクトフォルダ直下に作成し、以下のように編集。
・tsconfig.json
{
  "compilerOptions": {
    "sourceMap": true,
    "target": "es5",
    "module": "es2015",
    "moduleResolution": "node",
    "lib": [
      "es2020",
      "dom"
    ]
  }
}
(6) webpackの設定ファイル「webpack.config.js」をプロジェクトフォルダ直下に作成し、以下のように編集。
・webpack.config.js
module.exports = {
// development or production
mode: "development",
entry: "./src/index.ts",
output: {
path: `${__dirname}/dist`,
filename: "main.js"
},
module: {
rules: [
{
test: /\.ts$/,
use: "ts-loader"
}
]
},
resolve: {
extensions: [".ts", ".js"]
}
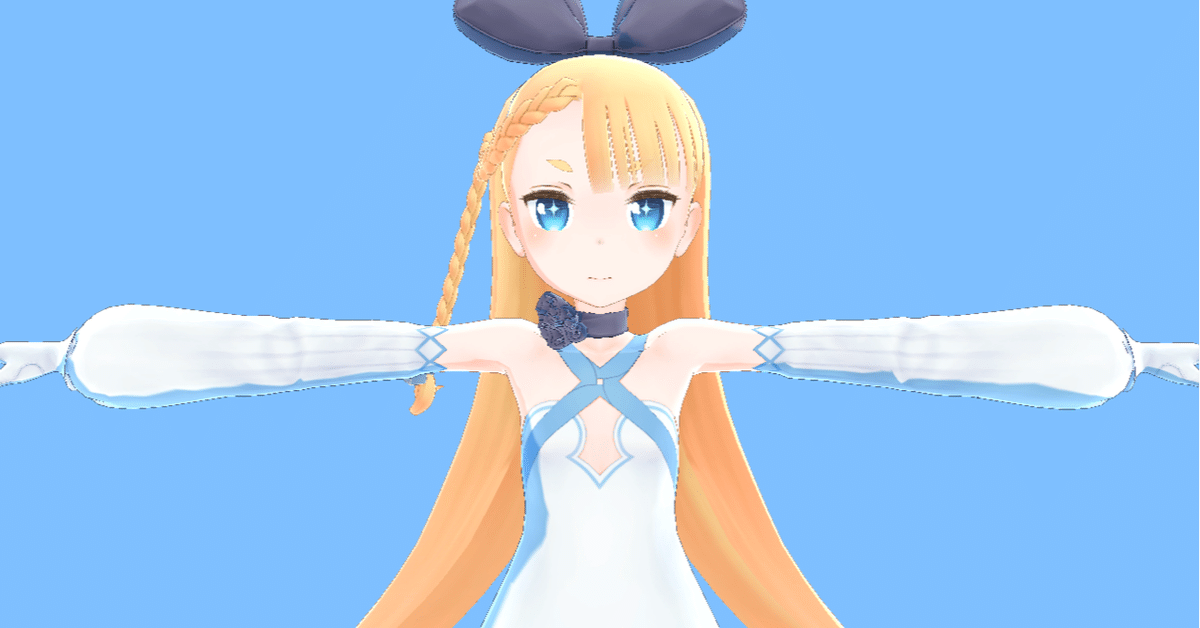
};2. VRM の表示
VRMの表示手順は次のとおり。
(1) プロジェクトフォルダ直下に src フォルダを生成し、srcフォルダ直下に index.ts を作成し、以下のように編集。
・index.ts
import * as THREE from 'three'
import { GLTFLoader } from 'three/examples/jsm/loaders/GLTFLoader'
import { VRM } from '@pixiv/three-vrm'

window.addEventListener("DOMContentLoaded", () => {
  // canvasの取得
  const canvas = document.getElementById('canvas')

  // シーンの生成
  const scene = new THREE.Scene()

  // カメラの生成
  const camera = new THREE.PerspectiveCamera(
    45, canvas.clientWidth/canvas.clientHeight, 0.1, 1000)
  camera.position.set(0, 1.3, -1)
  camera.rotation.set(0, Math.PI, 0)

  // レンダラーの生成
  const renderer = new THREE.WebGLRenderer()
  renderer.setPixelRatio(window.devicePixelRatio)
  renderer.setSize(canvas.clientWidth, canvas.clientHeight)
  renderer.setClearColor(0x7fbfff, 1.0)
  canvas.appendChild(renderer.domElement)

  // ライトの生成
  const light = new THREE.DirectionalLight(0xffffff)
  light.position.set(-1, 1, -1).normalize()
  scene.add(light)

  // VRMの読み込み
  const loader = new GLTFLoader()
  loader.load('./alicia.vrm',
    (gltf) => {
      VRM.from(gltf).then( (vrm) => {
        // シーンへの追加
        scene.add(vrm.scene)
      })
    }
  )

  // フレーム毎に呼ばれる
  const update = () => {
    requestAnimationFrame(update)
    renderer.render(scene, camera)
  }
  update()
})
(2) プロジェクトフォルダ直下に dist フォルダを生成し、distフォルダ直下に index.html と VRMファイル alicia.vrm を配置。
・index.html
<html>
  <head>
    <script type="text/javascript" src="main.js"></script>
  </head>
  <body>
    <div id="canvas" style="width:640px;height:480px;"></div>
  </body>
</html>
・alicia.vrm
「ニコニ立体ちゃん (VRM)」からダウンロードしてファイル名変更。
(3) ビルドと実行
$ npm run build
$ npm run start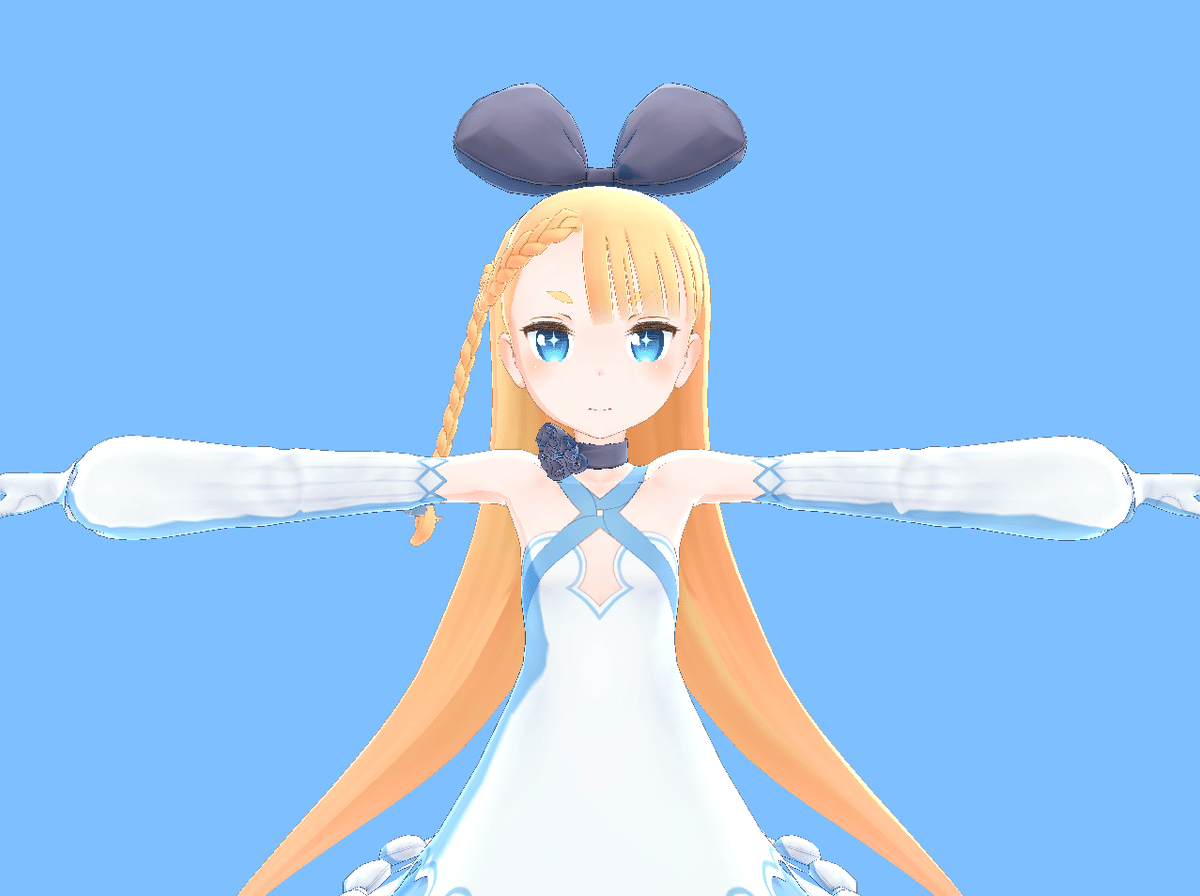
3. ボーンで関節を回転
ボーンで関節を回転させるには、vrm.humanoid.getBoneNode() でボーンを取得し、rotationで回転させます。
頭を見上げる(頭ボーンのX軸をπ/6回転)コードは、次のとおり。
VRMSchemaを使ってるので、インポートも必要になります。
import { VRM, VRMSchema } from '@pixiv/three-vrm'


const head = vrm.humanoid.getBoneNode(VRMSchema.HumanoidBoneName.Head)
head.rotation.x = Math.PI /6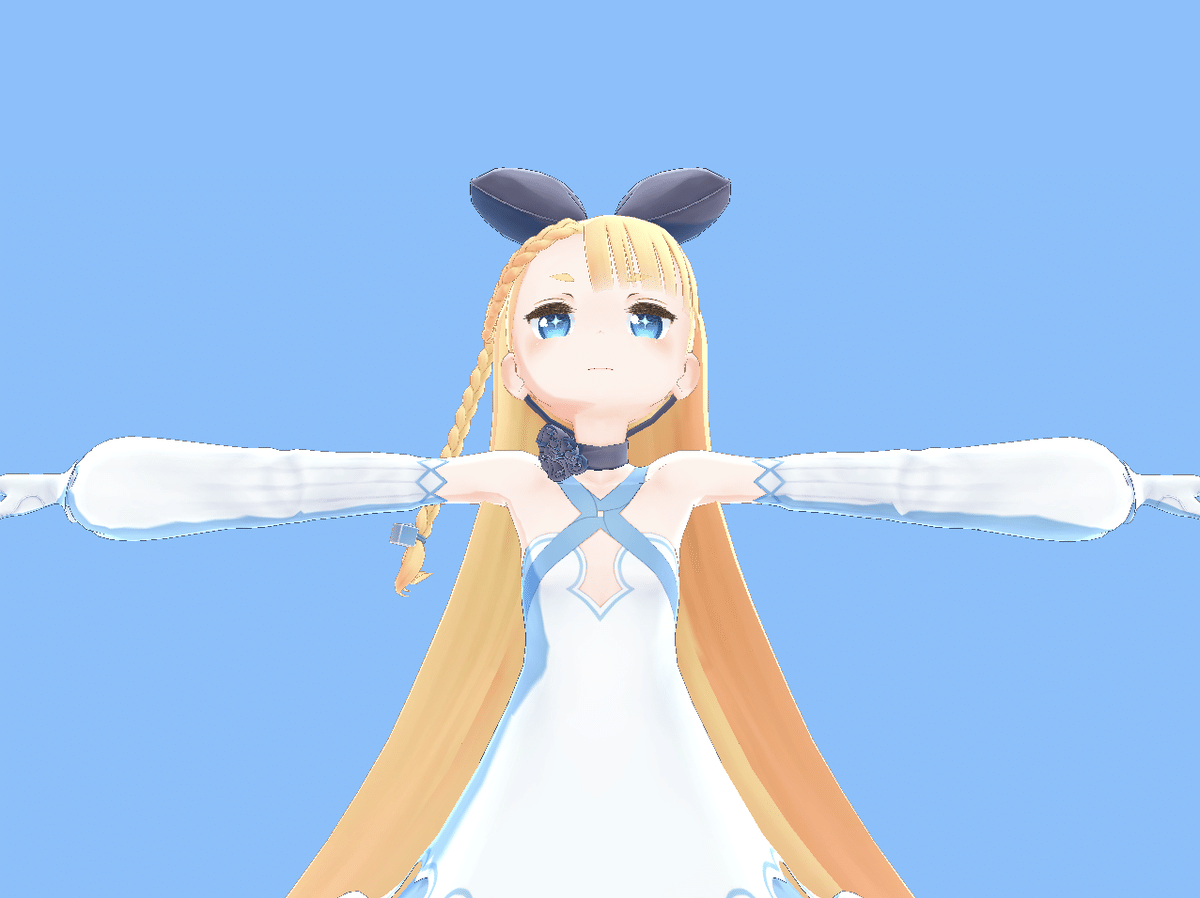
HumanoidBoneName 定数は、次のとおり。
・ Chest
・ Head
・ Hips
・ Jaw
・ LeftEye
・ LeftFoot
・ LeftHand
・ LeftIndexDistal
・ LeftIndexIntermediate
・ LeftIndexProximal
・ LeftLittleDistal
・ LeftLittleIntermediate
・ LeftLittleProximal
・ LeftLowerArm
・ LeftLowerLeg
・ LeftMiddleDistal
・ LeftMiddleIntermediate
・ LeftMiddleProximal
・ LeftRingDistal
・ LeftRingIntermediate
・ LeftRingProximal
・ LeftShoulder
・ LeftThumbDistal
・ LeftThumbIntermediate
・ LeftThumbProximal
・ LeftToes
・ LeftUpperArm
・ LeftUpperLeg
・ Neck
・ RightEye
・ RightFoot
・ RightHand
・ RightIndexDistal
・ RightIndexIntermediate
・ RightIndexProximal
・ RightLittleDistal
・ RightLittleIntermediate
・ RightLittleProximal
・ RightLowerArm
・ RightLowerLeg
・ RightMiddleDistal
・ RightMiddleIntermediate
・ RightMiddleProximal
・ RightRingDistal
・ RightRingIntermediate
・ RightRingProximal
・ RightShoulder
・ RightThumbDistal
・ RightThumbIntermediate
・ RightThumbProximal
・ RightToes
・ RightUpperArm
・ RightUpperLeg
・ Spine
・ UpperChest
4. ブレンドシェイプで表情を変更
ブレンドシェイプで表情を変更するには、vrm.blendShapeProxy.setValue() を使って、ブレンドシェイプの種別と値(0.0 〜 1.0)を指定します。vrm.blendShapeProxy.update() で反映されます。
「楽しい」表情で「お」の口にするコードは次のとおり。
vrm.blendShapeProxy.setValue(VRMSchema.BlendShapePresetName.Fun, 1.0)
vrm.blendShapeProxy.setValue(VRMSchema.BlendShapePresetName.O, 1.0)
vrm.blendShapeProxy.update()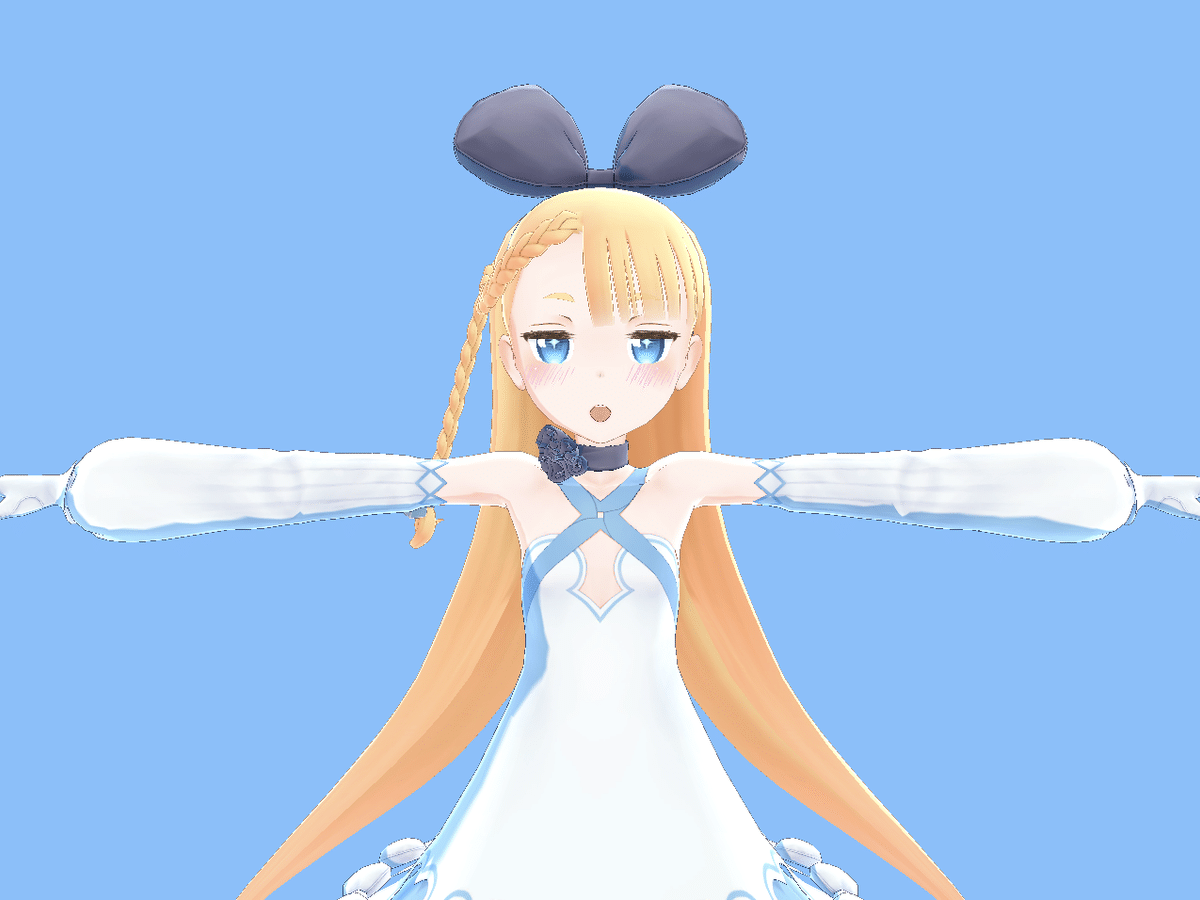
BlendShapePresetName 定数は、次のとおり。
・ A
・ Angry
・ Blink
・ BlinkL
・ BlinkR
・ E
・ Fun
・ I
・ Joy
・ Lookdown
・ Lookleft
・ Lookright
・ Lookup
・ Neutral
・ O
・ Sorrow
・ U
・ Unknown
5. IKで手足を動かす
IKで手足を動かすには、THREE.IK を使います。
インストールコマンドは、次のとおり。
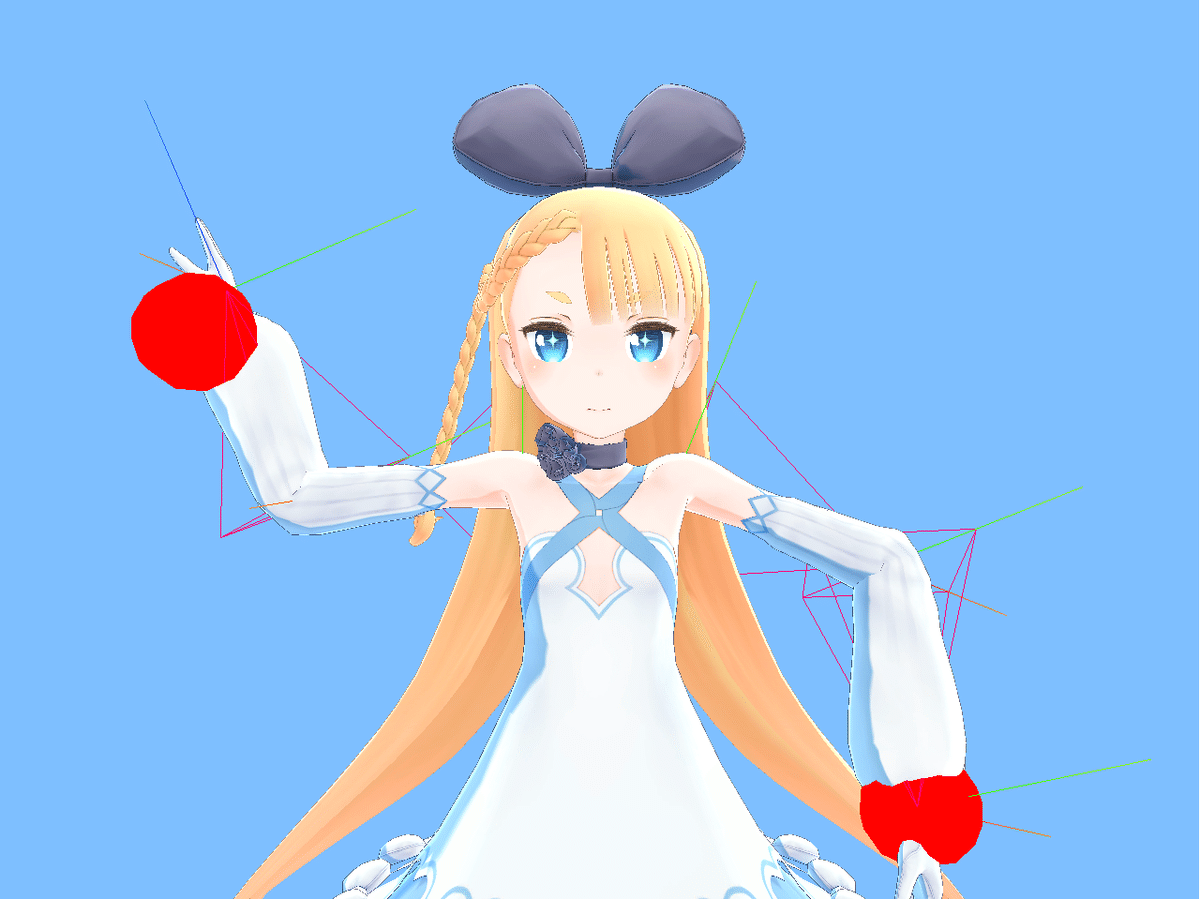
$ npm i -S three-ik適当に動くターゲット(赤い丸)に手を近づけるコードは次のとおり。
import * as THREE from 'three'
import { GLTFLoader } from 'three/examples/jsm/loaders/GLTFLoader'
import { VRM, VRMSchema } from '@pixiv/three-vrm'
import { IK, IKChain, IKJoint, IKHelper } from 'three-ik'

window.addEventListener("DOMContentLoaded", () => {
  // canvasの取得
  const canvas = document.getElementById('canvas')

  // シーンの生成
  const scene = new THREE.Scene()

  // カメラの生成
  const camera = new THREE.PerspectiveCamera(
    45, canvas.clientWidth/canvas.clientHeight, 0.1, 1000)
  camera.position.set(0, 1.3, -1)
  camera.rotation.set(0, Math.PI, 0)

  // レンダラーの生成
  const renderer = new THREE.WebGLRenderer()
  renderer.setPixelRatio(window.devicePixelRatio)
  renderer.setSize(canvas.clientWidth, canvas.clientHeight)
  renderer.setClearColor(0x7fbfff, 1.0)
  canvas.appendChild(renderer.domElement)

  // ライトの生成
  const light = new THREE.DirectionalLight(0xffffff)
  light.position.set(-1, 1, -1).normalize()
  scene.add(light)

  // VRMの読み込み
  const loader = new GLTFLoader()
  loader.load('./alicia.vrm',
    (gltf) => {
      VRM.from(gltf).then((vrm) => {
        // シーンへの追加
        scene.add(vrm.scene)

        // IKの準備
        const ikList = [new IK(), new IK()] // IKシステム
        const chainList = [new IKChain(), new IKChain()] // チェーン
        const pivotList = [] // ピボット
        const bonesList = [] // ボーン
        const nodesList = [] // ノード

        // ボーン名
        let boneName = [
          [VRMSchema.HumanoidBoneName.LeftUpperArm,
            VRMSchema.HumanoidBoneName.LeftLowerArm,
            VRMSchema.HumanoidBoneName.LeftHand],
          [VRMSchema.HumanoidBoneName.RightUpperArm,
           VRMSchema.HumanoidBoneName.RightLowerArm,
           VRMSchema.HumanoidBoneName.RightHand]]

        for (let j = 0; j < 2; j++) {
          // ターゲットの生成
          const movingTarget = new THREE.Mesh(
            new THREE.SphereGeometry(0.05),
            new THREE.MeshBasicMaterial({color: 0xff0000}))
          movingTarget.position.x = -0.2
          let pivot = new THREE.Object3D()
          pivot.add(movingTarget)
          pivot.position.x =  j == 0 ? -0.3 : 0.3
          pivot.position.y = 1.2
          pivot.position.z = -0.3
          scene.add(pivot)
          pivotList.push(pivot)

          // チェーンの生成
          const bones = [] // ボーン
          const nodes = [] // ノード
          for (let i = 0; i < 3; i++) {
            // ボーンとノードの生成
            const bone = new THREE.Bone()
            let node = vrm.humanoid.getBoneNode(boneName[j][i])

            if (i == 0) {
              node.getWorldPosition(bone.position)
            } else {
              bone.position.set(node.position.x, node.position.y, node.position.z)
              bones[i - 1].add(bone)
            }
            bones.push(bone)
            nodes.push(node)

            // チェーンに追加
            const target = i === 2 ? movingTarget : null
            chainList[j].add(new IKJoint(bone, {}), {target})
          }

          // IKシステムにチェーン追加
          ikList[j].add(chainList[j])

          // リストに追加
          bonesList.push(bones)
          nodesList.push(nodes)

          // ルートボーンの追加
          scene.add(ikList[j].getRootBone())

          // ヘルパーの追加
          //const helper = new IKHelper(ikList[j])
          //scene.add(helper)
        }

        // 更新の開始
        update(vrm, ikList, pivotList, bonesList, nodesList)
      })
    }
  )

  // 腕の更新
  const updateArm = (bones, nodes, offset) => {
    const q = new THREE.Quaternion()
    q.setFromAxisAngle( new THREE.Vector3(0, 1, 0), offset)
    nodes[0].setRotationFromQuaternion(bones[0].quaternion.multiply(q))
    nodes[1].setRotationFromQuaternion(bones[1].quaternion)
    nodes[2].setRotationFromQuaternion(bones[2].quaternion)
  }

  // フレーム毎回に呼ばれる
  const update = (vrm, ikList, pivotList, bonesList, nodesList) => {
    // ターゲットの移動
    pivotList[0].rotation.z -= 0.01
    pivotList[1].rotation.z += 0.01

    // IKの更新
    ikList[0].solve()
    ikList[1].solve()

    // 腕の更新
    updateArm(bonesList[0], nodesList[0], Math.PI / 2)
    updateArm(bonesList[1], nodesList[1], -Math.PI / 2)

    // フレーム更新
    requestAnimationFrame(() => update(vrm, ikList, pivotList, bonesList, nodesList))
    renderer.render(scene, camera)
  }
})
【おまけ】 不必要な警告表示の対策
次回
この記事が気に入ったらサポートをしてみませんか?