SkyWay 入門 (2) - ビデオ会議

「SkyWay」のRoomIDで接続するビデオ会議の作り方をまとめました。1対多の会話ができます。
前回
1. SkyWay
「SkyWay」は、ビデオ通話、音声通話をかんたんにアプリに実装できる、
マルチプラットフォームなSDKです。
2. SkyWayのAPIキーの発行
SkyWayの開発者登録を行い、アプリ情報を入力し、「APIキー」を取得します。
・SkyWay Community Editionの新規登録
3. 開発環境の準備
開発環境の準備手順は、次のとおり。
(1) Node.jsのインストール。
(2) プロジェクトの作成。
$ mkdir hellortc
$ cd hellortc
$ npm init -y
(3) 「webpack」と「live-server」と「skyway-js」のインストール。
$ npm i -D webpack webpack-cli
$ npm i -g live-server
$ npm i -S skyway-js
(4) プロジェクトフォルダ直下の「package.json」の「scripts」を以下のように編集。
・pakage.json
    :
  "scripts": {
    "start": "live-server dist",
    "build": "webpack",
    "watch": "webpack -w"
  },
    :
(5) プロジェクトフォルダ直下に「webpack.config.js」を作成し、以下のように編集。
・webpack.config.js
module.exports = {
  mode: "development",

  entry: "./src/index.js",
  output: {
    path: `${__dirname}/dist`,
    filename: "main.js"
  },
  resolve: {
    extensions: [".js"]
  }
};
4. ビデオ会議の作成
「SkyWay」のRoomIDで接続するビデオ会議を作成します。
(1) プロジェクトフォルダ直下に 「src」フォルダを生成し、「src」フォルダ直下に「index.js」を作成し、以下のように編集。
<SkyWayのAPIキー>は、自分のAPIキーに書き換えて使用してください。
・src/index.js
import Peer from "skyway-js";

// 参照
const roomId = document.getElementById("js-room-id");
const remoteVideos = document.getElementById("js-remote-streams");

// ピアの準備
const peer = new Peer({
  key: "<SkyWayのAPIキー>",
  debug: 3,
});
// PeerID取得時に呼ばれる
peer.on("open", () => {
  document.getElementById("my-id").textContent = peer.id;
});

// カメラ映像の取得
let localStream;
navigator.mediaDevices
  .getUserMedia({ video: true, audio: true })
  // 成功時
  .then((stream) => {
    // video要素でカメラ映像を再生
    const videoElm = document.getElementById("my-video");
    videoElm.srcObject = stream;
    videoElm.play();

    // ストリームの保持
    localStream = stream;
  })
  // エラー時
  .catch((error) => {
    console.error("カメラ映像の取得失敗:", error);
    return;
  });

// 接続ボタン押下時に呼ばれる
document.getElementById("js-join-trigger").onclick = () => {
  if (!peer.open) return;

  // ルームへの接続
  const room = peer.joinRoom(roomId.value, {
    mode: "mesh", // mesh or sfu
    stream: localStream,
  });
  // ルーム接続時に呼ばれる
  room.once("open", () => {
    console.log("=== You joined ===");
  });

  // ルーム切断時に呼ばれる
  room.once("close", () => {
    console.log("== You left ===");
    Array.from(remoteVideos.children).forEach((remoteVideo) => {
      remoteVideo.srcObject.getTracks().forEach((track) => track.stop());
      remoteVideo.srcObject = null;
      remoteVideo.remove();
    });
  });

  // ピア接続時に呼ばれる
  room.on("peerJoin", (peerId) => {
    console.log("=== " + peerId + " joined ===");
  });

  // ピアのストリーム取得時に呼ばれる
  room.on("stream", async (stream) => {
    // ピアのvideo要素の追加
    const newVideo = document.createElement("video");
    newVideo.srcObject = stream;
    newVideo.playsInline = true;
    newVideo.setAttribute("data-peer-id", stream.peerId);
    newVideo.setAttribute("width", "400px");
    remoteVideos.append(newVideo);
    await newVideo.play().catch(console.error);
  });

  // ピア切断時に呼ばれる
  room.on("peerLeave", (peerId) => {
    // ピアのvideo要素の削除
    const remoteVideo = remoteVideos.querySelector(
      `[data-peer-id="${peerId}"]`
    );
    remoteVideo.srcObject.getTracks().forEach((track) => track.stop());
    remoteVideo.srcObject = null;
    remoteVideo.remove();
    console.log("=== " + peerId + " left ===");
  });

  // 切断ボタン押下時に呼ばれる
  document.getElementById("js-leave-trigger").onclick = () => {
    room.close();
  };
};
(2) プロジェクトフォルダ直下に 「dist」フォルダを生成し、「dist」フォルダ直下に「index.html」を作成し、以下のように編集。
・dist/index.html
<html>
  <head>
    <meta charset="utf-8">
  </head>
  <body>
    <!--自分-->
    <div>自分のPeerID: <span id="my-id"></span></div>
    <video id="my-video" width="400px" autoplay muted playsinline></video>
    <br>

    <!--UI-->
    <input type="text" placeholder="部屋ID" id="js-room-id">
    <button id="js-join-trigger">接続</button>
    <button id="js-leave-trigger">切断</button>
    <br>

    <!--相手-->
    <div id="js-remote-streams"></div>

    <!--スクリプト-->
    <script type="text/javascript" src="main.js"></script>
  </body>
</html>
(3) ビルドと実行。
$ npm run build
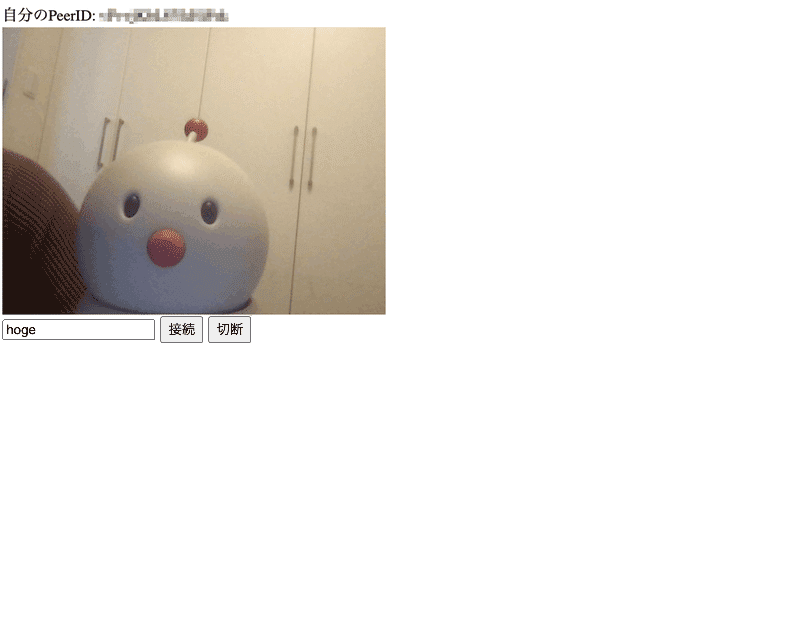
$ npm run startブラウザが起動し、ビデオ会議の画面が表示されます。
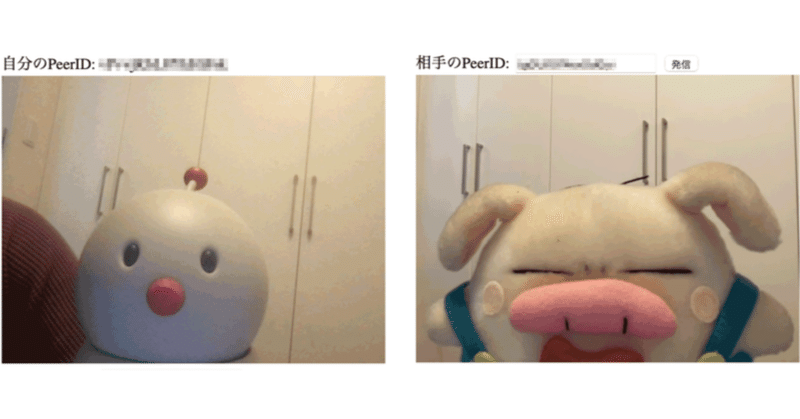
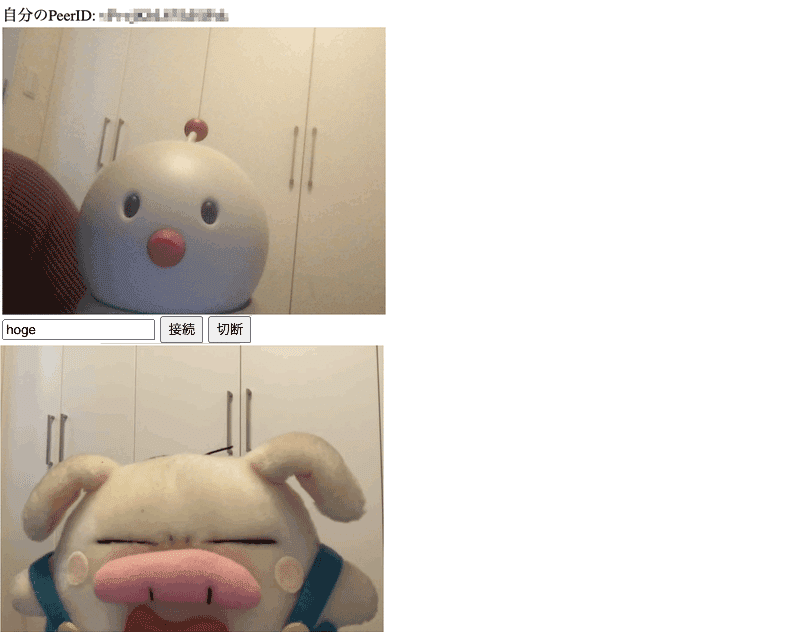
(4) ローカルで複数のビデオ会議の画面を開き、同じ部屋IDを入力し、接続ボタンを押す。
1対多でビデオ会議できます。
この記事が気に入ったらサポートをしてみませんか?