WebXR入門 (1) - 事始め

「three.js」を使って「WebXR」のコンテンツを作り、「Oculus Quest 2」で実行する方法をまとめました。
・Oculus Quest 2
・three.js@0.135.0
・Node.js v16.13.0
1. 開発環境の準備
開発環境の準備手順は、次のとおり。
(1) Node.jsのインストール。
(2) プロジェクトの作成。
$ mkdir helloworld
$ cd helloworld
$ npm init -y
(3) 「webpack」と「live-server」と「three.js」のインストール。
$ npm i -D webpack webpack-cli
$ npm i -g live-server
$ npm i -S three
(4) プロジェクトフォルダ直下の「package.json」の「scripts」を以下のように編集。
・pakage.json
    :
  "scripts": {
    "start": "live-server dist",
    "build": "webpack",
    "watch": "webpack -w"
  },
    :
(5) プロジェクトフォルダ直下に「webpack.config.js」を作成し、以下のように編集。
・webpack.config.js
module.exports = {
  mode: "development",

  entry: "./src/index.js",
  output: {
    path: `${__dirname}/dist`,
    filename: "main.js"
  },
  resolve: {
    extensions: [".js"]
  }
};
2. 立方体の表示
立方体を表示するだけのコードを書きます。
(1) プロジェクトフォルダ直下に 「src」フォルダを生成し、「src」フォルダ直下に「index.js」を作成し、以下のように編集。
・src/index.js
import * as THREE from "three";

// シーンの準備
const scene = new THREE.Scene();

// カメラの準備
const camera = new THREE.PerspectiveCamera(
  75,
  window.innerWidth / window.innerHeight,
  0.1,
  1000
);

// レンダラーの準備
const renderer = new THREE.WebGLRenderer({ antialias: true });
renderer.setPixelRatio(window.devicePixelRatio);
renderer.setSize(window.innerWidth, window.innerHeight);
document.body.appendChild(renderer.domElement);

// ライトの準備
const directionalLight = new THREE.DirectionalLight("#ffffff", 1);
directionalLight.position.set(0, 10, 10);
scene.add(directionalLight);

// 立方体の準備
const geometry = new THREE.BoxGeometry();
const material = new THREE.MeshPhongMaterial({ color: 0xff0000 });
const box = new THREE.Mesh(geometry, material);
box.position.z = -5;
scene.add(box);

// アニメーションループの開始
function animate() {
  requestAnimationFrame(animate);
  box.rotation.x += 0.01;
  box.rotation.y += 0.01;
  renderer.render(scene, camera);
}
animate();
(2) プロジェクトフォルダ直下に 「dist」フォルダを生成し、「dist」フォルダ直下に「index.html」を作成し、以下のように編集。
・dist/index.html
<html>
  <head>
    <meta charset="utf-8">
    <style>
      body { margin: 0; }
    </style>
  </head>
  <body>
    <script type="text/javascript" src="main.js"></script>
  </body>
</html>
(3) ビルドと実行。
$ npm run build
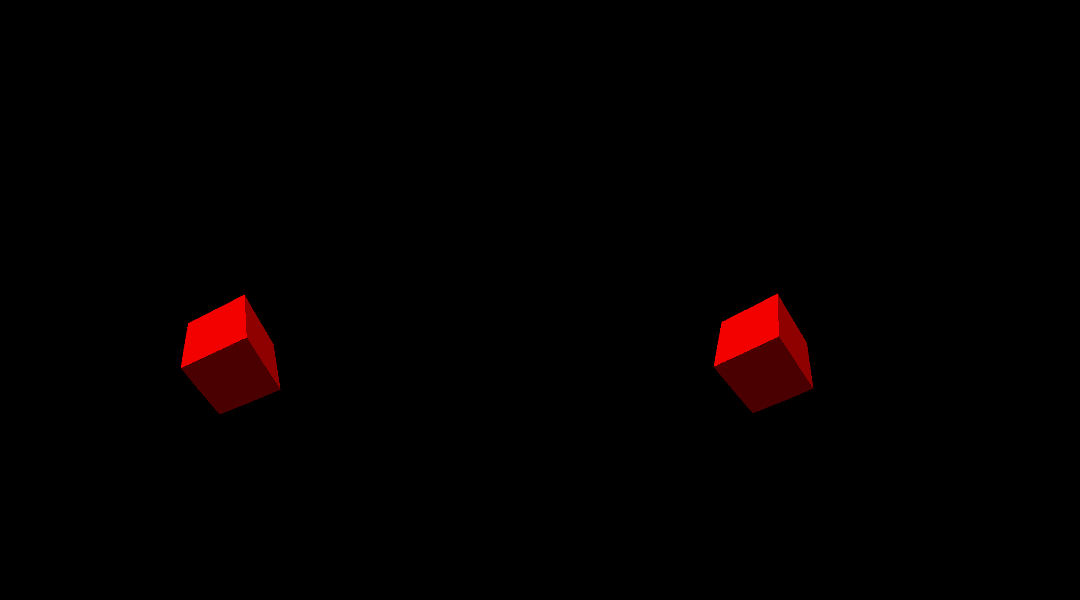
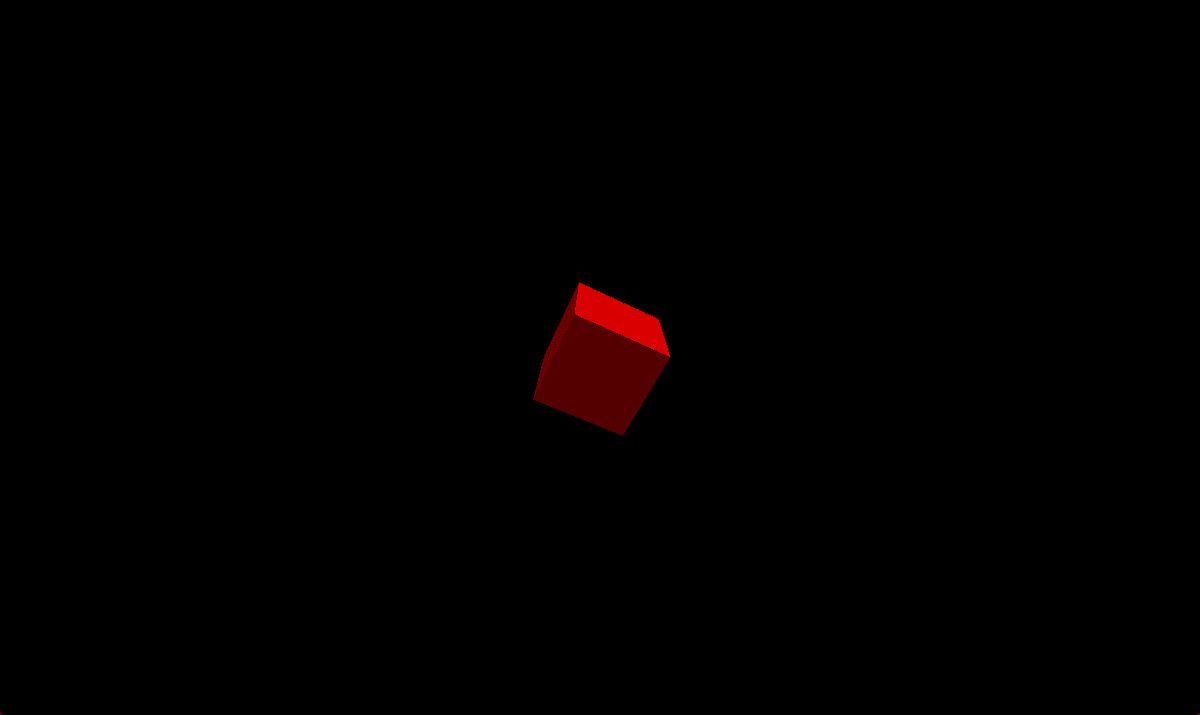
$ npm run startブラウザが起動し、立方体が表示されます。
3. VR対応
VR対応の手順は、次のとおりです。
(1) VR有効化ボタンをインポート。
import { VRButton } from "three/examples/jsm/webxr/VRButton.js"; // VRボタンをインポート(2) レンダラーのXRを有効化。
renderer.xr.enabled = true; // レンダラーのXRを有効化(3) VRボタンの追加。
// VRボタンの追加
document.body.appendChild(VRButton.createButton(renderer));
(3) アニメーションループの実装変更。
function animate() {
  requestAnimationFrame(animate);
  box.rotation.x += 0.01;
  box.rotation.y += 0.01;
  renderer.render(scene, camera);
}
animate();
    ↓
function animate() {
  box.rotation.x += 0.01;
  box.rotation.y += 0.01;
  renderer.render(scene, camera);
}
renderer.setAnimationLoop(animate);
全コードは、次のとおりです。
・src/inde.js
import * as THREE from "three";
import { VRButton } from "three/examples/jsm/webxr/VRButton.js"; // VRボタンをインポート

// シーンの準備
const scene = new THREE.Scene();

// カメラの準備
const camera = new THREE.PerspectiveCamera(
  75,
  window.innerWidth / window.innerHeight,
  0.1,
  1000
);

// レンダラーの準備
const renderer = new THREE.WebGLRenderer({ antialias: true });
renderer.setPixelRatio(window.devicePixelRatio);
renderer.setSize(window.innerWidth, window.innerHeight);
renderer.xr.enabled = true; // レンダラーのXRを有効化
document.body.appendChild(renderer.domElement);

// ライトの準備
const directionalLight = new THREE.DirectionalLight("#ffffff", 1);
directionalLight.position.set(0, 10, 10);
scene.add(directionalLight);

// 立方体の準備
const geometry = new THREE.BoxGeometry();
const material = new THREE.MeshPhongMaterial({ color: 0xff0000 });
const box = new THREE.Mesh(geometry, material);
box.position.z = -5;
scene.add(box);

// VRボタンの追加
document.body.appendChild(VRButton.createButton(renderer));

// アニメーションループの開始
function animate() {
  box.rotation.x += 0.01;
  box.rotation.y += 0.01;
  renderer.render(scene, camera);
}
renderer.setAnimationLoop(animate);
(3) ビルドと実行。
$ npm run build
$ npm run start
ブラウザが起動し、立方体が表示されます。VRボタンも表示されますが、「VR not SUPPORTED」で押せません。

4. https対応
デバイス(Oculus Quest2など)でWebXRのコンテンツを実行するには、「https」に対応する必要があります。そこで、Node.jsの「live-server」でなく、VSCodeの「LiveServer」を使います。
◎ VSCodeのLiveServerでの実行
(1) VSCodeで拡張機能の「LiveServer」をインストール。
(2) distフォルダをVSCodeで開く。
(3) 右下の「Go Live」ボタンを押す。

ブラウザが起動し、立方体が表示されます。現在はhttps対応はまだなので、「http」のままです。
◎ https対応
(1) 以下のコマンドでオレオレ証明書を作成。
$ openssl req -x509 -newkey rsa:4096 -sha256 \
  -nodes -keyout vscode_live_server.key.pem \
  -out vscode_live_server.cert.pem \
  -subj "/CN=example.com" -days 3650
(2) VSCodeのsettings.jsonに以下の証明書への絶対パスを追加。
"liveServer.settings.https": {
    "enable": true,
    "cert": "/<絶対パス>/vscode_live_server.cert.pem",
    "key": "/<絶対パス>/vscode_live_server.key.pem",
    "passphrase": ""
},
(3) VSCodeを再起動して、distフォルダを開く。
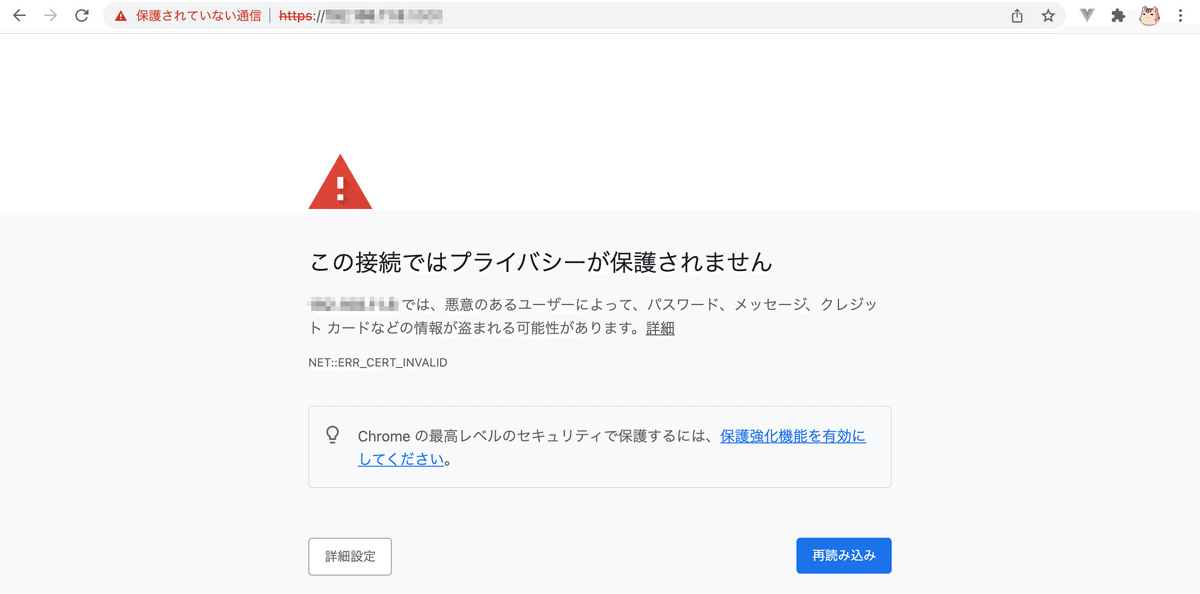
アドレスが「https」になっていたら成功です。PCのChromeでは表示できません。
5. Oculus Quest 2での実行
「Oculus Quest 2」での実行手順は、次のとおりです。
(1) PCと「Oculus Quest 2」を同じWi-Fiネットワークに接続。
(2) PCのIPを確認。
(3) 「Oculus Quest 2」のブラウザでPCの「https://<PCのIP>:5050」にアクセス。
(4) 「プライバシーが保護されません」が表示されたら、「詳細設定ボタン」を押し、再下端の「XXXXにアクセスする(安全ではありません)」
をクリック。
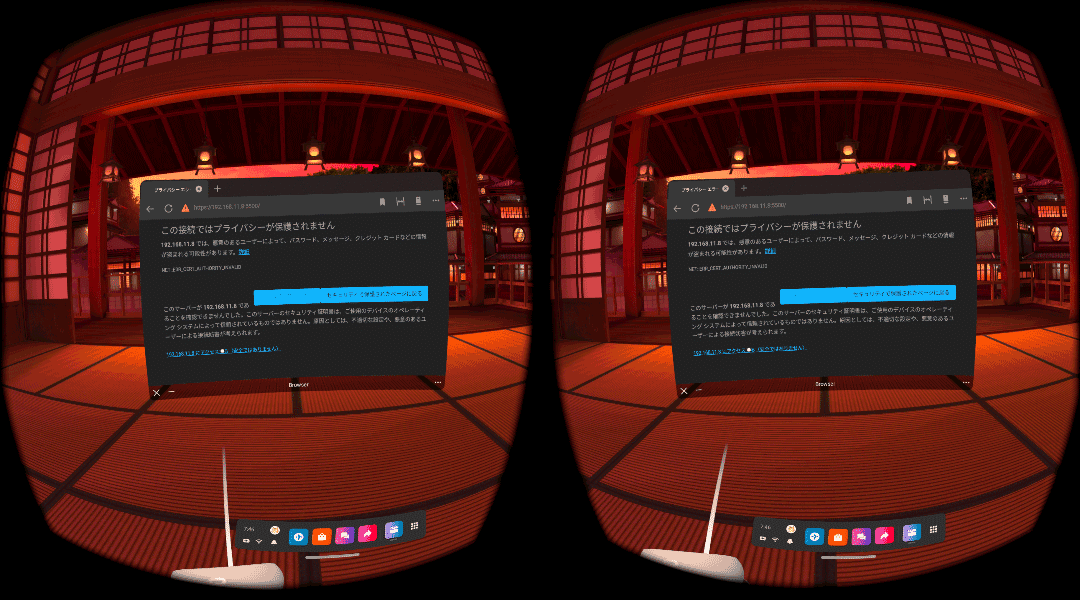
(5) VRボタンをクリック。
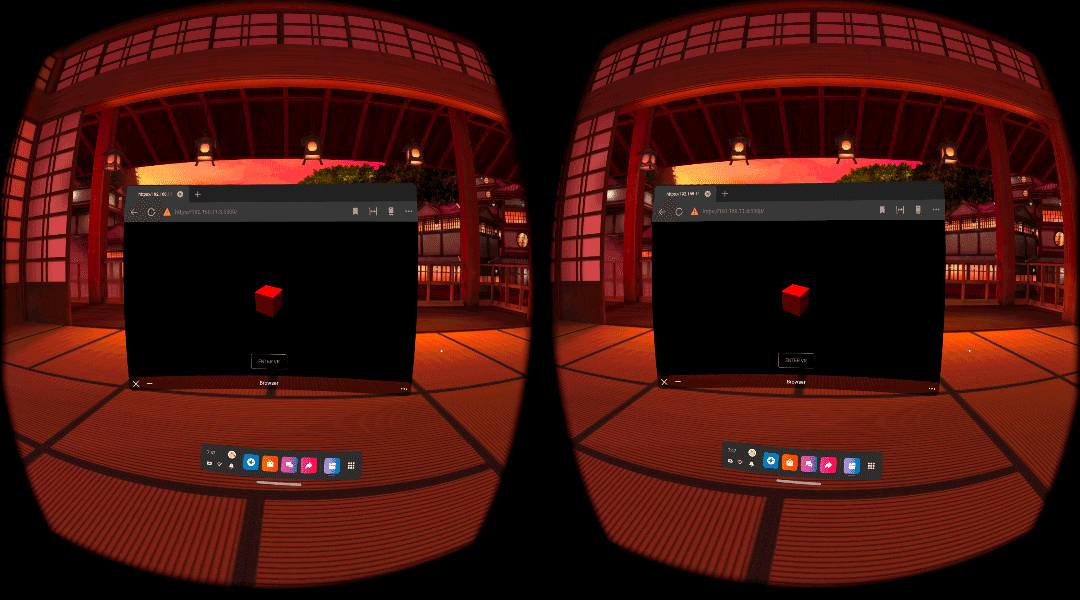
VR空間で立方体が表示されます。