Unityアプリ(WebGL)でTensorFlow.jsを使う

「Unityアプリ(WebGL)」で「TensorFlow.js」を使う方法をまとめました。
1. WebGLテンプレートの作成
WebGLテンプレートに、
・TensorFlow.js関連のコード
・画像分類を行うコード(tf_sample.js)
を追加します。
・Assets/WebGLTemplates/NewTemplate/index.html
<!DOCTYPE html>
<html lang="en-us">

 <head>
   <meta charset="utf-8">
   <meta http-equiv="Content-Type" content="text/html; charset=utf-8">
   <title>Unity WebGL Player | HelloWebGL</title>
   <script src="Build/UnityLoader.js"></script>
   <script>
   var gameInstance = UnityLoader.instantiate("gameContainer", "Build/HelloWebGL.json");
   </script>

  <!-- TensorFlow.js関連のコードの追加 -->
   <script src="https://cdnjs.cloudflare.com/ajax/libs/p5.js/0.9.0/p5.min.js"></script>
   <script src="https://cdnjs.cloudflare.com/ajax/libs/p5.js/0.9.0/addons/p5.dom.min.js"></script>
   <script src="https://unpkg.com/ml5@0.4.3/dist/ml5.min.js"></script>

   <!-- 画像分類を行うコード -->
   <script src="tf_sample.js"></script>
 </head>

 <body>
   <div id="gameContainer" style="width: 960px; height: 600px; margin: auto"></div>
 </body>

</html>
・Assets/WebGLTemplates/NewTemplate/tf_sample.js・
// Base64(画像) → 画像分類の結果
function tf_predict(base64Text) {
    base64_to_image(base64Text, function(image) {
        classifier = ml5.imageClassifier('MobileNet')
        classifier.predict(image, function(err, results) {
            gameInstance.SendMessage('Sample', 'SetText', results[0].label);
        });
    });
}

// Base64 → HTMLImageElement
function base64_to_image(base64Text, callback) {
    var image = new Image();
    image.onload = function() {
        callback(image);
    };
    image.src = base64Text;
}
画像分類を行うtf_predict()を定義し、結果はUnityのSampleオブジェクトのSetText()に渡しています。
2. JavaScriptプラグインの追加
UnityのC#とブラウザのJavaScriptの橋渡しを行う「JavaScriptプラグイン」(*.jslib)を追加します。
・Assets/Plugins/sample.jslib
mergeInto(LibraryManager.library, {
    Predict: function(base64Text) {
        base64Text = Pointer_stringify(base64Text);
        tf_predict(base64Text)
    },
});
3. UIの作成
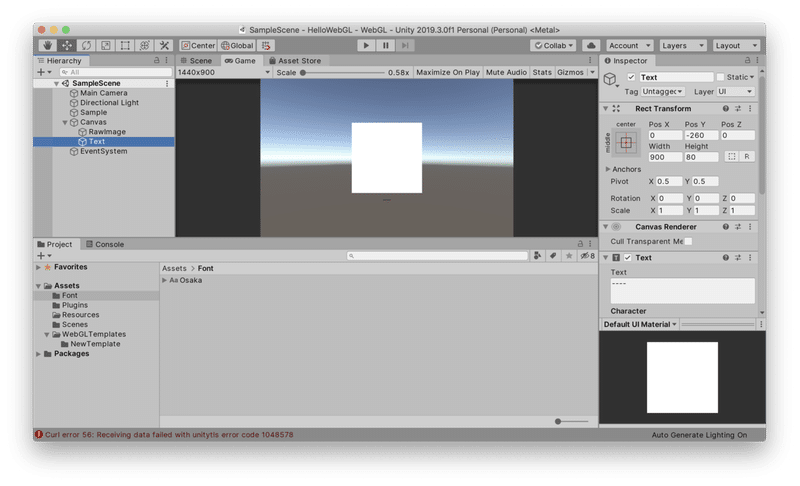
Hierarchyに「RawImage」と「Text」を追加します。「Text」のフォントは、「Assets/Font」に「Osaka.ttc」などの埋め込みフォントを配置して利用します。
4. 画像分類する画像の準備
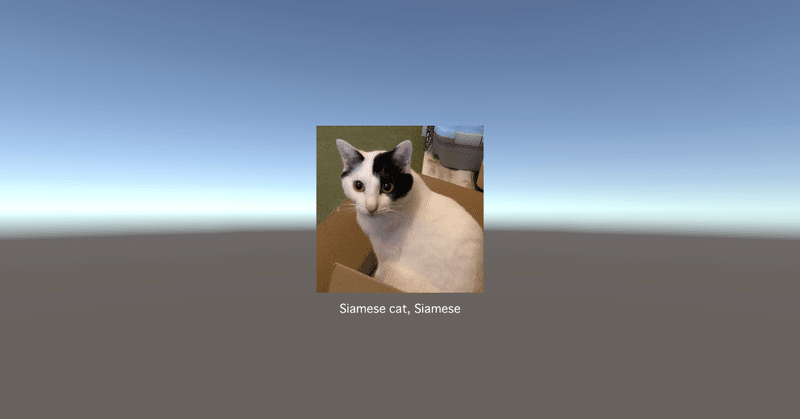
画像分類を行うJPEG画像(400x400)を「Assets/Resources/cat.bytes」に配置します。バイトデータとして読み込むので、拡張子をbytesにします。
・Assets/Resources/cat.bytes

5. JavaScriptを呼び出すC#のコードの作成
Hierarchyに空のGameObject「Sample」を作成し、新規コード「Sample.cs」をアタッチします。
・Sample.cs
using UnityEngine;
using UnityEngine.UI;
using System.Runtime.InteropServices;
using System;
using System.IO;
public class Sample : MonoBehaviour {
[DllImport("__Internal")]
private static extern void Predict(string base64Text);
// UI
public RawImage image;
public Text label;
// イメージ(Resources) → byte配列
public byte[] ImageToBytes(string name) {
TextAsset text_asset = Resources.Load<TextAsset>(name);
return text_asset.bytes;
}
// イメージ(Resources) → Base64
string ImageToBase64(string path) {
byte[] byteArray = ImageToBytes(path);
return Convert.ToBase64String (byteArray);
}
// byte配列 → イメージ(Texture)
Texture BytesToTexture(byte[] byteArray, int width, int height) {
Texture2D texture = new Texture2D(width, height);
texture.LoadImage(byteArray);
return texture;
}
// Base64 → イメージ(Texture)
Texture Base64ToImage(string base64Text, int width, int height) {
byte[] byteArray = Convert.FromBase64String(base64Text);
return BytesToTexture(byteArray, width, height);
}
// スタート時に呼ばれる
void Start() {
// イメージの表示
string base64Text = ImageToBase64("cat");
Texture texture = Base64ToImage(base64Text, 400, 400);
image.texture = texture;
// 画像分類の実行
Predict("data:image/jpeg;base64,"+base64Text);
}
//テキストの指定
public void SetText(string text) {
//テキストの指定
label.text = text;
}
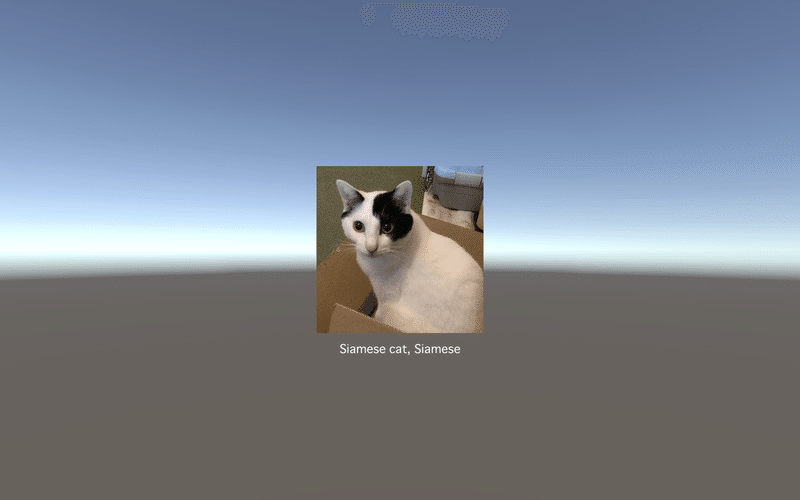
}6. 実行
実行すると、画像の推論結果として猫(Siamese cat, Siamese)と表示されます。
この記事が気に入ったらサポートをしてみませんか?