react-native-google-signin の使い方

「react-native-google-signin」の使い方をまとめました。
前回
1. react-native-google-signin
「react-native-google-signin」は、「React Native」用の Googleログインを行うためのパッケージです。
2. Firebase Authenticationの準備
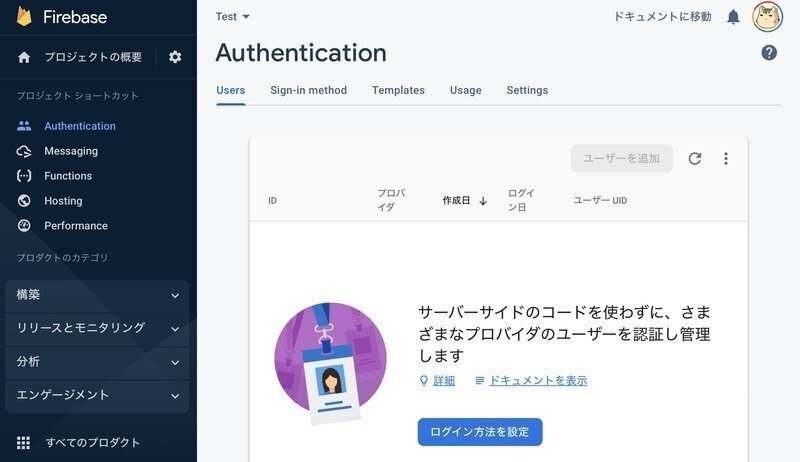
Firebaseコンソールでの「Authentication」の準備手順は、次のとおりです。
(1) 「Firebaseコンソール」で「Authentication」を選択し、「ログイン方法を設定」ボタンを押す。
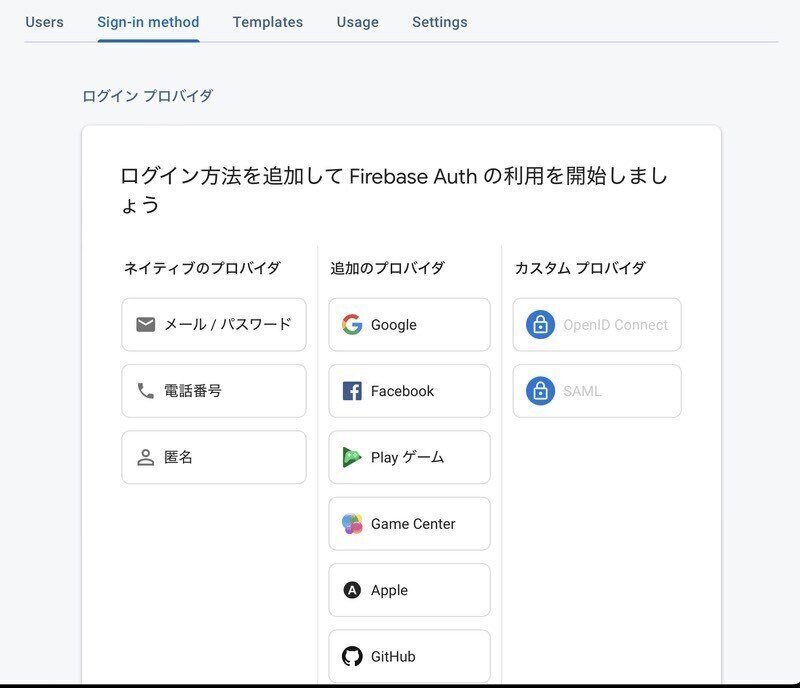
(2) 追加するログイン方法として「Google」を選択。
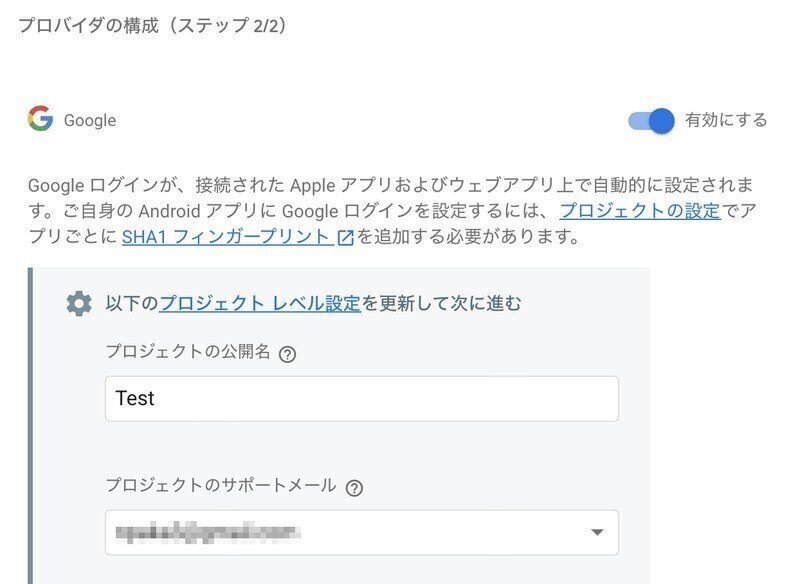
(3) 有効化し、「プロジェクト公開名」と「プロジェクトサポートメール」を入力し、保存ボタンを押す。
3. サインイン
サインインの手順は、次のとおりです。
3-1. React Nativeプロジェクトの作成
(1) React Nativeプロジェクトの作成。
npx react-native init my_app
cd my_app
(2) パッケージのインストール。
今回は、「Firebase Analytics」を使うので、analyticsもインストールします。
npm install @react-native-firebase/app
npm install @react-native-firebase/auth
npm install @react-native-google-signin/google-signin
・react-native-firebase/app : Firebaseのコアパッケージ
・react-native-firebase/auth : Firebase Authenticationのパッケージ
・react-native-google-signin/google-signin : Google SignInのパッケージ
3-2. Androidのセットアップ
(1) FirebaseコンソールのプロジェクトでAndroidアプリを追加し、「google-services.json」をダウンロードして、React Nativeプロジェクトの「android/app」に配置。
(2) React Nativeプロジェクトの「android」を「Android Studio」で開き、「android/build.gradle」と「android/app/build.gradle」を編集。
・android/build.gradleの一部
buildscript {
    ext {
            :
        googlePlayServicesAuthVersion = "20.7.0"
    }
        :
    dependencies {
        classpath 'com.google.gms:google-services:4.4.0'
            :
    }
}
・android/app/build.gradleの一部
apply plugin: 'com.google.gms.google-services'
        :
(3) debug.keystoreのSHA-1の取得。
以下のコマンドを実行し、「Task :app:signingReport」の「SHA-1」をメモします。
cd android
./gradlew signingReport
cd ..
(4) Firebaseプロジェクトの「設定→一般」の「Androidアプリ」の「SHA 証明書フィンガープリント」に先程の「SHA-1」を追加。
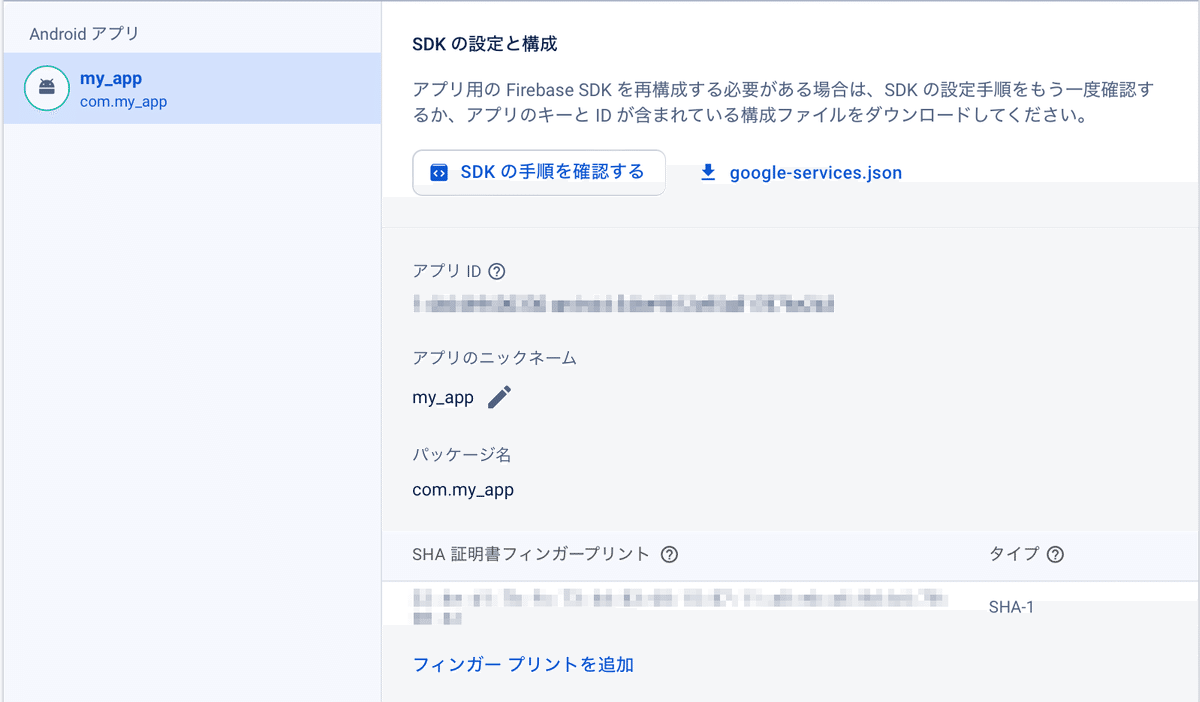
Googleサインイン時に「DEVELOPER_ERROR」がでたら、この「SHA-1」か「CLIENT_ID」(後ほど設定)が間違ってる可能性が高いです。
詳しくは以下を参照。
・DEVELOPER_ERROR or code: 10 or Developer console is not set up correctly error message
3-3. iOSのセットアップ
(1) FirebaseコンソールのプロジェクトでiOSアプリを追加し、「GoogleService-Info.plist」をダウンロード。
(2) React Nativeプロジェクトの「ios/Profile」の「target 'ターゲット名' do」の「config = use_native_modules!」の下で追加パッケージを指定。
target 'my_app' do
  config = use_native_modules!

  pod 'FirebaseCore', :modular_headers => true;
  pod 'FirebaseAuth', :modular_headers => true;
  pod 'GoogleSignIn', :modular_headers => true;
  pod 'GoogleUtilities', :modular_headers => true;
・FirebaseCore : Firebaseのコアパッケージ
・FirebaseAuth : Firebase Authenticationのパッケージ
・GoogleSignIn : Google SignInのパッケージ
・GoogleUtilities : Googleユーティリティのパッケージ
(3) podのインストール。
cd ios
pod install
cd ..
(4) Xcodeで「ios」内のworkspaceを開き、「GoogleService-Info.plist」を追加。
(5) AppDelegate.mmの編集。
・AppDelegate.mmの一部
    :
#import <Firebase.h>

@implementation AppDelegate

- (BOOL)application:(UIApplication *)application didFinishLaunchingWithOptions:(NSDictionary *)launchOptions
{
  if ([FIRApp defaultApp] == nil) {
    [FIRApp configure];
  }
    :
(6) Xcodeで署名し、iPhoneにインストールできることを確認。
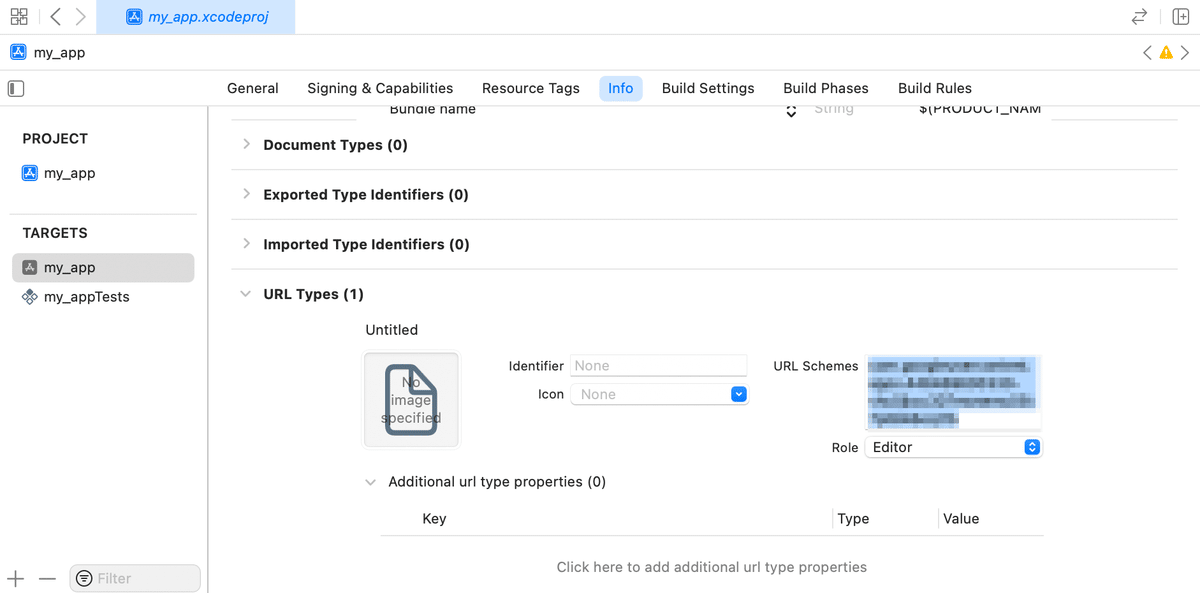
(7) 「Info→User Type」の「+」で項目を追加し、「URL Schemes」に「GoogleService-Info.plist」の「REVERSED_CLIENT_ID」を指定。
3-4. サインインの実装
(1) コードの編集。
<CLIENT_ID>は、以下のIDを指定します。AndroidはAndroid用 (client_type:1) でなく、Web用 (client_type:3) のOauth2のクライアントIDである点に注意してください。
・Android : google-services.json
・client
・oauth_client
・client_id (client_type:3の方)
・iOS : GoogleService-Info.plist
・CLIENT_ID
・App.tsx
import React, { useEffect, useState } from 'react';
import { GoogleSignin } from '@react-native-google-signin/google-signin';
import { Text, Button, SafeAreaView } from 'react-native';
import auth, { FirebaseAuthTypes }  from '@react-native-firebase/auth';

// GoogleSigninの設定
GoogleSignin.configure({
  webClientId: "<CLIENT_ID>", // 自分のクライアントIDを設定
});

const App = () => {
  const [message, setMessage] = useState('');

  // 初期化
  useEffect(() => {
    // Firebase Authリスナーをセットアップ
    const subscriber = auth().onAuthStateChanged(onAuthStateChanged);
    console.log("E>>");
    return subscriber; // アンマウント時にアンスクライブ
  }, []);

  // サインイン状態変更時に呼ばれる
  const onAuthStateChanged = (user: FirebaseAuthTypes.User | null) => {
    if (user) {
      setMessage("SignIn: " + user.displayName);
      console.log("SignIn: ", user);
    } else {
      setMessage("SignOut")
      console.log("SignOut");
    }
  };

  // Googleサインイン
  const onSignIn = async () => {
    const { idToken } = await GoogleSignin.signIn();
    const googleCredential = auth.GoogleAuthProvider.credential(idToken);
    return auth().signInWithCredential(googleCredential);
  };

  // Googleアウト
  const onSignOut = async () => {
    try {
      await GoogleSignin.revokeAccess();
      await auth().signOut();
    } catch (error) {
      console.error(error);
    }
  };

  return (
    <SafeAreaView style={{ flex: 1, justifyContent: 'center', alignItems: 'center' }}>
      <Text style={{ fontSize: 24, marginBottom: 20 }}>{message}</Text>
      <Button title="SignIn" onPress={onSignIn} />
      <Button title="SignOut" onPress={onSignOut} />
    </SafeAreaView>
  );
};

export default App;
(2) コードの実行。
npm start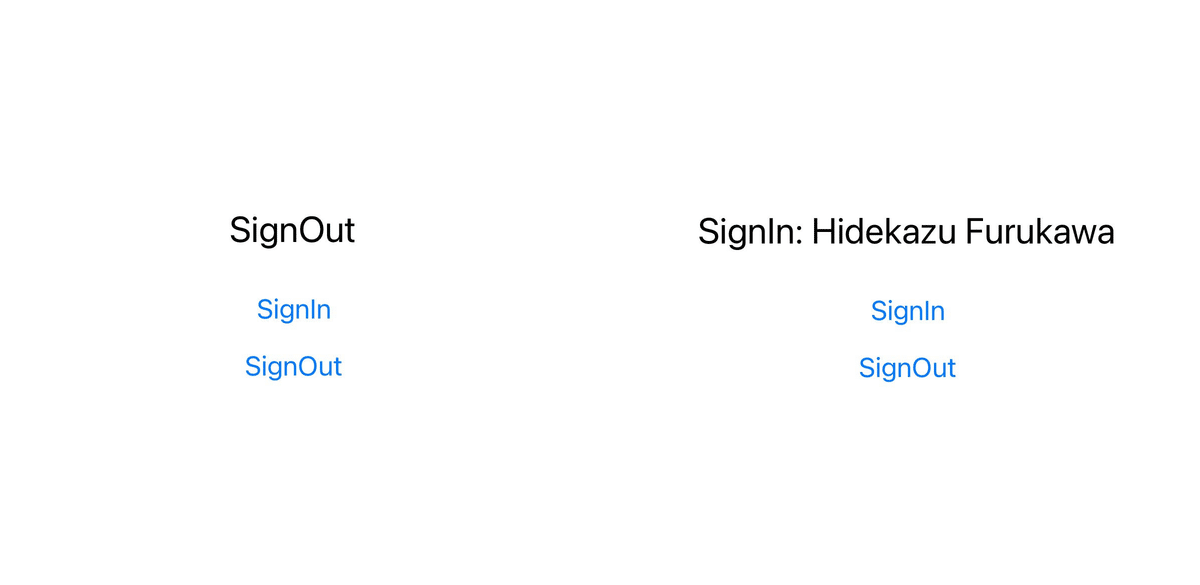
4. Googleドライブへのアクセス
Googleドライブへのアクセス手順は、次のとおりです。
4-1. Google Cloudのセットアップ
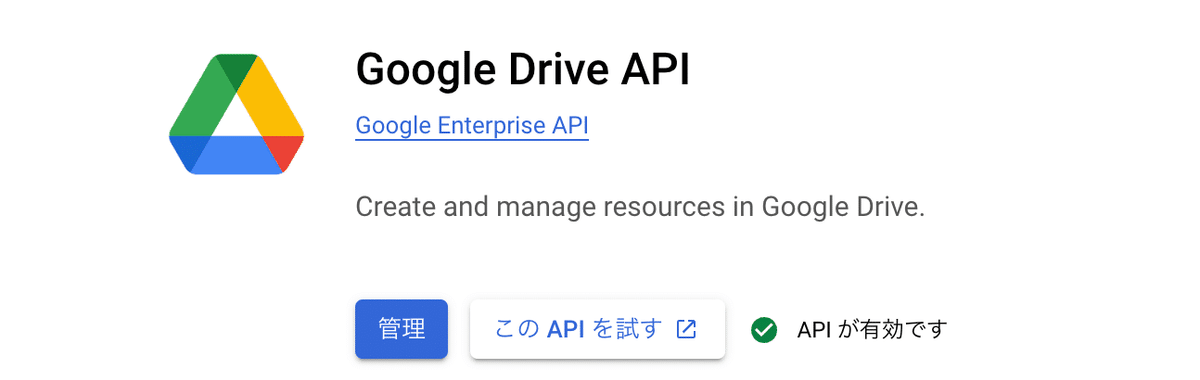
(1) 「Google Cloud」のコンソールを開く。
(2) 「Google Drive API」を検索して有効化。
4-2. Googleドライブへのアクセスの実装
(1) コードの編集。
GoogleSignin.configure()に scopes: ['https://www.googleapis.com/auth/drive.file'] を追加しています。
・App.tsx
import React, { useEffect, useState } from 'react';
import { GoogleSignin } from '@react-native-google-signin/google-signin';
import { Text, Button, SafeAreaView } from 'react-native';
import auth, { FirebaseAuthTypes }  from '@react-native-firebase/auth';
import RNFS from 'react-native-fs';

// GoogleSigninの設定
GoogleSignin.configure({
  webClientId: "<CLIENT_ID>", // 自分のクライアントIDを設定
  scopes: ['https://www.googleapis.com/auth/drive.file'] // 追加
});

const App = () => {
  const [message, setMessage] = useState('');

  // 初期化
  useEffect(() => {
    // Firebase Authリスナーをセットアップ
    const subscriber = auth().onAuthStateChanged(onAuthStateChanged);
    return subscriber; // アンマウント時にアンスクライブ
  }, []);

  // サインイン状態変更時に呼ばれる
  const onAuthStateChanged = (user: FirebaseAuthTypes.User | null) => {
    if (user) {
      setMessage("SignIn: " + user.displayName);
      console.log("SignIn: ", user);
    } else {
      setMessage("SignOut")
      console.log("SignOut");
    }
  };

  // Googleサインイン
  const onSignIn = async () => {
    const { idToken } = await GoogleSignin.signIn();
    const googleCredential = auth.GoogleAuthProvider.credential(idToken);
    return auth().signInWithCredential(googleCredential);
  };

  // Googleアウト
  const onSignOut = async () => {
    try {
      await GoogleSignin.revokeAccess();
      await auth().signOut();
    } catch (error) {
      console.error(error);
    }
  };

  // ドライブへのファイルのアップロード
  const uploadToDrive = async () => {
    try {
      // ファイルの生成
      const fileName = "test.txt";
      await RNFS.writeFile(`${RNFS.DocumentDirectoryPath}/${fileName}`, 'これはテストファイルです', 'utf8');

      // ファイルの読み込み
      const fileContent = await RNFS.readFile(`${RNFS.DocumentDirectoryPath}/${fileName}`, 'utf8');

      // トークンの取得
      const token = (await GoogleSignin.getTokens()).accessToken;

      // ドライブへのファイルのアップロード
      const response = await fetch('https://www.googleapis.com/upload/drive/v3/files?uploadType=multipart', {
        method: 'POST',
        headers: {
          Authorization: `Bearer ${token}`,
          'Content-Type': 'multipart/related; boundary=foo_bar_baz'
        },
        body: [
          '--foo_bar_baz',
          'Content-Type: application/json; charset=UTF-8',
          '',
          JSON.stringify({ name: fileName }),
          '',
          '--foo_bar_baz',
          'Content-Type: text/plain',
          '',
          fileContent,
          '',
          '--foo_bar_baz--'
        ].join('\r\n')
      });

      if (response.ok) {
        console.log('Upload successful');
      } else {
        console.log('Upload failed', response);
      }
    } catch (error) {
      console.log('error:', error);
    }
  };

  // ドライブからファイルをダウンロード
  const downloadFromDrive = async () => {
    try {
      // ファイルIDの取得
      const fileId = await searchFile("test.txt");
      if (fileId == null) return;

      // トークンの取得
      const token = (await GoogleSignin.getTokens()).accessToken;

      // ドライブからのファイルのダウンロード
      const response = await fetch(`https://www.googleapis.com/drive/v3/files/${fileId}?alt=media`, {
        method: 'GET',
        headers: {
          Authorization: `Bearer ${token}`
        }
      });

      if (response.ok) {
        // ファイルの保存
        const fileContent = await response.text();
        const filePath = `${RNFS.DocumentDirectoryPath}/downloaded_file.txt`;
        await RNFS.writeFile(filePath, fileContent, 'utf8');
        console.log('Download successful, saved to:', filePath, fileContent);
      } else {
        console.log('Download failed', response);
      }
    } catch (error) {
      console.log('error:', error);
    }
  };

  // ドライブのファイルを検索
  const searchFile = async (fileName: string) => {
    try {
      // トークンの取得
      const token = (await GoogleSignin.getTokens()).accessToken;

      // ドライブのファイルを検索
      const query = encodeURIComponent(`name = '${fileName}'`);
      const response = await fetch(`https://www.googleapis.com/drive/v3/files?q=${query}`, {
        headers: { Authorization: `Bearer ${token}` }
      });
      const result = await response.json();
      return result.files && result.files.length > 0 ? result.files[0].id : null;
    } catch (error) {
      console.log('error:', error);
      return null;
    }
  };

  return (
    <SafeAreaView style={{ flex: 1, justifyContent: 'center', alignItems: 'center' }}>
      <Text style={{ fontSize: 24, marginBottom: 20 }}>{message}</Text>
      <Button title="SignIn" onPress={onSignIn} />
      <Button title="SignOut" onPress={onSignOut} />
      <Button title="Upload to Drive" onPress={uploadToDrive} />
      <Button title="Download from Drive" onPress={() => downloadFromDrive()} />
    </SafeAreaView>
  );
};

export default App;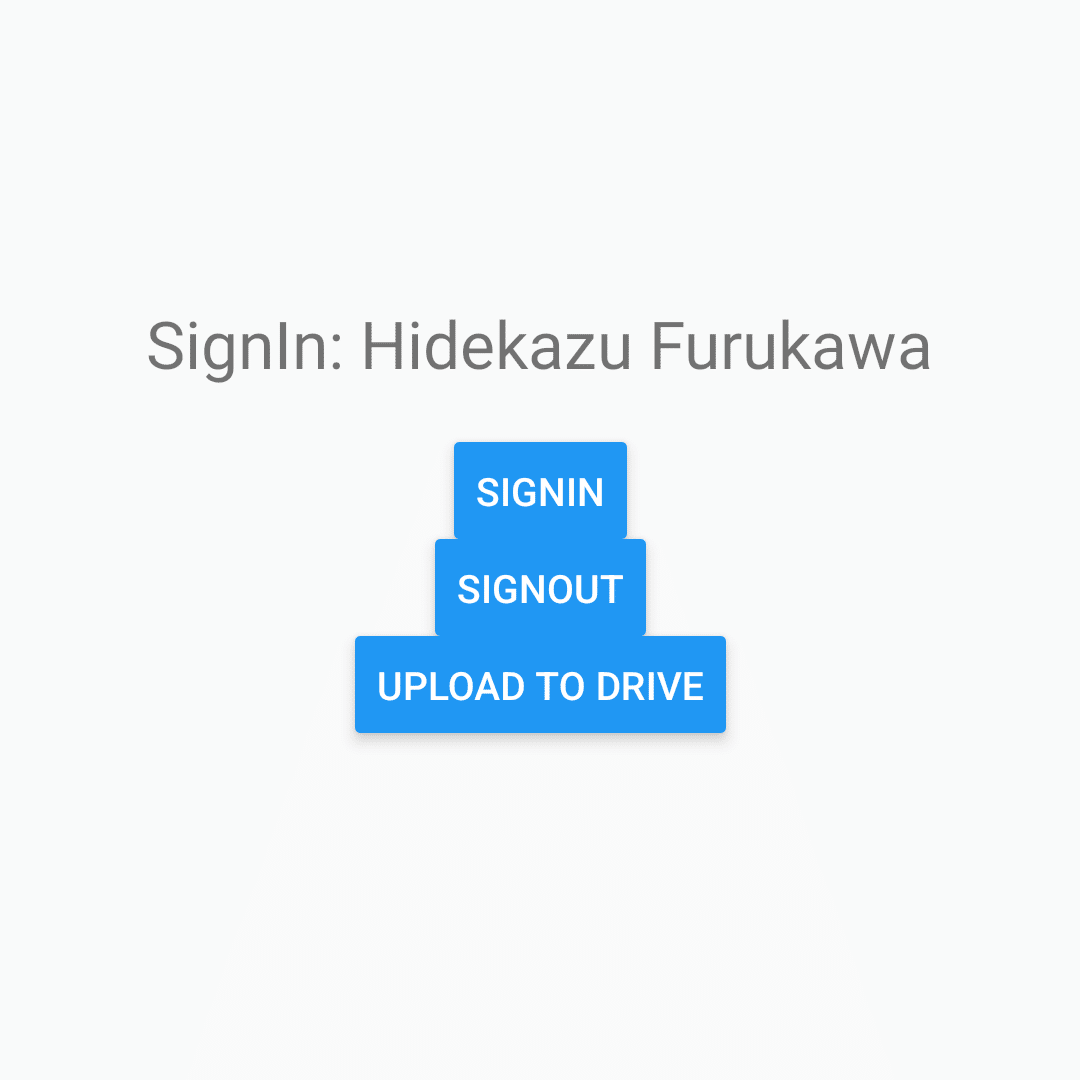
関連
次回
この記事が気に入ったらサポートをしてみませんか?