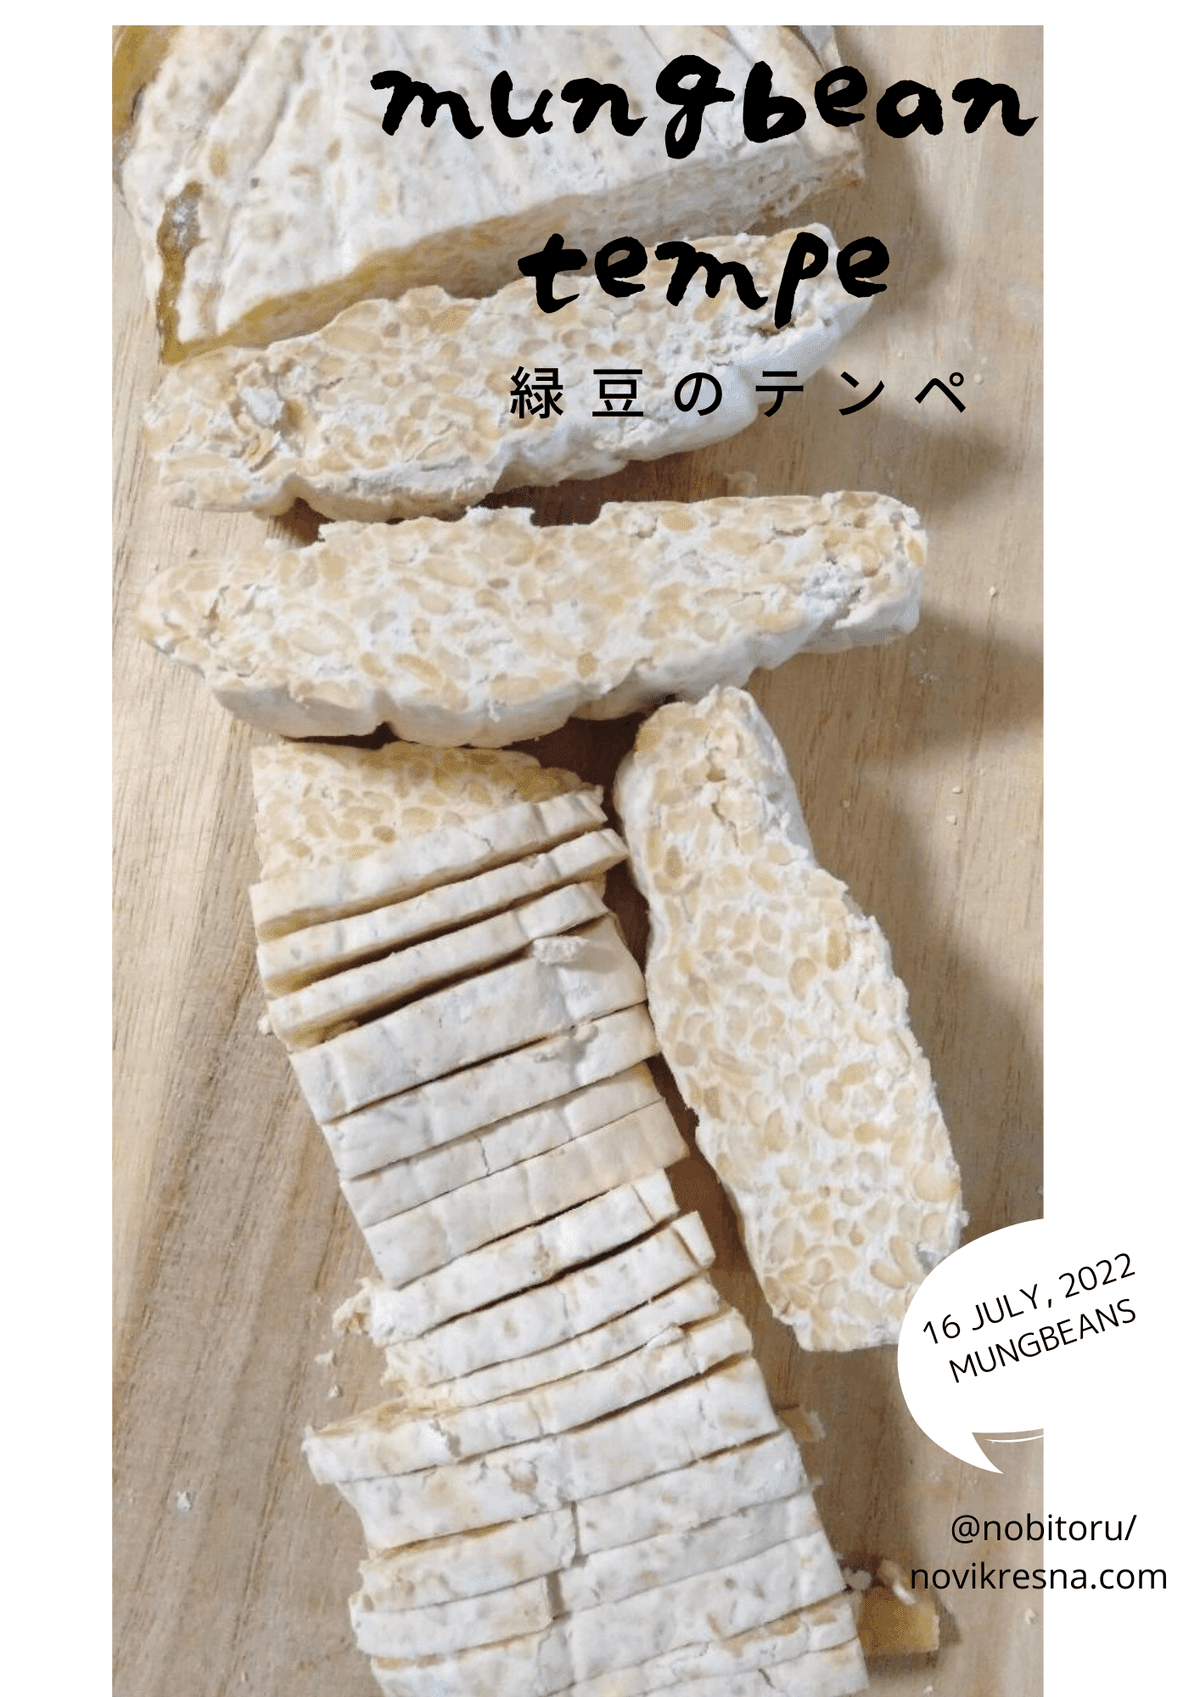
When Yurinoki Leaves Fell, a Successful Tempe Was Born

2022 has been an interesting year. I've been learning to grow our organic veggies through polyculture and also to make my own tempe. These learning processes bring me much more appreciation to people who make a great effort of bringing food to our table than I had ever imagined.
Growing up in Indonesia with daily fresh tempe on the table every morning, I almost took this nutritious food for granted. I've realized that getting fresh tempe is not so easy here in Japan. So, these days I’ve been learning to make my own and it’s so beautiful how life teaches me to appreciate every single process and moment, gracefully.
I celebrate every failure and success.
I celebrate every bite I take more than ever.
But the most important thing, learning is fun!
After some unsuccessful attempts at making a delicious tempe like I used to have in Java, Indonesia (Especially Tempe from East Java - referring to my tongue palate), on one stormy Friday afternoon, I saw some yurinoki (Tulip Tree) leaves falling and I had a glimpse of thought.. These leaves could help me make a delicious tempe! This moment maybe reminds you of Isaac Newton and an apple tree.
That stormy afternoon brought a miracle in my tempe experiment and it was successful!

…. and after 3 months of making tempe once every 2-3 days, here finally I can to sum up the key element of making a successful and delicious tempe :
1. Method: to follow each required step for making tempe faithfully.
I followed The Centenarian Chef Grandma Chan's method these days, but if you don't have much time, this video from the Indonesian Tempe Movement is also very helpful to give you a general idea of how to make a tempe. Meanwhile, here are also some important notes in terms of the bean preparation phase based on my experience :
On splitting the beans: When making the soybean tempe, I'm a follower of the splitting the beans technique while dehulling the soybean to make it fermented easier. Recently, the tempe I made was fully fermented within 24 hours and I observed splitting the bean is one of the keys to make our tempe get fermented faster.
Then we need to make sure the beans are dry properly before adding the tempe culture. To make the beans dry faster, I roast them on a frying pan with slow fire around 5 - 10 minutes or put them in a microwave oven with “toast mode'' for around 10 minutes (around 120 ℃) instead of pat drying them with a towel.
Also please make sure the right composition of tempe starter & vinegar.
One example of using soybeans to make tempe:
*For every 100 grams of soybeans, based on my experience need 1 teaspoon of tempe starter + 1 tablespoon of vinegar. As a beginner, I mixed the tempe starters with some starch to spread the tempe starters more evenly ( Using a 1 : 10 ratio, 10 grams of starch for every 1 gram of tempe starters).
Some references said adding vinegar is also important to prevent unwanted bacteria during the fermentation process :
Recently, I also mixed my tempe starters with “Katakuriko flour (Similar to tapioca flour) and it works best! :)
2. Temperature - It’s best at 31 ℃ in the first 12 hours
I started making tempe in the late spring when our daily temperature was still between 15 - 22 ℃. I don’t use any incubator at home, so I covered my tempe with an electric blanket and dark cloth, then made sure it was warm enough for the tempe mold to grow- just like average daytime temperature in Indonesia (31 ℃).
As I learned that the fermentation process gets faster in the dark medium when I made Kimchi, I applied the same method to making tempe and covered tempe with a dark cloth.
3. Timing - pay attention to the first 12 hours
I’ve learned that the first 12 hours are critical timing when we need to pay extra attention to our tempe process. We need to make sure the tempe surrounding stays warm within these 12 hours - not too hot or too cold for the white molds to grow.
Then after 12 hours, we can touch and feel the tempe’s temperature with our hands. If it’s warm, then it’s a good sign - it means the fermentation is in good progress. I found it’s also important to take our tempe out of the heat after 12 hours, especially when we feel that tempe is warmer than our hands.
4. Hygiene - Hygiene is the key.
We need to clean our hands properly whenever we touch the beans. If possible, please avoid touching the beans with your hands after adding vinegar & tempe starter, by using a spoon.
5. Humidity
I’ve heard some people say that tempe’s mold needs 100 % humidity to grow and I observed that wrapping tempe with leaves during the fermentation process (such as banana leaves/teak leaves) gives them 100% more natural humidity than wrapping them with ziplock plastic bags.
This is how I think how “Yurinoki Leaves” works well to make a successful tempe.
6. The last key element: Quality of tempeh starter
It’s recommended to use the new tempe starter (within 6 months old if buying tempe a starter from the shop).

My last note, if you haven't tried to make any tempe yet but are interested in fermented foods, I think you should try to make it, at least once in a lifetime :) I hope my experience and notes will help you make a successful tempe.


この記事が気に入ったらサポートをしてみませんか?
