IT未経験者が犬種識別アプリを作ってみた

はじめに(Aidemyさんでの学習記録)
IT未経験者の私が犬種識別アプリを作ってみました。もともとITに興味があったのと、何かスキルを身につけたいと思い、この度AidemyさんのAIアプリ開発講座(3ヶ月)を受講しました:)
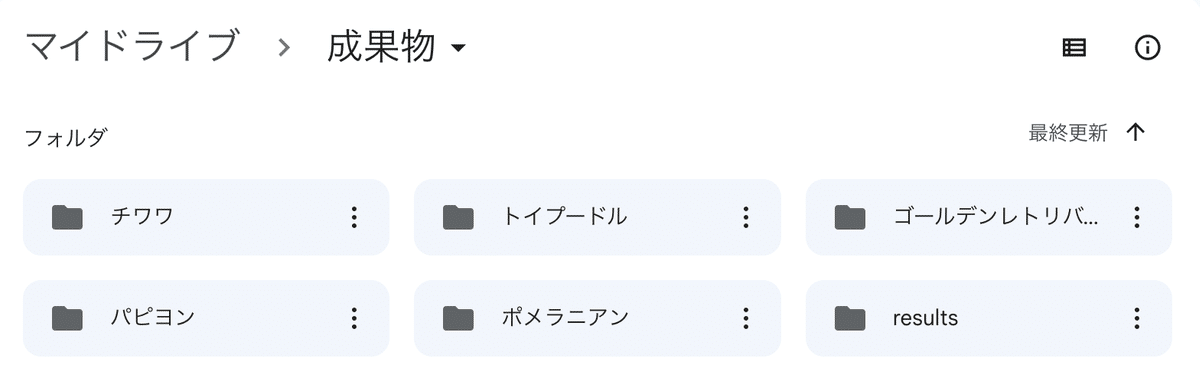
成果物として、5種類の犬種を識別するアプリを作ってみました。 犬種はチワワ、トリプードル、ゴールデンレトリバー、パピヨン、ポメラニアンです。
Aidemyさんで学習した内容
下記が主な学習内容となります。分からないところがあればカウンセリングやSlack等を利用して質問できるのですぐ解決できます!
・環境構築
・Python基礎・入門
・Numpy基礎
・Pandas基礎
・Matplotlib基礎
・機械学習概論
・教師あり学習(分類)
・データクレンジング
・スクレイピング入門
・ディープラーニング基礎
・CNNを用いた画像認識
・男女認識別
・Git入門
・Flask入門ためのHTML/CSS
・Flask入門
・MNISTを用いた手書き文字認識アプリ作成
・アプリ制作
・Renderへのディプロイ方法
・学習成果の実践
犬種識別アプリの制作
※ここではGoogle Colab(GPU)を利用します。データ収集のプログラムを実行する前に、必ずGPUに設定することをおすすめします。GPUに設定せず、CPUの状態で学習させてしまうと多くの時間を費やしてしまうので、注意が必要です。Google Colabによる環境構築の準備を前段階でお願い致します。
1. Pythonライブラリーのicrawlerを使って画像取得
icrawlerから各犬種の画像を収集します。画像をネットから集めるプログラムをインストールするために、Pythonの画像収集ライブラリをGoogle Colabにインストールします。
Google Colabのセルで下記コマンドを入力&実行すると、インストールが開始されます。
!pip install icrawler次に画像収集を行うプログラムを記述します。下記を実行することによりチワワのフォルダが作成され100枚の画像を収集できます。
from icrawler.builtin import BingImageCrawler

# Bing用クローラーの生成
bing_crawler = BingImageCrawler(
    downloader_threads=4,           # ダウンローダーのスレッド数
    storage={'root_dir': '/content/drive/MyDrive/成果物/チワワ'}) # ダウンロード先のディレクトリ名

# クロール(キーワード検索による画像収集)の実行
bing_crawler.crawl(
    keyword="チワワ ",   # 検索キーワード(日本語もOK)
    max_num=100)                    # ダウンロードする画像の最大枚数
上記と同じように他の犬種も100枚ずつ画像を収集していきます。
ちなみにチワワのファイルをみてみると、
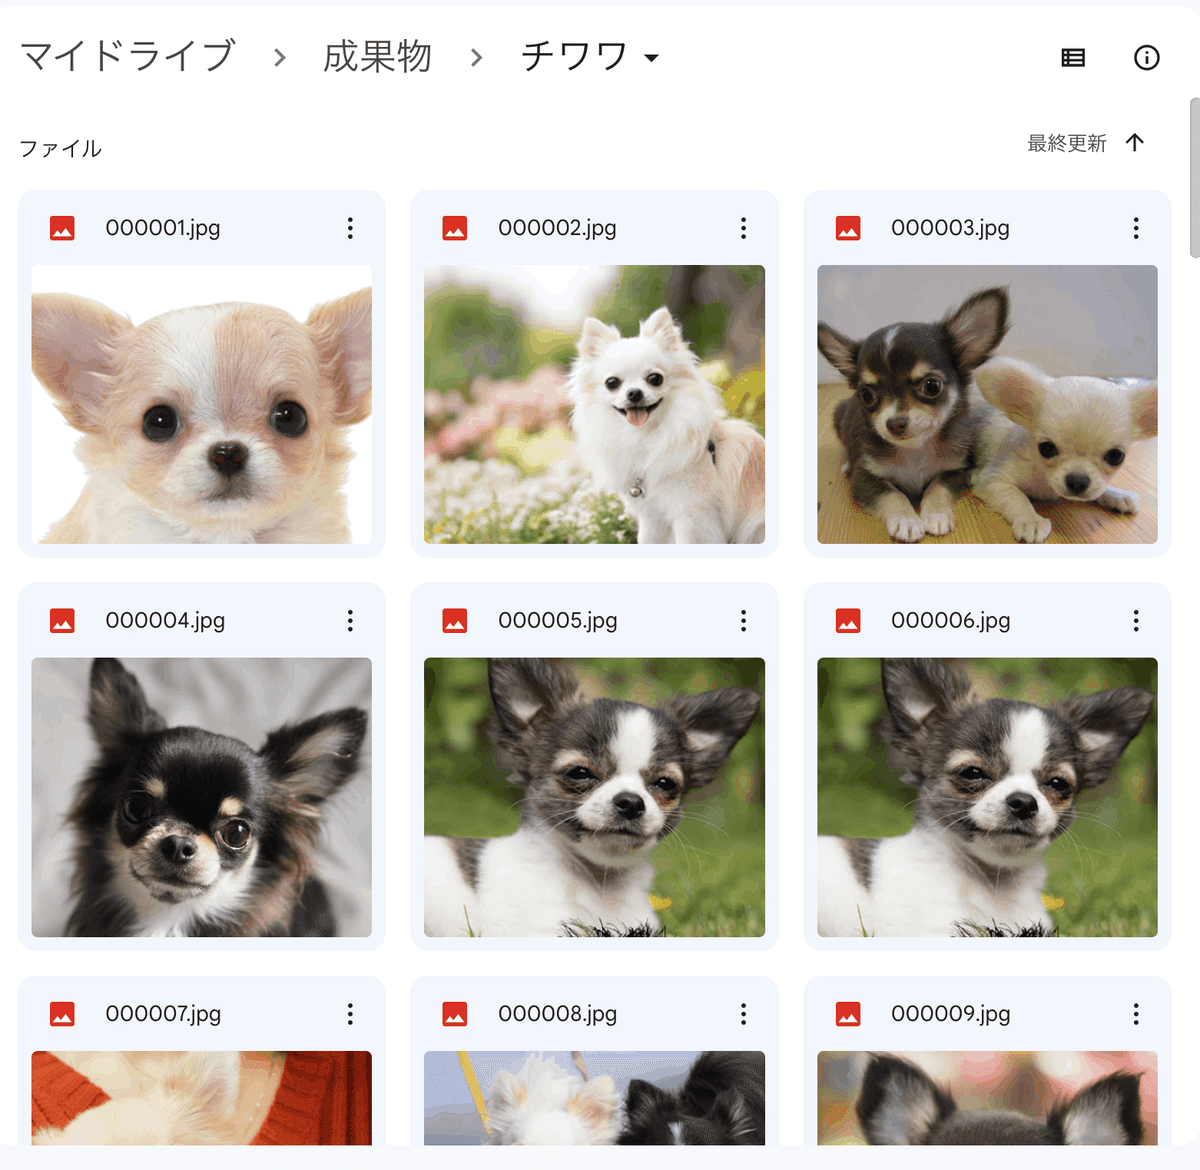
チワワの写真がずらり!ちゃんと100枚ファイルに入ってました:)
2. 画像の読み込みとデータの分割
まずはインポートし、画像の読み込みとデータ分割をしていきます。
import os
import cv2
import numpy as np
import matplotlib.pyplot as plt
from tensorflow.keras.utils import to_categorical
from tensorflow.keras.layers import Dense, Dropout, Flatten, Input
from tensorflow.keras.applications.vgg16 import VGG16
from tensorflow.keras.models import Model, Sequential
from tensorflow.keras import optimizers
from google.colab import files

# お使いの仮想環境のディレクトリ構造等によってファイルパスは異なります。
path_chihuahua = os.listdir('/content/drive/MyDrive/成果物/チワワ/')
path_toypoodle= os.listdir('/content/drive/MyDrive/成果物/トイプードル/')
path_goldenretriever= os.listdir('/content/drive/MyDrive/成果物/ゴールデンレトリバー/')
path_papillon= os.listdir('/content/drive/MyDrive/成果物/パピヨン/')
path_pomeranian= os.listdir('/content/drive/MyDrive/成果物/ポメラニアン/')

pic = 100

img_chihuahua = []
img_toypoodle = []
img_goldenretriever = []
img_papillon = []
img_pomeranian = []

for i in range(len(path_chihuahua)):
    img = cv2.imread('/content/drive/MyDrive/成果物/チワワ/' + path_chihuahua[i])
    img = cv2.resize(img, (pic, pic))
    img_chihuahua.append(img)

for i in range(len(path_toypoodle)):
    img = cv2.imread('/content/drive/MyDrive/成果物/トイプードル/' + path_toypoodle[i])
    img = cv2.resize(img, (pic, pic))
    img_toypoodle.append(img)

for i in range(len(path_goldenretriever)):
    img = cv2.imread('/content/drive/MyDrive/成果物/ゴールデンレトリバー/' + path_goldenretriever[i])
    img = cv2.resize(img, (pic, pic))
    img_goldenretriever.append(img)

for i in range(len(path_papillon)):
    img = cv2.imread('/content/drive/MyDrive/成果物/パピヨン/' + path_papillon[i])
    img = cv2.resize(img, (pic, pic))
    img_papillon.append(img)

for i in range(len(path_pomeranian)):
    img = cv2.imread('/content/drive/MyDrive/成果物/ポメラニアン/' + path_pomeranian[i])
    img = cv2.resize(img, (pic, pic))
    img_pomeranian.append(img)

X = np.array(img_chihuahua + img_toypoodle  + img_goldenretriever + img_papillon+ img_pomeranian)
y = np.array([0]*len(img_chihuahua) + [1]*len(img_toypoodle) + [2]*len(img_goldenretriever) + [3]*len(img_papillon)+ [4]*len(img_pomeranian))

rand_index = np.random.permutation(np.arange(len(X)))
X = X[rand_index]
y = y[rand_index]

X_train = X[:int(len(X)*0.8)]
y_train = y[:int(len(y)*0.8)]
X_test = X[int(len(X)*0.8):]
y_test = y[int(len(y)*0.8):]

y_train = to_categorical(y_train)
y_test = to_categorical(y_test)
3.転送学習(vgg16)
今回は転送学習をおこないました🙆 転移学習(Transfer Learning)とは、ある領域で学習したこと(学習済みモデル)を別の領域に役立たせ、効率的に学習させる方法です。
input_tensor = Input(shape=(pic, pic, 3))

vgg16 = VGG16(include_top=False, weights='imagenet', input_tensor=input_tensor)

top_model = Sequential()
top_model.add(Flatten(input_shape=vgg16.output_shape[1:]))
top_model.add(Dense(256, activation='relu'))
#top_model.add(Dropout(rate=0.5))
top_model.add(Dense(5, activation='softmax'))

model = Model(inputs=vgg16.input, outputs=top_model(vgg16.output))

for layer in model.layers[:19]:
  layer.trainable = False

model.compile(loss='categorical_crossentropy',
              optimizer=optimizers.Adam(),
              metrics=['accuracy'])

model.summary()

history = model.fit(X_train, y_train, batch_size=16, epochs=50, validation_data=(X_test, y_test))

plt.plot(history.history['accuracy'], label='acc', ls='-')
plt.plot(history.history['val_accuracy'], label='val_acc', ls='-')
plt.ylabel('accuracy')
plt.xlabel('epoch')
plt.legend(loc='best')
plt.show()

scores = model.evaluate(X_test, y_test, verbose=1)
print('Test loss:', scores[0])
print('Test accuracy:', scores[1])

for i in range(10):
    x = X_test[i]
    plt.subplot(2, 5, i+1)
    b,g,r = cv2.split(x)
    x = cv2.merge([r,g,b])
    plt.imshow(x)
plt.suptitle("10 images of test data",fontsize=20)
plt.show()


pred = np.argmax(model.predict(X_test[0:10]), axis=1)
print(pred)
データを'/content/drive/MyDrive/成果物/resultsに保存します。。。
result_dir = '/content/drive/MyDrive/成果物/results'

model.save(os.path.join(result_dir, 'model.h5'))
files.download( '/content/drive/MyDrive/成果物/results/model.h5' ) ※学習済みモデルmodel.h5はGoogle Colaboratory上で実行して作成できます。プログラムを実行するとmodel.h5というファイルが手元に保存されます。
4.WEBアプリケーションの作成
サーバーサイド側はFlaskを利用して実装しました。
import os
from flask import Flask, request, redirect, render_template, flash
from werkzeug.utils import secure_filename
from tensorflow.keras.models import Sequential, load_model
from tensorflow.keras.preprocessing import image

import numpy as np


classes = ["チワワ","トイプードル","ゴールデンレトリバー","パピヨン","ポメラニアン"]
image_size = 100

UPLOAD_FOLDER = "uploads"
ALLOWED_EXTENSIONS = set(['png', 'jpg', 'jpeg', 'gif'])

app = Flask(__name__)

def allowed_file(filename):
    return '.' in filename and filename.rsplit('.', 1)[1].lower() in ALLOWED_EXTENSIONS

model = load_model('./dog_model.h5',compile=False)#学習済みモデルをロード


@app.route('/', methods=['GET', 'POST'])
def upload_file():
    if request.method == 'POST':
        if 'file' not in request.files:
            flash('ファイルがありません')
            return redirect(request.url)
        file = request.files['file']
        if file.filename == '':
            flash('ファイルがありません')
            return redirect(request.url)
        if file and allowed_file(file.filename):
            filename = secure_filename(file.filename)
            file.save(os.path.join(UPLOAD_FOLDER, filename))
            filepath = os.path.join(UPLOAD_FOLDER, filename)

            #受け取った画像を読み込み 、np形式に変換
            img = image.load_img(filepath, grayscale=False, target_size=(image_size,image_size))
            img = image.img_to_array(img)
            data = np.array([img])
            #変換したデータをモデルに渡して予測する
            result = model.predict(data)[0]
            predicted = result.argmax()
            pred_answer = "これは " + classes[predicted] + " です"

            return render_template("index.html",answer=pred_answer)

    return render_template("index.html",answer="")


if __name__ == "__main__":
    port = int(os.environ.get('PORT', 8080))
    app.run(host ='0.0.0.0',port = port)
フロントエンド側のコード(HTML/CSS)は以下の通りです。
HTMLはこちら⏬
<!DOCTYPE html>
<html lang="ja">
<head>
<meta charset="UTF-8">
<meta name="viewport" content="width=device-width, initial-scale=1.0">
<meta http-equiv="X-UA-Compatible" content="ie=edge">
<title>5犬種識別アプリ</title>
<link rel="stylesheet" href="./static/stylesheet.css">
</head>
<body>
<header>
<img class="header_img" src="https://aidemyexstorage.blob.core.windows.net/aidemycontents/1621500180546399.png" alt="Aidemy">
<a class="header-logo" href="#">5犬種識別アプリ</a>
</header>
<div class="main">
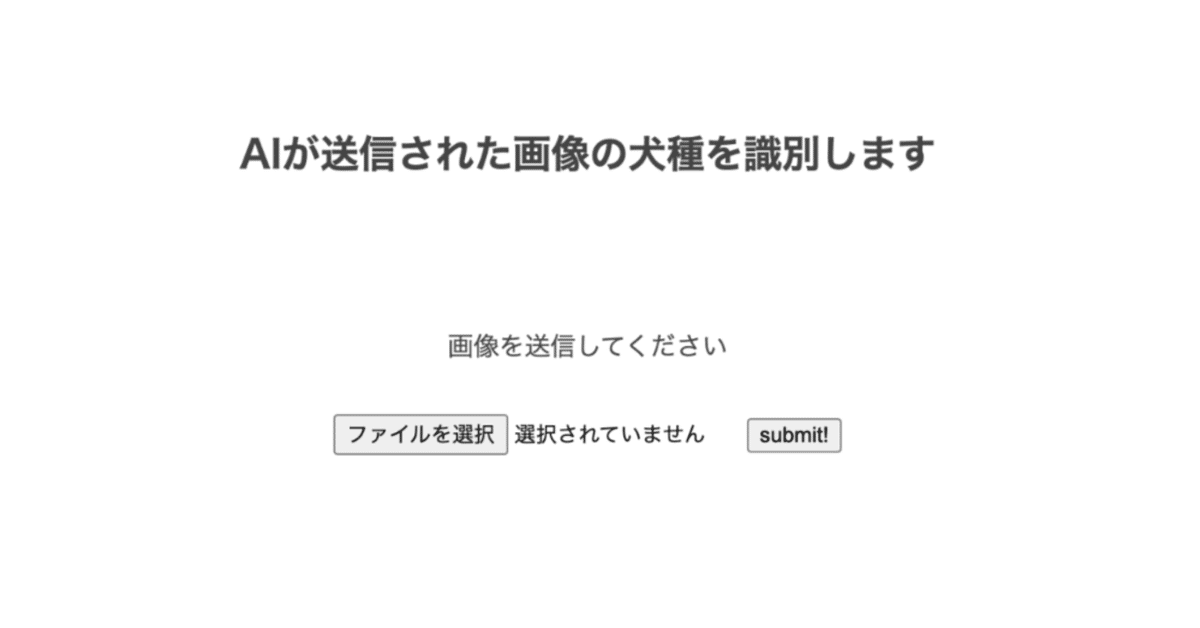
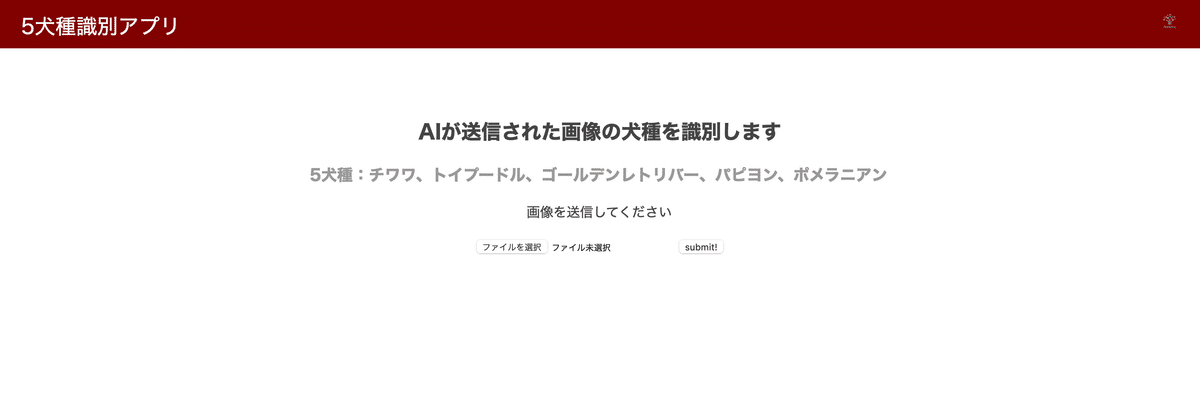
<h2> AIが送信された画像の犬種を識別します</h2>
<h3>5犬種:チワワ、トイプードル、ゴールデンレトリバー、パピヨン、ポメラニアン</h3>
<p>画像を送信してください</p>
<form method="POST" enctype="multipart/form-data">
<input class="file_choose" type="file" name="file">
<input class="btn" value="submit!" type="submit">
</form>
<div class="answer">{{answer}}</div>
</div>
<footer>
<img class="footer_img" src="https://aidemyexstorage.blob.core.windows.net/aidemycontents/1621500180546399.png" alt="Aidemy">
<small>© 2019 Aidemy, inc.</small>
</footer>
</body>CSSはこちら⏬
body {
    font-family:"MS Pゴシック",sans-serif;
    }

header {
    background-color: #800000;
    height: 60px;
    margin: -8px;
    display: flex;
    flex-direction: row-reverse;
    justify-content: space-between;
}

.header-logo {
    color: #fff;
    font-size: 25px;
    margin: 15px 25px;
    text-decoration: none;
}

.header_img {
    height: 25px;
    margin: 15px 25px;
}

.main {
    height: 370px;
}

h2 {
    color: #444444;
    text-align: center;
    margin-top: 90px;
}

h3{
    color: #999999;
    text-align:center;
}

p {
    color: #444444;
    margin: 30px 0px 30px 0px;
    text-align: center;
}

.answer {
    color: #444444;
    margin: 70px 0px 30px 0px;
    text-align: center;
}

form {
    text-align: center;
}

footer {
    background-color: #F7F7F7;
    height: 110px;
    margin: -8px;
    position: relative;
}

.footer_img {
    height: 25px;
    margin: 15px 25px;
}

small {
    margin: 15px 25px;
    position: absolute;
    left: 0;
    bottom: 0;
}
各種コード、設定ファイルとモデルを併せて、デプロイしました。
以下が実際に製作したWEBアプリケーションです。
⭐️5犬種識別アプリはこちら
実際に動作できるのか試してみました🌸
まずはファイルを選択してダウンロードした犬の画像をアップロード用に選択します。。
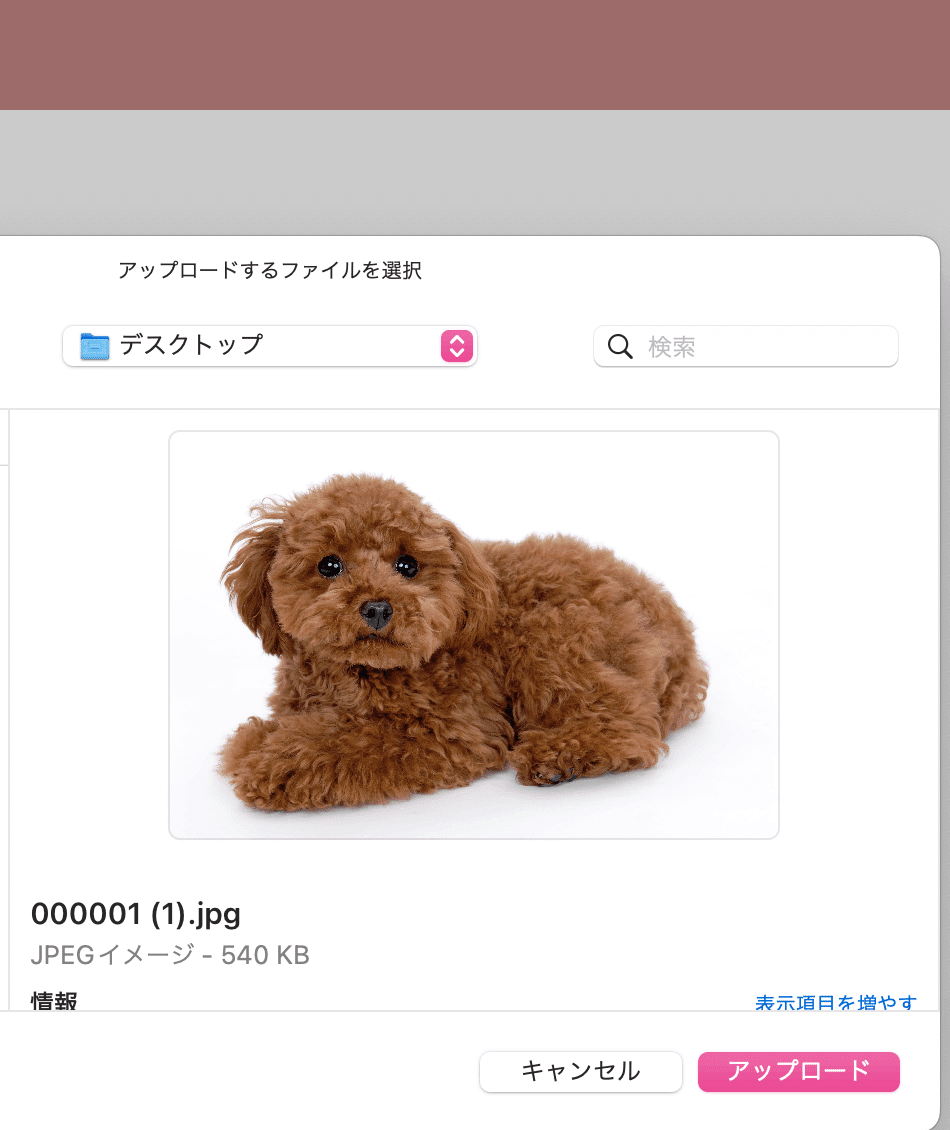
トイプードルを選んで、アップロードをクリック。。
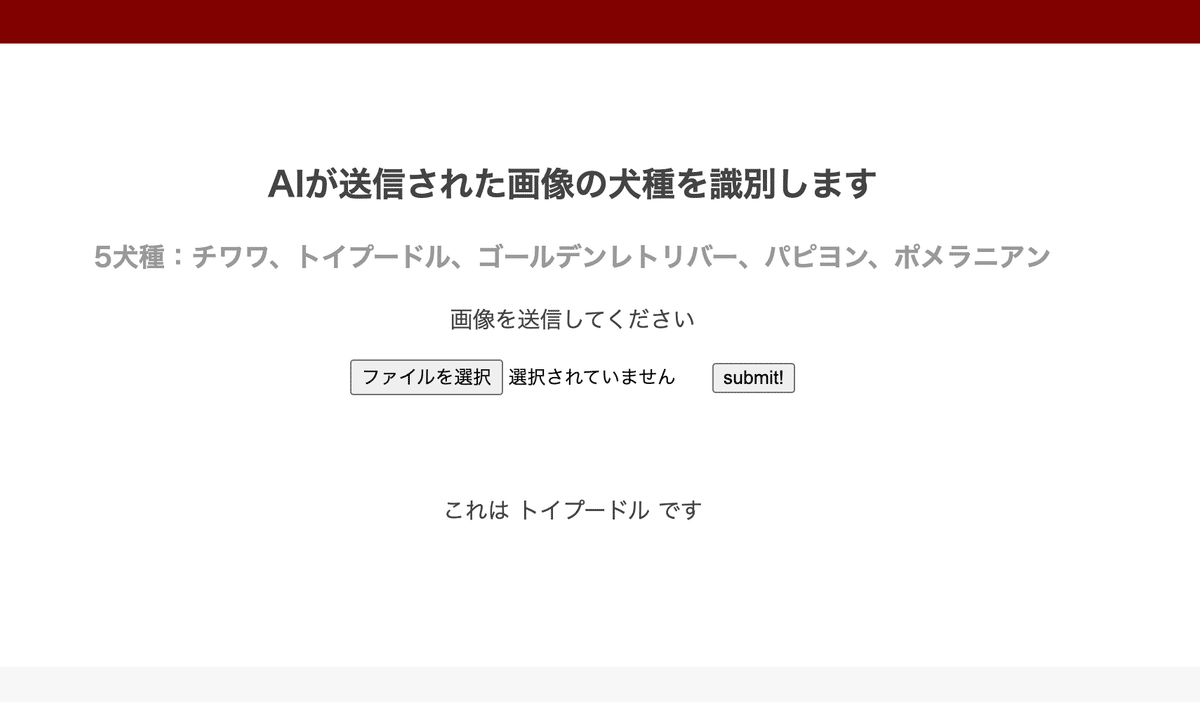
Submit! のボタンを押すと見事に識別できていました!!⭐️
今回は各100枚のデータ数で学習を行い精度は83%の結果でした。
アプリを制作して
今回は犬種識別アプリを制作してみましたが、今まで学習した内容を活かして他にも違ったアプリ制作に挑戦してみたいなっと思いました。Aidemyさんの講座では独学では学べない深い内容の教材があり、分からないことがあればすぐに解決できました。また、受講が全てe-ラーニングのため、自分のペースで適度に息抜きできる環境も良かったです🌿
最後までご覧いただきありがとうございました!
この記事が気に入ったらサポートをしてみませんか?