
WSL2でID-Animatorを試してみる

「ゼロショット ID を保持したヒューマン ビデオ生成フレームワーク。 1枚のID画像を参照するだけで、高品質なID固有の人物動画を生成できる」らしいID-Animatorを試してみます。
使用するPCはドスパラさんの「GALLERIA UL9C-R49」。スペックは
・CPU: Intel® Core™ i9-13900HX Processor
・Mem: 64 GB
・GPU: NVIDIA® GeForce RTX™ 4090 Laptop GPU(16GB)
・OS: Ubuntu22.04 on WSL2(Windows 11)
です。
1. 準備
venv構築
python3 -m venv idanimator
cd $_
source bin/activate
リポジトリをクローンしてディレクトリを移動します。
git clone https://github.com/ID-Animator/ID-Animator
cd ID-Animator/ID-Animator
パッケージのインストール。
pip install -r requirements.txt
pip install spaces    # app.pyのため
モデルのダウンロード
クイックスタートID-Animator/ID-Animator にあるとおりに以下のモデルを所定のディレクトリにダウンロードしておく必要があります。
Stable Diffusion V1.5 and put them into animatediff\sd
ID-Animator checkpoint
AnimateDiff checkpoint
CLIP Image encoder
realisticVisionV60B
こちらの手順には「ダウンロードしなさい!」とURLしか書いておらず、コマンドが書かれていません。ひとつずつwgetしていたら気が狂うので、shellで動く以下のscriptをコピペください。
#!/bin/bash

DOWNLOAD_FILES="animatediff/sd/feature_extractor/preprocessor_config.json
animatediff/sd/safety_checker/config.json
animatediff/sd/safety_checker/pytorch_model.bin
animatediff/sd/scheduler/scheduler_config.json
animatediff/sd/text_encoder/pytorch_model.bin
animatediff/sd/text_encoder/config.json
animatediff/sd/tokenizer/merges.txt
animatediff/sd/tokenizer/special_tokens_map.json
animatediff/sd/tokenizer/tokenizer_config.json
animatediff/sd/tokenizer/vocab.json
animatediff/sd/unet/config.json
animatediff/sd/unet/diffusion_pytorch_model.bin
animatediff/sd/vae/config.json
animatediff/sd/vae/diffusion_pytorch_model.bin
animatediff/sd/.gitattributes
animatediff/sd/model_index.json
animatediff/sd/v1-inference.yaml
animator.ckpt
mm_sd_v15_v2.ckpt
image_encoder/config.json
image_encoder/model.safetensors
image_encoder/pytorch_model.bin
realisticVisionV60B1_v51VAE.safetensors"

for f in $DOWNLOAD_FILES; do
    huggingface-cli download --repo-type space --local-dir ./ ID-Animator/ID-Animator $f
done
そういうホスピタリティ、ほしいですよね。
以下は上記のscriptをforでループせず、展開したコマンドです。こちらであればWindowsでも動きますね。
huggingface-cli download --repo-type space --local-dir ./ ID-Animator/ID-Animator animatediff/sd/feature_extractor/preprocessor_config.json
huggingface-cli download --repo-type space --local-dir ./ ID-Animator/ID-Animator animatediff/sd/safety_checker/config.json
huggingface-cli download --repo-type space --local-dir ./ ID-Animator/ID-Animator animatediff/sd/safety_checker/pytorch_model.bin
huggingface-cli download --repo-type space --local-dir ./ ID-Animator/ID-Animator animatediff/sd/scheduler/scheduler_config.json
huggingface-cli download --repo-type space --local-dir ./ ID-Animator/ID-Animator animatediff/sd/text_encoder/pytorch_model.bin
huggingface-cli download --repo-type space --local-dir ./ ID-Animator/ID-Animator animatediff/sd/text_encoder/config.json
huggingface-cli download --repo-type space --local-dir ./ ID-Animator/ID-Animator animatediff/sd/tokenizer/merges.txt
huggingface-cli download --repo-type space --local-dir ./ ID-Animator/ID-Animator animatediff/sd/tokenizer/special_tokens_map.json
huggingface-cli download --repo-type space --local-dir ./ ID-Animator/ID-Animator animatediff/sd/tokenizer/tokenizer_config.json
huggingface-cli download --repo-type space --local-dir ./ ID-Animator/ID-Animator animatediff/sd/tokenizer/vocab.json
huggingface-cli download --repo-type space --local-dir ./ ID-Animator/ID-Animator animatediff/sd/unet/config.json
huggingface-cli download --repo-type space --local-dir ./ ID-Animator/ID-Animator animatediff/sd/unet/diffusion_pytorch_model.bin
huggingface-cli download --repo-type space --local-dir ./ ID-Animator/ID-Animator animatediff/sd/vae/config.json
huggingface-cli download --repo-type space --local-dir ./ ID-Animator/ID-Animator animatediff/sd/vae/diffusion_pytorch_model.bin
huggingface-cli download --repo-type space --local-dir ./ ID-Animator/ID-Animator animatediff/sd/.gitattributes
huggingface-cli download --repo-type space --local-dir ./ ID-Animator/ID-Animator animatediff/sd/model_index.json
huggingface-cli download --repo-type space --local-dir ./ ID-Animator/ID-Animator animatediff/sd/v1-inference.yaml
huggingface-cli download --repo-type space --local-dir ./ ID-Animator/ID-Animator animator.ckpt
huggingface-cli download --repo-type space --local-dir ./ ID-Animator/ID-Animator mm_sd_v15_v2.ckpt
huggingface-cli download --repo-type space --local-dir ./ ID-Animator/ID-Animator image_encoder/config.json
huggingface-cli download --repo-type space --local-dir ./ ID-Animator/ID-Animator image_encoder/model.safetensors
huggingface-cli download --repo-type space --local-dir ./ ID-Animator/ID-Animator image_encoder/pytorch_model.bin
huggingface-cli download --repo-type space --local-dir ./ ID-Animator/ID-Animator realisticVisionV60B1_v51VAE.safetensors
2. 試してみる
infer.py
pyの中身を見ると、推論の実行結果は
save_videos_grid(sample, f"outputdir/{prompt}-{random_seed}.gif")プロンプトをファイル名としてGIFファイルがoutputdirディレクトリに出力されるようです。
だがしかし、何も考えずに実行するとエラーになってしまいます。これは、infer.pyではディレクトリが demo ではなく demos とコードされているためです。ですので、infer.pyの demo という文字列を demos と変更するか、lnコマンドを使って
ln -s demo demosお茶を濁すかをしてください。
それでは実行です。
CUDA_VISIBLE_DEVICES=0 python infer.pyと実行すると、./outputdir にファイルが出力されます。結果はこちら。

app.py
以下を実行すると・・・
python app.pygradioが起動してきました。
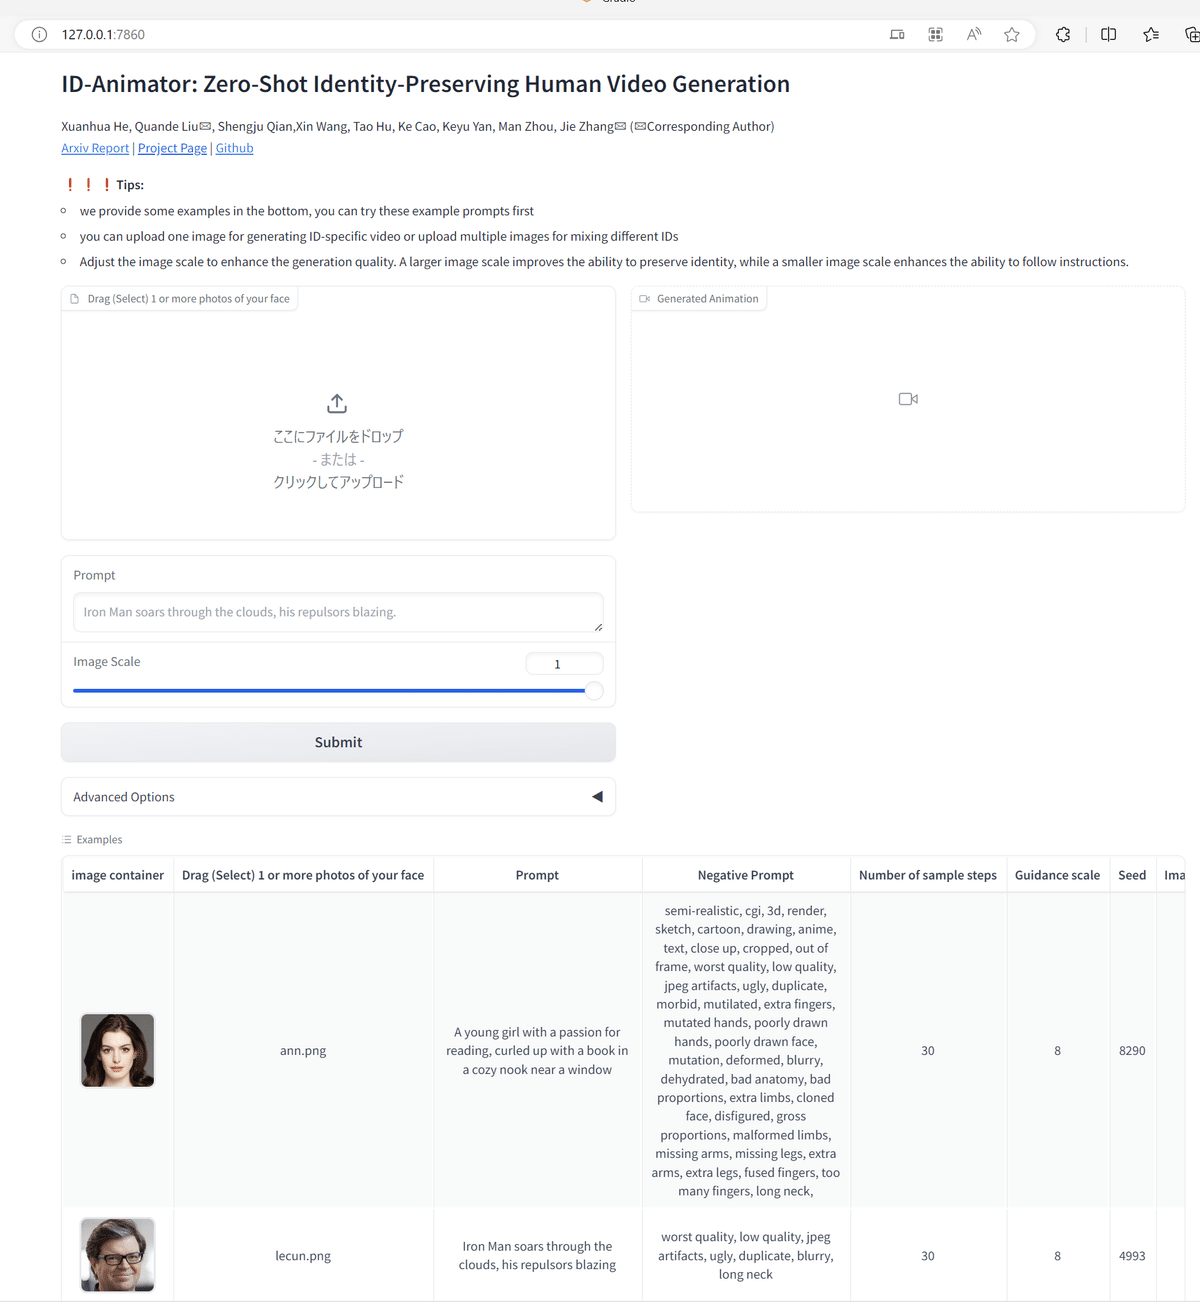
あとはあれやこれやして楽しむ以外無いですね。
3. まとめ
RTX 4090 (24GB)で、推論している最中(nfer.py, app.pyとも)、時間は30秒ほど、VRAMは8.7GBほどの使用量でした。

この記事が気に入ったらサポートをしてみませんか?