
【VRChat】VRSLの始め方 新しいシーンの作成編

VRSL(VR Stage Lighting)のWikiを見ると新しいシーンを作成した後に、DirectionLightの生成やBloom効果の設定?など、色々やらないといけない事があって忘れそうなので備忘録としてメモ
DirectionLight
Unityでは新しいシーンを作成すると[Direction Light]という光源を制御するオブジェクトが自動生成される。
が、VRSLでは[Direction Light]ではなく[Directional Light (For Depth)]プレハブを使用する。(理由は忘れた…)
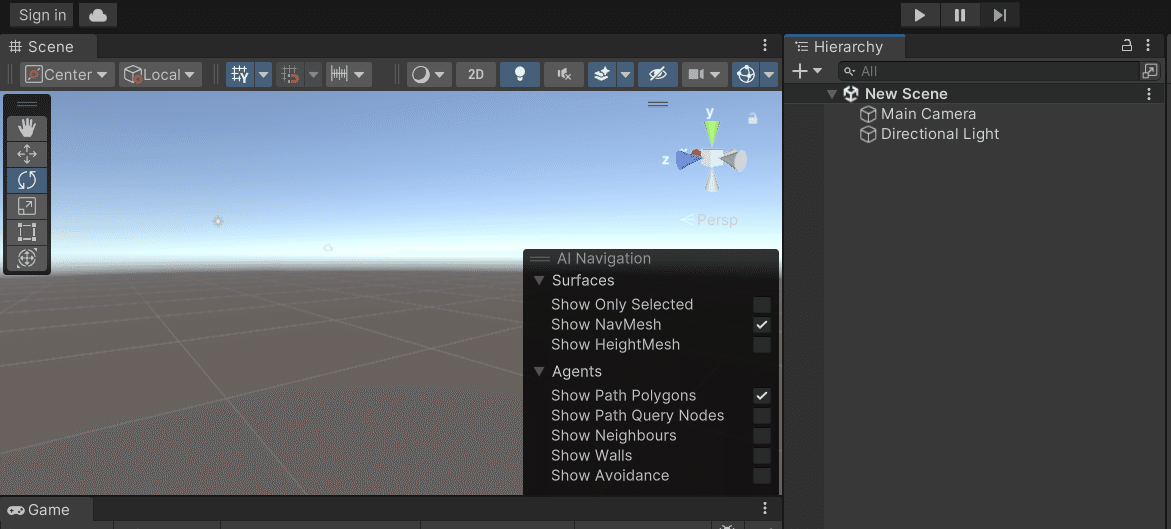
[Directional Light (For Depth)]は、デフォで生成される[Direction Light]を削除し、VRSL Control Panelを開くと生成できるボタンが出現する。

Bloom and ACESToneMapping.
公式Wikiを見るとPostProcessing bloom効果を出すためにExampleBloomプレハブと ExampleACESToneMappingをシーン内に必要とある。
理由は以下。
Some light do not have a colored sprite texture that gets turned on with the lights, and just rely on a texture on the fixture objects. This texture doesn't perfectly represent the current color value being fed to the fixture either via DMX or AudioLink, and without the PostProcessing bloom effect the texture will display complete white, or a boolean value of the full r/g/b color if you set one of those 3 channels to 255 on DMX.
なるほど、わからん。が、チュートリアルに従ってBloomプレハブとACESTプレハブを設置・設定していく。

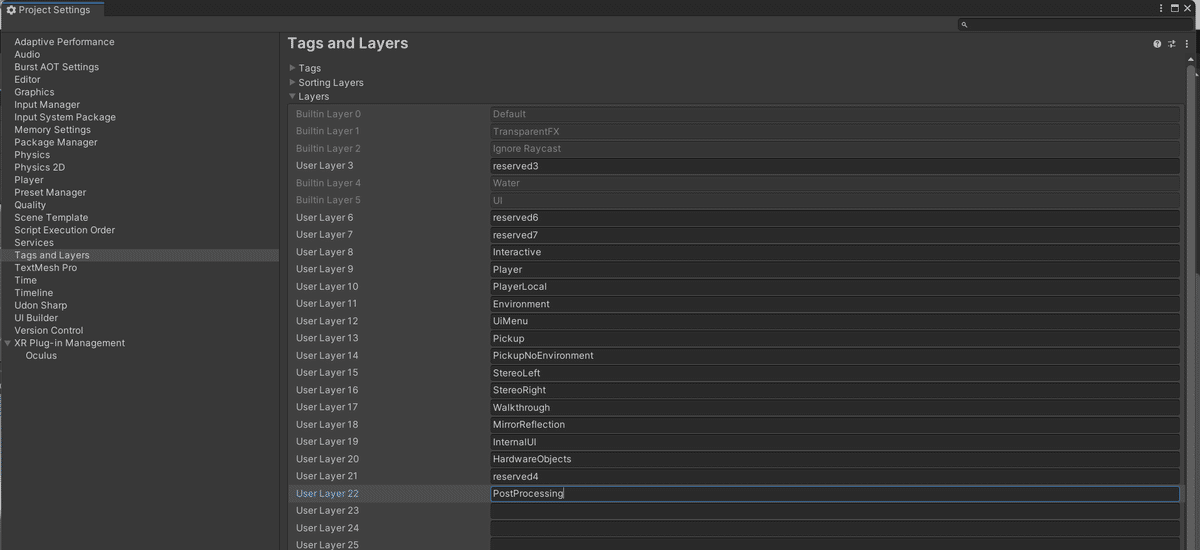

Layerを“PostProcessing”にする

これでPostProcessing bloom効果を出す設定は完了。
環境光の設定
wiki通りにシーンを作成しても、サンプルシーンみたく暗くならない。
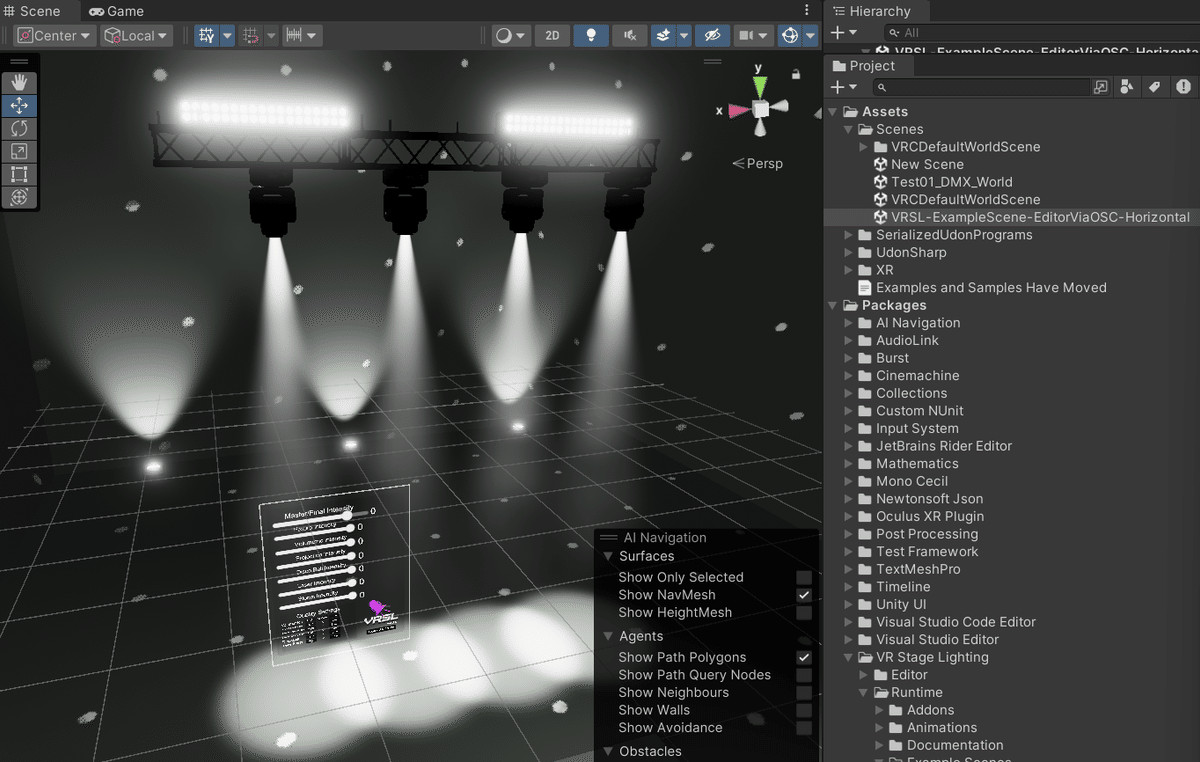

自作シーンとサンプルシーンの設定の差分を見ていると環境光の設定がどうやら違う。
[window]タブ->[Renderring]->[Lighting]で環境光の設定を開いて、“Skybox Material”と“Intensity Multiplier”をサンプルシーンに合わせる。


“Intensity Multiplier”は5に設定
この記事が気に入ったらサポートをしてみませんか?