
pyxelでシミュレーションゲームを作る(7)

今回はタイトル画面を作ってみました。著作権フリーの画像をpyxeleditorに取り込んで作ってみます。
前回のnoteは以下になります。よろしければご参照ください。
まずはタイトル画面を作るために、著作権フリーの城の画像を探してきて、pyxeleditorに取り込みます。
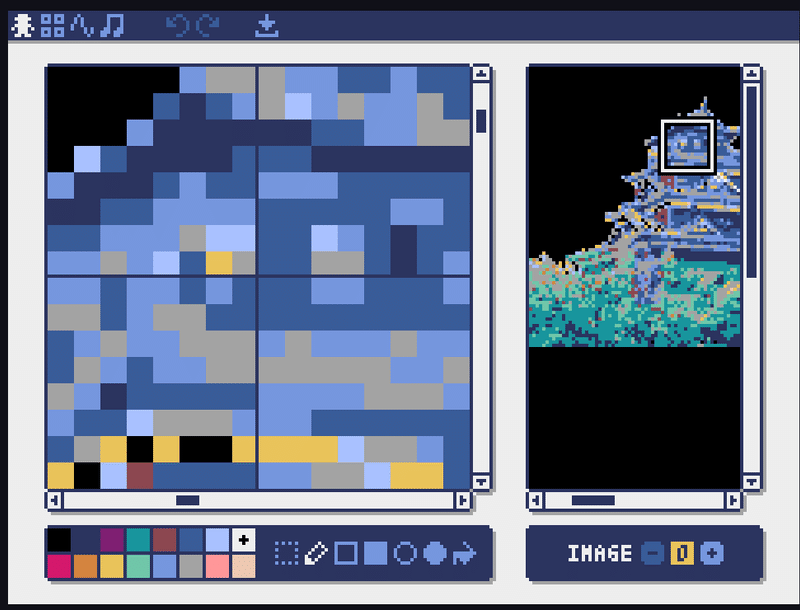
▲取り込んだ直後は色味がおかしいので、調整します。完成した素材を基にタイトル画面を作ります。
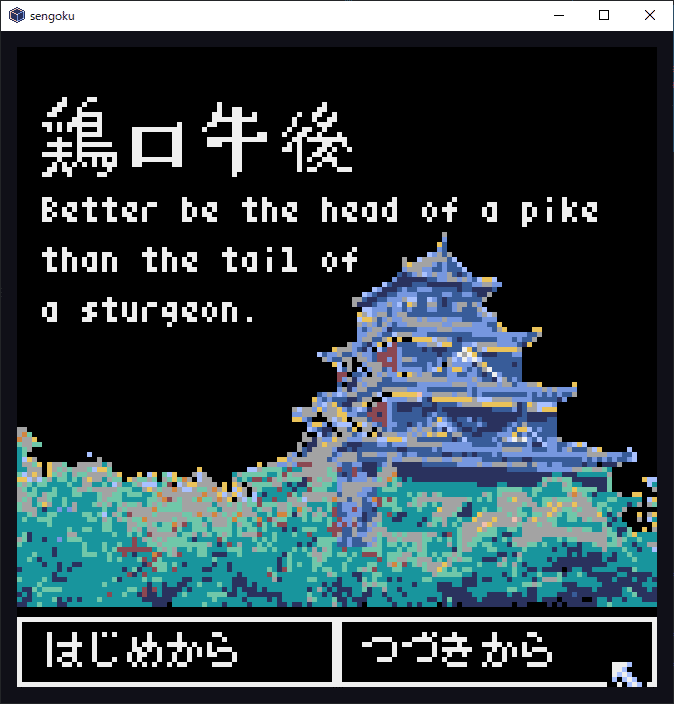
▲完成したタイトル画面がこちら。ゲーム名は「鶏口牛後」。


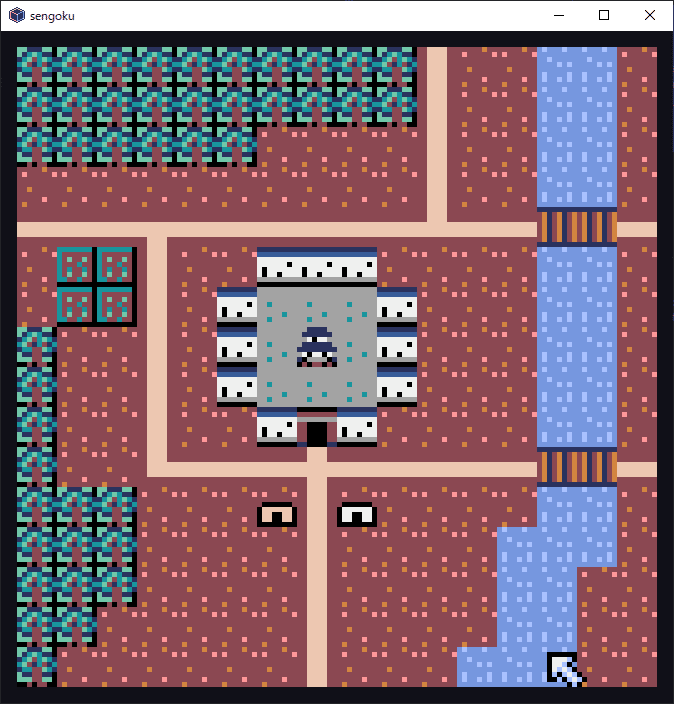
▲「はじめから」を選択すると、イントロダクションの後にゲーム画面へと移行します。
    #Title
    elif self.window_ctr == 999:
        if pyxel.btnp(pyxel.MOUSE_LEFT_BUTTON):
            x = pyxel.mouse_x
            y = pyxel.mouse_y
            if ((0 < x < 63)  and (114 < y < 128)):
                self.window_ctr = 998
            elif ((64 < x < 128)  and (114 < y < 128)):
                self.Load_data()
                self.window_ctr = 100
    #Introduction1
    elif self.window_ctr == 998:
        if pyxel.btnp(pyxel.MOUSE_LEFT_BUTTON):
            x = pyxel.mouse_x
            y = pyxel.mouse_y
            if ((64 < x < 128)  and (114 < y < 128)):
                self.window_ctr = 997
    #Introduction2
    elif self.window_ctr == 997:
        if pyxel.btnp(pyxel.MOUSE_LEFT_BUTTON):
            x = pyxel.mouse_x
            y = pyxel.mouse_y
            if ((64 < x < 128)  and (114 < y < 128)):
self.window_ctr = 0▲コードはこんな感じ。まずwindow_ctrが999のタイトル画面が開き、「はじめから」を選択すると(if ((0 < x < 63) and (114 < y < 128)):の分岐)window_ctrが998になり、イントロダクションが始まります。イントロダクション画面で「つぎへ」を選択するとwindow_ctrが997になり、さらに「つぎへ」でwindow_ctrが0になってゲーム開始です。
    #Title
    elif self.window_ctr == 999:
        pyxel.cls(0)
        pyxel.blt(0,28,0,0,0,128,84)
        pyxel.blt(4,10,2,0,176,64,16)
        pyxel.rect(0, 114, 64, 14, 0)
        pyxel.rectb(0, 114, 64, 14, 7)
        pyxel.rect(64, 114, 64, 14, 0)
        pyxel.rectb(64, 114, 64, 14, 7)
        pyxel.text(5, 30, "Better be the head of a pike ", 7)
        pyxel.text(5, 40, "than the tail of", 7)
        pyxel.text(5, 50, "a sturgeon.", 7)
        self.Draw_fonts(self.text_list["113"], 6, 117)
        self.Draw_fonts(self.text_list["1131"], 69, 117)
    #Introduction1
    elif self.window_ctr == 998:
        pyxel.cls(0)
        pyxel.rect(0, 114, 64, 14, 0)
        pyxel.rectb(0, 114, 64, 14, 7)
        pyxel.rect(64, 114, 64, 14, 0)
        pyxel.rectb(64, 114, 64, 14, 7)
        self.Draw_fonts(self.text_list["o1"], 5, 5)
        self.Draw_fonts(self.text_list["o2"], 5, 15)
        self.Draw_fonts(self.text_list["o3"], 5, 35)
        self.Draw_fonts(self.text_list["o4"], 5, 45)
        self.Draw_fonts(self.text_list["o5"], 5, 55)
        self.Draw_fonts(self.text_list["o6"], 5, 65)
        self.Draw_fonts(self.text_list["o7"], 5, 75)
        self.Draw_fonts(self.text_list["ox"], 69, 117)
    #Introduction2
    elif self.window_ctr == 997:
        pyxel.cls(0)
        pyxel.rect(0, 114, 64, 14, 0)
        pyxel.rectb(0, 114, 64, 14, 7)
        pyxel.rect(64, 114, 64, 14, 0)
        pyxel.rectb(64, 114, 64, 14, 7)
        self.Draw_fonts(self.text_list["o8"], 5, 5)
        self.Draw_fonts(self.text_list["o9"], 5, 15)
        self.Draw_fonts(self.text_list["o10"], 5, 25)
        self.Draw_fonts(self.text_list["o11"], 5, 35)
        self.Draw_fonts(self.text_list["o12"], 5, 45)
        self.Draw_fonts(self.text_list["o13"], 5, 65)
        self.Draw_fonts(self.text_list["o14"], 5, 75)
        self.Draw_fonts(self.text_list["ox"], 69, 117)
▲描画部分はこんな感じ。ここは画像と文字の表示だけですね。
今回はあまり進んでいませんがここまで。
コードの全体はGitHubにも載せています。また、タイルマップ等が入っているpyxresファイルやモジュールファイルもGitHubに置いてあります。
ここまで読んでいただきありがとうございました。
ここまで読んでいただきありがとうございます!