
ラズパイへのリモートアクセス:Raspberry Pi Connect

1.概要
2024年5月7日にRaspberry Piへリモートアクセスする「Raspberry Pi Connect」のβ版がリリースされましたので紹介します。
1-1.概要
Raspberry Piへリモートアクセスできるということは、別のPCやモバイルからでもアクセスが可能になり、どこからでもRaspberry Piを操作できるようになります。
2.環境構築
事前にRaspberry Piの環境構築は実施済みとして説明します。
後述の通り、Raspberry Pi OSが古いものだとRaspberry Pi Connectをインストールできない可能性があるため、必要に応じてOSの再インストールを実施ください。
2-1.Raspberry Pi IDの取得
Raspberry Pi Connectへの接続のためにはRaspberry Pi IDが必要のため、事前に取得しておきます。詳細は「Create a Raspberry Pi ID」の通りです。
まず初めに下記サイトに移動し必要情報を入力します。
回答後、メールアドレスに下記がきたら「Verify email」をクリックします。

サイトへ移行し「Email Successfully vefified」と出たら完了です。

2-2.Raspberry Pi Connectの設定
手順は公式をそのまま参照していきます。要求仕様は下記の通りです。
Spec.:64-bit distribution of Raspberry Pi OS Bookworm that uses the Wayland window server
OS Ver.:Raspberry Pi 5 Raspberry Pi 4, or Raspberry Pi 400.
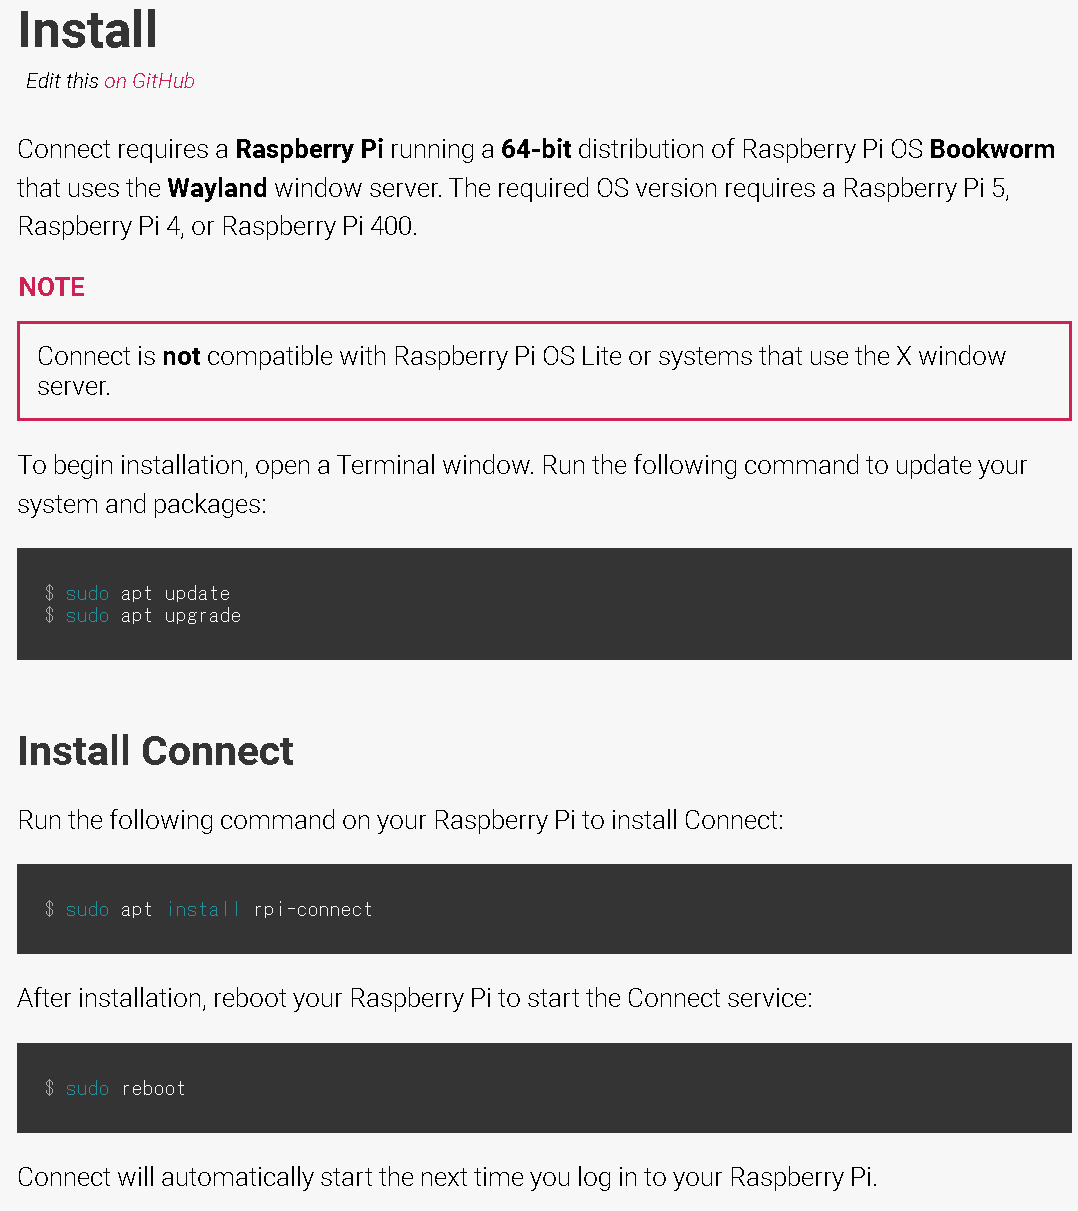
まずはシステムとパッケージのアップデートを行います。
[Terminal]
sudo apt update && sudo apt upgrade
更新完了したらRaspberry Pi Connectをインストールし、再起動します。
[Terminal]
sudo apt install rpi-connect
[Terminal]
sudo reboot
【参考:E: パッケージ rpi-connect が見つかりませんのエラー発生】
古いRaspberry Pi4で実行するとエラーが発生しました。おそらくOSがBookwormのひとつ前(Bullseye)が原因だと思います。

下記でOS/カーネルのバージョンを確認しました。下記条件だとエラーが発生しましたのでご参考までに。
[Terminal]
uname -a
lsb_release -a

3.Connectの使用
3-1.デバイスの登録(初回)
再起動後に新しいマークが出現しているため、そちらをクリックしてサインインをします。IDは前章で作成したRaspberry Pi IDであり、デバイス名は適当に決めました。
接続完了するとマークに色が付き下図の状態となります。

サインインの流れは下記の通りです。

3-2.Raspberry Piへ接続
接続したい機器で「https://connect.raspberrypi.com/devices」にアクセス・ログインします。
すると先ほど作成したデバイス名で表示されました。

最後に「Connect」を押すとリモート接続できました。
※参考までに別のソフト(VNC Viewer)を立ち上げながらでも接続できます

3-3.参考:Raspberry Pi Connectが起動しない時
Raspberry Piはデフォルトでは自動起動するため操作不要です。もし起動しない場合は手動で立ち上げも可能です。
[Terminal]
systemctl --user start rpi-connect
4.動作確認
Raspberry Pi Connectで実施できることを試してみました。
まだファイル転送などは難しそうです。
4-1.スマホで接続
スマホで接続/操作できるかを確認しました。スマホでも操作可能です。
※接続時の移動画面はサイズの都合でカットしたため、実際はもっと時間がかかります。


あとがき
どのレベルで外から操作できるかは後で実験。
改正履歴
2024年5月19日:初版発行