
[GAS]Excelファイルをスプレッドシートに転記

以前「CSVファイルをスプレッドシートに転記」という記事を書きました。
今回は「Excelファイルをスプレッドシートに転記」という手順をメモします。
こちらも私が所属しているコミュニティで教えて頂きました。ありがとうございました。
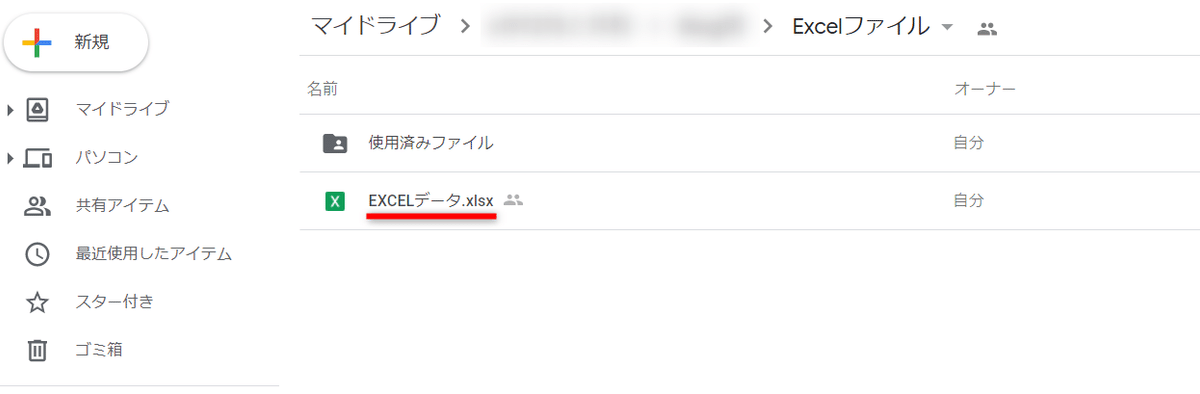
例えば下記のように「Excelファイル」というGoogleドライブフォルダに、
Excelファイルが1つあったとします。
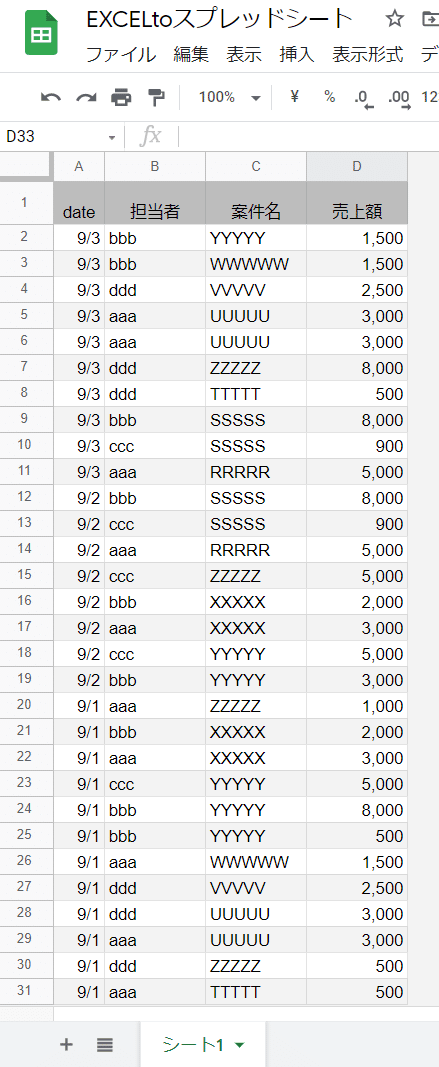
このファイルを開き、データをスプレッドシートに丸々転記したいとします。
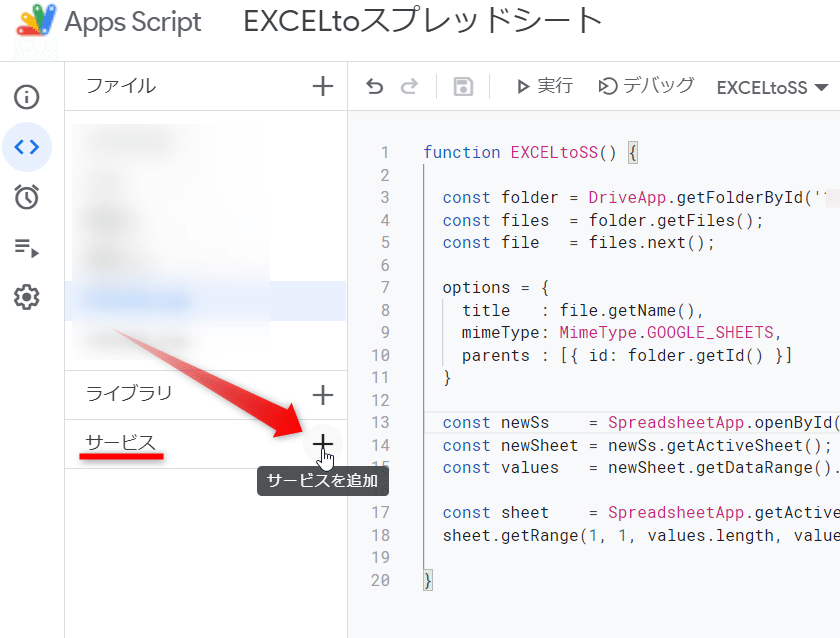
先に、Drive APIを有効にします。
手順は以下の通りです。
1_「サービス」横のプラスを押下
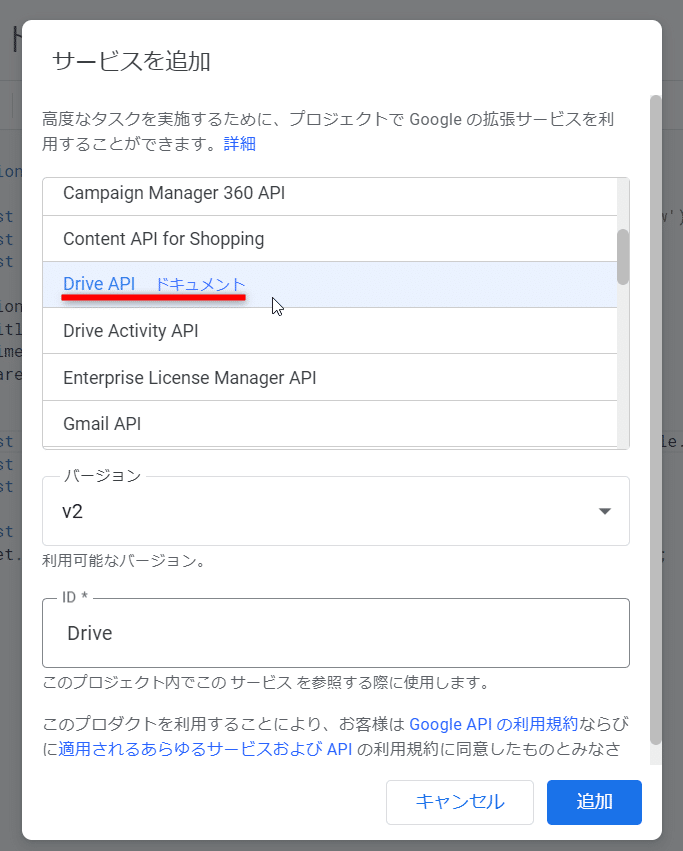
2_Drive APIドキュメントを選択し「追加」押下
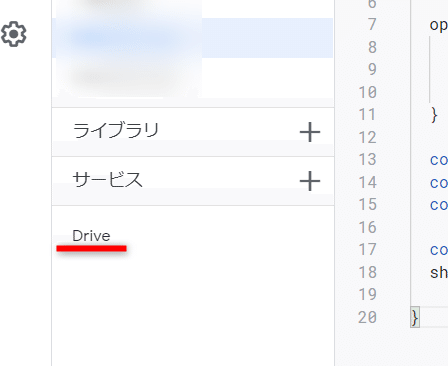
Drive APIが追加されました。
スクリプトはこちら。
function EXCELtoSS() {

 const folder = DriveApp.getFolderById('/***Folder_ID***/');//Excelを格納したフォルダのID
 const files  = folder.getFiles();
 const file   = files.next();

 options = {
   title   : file.getName(),
   mimeType: MimeType.GOOGLE_SHEETS,
   parents : [{ id: folder.getId() }]
 }

 const newSs    = SpreadsheetApp.openById(Drive.Files.insert(options, file.getBlob()).id); //ExcelをSSに変換し取得
 const newSheet = newSs.getActiveSheet();
 const values   = newSheet.getDataRange().getValues();

 const sheet    = SpreadsheetApp.getActiveSheet();
 sheet.getRange(1, 1, values.length, values[0].length).setValues(values);

}
今回も解説できるほど理解できておりません...すいません。
Excelファイルをスプレッドシートに変換してから転記する、ということでしょうかね。
フォルダ内には同名のスプレッドシートファイルが生成され、
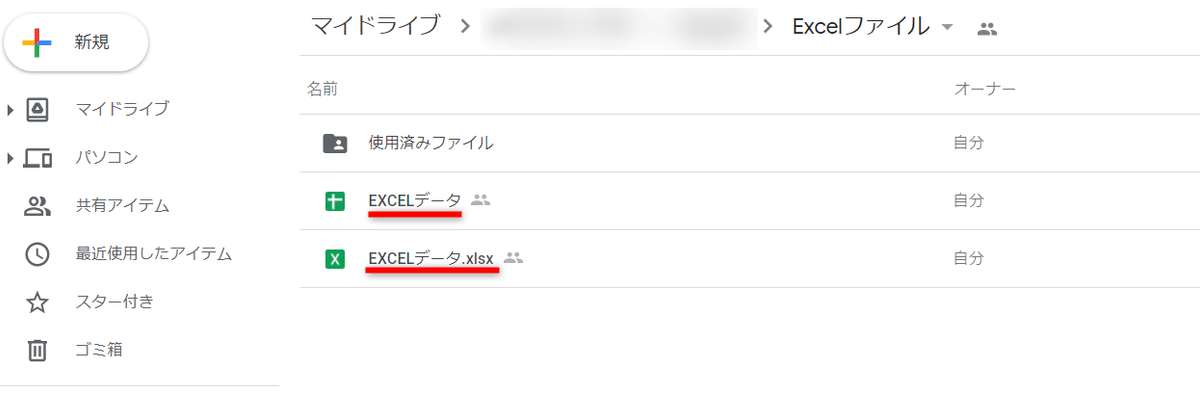
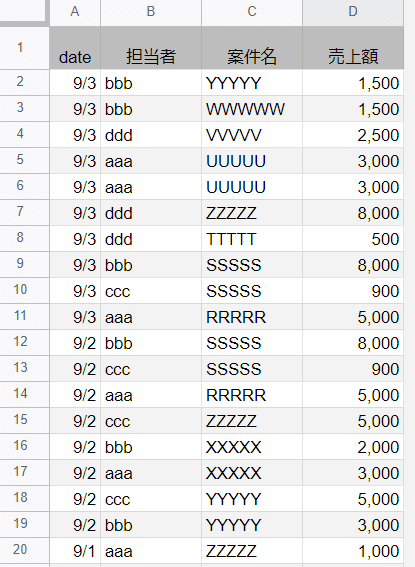
スプレッドシートに転記されました。
★この記事同様、複数ファイルをまとめるパターンも記します。
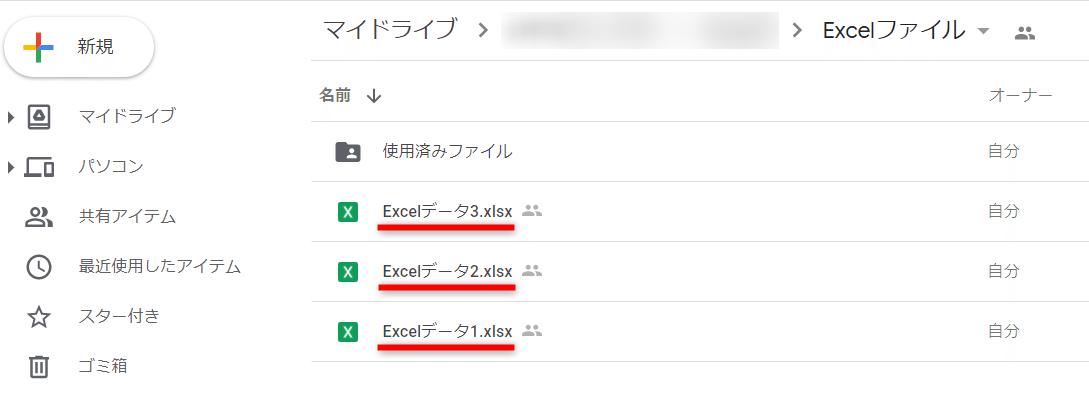
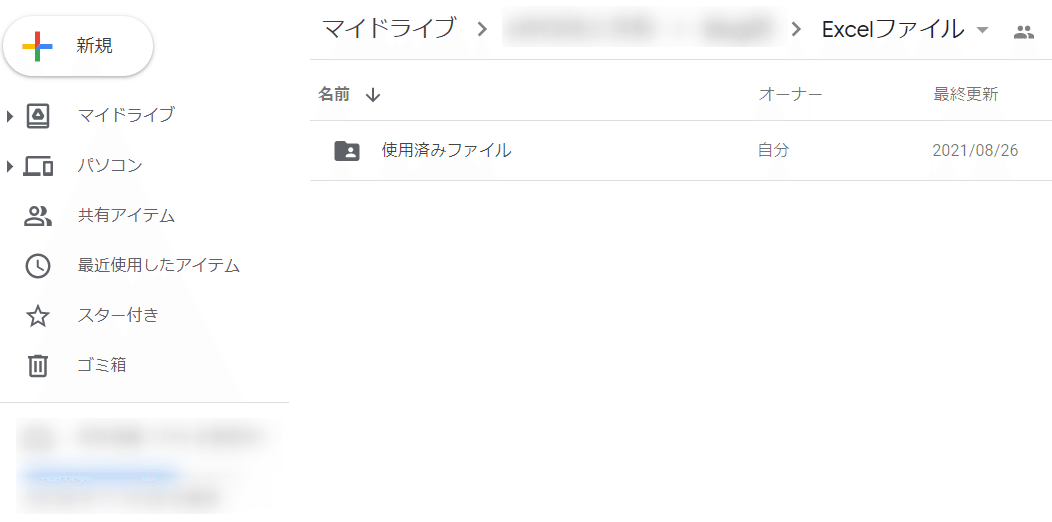
下記のように、「Excelファイル」Googleドライブフォルダの中に、
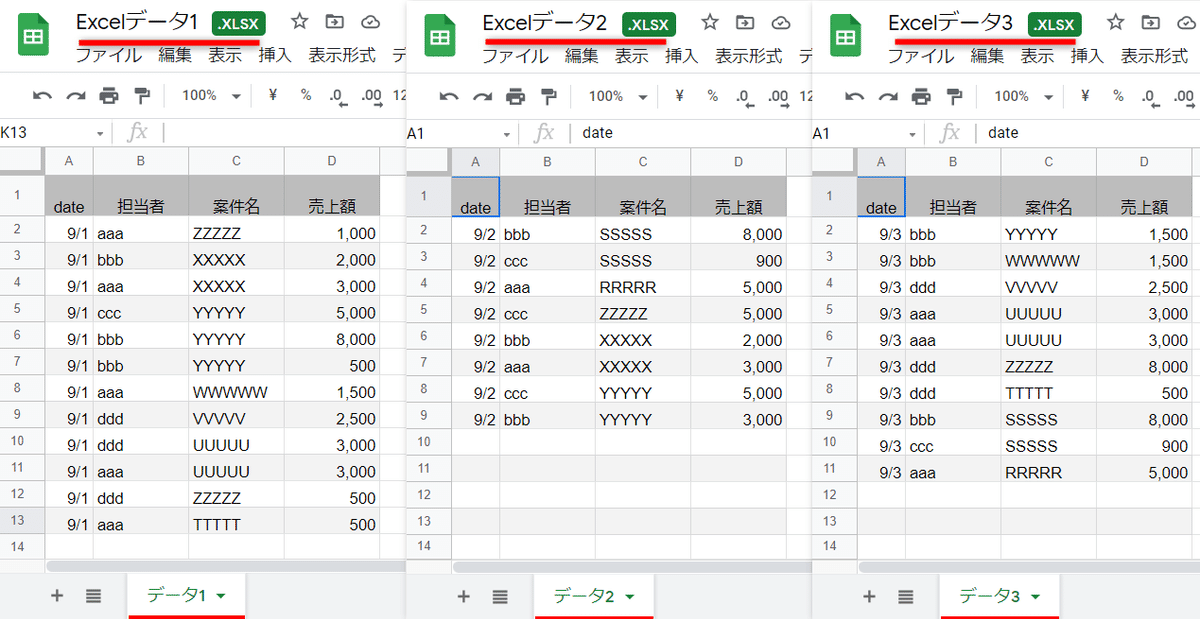
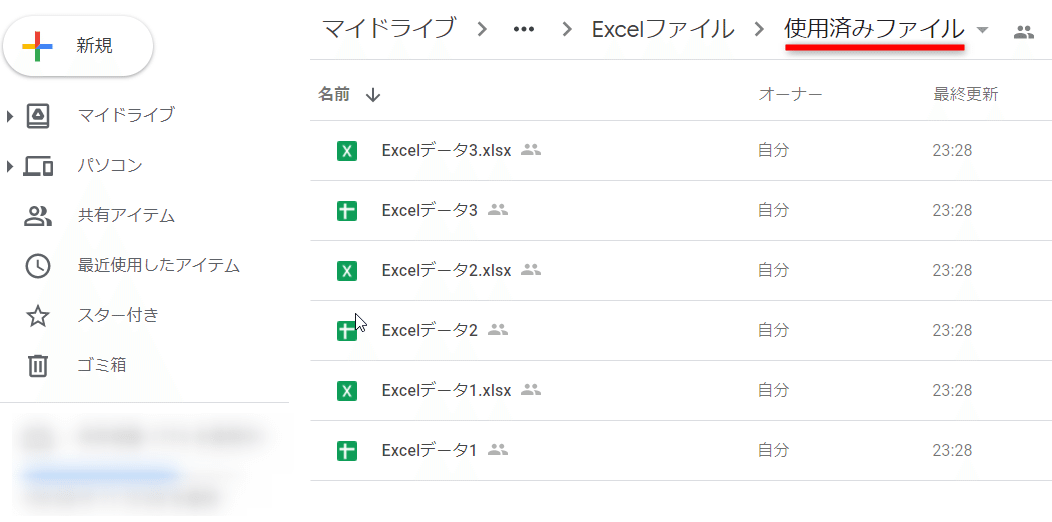
Excelファイルが3つあるとします。
その他に「使用済みファイル」フォルダがあります。
スクリプトはこちら。
function EXCELtoSS() {

 const folder  = DriveApp.getFolderById('/***Folder_ID***/');//Excelを格納したフォルダのID
 const moveDir = DriveApp.getFolderById('/***Folder_ID***/');//使用済みフォルダ(上記フォルダ内)
 const files   = folder.getFiles();

 let allValues = [];

 while (files.hasNext()) {

   const file = files.next();

   options = {
     title   : file.getName(),
     mimeType: MimeType.GOOGLE_SHEETS,
     parents : [{ id: folder.getId() }]
   }

   const newSs    = SpreadsheetApp.openById(Drive.Files.insert(options, file.getBlob()).id); //ExcelをSSに変換し取得
   const newSheet = newSs.getActiveSheet();
   const values   = newSheet.getDataRange().getValues();
   values.shift();

   allValues = allValues.concat(values);//変数allValuesに各csvデータを追加

 }

 const sheet = SpreadsheetApp.getActiveSheet();
 sheet.getRange(2, 1, allValues.length, allValues[0].length).setValues(allValues);

 const moveFiles = folder.getFiles();  //フォルダ内のファイルを一括取得

 for (let i = 0; moveFiles.hasNext(); i++) {
   let moveFile = moveFiles.next();

   moveFile.moveTo(moveDir);

 }
}
スクリプトを実行すると、元のスプレッドシートに3ファイルをまとめたデータが転記されます。
「使用済みフォルダ」にすべてのExcelファイル(変換されたスプレッドシートファイル含め)が移動されています。
※2022年9月に技術同人誌「会社員がVLOOKUPの次に覚えるQUERY関数超入門」を出版いたしました。