
【Python+selenium+beautifulsoup】note.comをスクレイピングする方法

Pythonで出来ることの代表的なことの一つに『スクレイピング』があります。
webサイトのデータ分析や作業の自動化に欠かせないスクレイピングですが、note.comの様にjavascriptを使った動的をスクレイピングするためには一工夫が必要です。
そこで今回はPythonとseleniumを使ったスクレイピング方法について解説していきたいと思います。
スクレイピングとは
webサイトの構造を解析し情報を抽出することを指します
静的なページのスクレイピングは『requests』と『BeautifulSoup』で十分
javascriptを使っていない静的なページ(要するに普通のhtmlが表示されるだけのページ)をスクレイピングする場合は『requests』と『BeautifulSoup』を使うだけで簡単に実現できます。
以下はそのコードの例です。
import requests
from bs4 import BeautifulSoup

response = requests.get(url="https://en.wikipedia.org/wiki/Main_Page")
html = response.content
soup = BeautifulSoup(html, "lxml")

title = soup.find("title").text
display(title)

# 'Wikipedia, the free encyclopedia'しかしnote.comの様なjavascriptが使われている動的なページの場合、この方法は使えませんので、代わりに仮想ブラウザを操作する『selenium』を使うことになります。
準備:seleniumの導入
pythonでseleniumを使う方法についてはweb検索するといくつも詳しく書かれた記事が存在しますのでそちらをご参照ください。
WindowsOSでのseleniumの導入については以下の記事が参考になります
またmacOSへの導入方法とseleniumの操作については以下の記事がクオリティが高いです。
note.comをスクレイピングするコード
ではいよいよnote.comをスクレイピングするコードを載せていきます。
今回は『人気タグ』ページをスクレイピングします。
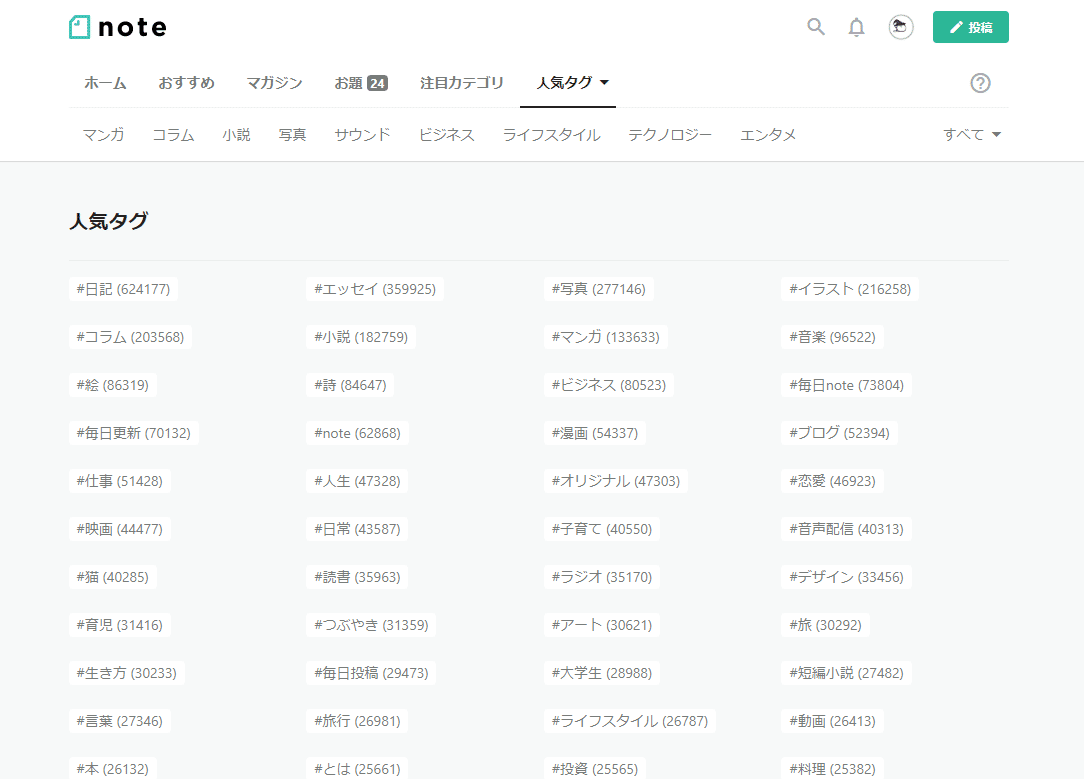
このページ『ハッシュタグ』と『数字』を最終的にエクセルファイルに保存したいと思います。
なお今回のコードではhtmlの取得自体にはseleniumを用いますが、htmlのパースにはBeautifulSoupを使うことにします。
BeautifulSoupの方がweb上に情報が多く、応用が効くからです。
準備
pip install beautifulsoup4
pip install pandas
pip install selenium
なお環境はpython 3.7 windowsです。
サンプルコード
# note.comのハッシュタグデータ取得
import re
import pandas as pd
from bs4 import BeautifulSoup
from selenium import webdriver
from selenium.webdriver.common.by import By
from selenium.webdriver.support.ui import WebDriverWait
from selenium.webdriver.support import expected_conditions as EC
from selenium.common.exceptions import TimeoutException
# ハッシュタグページを取得する関数
def get_hashtag_page():
export_list = []
# driverのセットアップ
options = webdriver.ChromeOptions()
options.add_argument('--headless')
driver = webdriver.Chrome(options=options)
driver.implicitly_wait(30)
# データの取得
url="https://note.com/hashtag?page=1"
driver.get(url)
# ページがロードされ切るまで待機
WebDriverWait(driver, 30).until(EC.presence_of_all_elements_located)
# ハッシュタグのデータを含むタグを取得
html = driver.page_source.encode('utf-8')
soup = BeautifulSoup(html, "lxml")
divs = soup.find_all("div",class_="c-tags__item")
for div in divs:
index1 = div.find(class_="c-tags__link").text.rfind("(")
hashtag_name = div.find(class_="c-tags__link").text[0:index1]
hashtag_count = div.find(class_="c-tags__count").text[1:-1]
hashtag_count = int(re.sub("\\D", "", hashtag_count))
temp=[]
temp.append(hashtag_name)
temp.append(hashtag_count)
export_list.append(temp)
# 仮想ブラウザを閉じる
driver.close()
driver.quit()
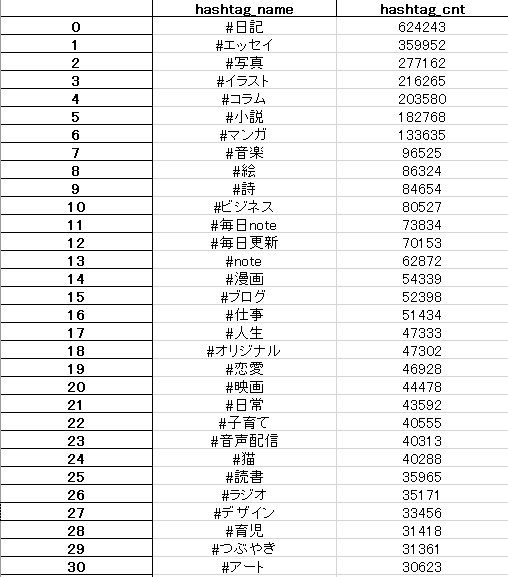
# エクセルファイルに保存
df = pd.DataFrame(export_list, columns=["hashtag_name","hashtag_cnt"])
df.to_excel("ノート人気ハッシュタグ.xlsx")
get_hashtag_page()
print("ok")結果:成功!
今回のまとめ
今回はPython+selenium+beautifulsoupを使って、note.comのページをスクレイピングする方法を解説しました。
次回はいよいよスクレイピングによってデータを取得し、分析を行っていきたいと思います。
メモ代わりに♡ボタンよろしくおねがいします~
関連ページ
よろしければサポートお願いします。サポート? サポート……、サポート!よろしくおねがいします!?