
Photo by
shigekumasaku
【pythonanywhere】デプロイしてみた

WEBアプリを作成してネット上へ公開してみました。
公開するまでの最短手段を残します。
注意点として、セキュリティは踏まえてませんので、その他細かいところは他のページを参考にしてください。
事前準備
・djangoで作成したWEBアプリ
・作成したWEBアプリをGitHubのリポジトリに格納しておく
デプロイまでの流れ
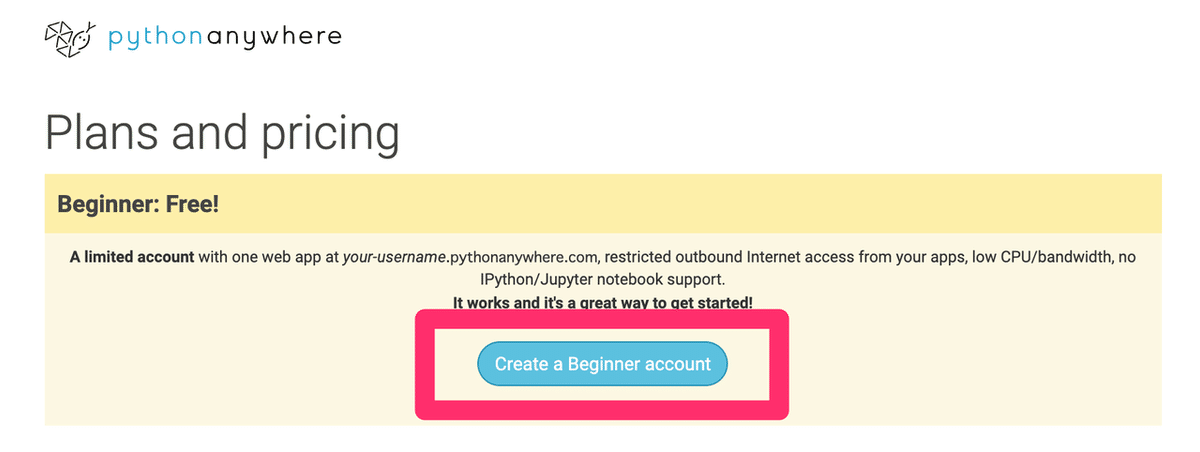
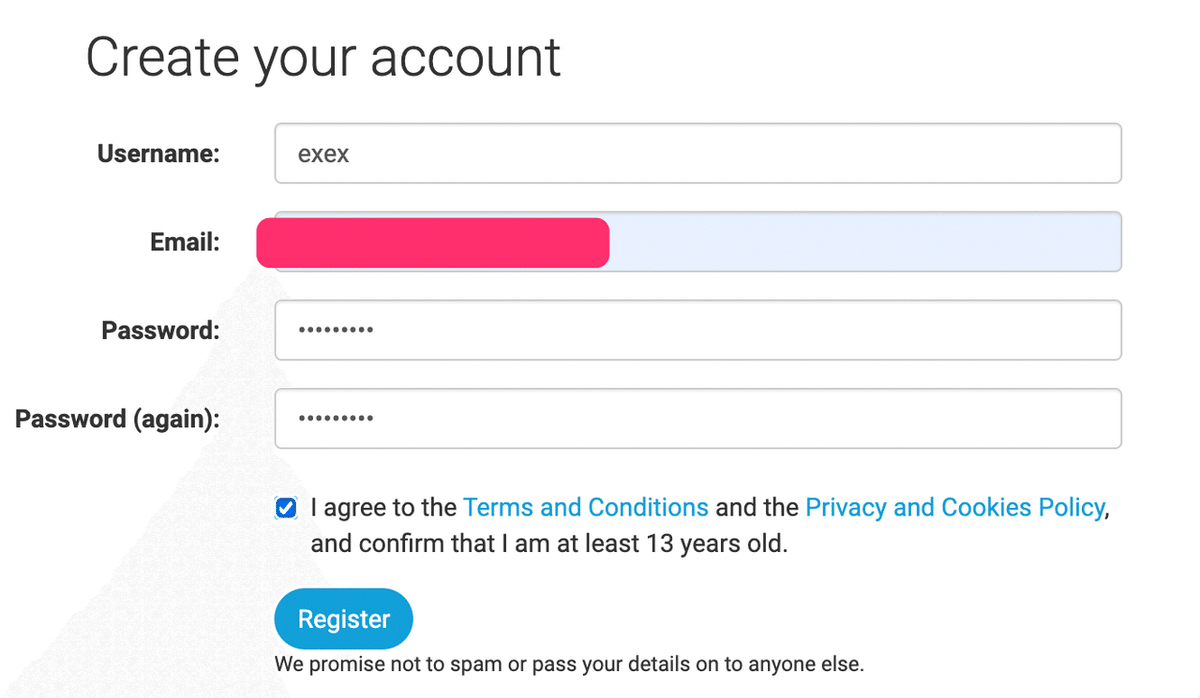
1.PythonAnywhereにユーザ登録

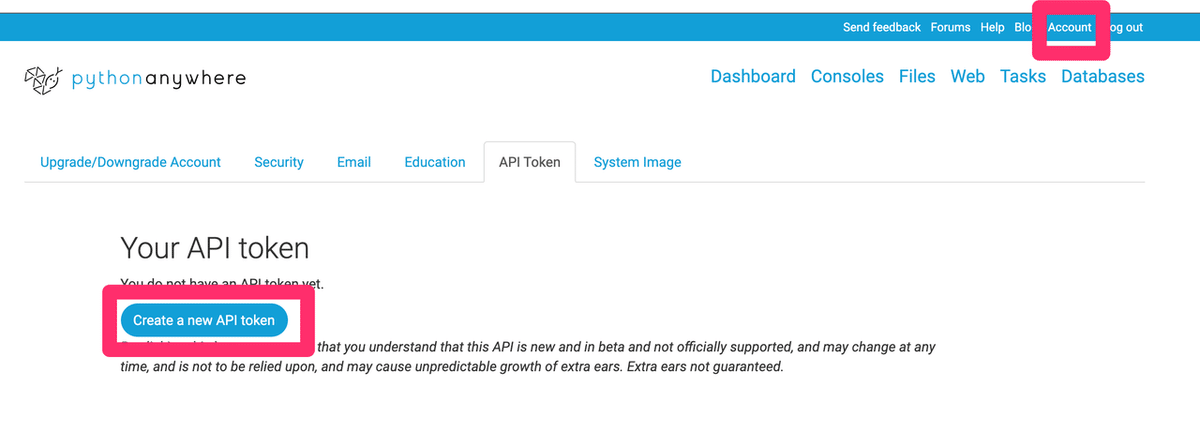
2.APIキー作成
3.python anywhereのパッケージをインストール

/bashで下記を入力
pip3 install --user pythonanywhere
4.アプリを作業環境にダウンロード
pa_autoconfigure_django.py --python=3.8 https://github.com/{ユーザ名}/{レポジトリ名}.gitあとはユーザやDB準備なりなんなりしてください。
※python manage.py createsuperuserなど
ブラウザ表示してみる!
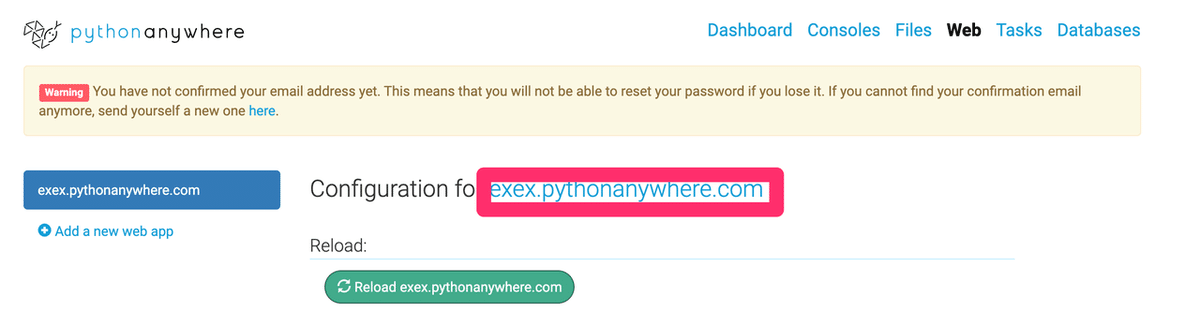
これで完了です!簡単ですね!
この記事が気に入ったらサポートをしてみませんか?