
【お手軽】Windowsでも出来るRTMPおよびHLS変換によるブラウザ視聴サポートが出来るサーバの構築について

前回の記事
Windowsならこちらが楽ちんであるので、記事を上げる。
対象要件
自分のパソコン内(ローカル)で実行すること
パソコンおよび配信に使うスマホはwifiルーターに繋がっていること
圧縮ファイルを解凍する方法を知っていること
wifi 接続することができること
windows 10 かwindows 11のパソコンを使用していること
rtmp配信に使うスマホ、およびアプリを持っていること
所要時間
30分
内訳
ダウンロード:5分
圧縮ファイル解凍、配置:5分
サーバの起動まで:10分
配信、内容確認:10分
実行方法
圧縮ファイルのダウンロード
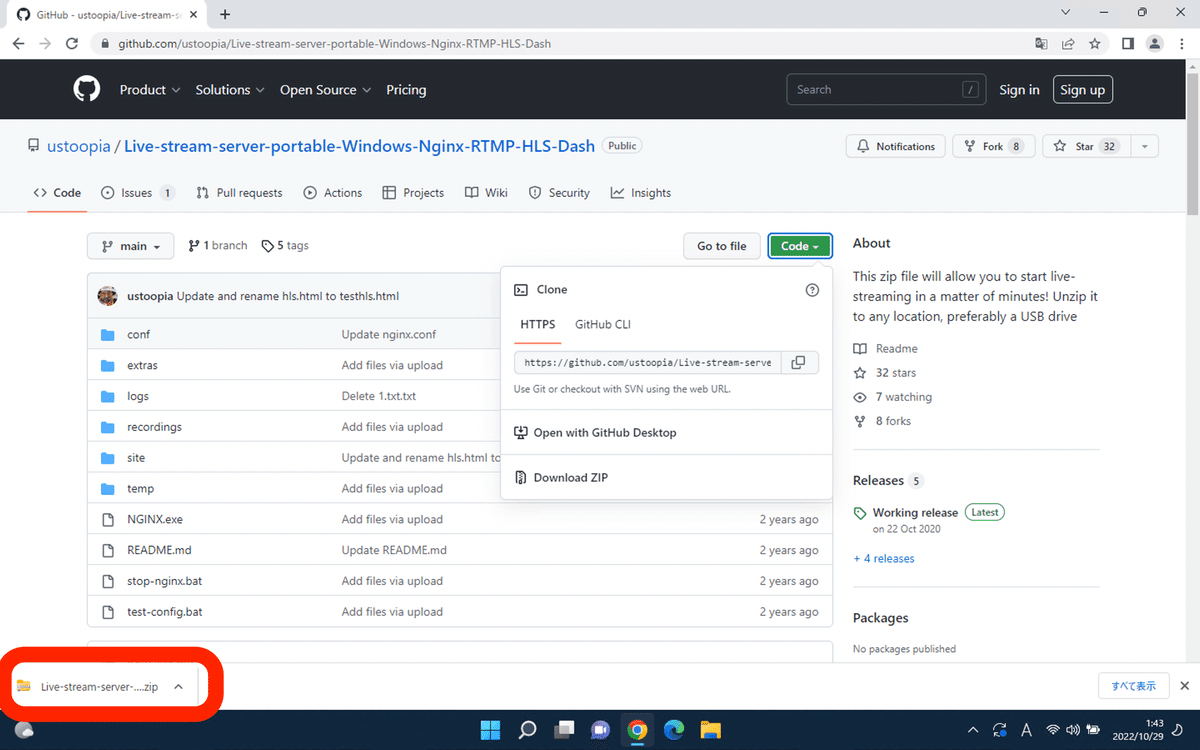
下記のアドレスより、圧縮ファイルをダウンロードする。
https://github.com/ustoopia/Live-stream-server-portable-Windows-Nginx-RTMP-HLS-Dash
[Code] → [Download Zip]

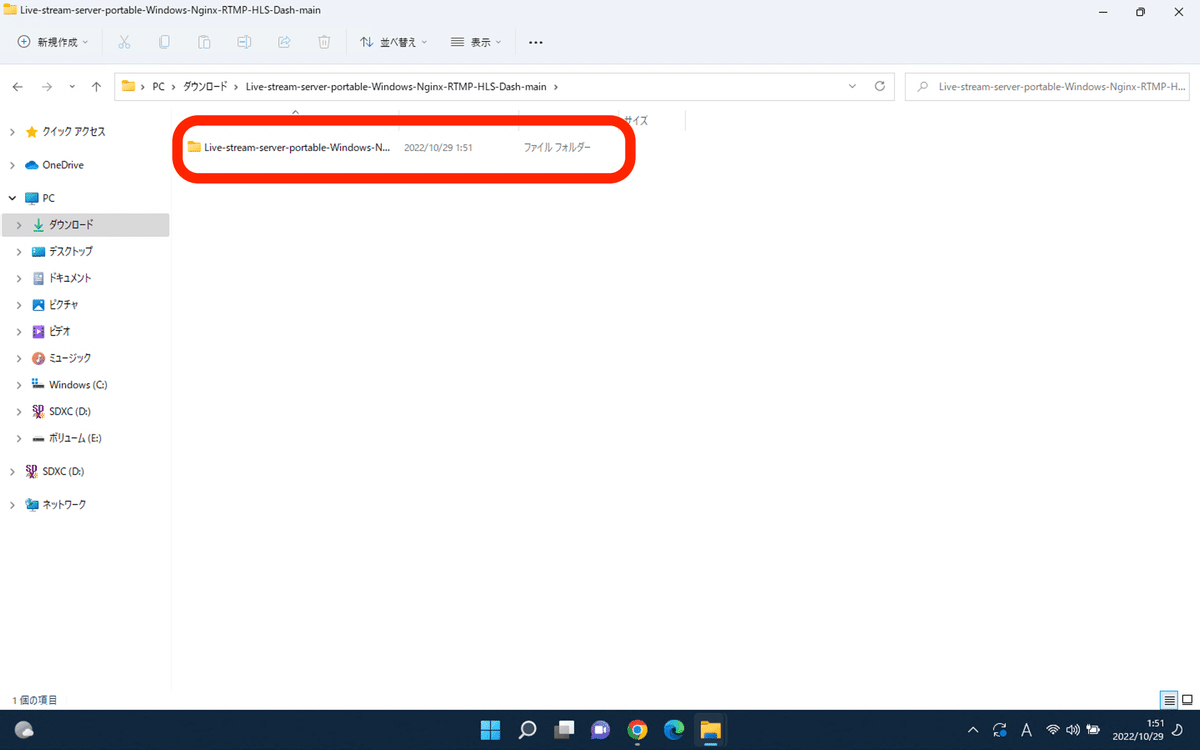
圧縮ファイルの解凍
圧縮ファイルをダウンロードしたら解凍しよう。
圧縮ファイルを選択して右クリック「すべて展開」する


フォルダの配置
必要に応じて解凍したファイルをリネームして配置しよう。今回は公式サイトの記述通り、livestreamとリネームしてCドライブ直下に配置する。なお、ダウンロードした圧縮フォルダは削除してよい。
First we need to make sure that all the files are unblocked by Windows so we can run them. You can accomplish this by right-clicking the executable files and choose properties, and then choose unblock. But there is a faster, easy way to unblock all the files in a certain folder. Click start, start typing: "Windows Powershell" and if it appears, right click on it and choose: "Run as administrator". Enter something like the following in the window. (In this example I placed the contents of the zip file in C:\livestream.

PowerShellを起動してコマンドを実行する
Windowsのマークを右クリックして、Windows PowerShell(管理者)をクリックする

Windows PowerShellが立ち上がったら、下記のコマンドを入力してEnterを押す
dir C:\livestream -Recurse | Unblock-File


サーバーの起動
配置したフォルダに含まれる、NGINX.exeをダブルクリックしてサーバーを起動する。
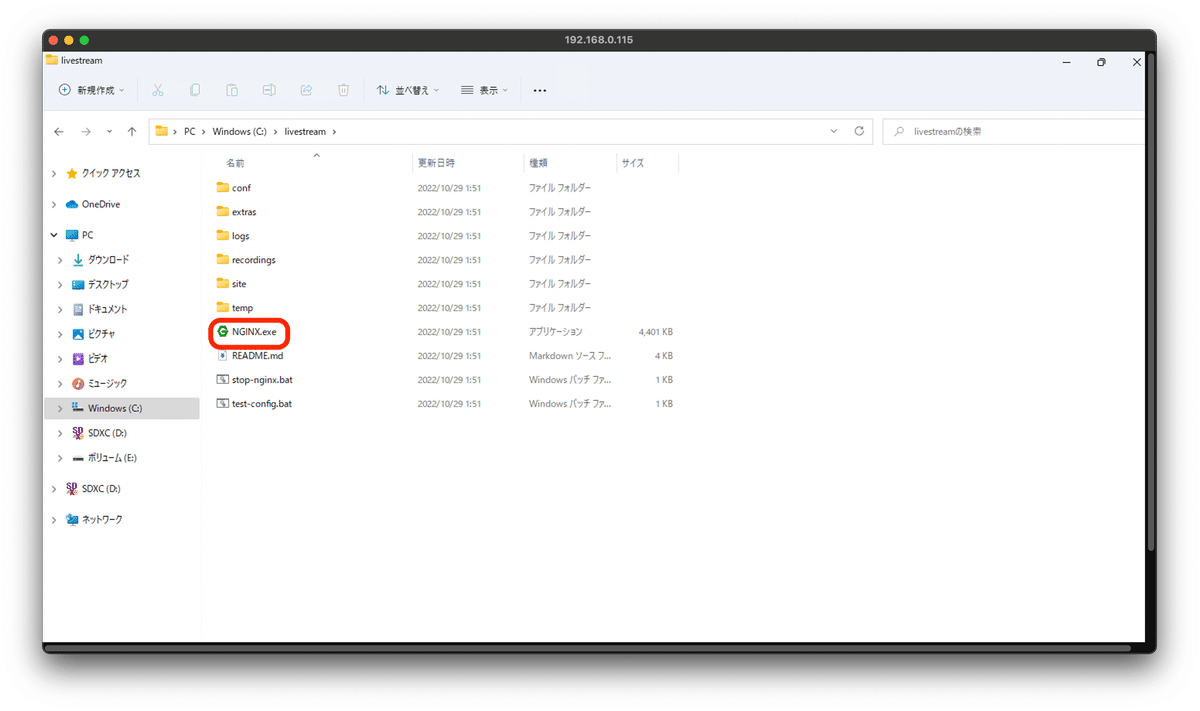

実行したパソコンにローカルサーバとしてnginxサーバが立ち上がる
rtmpによる配信
スマホからrtmp配信のアプリを起動して、ストリームURLとストリームキーをもとに配信をする
The stream URL should be: "rtmp://localhost/live" and the live- stream key should be: "stream"
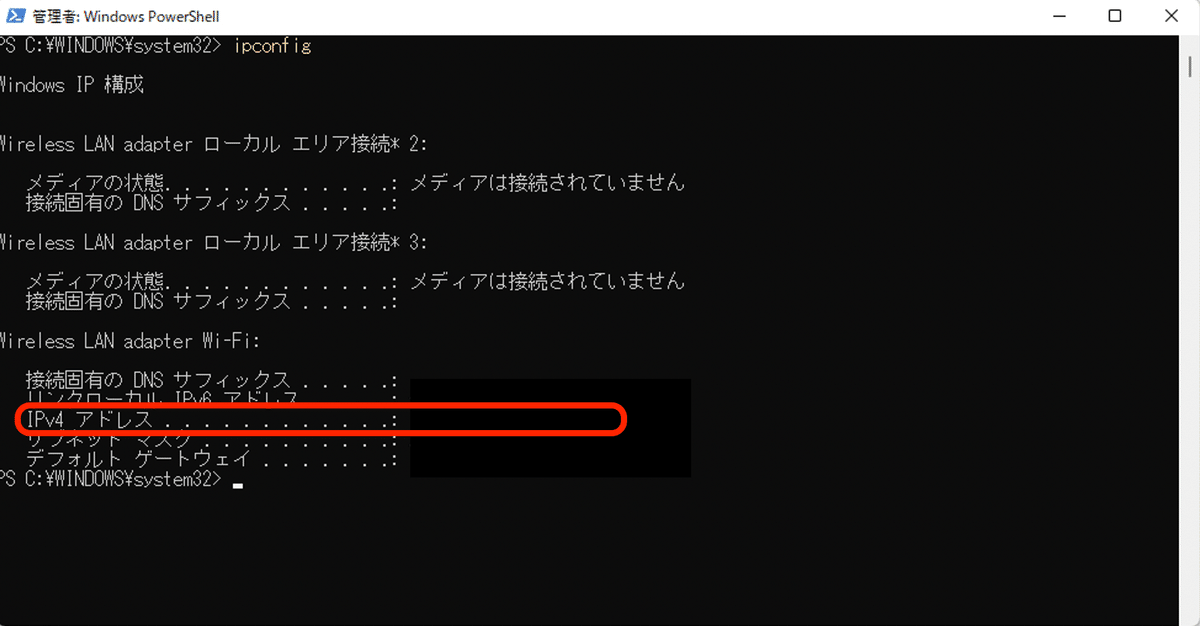
なお、配信するスマホからみれば、サーバのアドレスはlocalhostではないのでサーバのipアドレスを調べて仮に"192.168.0.1"であれば、下記のように指定する。
rtmp://192.168.0.1/live/streamサーバのアドレスが分からない場合は、ipconfigのコマンドで確認しよう。
ブラウザによる確認
サーバーのアドレスをブラウザで開く
http://localhost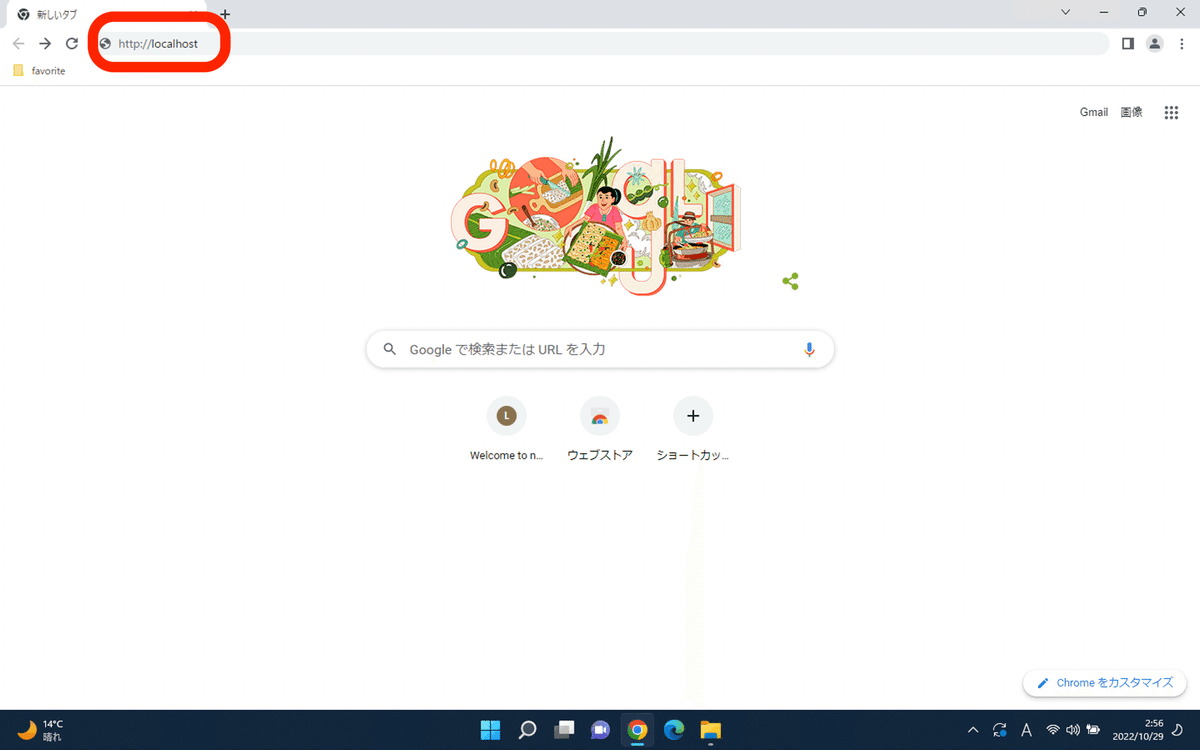
Welcome to nginx for Windows!という画面が表示されたら、「test_HLS」というリンクをクリックする。

配信内容が表示される

サーバの終了
要件が済んだら、stop-nginx.batをダブルクリックして実行する

まとめ
特別、設定も要らずにサーバを構築できたと思う。少し試すだけであれば、これで十分だ。
おわり!