SwiftUIでいこう! - ミニアプリ。メモ(文字カウント付き)

簡単に文字がかけて、編集できるようにします。1行の文字を入力するのであれば以下
struct TextField<Label> where Label : View
TextField()を使えます。
複数行について文字を書いて編集できるようにするには
struct TextEditor
TextEditor()を使うと複数行に文字を打ち編集できるようになります。
単純なものから
struct ContentView: View {
   @State var text = ""
       var body: some View {
         TextEditor(text: $text)
       }
}
実行して文字を打ってみると、上の方に文字がでてきます。これではちょっと使えません。.padding()をつけます。
TextEditor(text: $text)
      .padding()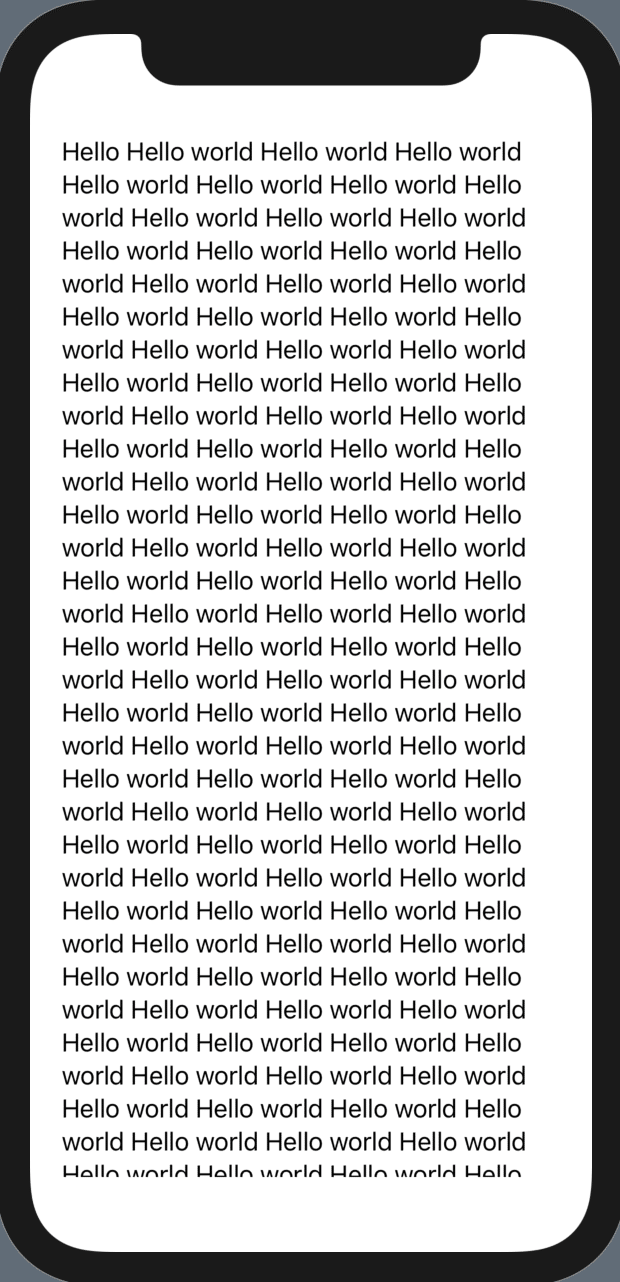
これでひとまずうまく打てるようになりました。前面打つことができます。画面外も打て、スクロールで全体が見れるようになります。
TextEditor(text: $text)
     .padding(.vertical,80)
     .padding(.horizontal,50)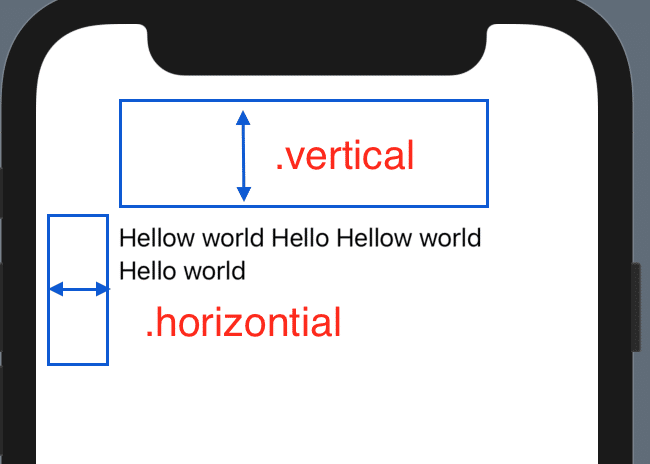
フォントとその色の指定です。
 .font(Font.custom("Noteworthy", size: 20, relativeTo: .body))
 .foregroundColor(Color.blue)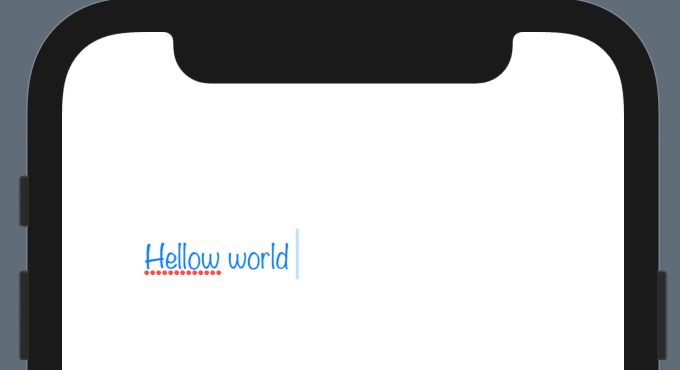
背景色は
.background(Color.green.opacity(0.25))
バックグラウンドを透かせることもできます。
init() {
UITextView.appearance().backgroundColor = .clear
}
を
var body: some View{}
の上に配置することで透過します。
実際にテキストを打ってその文字数を表示できるようにしましょう。まず変数は
@State private var text = ""
@State private var totalChars = 0
@State private var lastText = ""
として、バックグラウンドを透過するために
init() {
   UITextView.appearance().backgroundColor = .clear
}
を追加します。これで背景が助けてきます。
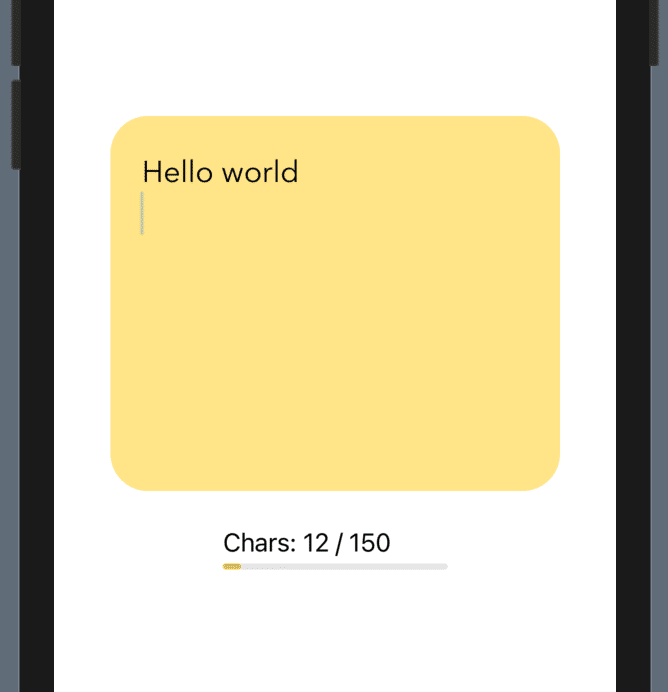
入力の部分が"TextEditor(text: $text)"、カウント部分が"ProgressView()"となります。
var body: some View {
   VStack {
       TextEditor(text: $text)
           .padding()
           .background(Color.yellow.opacity(0.5))
           .foregroundColor(Color.black)
           .font(Font.custom("AvenirNext-Regular", size: 20, relativeTo: .body))
           .frame(width: 300, height: 250)
           .cornerRadius(25)

       ProgressView("Chars: \(totalChars) / 150", value: Double(totalChars), total: 150)
           .frame(width: 150)
           .padding()
           .accentColor(.yellow)
   }
}
文字を打つと同時に文字数をカウントします。TextEditor(text: $text)に以下を追加します。
.onChange(of: text, perform: { text in
   totalChars = text.count
})
これで変数totalCharsに数字が入ってき "ProgressView()"の長さを変えます。文字のカウント数によって長さが変わります。
これで保存機能を付ければメモアプリとして使えそうです。
この記事が気に入ったらサポートをしてみませんか?