
SageMaker AutopilotをSDKを使って実行する

電通デジタルで機械学習エンジニアをしている今井です。
本記事では、AWS SDK for PythonとSageMaker Python SDKを使ってSageMaker Autopilotを実行する方法について紹介します。
SageMaker Autopilotとは
SageMaker Autopilotは表形式のデータに基づいて回帰または分類用の最適な機械学習モデルを自動作成するAutoMLソリューションです。
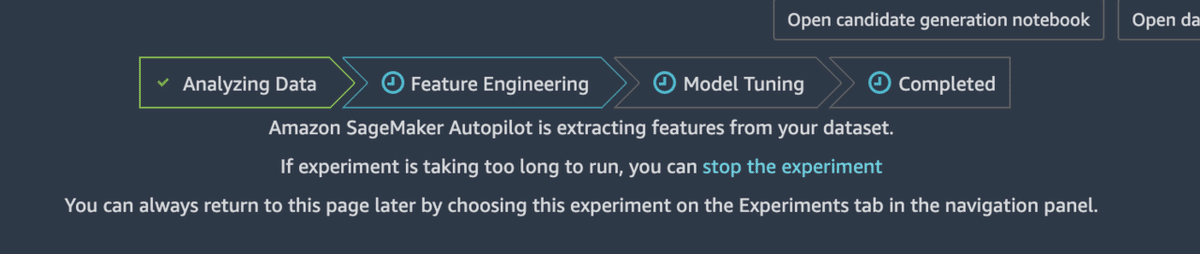
Autopilotでは
1. Analyzing Data
2. Feature Engineering
3. Model Tuning
のパイプラインが作成されてモデル学習が行われます。
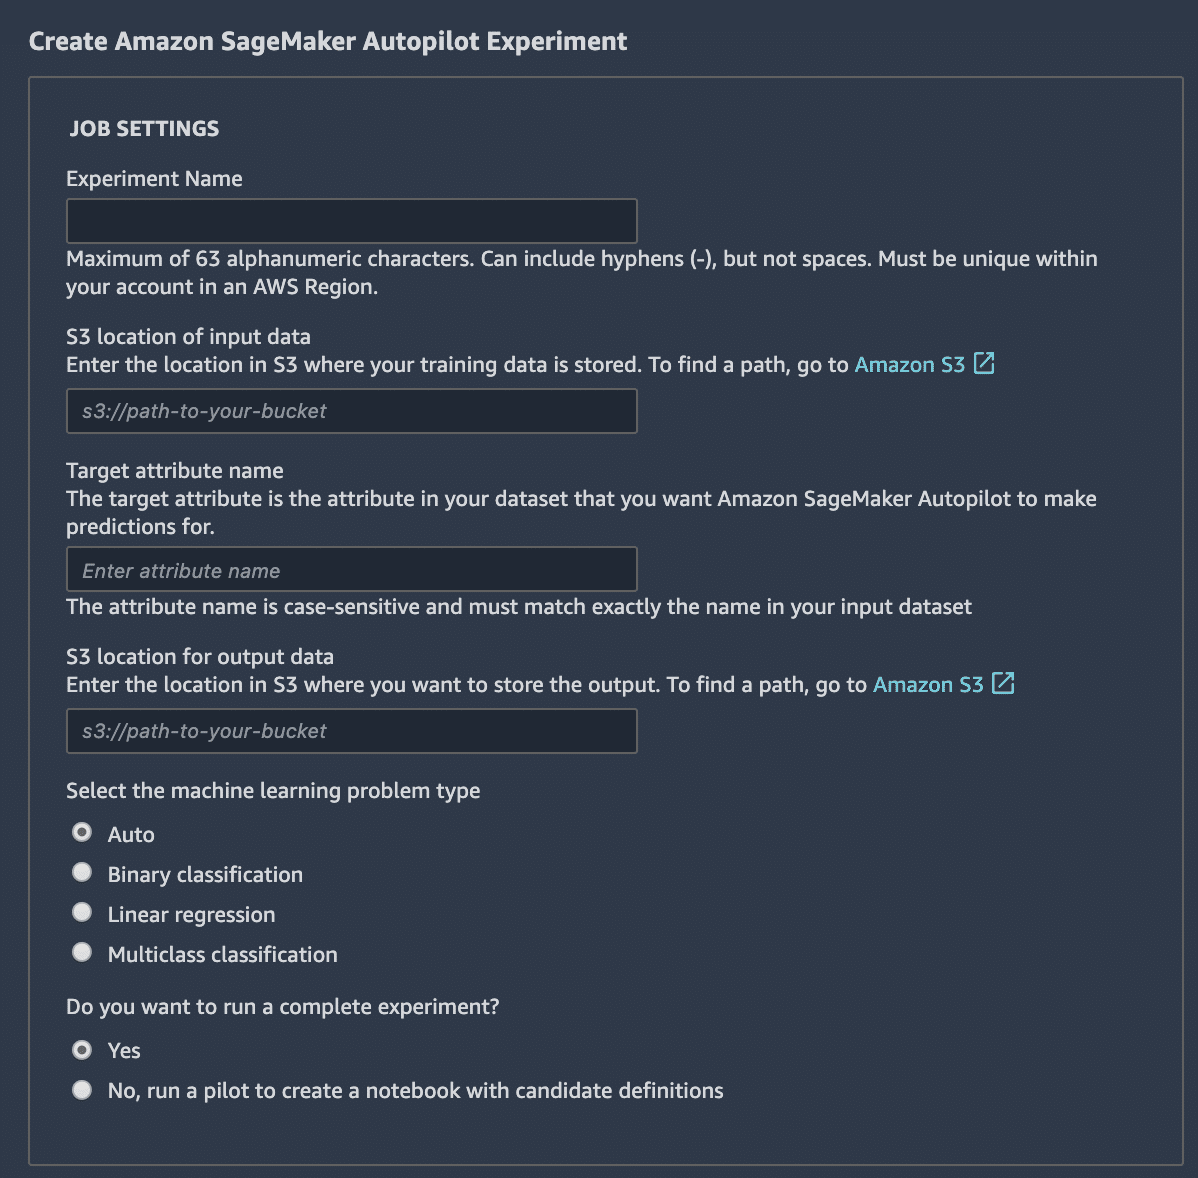
Autopilotを実行するには
・SageMaker StudioからUIで入力
・AWS SDK for Python(Boto3) or SageMaker Python SDK(AutoML)を使用
の2パターンがあります。
Boto3とAutoMLの使用方法
ここでは、Boto3とAutoMLでAutopilotを実行する方法を紹介します。
結論から言うと、AutoMLを使うと
・classificationモデルにおいて予測確率を出力できる(Boto3では予測ラベルのみ出力する)
・従来のSageMakerと同様に fit や deploy, transform でモデルを扱える
ため、Autopilotを実行する際にはSageMaker Python SDKを使うことをオススメします。
まず、学習用データ train.csv はヘッダー行ありのCSVデータ、予測用データ predict.csv はヘッダー行と目的変数列なしのCSVデータとし、それぞれ s3://sagemaker-example/ にアップロードしておきます。
Boto3では以下でモデル学習を実行します。
なお、自動作成されるモデル候補数(MaxCandidates)を20としています。
import sagemaker
import boto3

role = sagemaker.get_execution_role()

client = boto3.Session().client(
   service_name='sagemaker',
   region_name=boto3.Session().region_name)

input_data_config = [{
   'DataSource': {
       'S3DataSource': {
           'S3DataType': 'S3Prefix',
           'S3Uri': 's3://sagemaker-example/train.csv'
       }
   },
   'CompressionType': 'None',
   'TargetAttributeName': '目的変数名'
}]

output_data_config = {
   'S3OutputPath': 'モデルの出力先'
}

client.create_auto_ml_job(
   AutoMLJobName='ジョブ名',
   InputDataConfig=input_data_config,
   OutputDataConfig=output_data_config,
   ProblemType='Regression|BinaryClassification|MulticlassClassification',
   AutoMLJobObjective={
       'MetricName': 'F1macro|F1|AUC|Accuracy|MSE'
   },
   AutoMLJobConfig={
       'CompletionCriteria': {
           'MaxCandidates': 20
       }
   },
   RoleArn=role)
AutoMLでは以下でモデル学習を実行します。
import sagemaker

role = sagemaker.get_execution_role()

automl = sagemaker.AutoML(
   target_attribute_name='目的変数名',
   compression_type='None',
   output_path='モデルの出力先',
   problem_type='Regression|BinaryClassification|MulticlassClassification',
   job_objective={
       'MetricName': 'F1macro|F1|AUC|Accuracy|MSE'
   },
   max_candidates=20,
   role=role)

automl.fit(inputs='s3://sagemaker-example/train.csv')
パイプラインの実行状況は下記で確認します。
# Boto3の場合
response = client.describe_auto_ml_job(AutoMLJobName='ジョブ名')

# AutoMLの場合
response = automl.describe_auto_ml_job()
モデル学習が終わると response['AutoMLJobStatus'] が Completed となります。
作成されたモデル一覧および最善のモデルは次のように取得できます。
# Boto3の場合
candidates = client.list_candidates_for_auto_ml_job(
   AutoMLJobName='ジョブ名',
   StatusEquals='Completed',
   SortOrder='Ascending|Descending',
   SortBy='FinalObjectiveMetricValue',
   MaxResults=10)

best_candidate = client.describe_auto_ml_job(AutoMLJobName='ジョブ名')['BestCandidate']

# AutoMLの場合
candidates = automl.list_candidates(
   status_equals='Completed',
   sort_order='Ascending|Descending',
   sort_by='FinalObjectiveMetricValue',
   max_results=10)

best_candidate = automl.describe_auto_ml_job()['BestCandidate']
次に best_candidate をデプロイし、バッチ推論を行います。
Boto3では予測結果として predicted_label のみを出力します。
client.create_model(
   ModelName='モデル名',
   Containers=best_candidate['InferenceContainers'],
   ExecutionRoleArn=role)

transform_input = {
   'DataSource': {
       'S3DataSource': {
           'S3DataType': 'S3Prefix',
           'S3Uri': 's3://sagemaker-example/predict.csv'
       }
   },
   'ContentType': 'text/csv',
   'CompressionType': 'None',
   'SplitType': 'Line'
}

transform_output = {
   'S3OutputPath': '予測結果の出力先'
}

transform_resources = {
   'InstanceType': 'インスタンスタイプ',
   'InstanceCount': 1
}

client.create_transform_job(
   TransformJobName='バッチ推論のジョブ名',
   ModelName='デプロイしたモデル名',
   TransformInput=transform_input,
   TransformOutput=transform_output,
   TransformResources=transform_resources)
バッチ推論結果サンプル
1
0
1
1
AutoMLではclassificationモデルにおいて inference_response_keys を指定することで予測結果として predicted_label に加えて probability も出力することが可能です。
inference_response_keys = ['predicted_label', 'probability', 'labels', 'probabilities']
# predicted_label: predicted class
# probability: In binary classification, the probability that the result is predicted as the second or True class in the target column. In multiclass classification, the probability of the winning class.
# labels: list of all possible classes
# probabilities: list of all probabilities for all classes (order corresponds with 'labels')

if automl.describe_auto_ml_job()['ProblemType'] == 'Regression':
   model = automl.create_model(
       name='モデル名',
       candidate=best_candidate)
else:
   model = automl.create_model(
       name='モデル名',
       candidate=best_candidate,
       inference_response_keys=inference_response_keys)

transformer = model.transformer(
   instance_type='インスタンスタイプ',
   instance_count=1,
   output_path='予測結果の出力先')

transformer.transform(
   data='s3://sagemaker-example/predict.csv',
   content_type='text/csv',
   compression_type='None',
   split_type='Line',
   wait=True)
また、モデルのホスティングだけを行う、ホスティングしたモデルでバッチ推論を行う、という場合には下記を実行します。
sagemaker.Session().create_model(
   'モデル名',
   role,
   model.pipeline_container_def('インスタンスタイプ'))

transformer = sagemaker.transformer.Transformer(
   model_name='モデル名',
   instance_type='インスタンスタイプ',
   instance_count=1,
   output_path='予測結果の出力先')
inference_response_keys = ['predicted_label', 'probability'] としてバッチ推論を行うと、下記のような結果を取得できます。
1,0.5793254375457764
0,0.37068578600883484
1,0.5774169564247131
1,0.5825916528701782
オンライン予測をする場合には client.create_endpoint か automl.deploy でエンドポイントを作成してください。