Lights
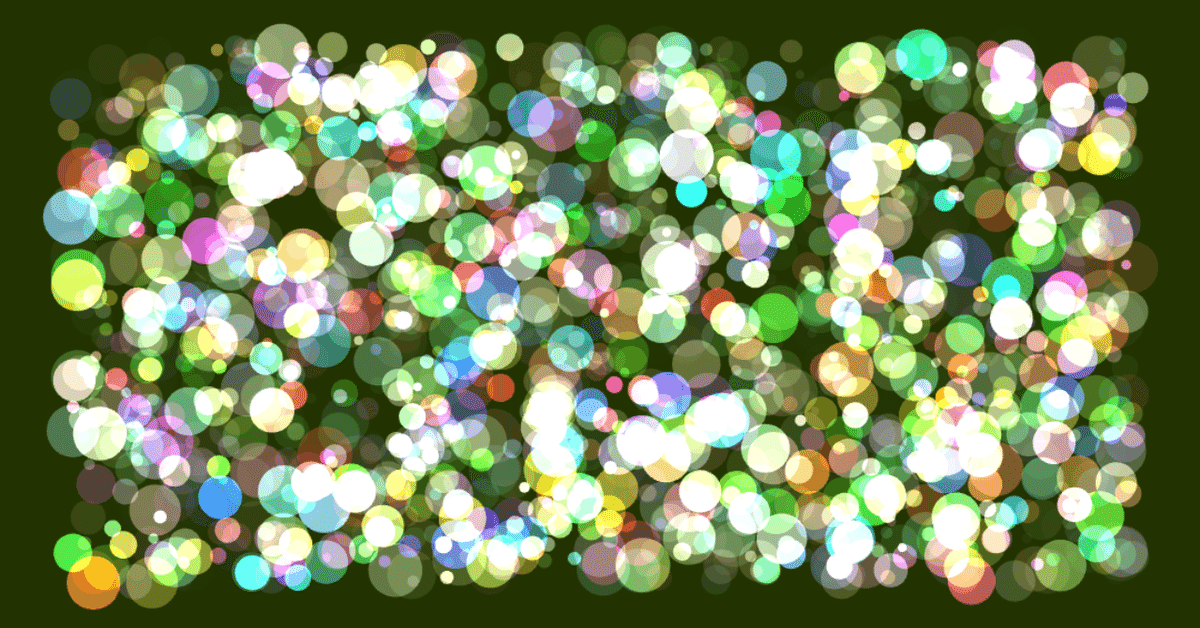
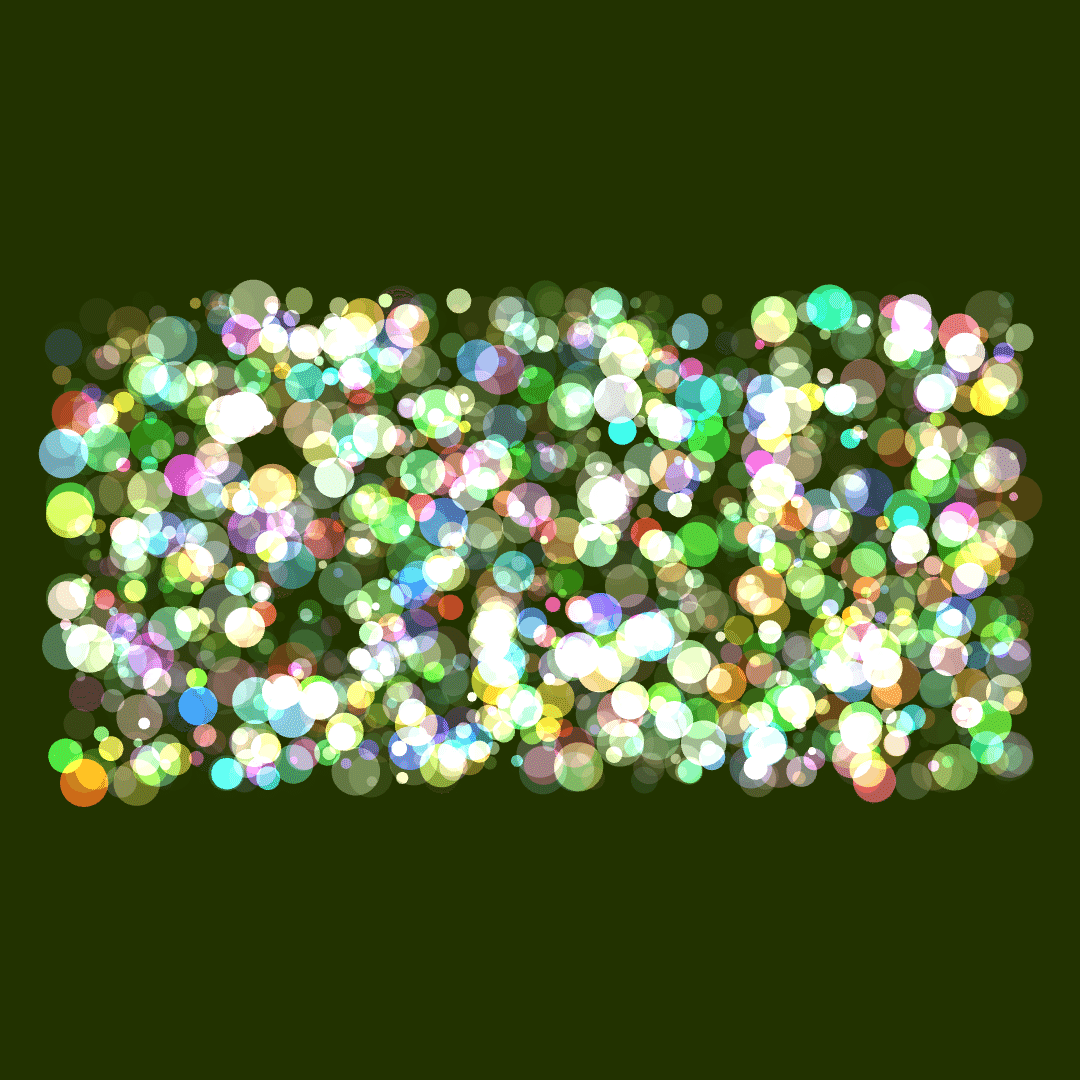
田所淳さんの『Processing クリエイティブ・コーディング入門』のサンプルそのままだけど、アップします。
変えた部分と言えば、余白を作ったのと、色を付けた感じです。

コードはこちら↓
int NUM=1800;
Particle[] myParticle=new Particle[NUM];

void setup() {
 size(1080, 1080, P2D);
 frameRate(60);
 blendMode(ADD);
 colorMode(HSB, 360, 100, 100, 100);
 noStroke();

 for (int i=0; i<NUM; i++) {
   myParticle[i]=new Particle(random(8, 50));
 }
}

void draw() {
 background(80, 100, 20, 100);
 for (int i=0; i<NUM; i++) {
   myParticle[i].draw();
 }
}

class Particle {
 color col;
 float diameter;
 PVector location;
 PVector velocity;
 int yohakux=60;
 int yohakuy=300;

 Particle(float _diameter) {
   diameter=_diameter;
   location=new PVector(random(0+yohakux, width-yohakux), random(0+yohakuy, height-yohakuy));
   velocity=new PVector(random(-4, 4), random(-4, 4));
   col=color(random(0, 360), random(0, 100), random(0, 100), random(0, 100));
 }

 void draw() {
   fill(col);
   ellipse(location.x, location.y, diameter, diameter);
   location.add(velocity);

   if ((location.x<0+yohakux)||(location.x>width-yohakux)) {
     velocity.x=velocity.x*-1;
   }
   if ((location.y<0+yohakuy)||(location.y>height-yohakuy)) {
     velocity.y=velocity.y*-1;
   }
 }
}
classは使えることは使えるけど、まだ理解できていないです。。。
この記事が気に入ったらサポートをしてみませんか?
