Cloud Run × Nextjs デプロイ
概要
NextjsアプリをCloud Runにデプロイする手順をまとめました。GitHubのリポジトリにpushして以下の手順を踏んでください。
Nextjsのバージョンはこちら。
% npx next --version

Next.js v14.1.4
手順
Dockerfileの作成
root(.nextと同じ階層)にDockerfileを作成します 。
下記のサイトのサンプルコードを載せます。
>Dockerfile
FROM node:18-alpine AS base

# Install dependencies only when needed
FROM base AS deps
# Check https://github.com/nodejs/docker-node/tree/b4117f9333da4138b03a546ec926ef50a31506c3#nodealpine to understand why libc6-compat might be needed.
RUN apk add --no-cache libc6-compat
WORKDIR /app

# Install dependencies based on the preferred package manager
COPY package.json yarn.lock* package-lock.json* pnpm-lock.yaml* ./
RUN \
  if [ -f yarn.lock ]; then yarn --frozen-lockfile; \
  elif [ -f package-lock.json ]; then npm ci; \
  elif [ -f pnpm-lock.yaml ]; then yarn global add pnpm && pnpm i --frozen-lockfile; \
  else echo "Lockfile not found." && exit 1; \
  fi


# Rebuild the source code only when needed
FROM base AS builder
WORKDIR /app
COPY --from=deps /app/node_modules ./node_modules
COPY . .

# Next.js collects completely anonymous telemetry data about general usage.
# Learn more here: https://nextjs.org/telemetry
# Uncomment the following line in case you want to disable telemetry during the build.
# ENV NEXT_TELEMETRY_DISABLED 1

RUN yarn build

# If using npm comment out above and use below instead
# RUN npm run build

# Production image, copy all the files and run next
FROM base AS runner
WORKDIR /app

ENV NODE_ENV production
# Uncomment the following line in case you want to disable telemetry during runtime.
# ENV NEXT_TELEMETRY_DISABLED 1

RUN addgroup --system --gid 1001 nodejs
RUN adduser --system --uid 1001 nextjs

COPY --from=builder /app/public ./public

# Set the correct permission for prerender cache
RUN mkdir .next
RUN chown nextjs:nodejs .next

# Automatically leverage output traces to reduce image size
# https://nextjs.org/docs/advanced-features/output-file-tracing
COPY --from=builder --chown=nextjs:nodejs /app/.next/standalone ./
COPY --from=builder --chown=nextjs:nodejs /app/.next/static ./.next/static

USER nextjs

EXPOSE 3000

ENV PORT 3000
# set hostname to localhost
ENV HOSTNAME "0.0.0.0"

# server.js is created by next build from the standalone output
# https://nextjs.org/docs/pages/api-reference/next-config-js/output
CMD ["node", "server.js"]
next.config.mjsの設定
output: 'standalone'とします。
>next.config.mjs
/** @type {import('next').NextConfig} */
const nextConfig = {
    output: 'standalone',
  };

  export default nextConfig;
Cloud Run サービスの作成
GCPのプロジェクトでIdentity and Access Management (IAM) API が有効なっているか確認します。
Cloud Runのコンソール画面を開きます。
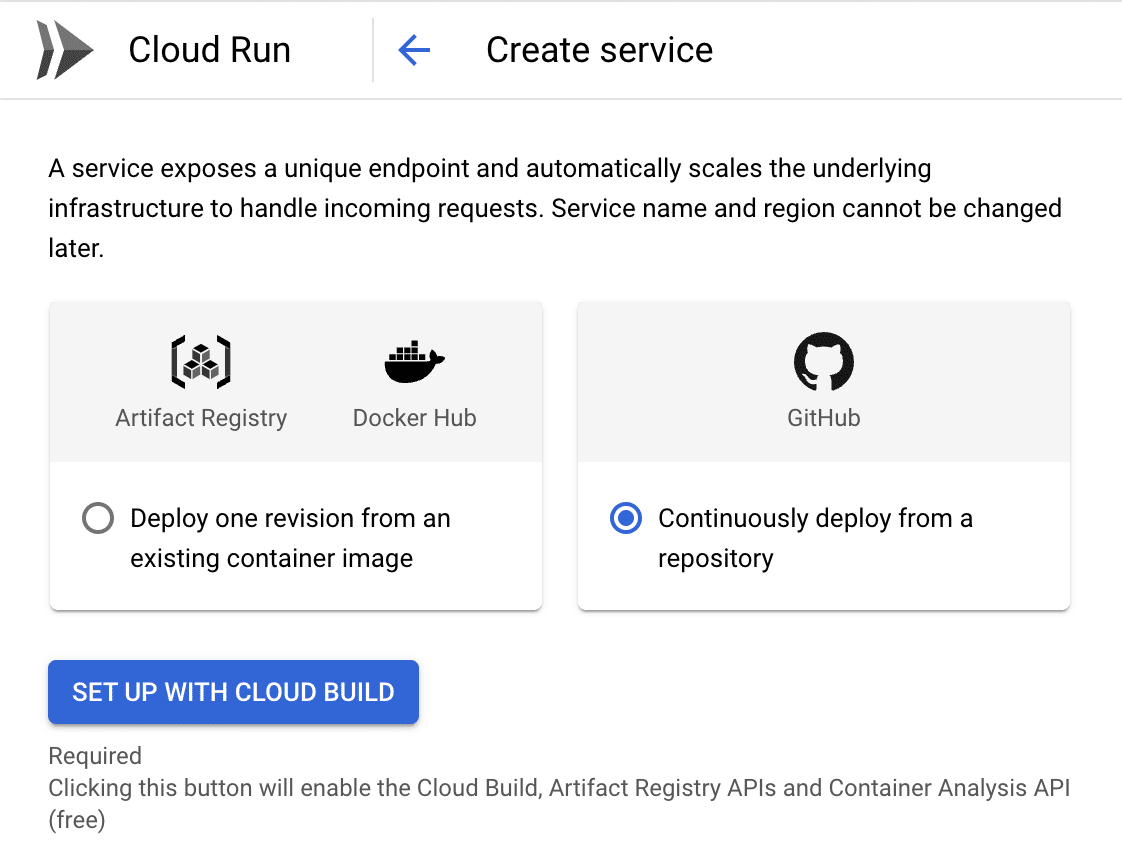
CREATE SERVICEを選択

GitHubを選択して、SET UP WITH CLOUD BUILD

GitHubの認証をして、対象のリポジトリを選択、ビルド構成を下記の内容にして保存

コンテナの設定からコンテナポートを3000に変更して、作成を選択

ビルドが完了するとURLが発行されます!

カスタムドメインの設定
こちらの記事を参考にしてください。
この記事が気に入ったらサポートをしてみませんか?
